
Ugh, the holidays! Thanksgiving is supposed to be this warm, cozy time, right? But let’s be real, for most of us, it means frantic weeknights filled with work deadlines, school activities, and trying to keep everything afloat. A few years back, I was right there with you, totally overwhelmed by trying to whip up those classic Thanksgiving pies after a long day. One night, standing in a flour-dusted kitchen at 10 PM, I just knew there had to be a smarter way. That’s why I became obsessed with finding ways to make delicious, festive treats like Thanksgiving Desserts for Busy Weeknights (Meal-Prep Friendly) without adding more stress to my plate. These recipes mean you can still have those amazing holiday flavors without the weeknight meltdowns!
Why You’ll Love These Thanksgiving Desserts for Busy Weeknights (Meal-Prep Friendly)
Seriously, who has hours to spend in the kitchen every single night leading up to Thanksgiving? I know I don’t! That’s why I adore this recipe.
- Make-Ahead Magic: You can totally bake these ahead of time, which means one less thing to worry about when everyone’s descending on your house.
- Packed with Flavor: Don’t let the ease fool you! These little squares are bursting with that classic pecan pie goodness.
- Perfect for Sharing (or Not!): They’re ideal for potlucks, office parties, or just for having a sweet treat on hand when you need a pick-me-up.
- Stress-Free Holiday Baking: They cut down waaay on that last-minute holiday baking panic.
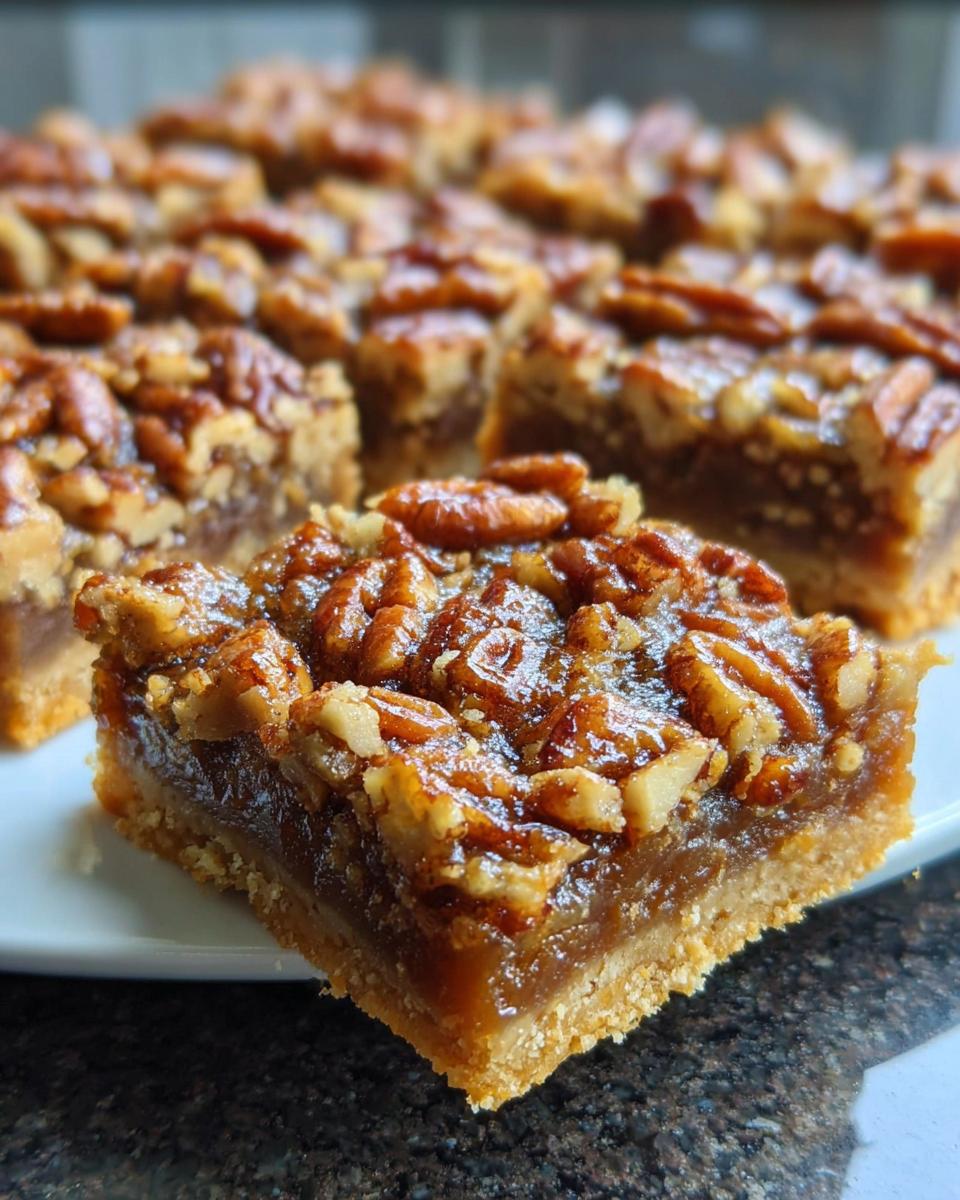
Make-Ahead Pecan Pie Squares: Your New Holiday Go-To
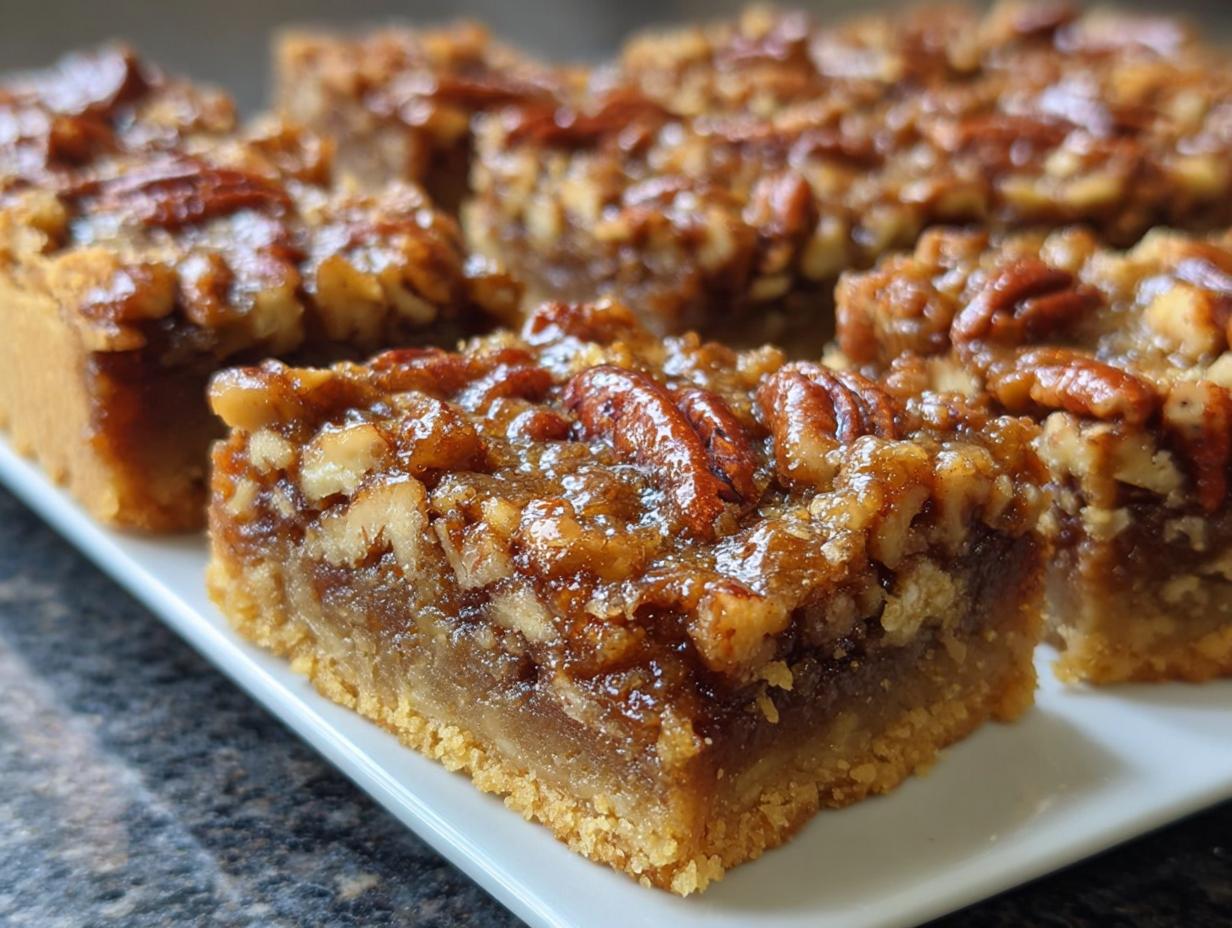
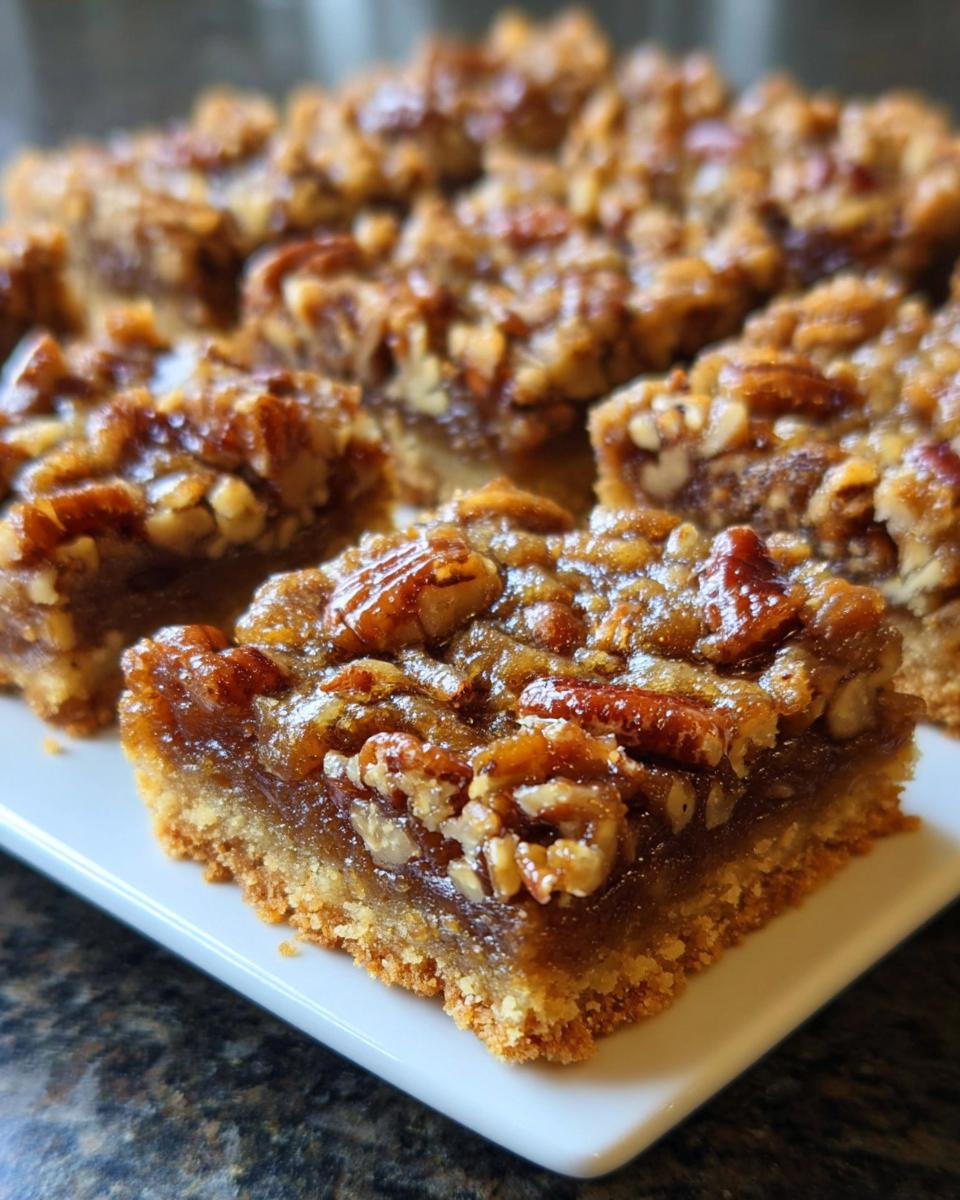
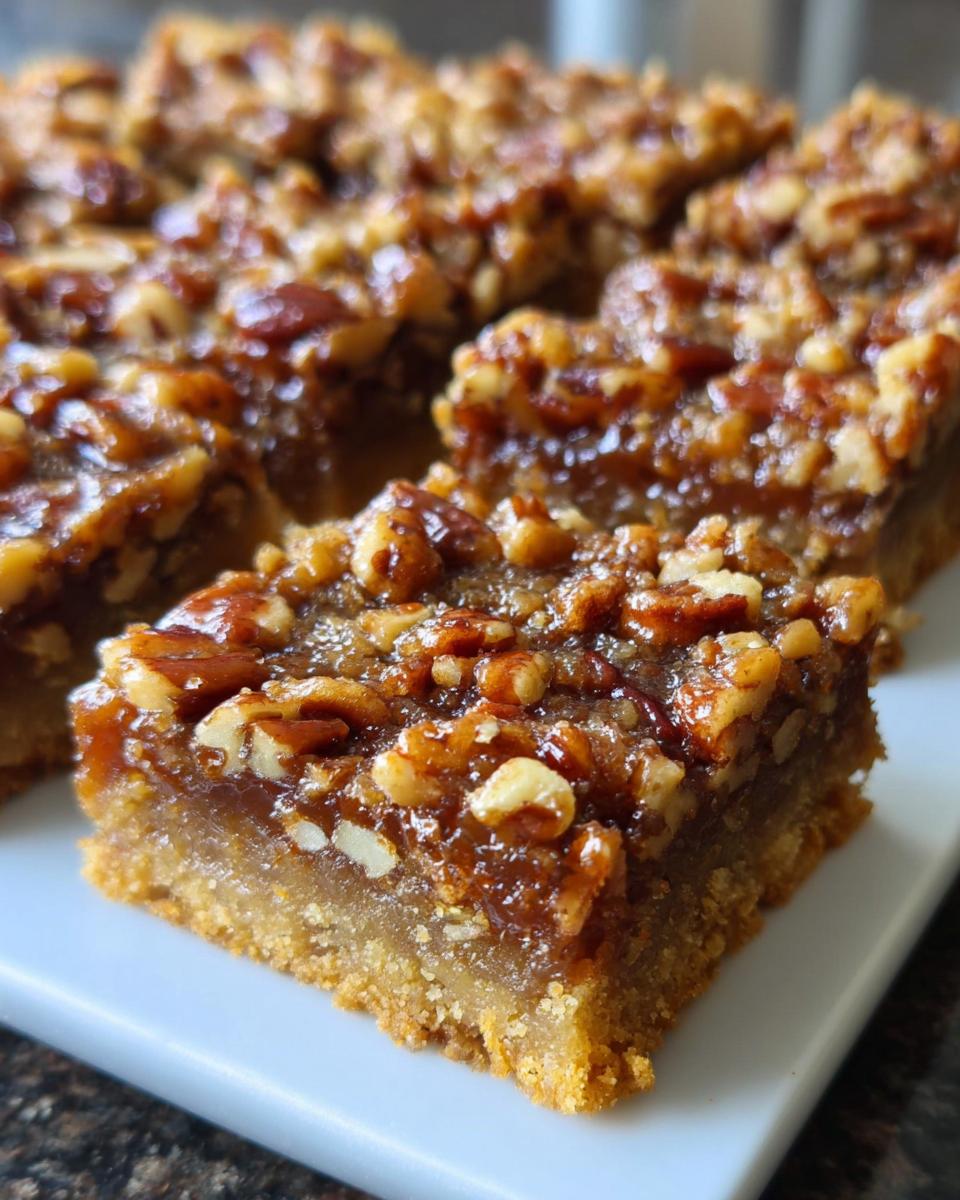
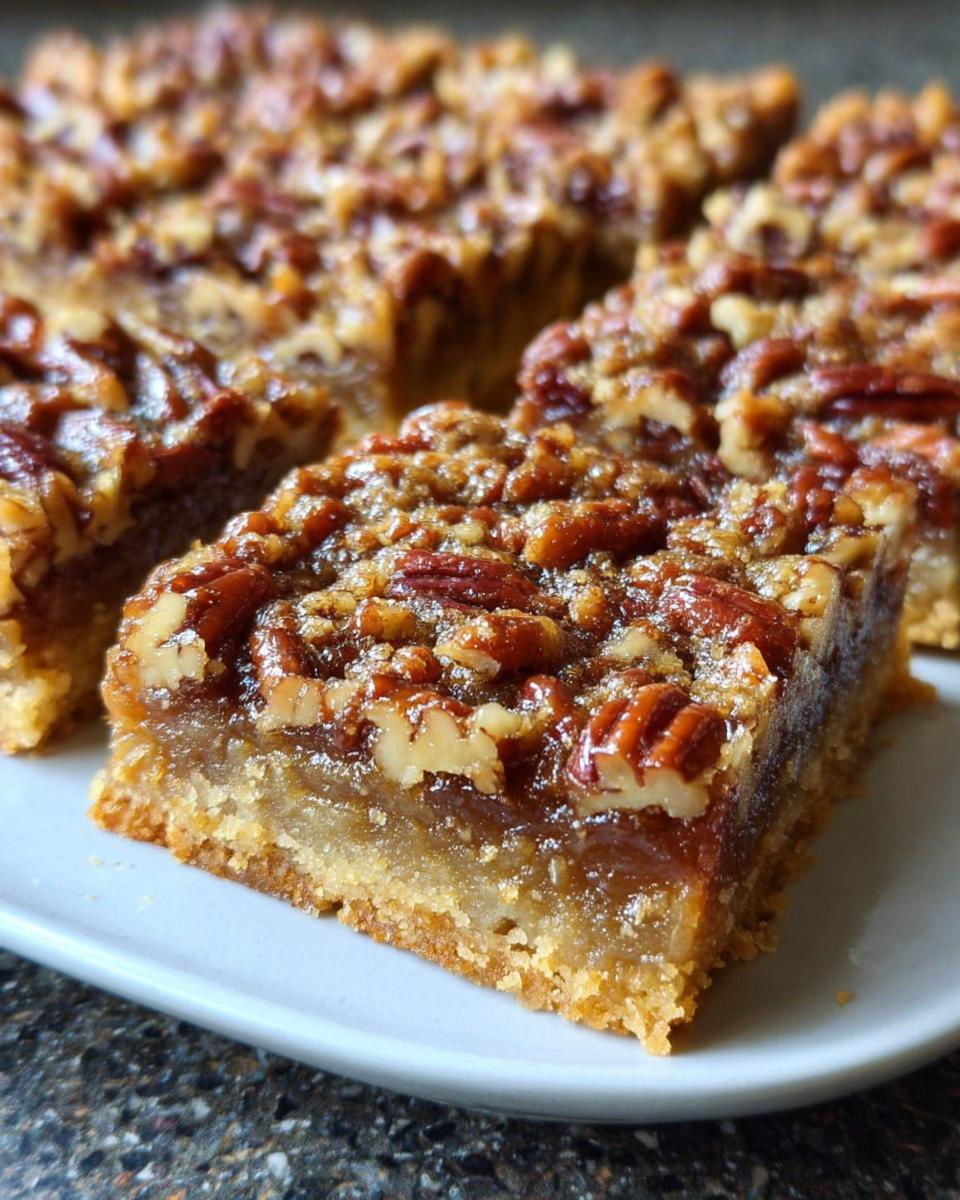
Okay, so you know how much I stress about actually enjoying the holidays instead of just running around like a headless chicken? Well, these Make-Ahead Pecan Pie Squares are my absolute secret weapon. They capture all that gooey, nutty deliciousness of traditional pecan pie, but in a form that’s just SO much more manageable for busy weeknights. Seriously, they’ve saved my sanity more times than I can count during the holiday crunch. Being able to just pull these out of the pantry or freezer when unexpected guests show up or when I just need a little sweet treat after a long day? Pure gold! They’re truly a lifesaver for anyone trying to nail those Thanksgiving Desserts for Busy Weeknights (Meal-Prep Friendly).
Ingredients for the Crust
This crust is super simple, and honestly, it makes all the difference. Just grab:
- 3/4 cup all-purpose flour, spooned into measuring cup and leveled-off
- ¼ cup cornstarch
- ½ cup Confectioners’ sugar
- ½ teaspoon salt
- ½ cup cold unsalted butter, cut into 1-inch pieces
Ingredients for the Filling
And here’s what you’ll need for that irresistible pecan filling:
- 12 tablespoons unsalted butter (that’s 1½ sticks!)
- ¾ cup packed light brown sugar
- 3 tablespoons honey
- ½ teaspoon vanilla extract
- A generous pinch of salt
- 2 tablespoons heavy whipping cream
- 3 cups pecans, coarsely chopped
How to Prepare Your Thanksgiving Desserts for Busy Weeknights (Meal-Prep Friendly)
Alright, let’s get down to business and whip up these amazing pecan pie squares! It’s honestly way easier than you think, and perfect for those times you need Thanksgiving Desserts for Busy Weeknights (Meal-Prep Friendly). So grab your apron, and let’s get this party started!
Preparing the Crust
First things first, let’s get that pan ready! You want to line a 9-inch square baking pan with heavy-duty aluminum foil. Make sure it goes up the sides really well – I usually use two pieces to make sure it’s totally covered, then give it a good spray with nonstick cooking spray. Pop your flour, cornstarch, powdered sugar, and salt into a food processor and give them a quick whirl to mix. Then, toss in your cold butter pieces and pulse until it looks like coarse meal with some little butter bits still in there. Press this mixture firmly and evenly into the bottom of your prepared pan. Then, pop it in the fridge for about 15 minutes to firm up while we get the filling going. Don’t forget to preheat your oven to 350°F (175°C) while the crust is chilling. We’re going to bake this crust for about 17 minutes until it’s just set, but not browned. Just let it cool on a rack while we whip out the filling. Keep that oven on!
Making the Pecan Filling
Now for the star of the show – that gloriously gooey pecan filling! Grab a medium, heavy-bottomed saucepan. Melt your butter over medium-low heat, then stir in the brown sugar, honey, vanilla extract, and that generous pinch of salt. Keep stirring until the sugar completely dissolves. Once it’s all dissolved and smooth, turn the heat up a bit and let it gently boil for about 3 minutes. It’s important to keep an eye on it and stir occasionally. Then, stir in the heavy whipping cream and all those delicious chopped pecans. Give it a good mix so everything is coated! You can check out this similar recipe for extra tips on making that perfect pecan goodness.
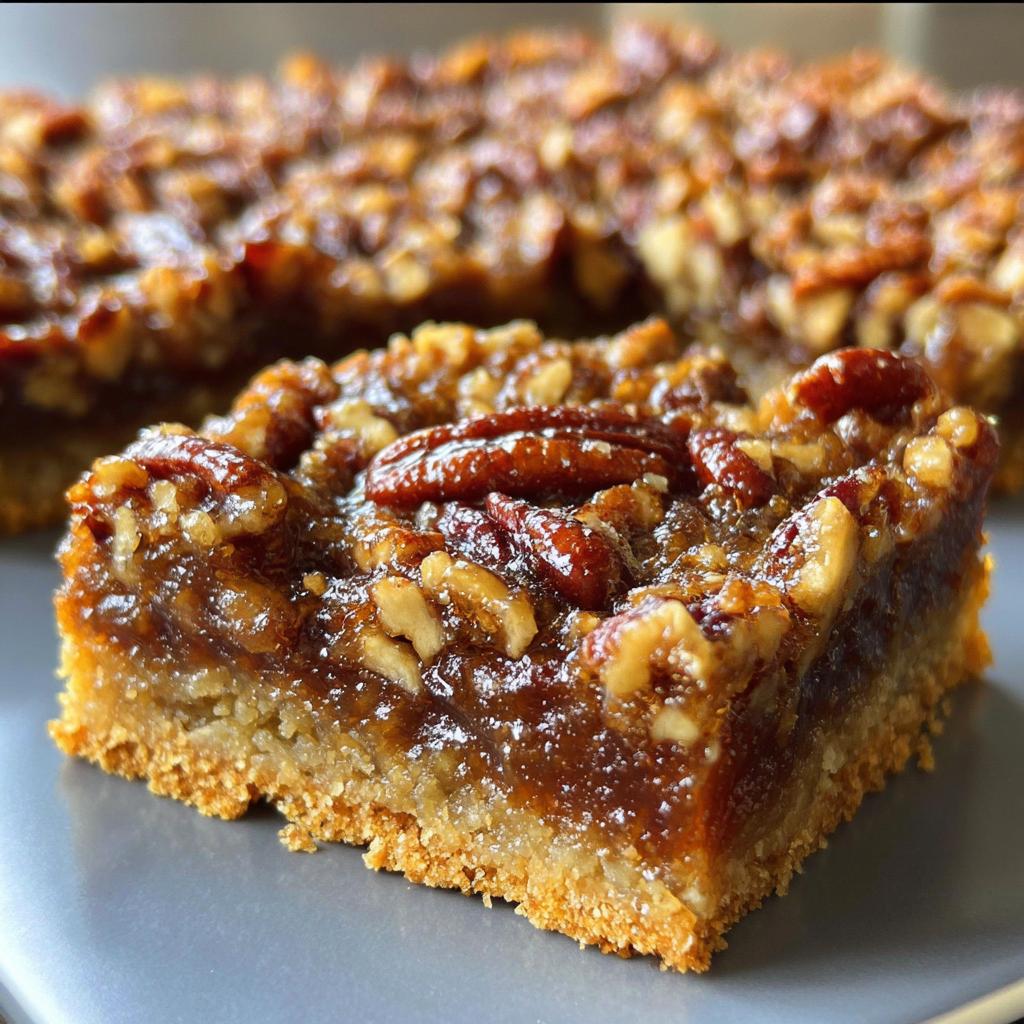
Assembling and Baking
Time to bring it all together! Carefully pour that amazing pecan filling over the pre-baked crust. Spread it out as evenly as you can. Now, pop the whole thing back into that 350°F (175°C) oven. Bake for about 20 minutes, or until the filling is bubbling and looks beautifully caramelized. You’ll know it’s ready when it’s a lovely golden-brown color all over. Once it’s done, carefully take it out and let it cool completely on a wire rack. Trust me, letting it cool is key for getting those perfect slices!
Tips for Success with Thanksgiving Desserts for Busy Weeknights (Meal-Prep Friendly)
Alright, let’s chat about making these pecan pie squares absolutely perfect! Because who doesn’t want the best possible outcome with minimal fuss, right? When I’m whipping these up for the holidays, I always keep a few things in mind. First off, the quality of those pecans really matters. Grab fresh ones if you can – they just taste so much better. Also, don’t skimp on chilling that crust! It makes a world of difference in getting that lovely shortbread-like texture and preventing it from spreading too much. And when you’re making the filling, make sure your butter, brown sugar, and honey are well combined before it starts boiling. It just helps everything melt together perfectly. You can find more easy Thanksgiving dessert ideas on my blog if you need even more inspiration!
Make-Ahead & Storage for Your Thanksgiving Desserts
Okay, so you’ve baked these little squares of heaven, and now comes the best part: enjoying them later! Since we’re all about making Thanksgiving Desserts for Busy Weeknights (Meal-Prep Friendly) super easy, storing these pecan squares is a breeze. They’ll keep beautifully at room temperature in an airtight container for about 3 to 4 days. So if you have friends dropping by or just crave a little something sweet after dinner, they’re ready to go! If you want to make them even further ahead, pop them in the freezer for up to 3 months. Just make sure they’re totally cooled, wrap them up super well (I like to double-wrap with foil or use freezer wrap), and maybe put some wax paper between layers if you’re stacking them. Thawing is just as easy – pull them out the night before and just let them defrost on the counter. Easy peasy!
Frequently Asked Questions about Easy Thanksgiving Desserts
Got questions about whipping up these handy Thanksgiving Desserts for Busy Weeknights (Meal-Prep Friendly)? I’ve got answers! It’s all about making your life a little sweeter and a lot less stressful during the holidays. Looking for more ideas? You might like these no-bake Thanksgiving desserts too!
Can I substitute the pecans in these Thanksgiving Desserts for Busy Weeknights?
Sure thing! While pecans are classic here, you could totally swap them for walnuts or even a mix of chopped almonds and pecans. Just make sure they’re chopped well so they distribute nicely in the filling.
How do I ensure the crust is not soggy?
The biggest trick is to make sure your crust is pre-baked until it’s lightly golden and set, and then let it cool a bit before adding the filling. Also, make sure your filling isn’t too runny when you pour it in – letting it gently boil for those 3 minutes helps thicken it up!
What is the best way to cut these pecan pie squares?
Here’s my go-to tip: once they’re completely cooled, use the foil overhang to lift the whole slab out of the pan onto a cutting board. Then, for super clean cuts, use a really sharp knife and wipe it clean between each slice. You can also chill them in the fridge for about 30 minutes before cutting – that helps firm them up just enough!
Estimated Nutritional Information
Please keep in mind that these nutritional numbers are just estimates, and they can vary depending on the specific brands of ingredients you use and the exact size of your squares. But generally, you’re looking at around 357 calories, 29 grams of fat (with about 11 grams of that being saturated), 26 grams of carbohydrates, 18 grams of sugar, 2 grams of fiber, and 3 grams of protein per serving. There’s also about 88 mg of sodium and 41 mg of cholesterol.
Share Your Thanksgiving Desserts for Busy Weeknights Creations!
I’d absolutely LOVE to hear how your Thanksgiving Desserts for Busy Weeknights (Meal-Prep Friendly) turned out! Did you make these pecan pie squares? Did they save your sanity during a busy week? Please drop a comment below and let me know your thoughts, share any tips you discovered, or even rate the recipe. Your feedback helps other busy home cooks too! And if you’re looking for more holiday baking inspiration, check out my tips for successful holiday baking!
Make-Ahead Pecan Pie Squares
Ingredients
Equipment
Method
- For the Crust: Cover a 9-inch square baking pan with heavy duty aluminum foil. Push foil neatly into corners and up sides of the pan, using two pieces if necessary to ensure it overlaps all edges. Spray foiled pan with nonstick cooking spray.
- Place the flour, cornstarch, confectioners sugar and salt in a bowl of a food processor fitted with the blade attachment. Pulse a few times to mix. Add the butter and pulse until the mixture resembles coarse meal with pea-size clumps of butter within. Transfer mixture to the prepared pan and press firmly with your fingers into an even layer over the bottom. Refrigerate for 15 minutes.
- While the crust is in the refrigerator, preheat the oven to 350° F. Bake the crust until set but not browned, about 17 minutes. Set on rack to cool. Leave oven on.
- For the Filling: In a heavy medium saucepan over medium-low heat, combine butter, brown sugar, honey, vanilla and salt. Stir until sugar dissolves. Turn up the heat and boil gently for 3 minutes. Stir in heavy cream and chopped pecans.
- To Assemble and Bake: Pour pecan mixture over crust. Bake until filling is bubbling and caramel in color, about 20 minutes. Cool completely on rack.
- To cut, use the foil overhang to lift baked square out of pan and onto cutting board. Loosen the foil from the edges, then cut into 2-inch squares. Store finished pecan squares in air-tight container and serve at room temperature.
- Freezer-Friendly Instructions: The pecan squares will keep covered and stored at room temperature for 3 to 4 days. They can also be frozen for up to 3 months. After they are completely cooled, double-wrap them securely with aluminum foil or plastic freezer wrap with the layers separated by wax or parchment paper. Thaw overnight on the countertop before serving.
Nutrition
Notes
Tried this recipe?
Let us know how it was!
Certified Family Nutrition Strategist
My path into family nutrition began working with Phoenix Area Family Services, where I saw how traditional nutrition advice often ignored real-world constraints like budget limitations, time crunches, and kids who refuse to eat anything green. That experience sparked my mission to develop meal planning systems that work with family realities, not against them.
Over eight years, I’ve helped hundreds of families reduce grocery spending by 25% while dramatically improving their nutrition. My meal planning frameworks have been adopted by local wellness centers because they actually work for busy parents juggling different ages, preferences, and dietary needs in one household.
As a bilingual first-generation Mexican-American and mother of three, I personally navigate the daily challenge of feeding a family nutritiously while honoring cultural traditions and managing a household budget. My “kid-friendly low-carb” protocols show families how to gradually introduce healthier options without triggering mealtime battles or abandoning beloved family recipes.
My “realistic wellness” philosophy is straightforward: health improvements must work within existing family dynamics and financial realities to be truly sustainable. When I’m not developing meal planning systems, I’m creating portable trail snacks for our weekend family hiking adventures – because healthy eating should fuel the life you want to live.
My personal low-carb journey started after pregnancy as a way to regain energy for active parenting, and that experience continues to inform my professional commitment to making healthy eating feel supportive rather than burdensome for busy families.