
Ever feel like dinner is a race against the clock, and you’re always a few minutes behind? I totally get it! When I first started cooking for my family, I remember one evening, with the kids practically vibrating with hunger and my husband expecting something delicious after a long day, I decided to whip up some simple chicken thighs. I just seasoned them with garlic, herbs, and a splash of soy sauce, put them in the oven, and hoped for the best. Seriously, the smell that filled the house was incredible, and then – miracle of miracles – the kids *loved* them and asked for seconds! That moment really sparked my love for creating easy, absolutely foolproof recipes that make dinner a win, even on the busiest nights. Learning How to Make Chicken Thigh Recipes (Foolproof) has seriously been a game-changer in our kitchen, turning simple ingredients into family favorites everyone devours.
Why You’ll Love This Foolproof Baked Chicken Thigh Recipe
Seriously, this recipe is a weeknight warrior! Here’s why you’ll be making it again and again:
- Super Easy Prep: We’re talking minimal effort for maximum flavor. Just a few simple steps!
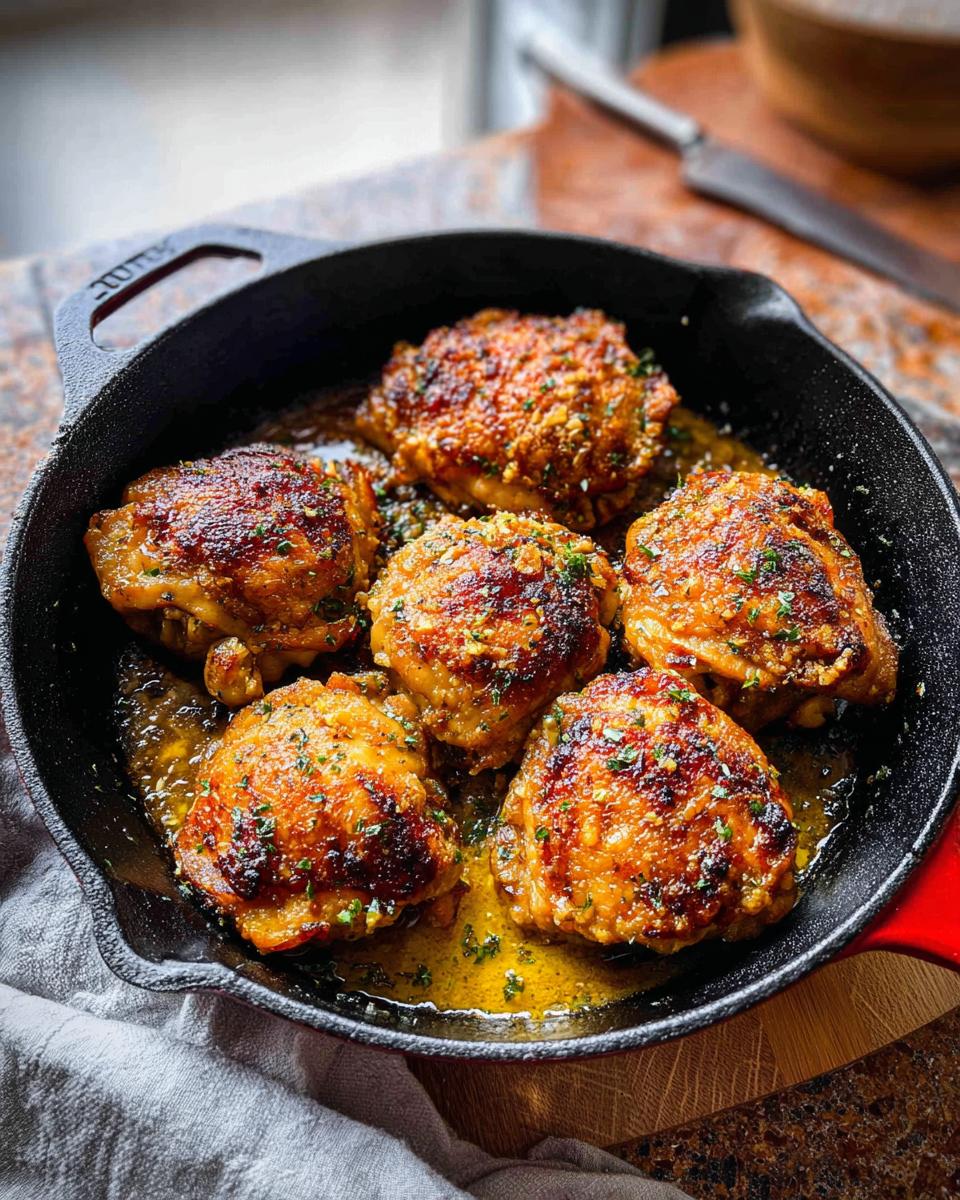
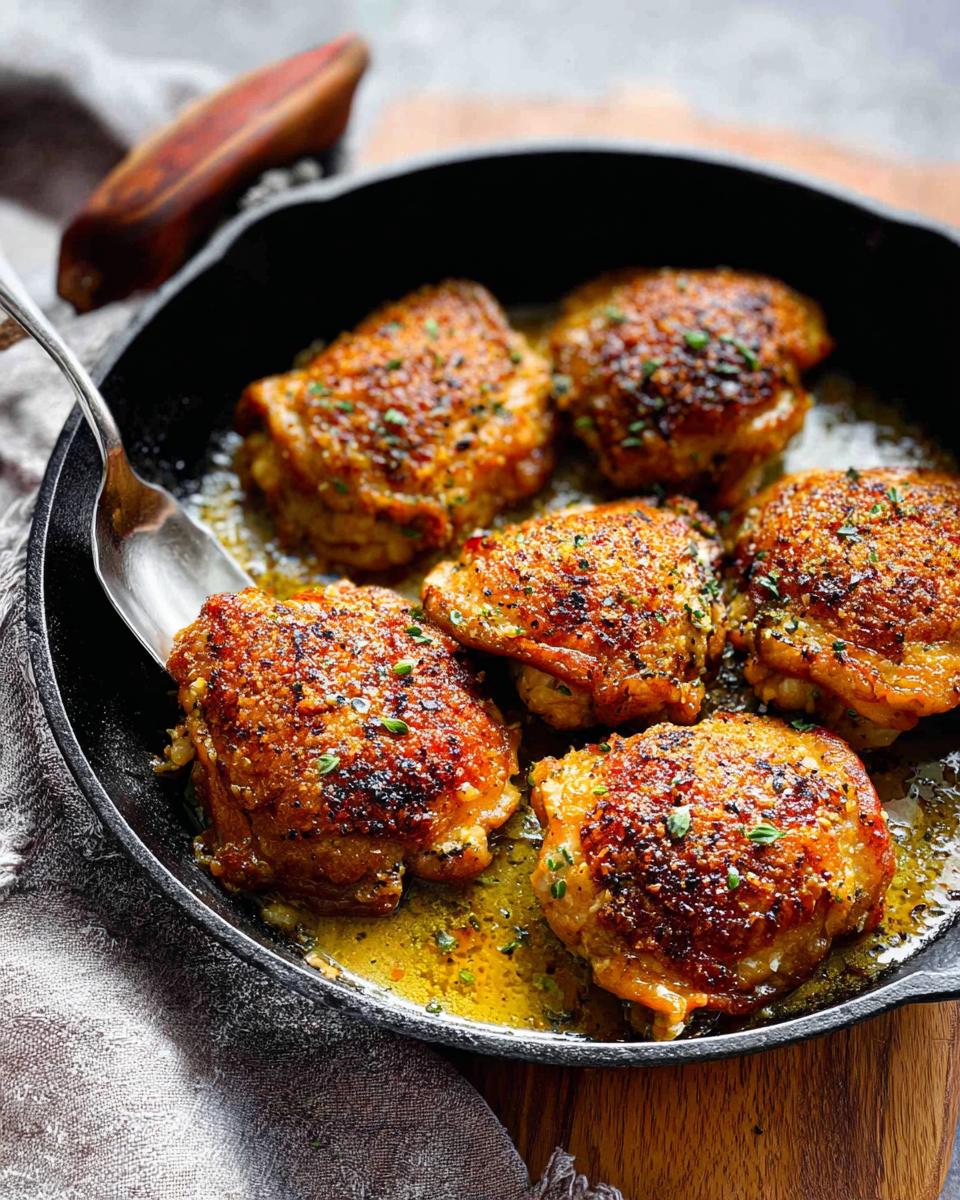
- Chewy, Crispy Perfection: Get that amazing crispy skin and juicy, tender meat every single time.
- Family Approved: Even the pickiest eaters will be asking for seconds. It’s a crowd-pleaser, guaranteed!
- Busy Night Savior: It comes together fast and fits perfectly into your hectic schedule. Dinner solved!
Gather Your Ingredients for Foolproof Chicken Thigh Recipes
Alright, let’s get our ducks – or rather, our chicken thighs – in a row! For this ridiculously easy and totally foolproof baked chicken thigh recipe, you’ll just need a few simple things. Trust me, using good quality ingredients really makes a difference in how amazing these turn out, giving you that restaurant-worthy flavor right at home. Here’s what you’ll need:
For about 4 servings:
- 4 skin-on chicken thighs (about 1.5-2 lbs total)
- ½ teaspoon salt
- ½ teaspoon pepper
- 1 tablespoon olive oil
- 1 tablespoon butter
- 3 cloves garlic, minced (that means finely chopped!)
Essential Equipment for How to Make Chicken Thigh Recipes (Foolproof)
You really don’t need much fancy stuff for this recipe, which is part of why it’s so great! All you’ll really need is your trusty oven, obviously. And for that magical crispy skin? A good cast iron skillet is your best friend here. If you’re looking for more cast iron magic, check out this idea! It really makes all the difference for getting that perfect sear and then transferring straight into the oven.
Step-by-Step Guide: How to Make Chicken Thigh Recipes (Foolproof)
Alright, let’s get cooking! This is where the magic happens, and trust me, it’s ridiculously simple. We’re going to take these humble chicken thighs and turn them into something truly special. Follow these easy steps, and you’ll be amazed at how incredible these taste with hardly any fuss!
Preheat and Prepare
First things first, let’s get that oven nice and hot. Crank it up to 400°F (200°C). While that’s heating, grab your chicken thighs. Pat them dry with a paper towel – this is a little trick for extra crispy skin! Then, give them a good sprinkle all over with salt and pepper. Don’t be shy; the seasoning is key!
Sear for Crispy Skin
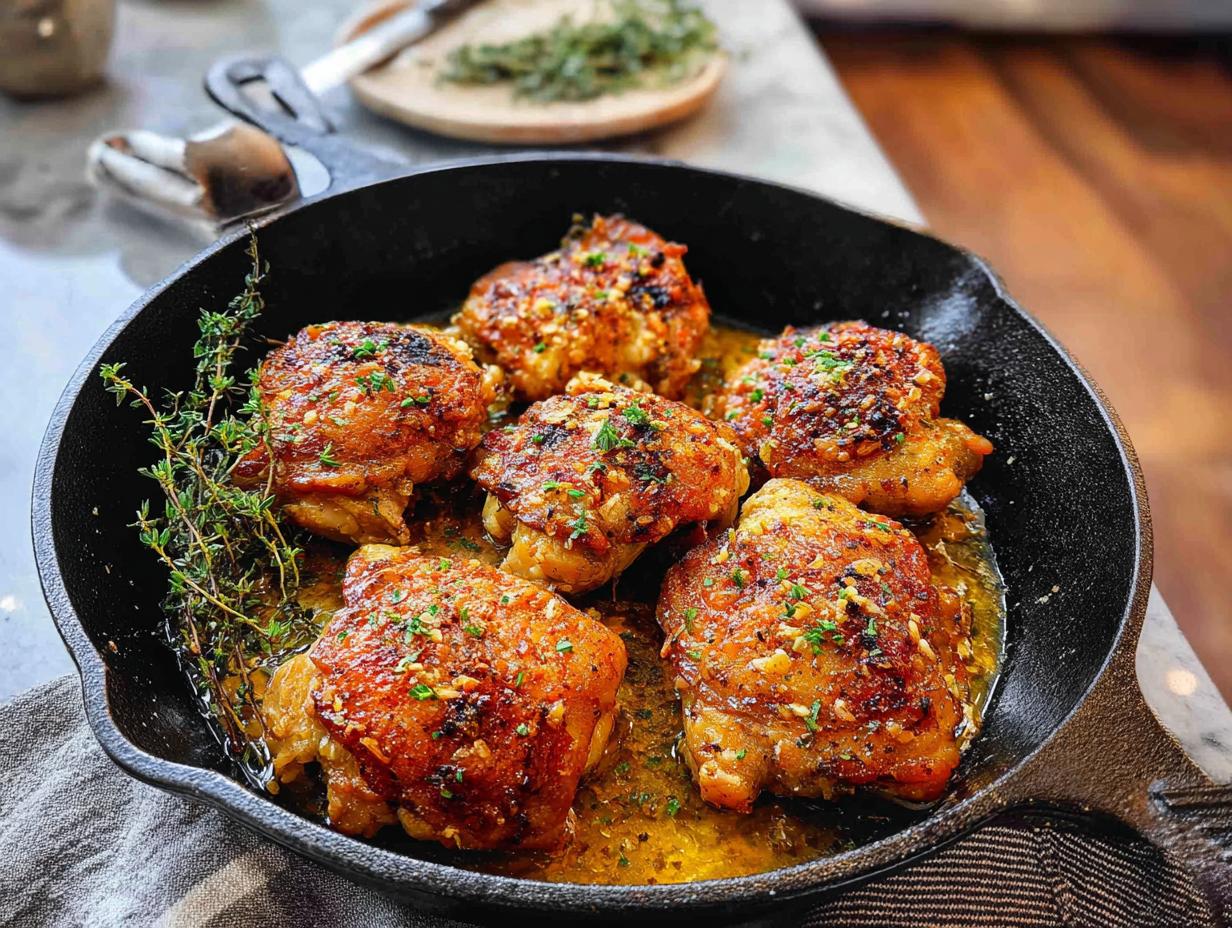
Now for that glorious crispy skin! Pop a cast iron skillet (or any oven-safe skillet) over medium-high heat. Toss in your olive oil and butter. Once the butter’s melted and it’s sizzling a bit, lay your seasoned chicken thighs skin-side down. Let them sizzle away for about 6-8 minutes. You want that skin to turn a gorgeous golden brown and super crispy. Resist the urge to move them around too much!
Bake to Perfection
Once they’re beautifully browned and crispy on the bottom, carefully flip those thighs over. Now’s the time to toss in your minced garlic right into the pan around the chicken. It’ll smell amazing! Gently transfer the whole skillet into your preheated oven. Let them bake for another 12-15 minutes. The best way to know they’re done is with a meat thermometer – you’re looking for 165°F (74°C) in the thickest part.
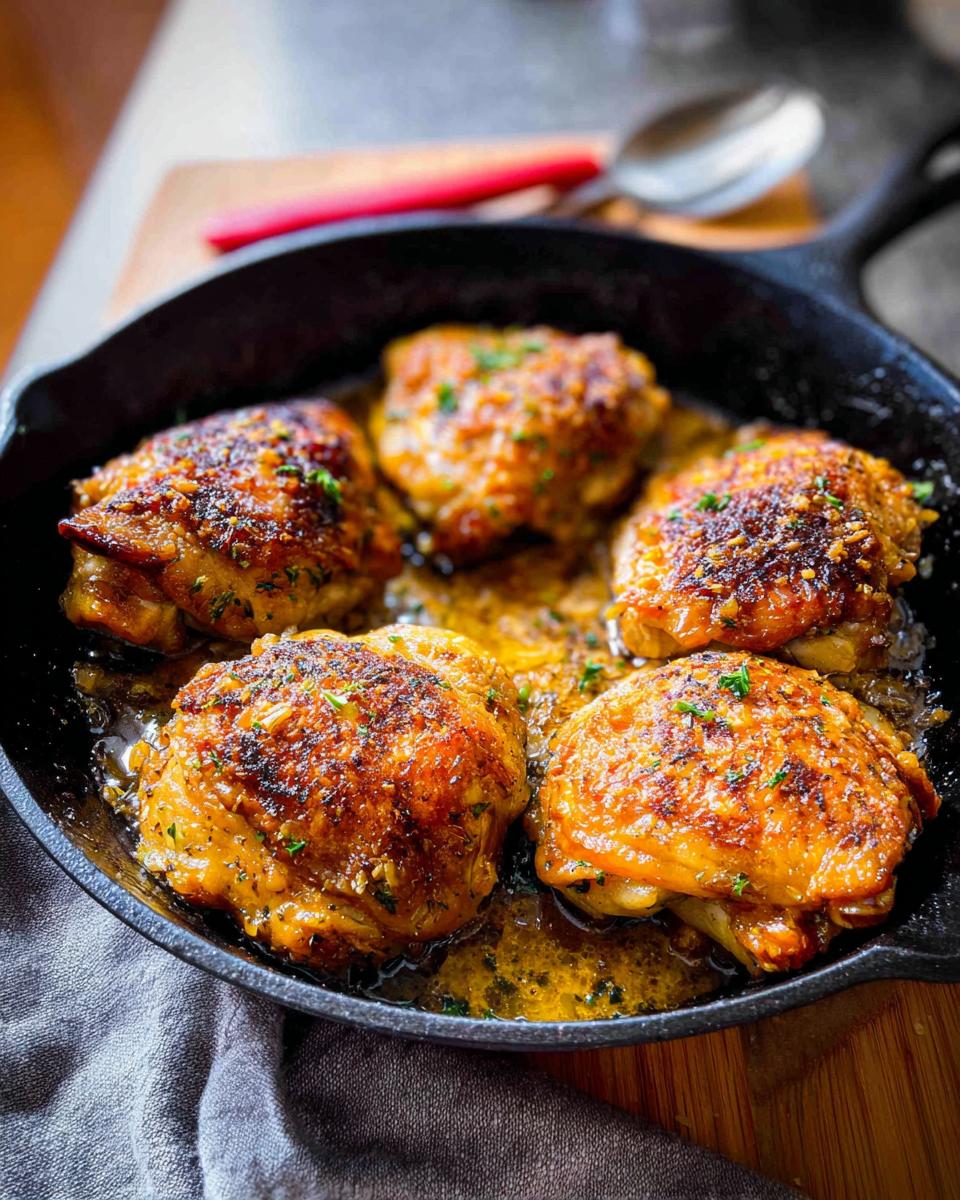
Rest and Serve
This step is super important for juicy chicken! Once they’re out of the oven, let those chicken thighs rest right there in the skillet for about 5 minutes. Don’t skip this! It lets all those juices redistribute, making sure every bite is moist and tender. Then, transfer them to a plate, maybe spooning some of those pan juices over the top, and serve them up!
Tips for Foolproof Chicken Thigh Recipes Success
Okay, so you’ve got the basic recipe down, but let’s make sure these chicken thighs are *absolutely* perfect every. single. time. These little tricks are my go-to for turning out seriously delicious chicken that’s juicy on the inside and has that irresistible crispy skin.
First off, when you’re picking out chicken thighs, grab the skin-on ones – that’s where all the flavor and crisp factor comes from! And remember that paper towel step when you pat them dry before seasoning? Seriously don’t skip that. It’s crucial for getting that skin super crispy, not soggy.
Also, keep an eye on the cooking time. Ovens can be a little quirky, and chicken thighs can go from perfectly cooked to a little too done pretty fast. Using a meat thermometer is your best friend here – aim for that 165°F mark and no higher! If you’re feeling adventurous with seasonings, try adding a pinch of smoked paprika or a dash of your favorite herbs like rosemary or thyme along with the salt and pepper. It adds another layer of amazing flavor without complicating things one bit.
Ingredient Notes and Substitutions for Chicken Thigh Recipes
Let’s talk about the stars of the show: our ingredients! For this recipe, I really love using standard table salt or kosher salt – they both work beautifully to bring out the chicken’s flavor. If you don’t have regular olive oil, avocado oil or even a light vegetable oil would do the trick just fine.
Now, about that garlic! Three cloves sounds like a lot, but it mellows out so nicely and adds this wonderful depth. If you’re not a huge garlic fan, you could totally use just one or two cloves. And for the butter? It really gives that extra richness and helps the other flavors meld, but if you need to, you can use an extra splash of olive oil instead. It might not be *quite* as decadent, but it’ll still be delicious!
Serving Suggestions for Your Chicken Thigh Recipes
Okay, you’ve got these perfectly baked, juicy chicken thighs – now what to serve them with? Honestly, they’re so versatile! I love pairing them with roasted veggies like broccoli or Brussels sprouts. A simple side of fluffy mashed potatoes or some seasoned rice is always a winner. For a lighter touch, a crisp green salad with a tangy vinaigrette is fantastic. They really go with almost anything, making dinner planning a breeze!
Storage and Reheating Instructions
So, what do you do with those amazing leftover chicken thighs? Don’t you worry, because they’re just as good the next day! The best way to store them is in an airtight container. Pop them in the fridge, and they should stay tasty for about 3 to 4 days. Way better than throwing good food away, right?
If you want to freeze them for later, that works too! Just make sure the cooked chicken is totally cooled down. Then, put them in a freezer-safe container or a heavy-duty freezer bag. They’ll keep perfectly well in the freezer for up to 6 months. When you’re ready to eat them again, just thaw them in the fridge overnight. And for reheating? I usually pop mine into a baking dish in a 350°F oven for about 10-15 minutes, or until they’re all warmed through and lovely again.
Frequently Asked Questions About How to Make Chicken Thigh Recipes (Foolproof)
Got questions? I’ve got answers! Here are some common things folks ask when they’re diving into chicken thigh recipes, especially this foolproof version. Don’t be shy if you have more – drop them in the comments!
Can I use boneless, skinless chicken thighs?
You totally can! Just know they’ll cook a little faster. Keep an eye on them and check the temperature often. They probably won’t get quite as crispy on the outside since there’s no skin to crisp up, but they’ll still be super juicy and delicious!
What if I don’t have a cast iron skillet?
No worries at all! You can use a regular oven-safe skillet or even a heavy-duty baking sheet for searing and baking. Just make sure whatever you use can go from the stovetop right into the oven. The results might be slightly different than cast iron, but it’ll still be fantastic!
How do I know when the chicken is fully cooked?
The absolute best way is to use a meat thermometer. Stick it in the thickest part of the thigh, and you’re looking for 165°F (74°C). If you don’t have one, you want to see juices running clear when you poke it, and the meat should be opaque all the way through with no pink.
Estimated Nutritional Information
Just so you know, these nutritional values are estimates for one serving of our Foolproof Baked Chicken Thighs. Things like the exact size of your chicken thighs and the specific brands you use can change these numbers a bit. We’re looking at roughly 277 calories, 19g of protein, 22g of fat, and about 1g of carbohydrates per thigh. Pretty great balance for such an easy meal!
Share Your Foolproof Chicken Thigh Creations!
I just love hearing from you all! Once you’ve tried making these unbelievably easy chicken thighs, please drop a comment below and tell me how they turned out. Did you try any fun variations? Did the kids love them? Any star ratings you want to give are super welcome too – it really helps other cooks know they’re on the right track!
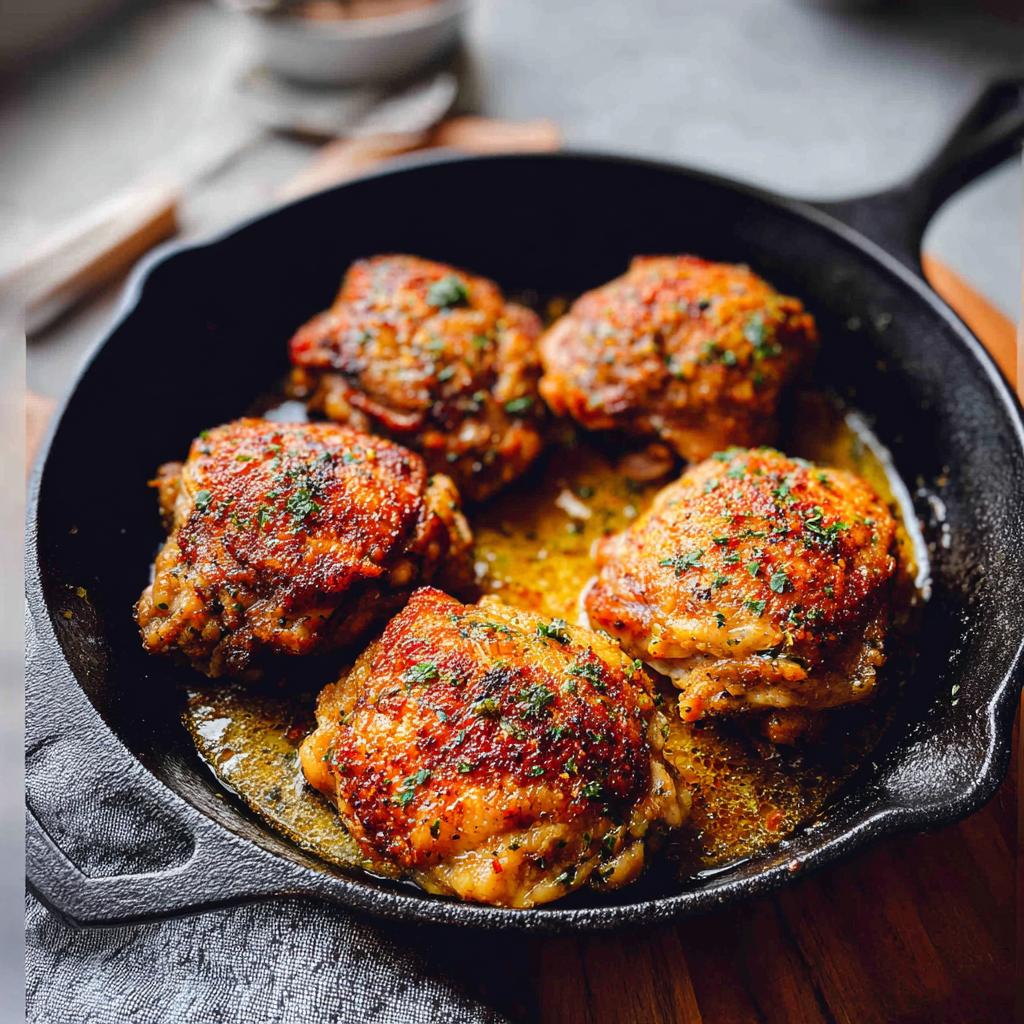
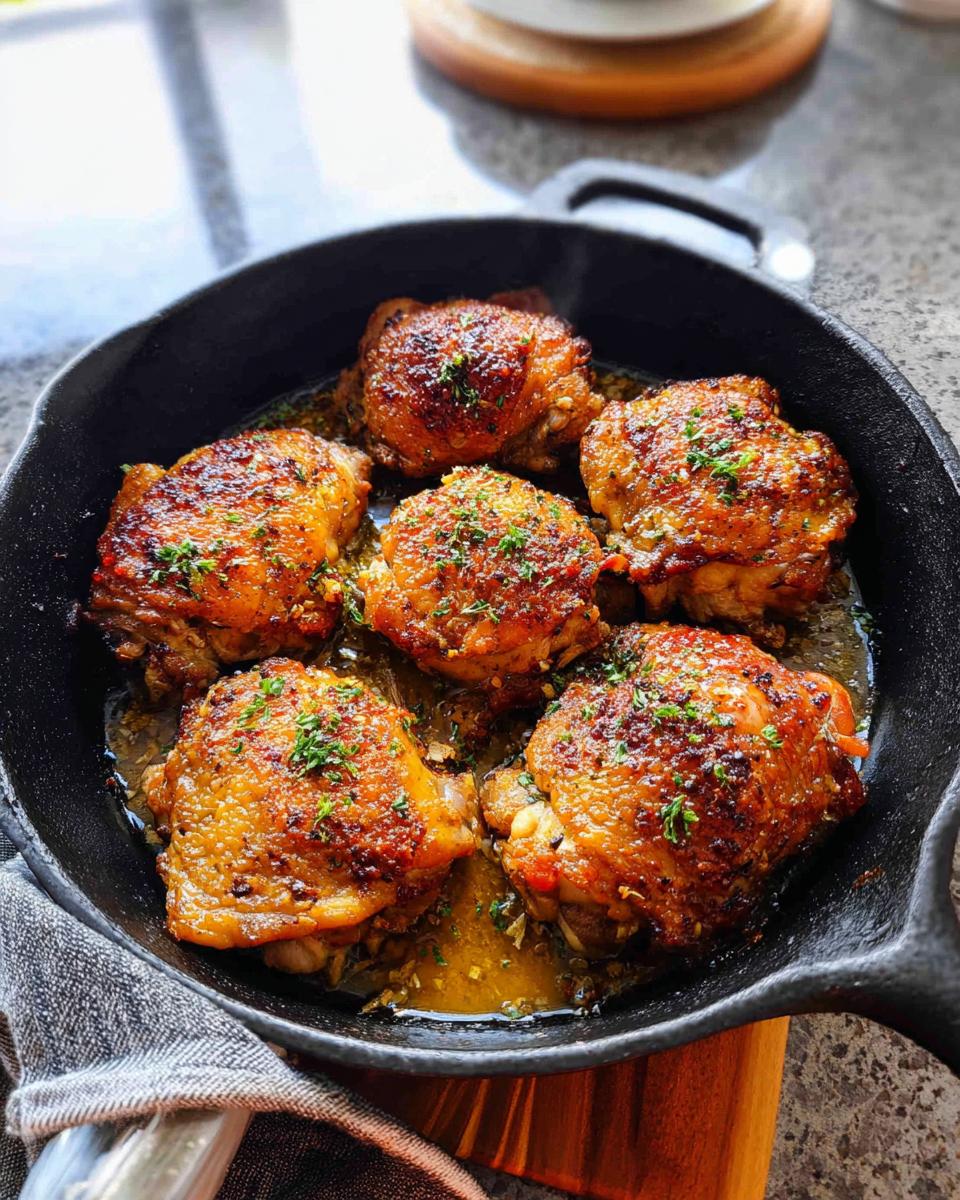
Foolproof Baked Chicken Thighs
Ingredients
Equipment
Method
- Preheat your oven to 400°F (200°C).
- Season the chicken thighs with salt and pepper.
- Heat a cast iron skillet over medium-high heat. Add olive oil and butter. Cook chicken thighs, skin side down, for 6-8 minutes, until golden and crispy.
- Flip the chicken thighs, add minced garlic, and transfer the skillet to the oven.
- Bake for 12-15 minutes until the chicken reaches an internal temperature of 165°F (74°C).
- Let chicken thighs rest in the skillet for a few minutes before serving.
Nutrition
Notes
To Freeze: Place the cooked and cooled chicken in a freezer-safe container or bag and freeze for up to 6 months. Thaw in the fridge before reheating.
To Reheat: Heat leftover thighs in a baking dish in a 350°F oven until warmed through.
Tried this recipe?
Let us know how it was!
Certified Family Nutrition Strategist
My path into family nutrition began working with Phoenix Area Family Services, where I saw how traditional nutrition advice often ignored real-world constraints like budget limitations, time crunches, and kids who refuse to eat anything green. That experience sparked my mission to develop meal planning systems that work with family realities, not against them.
Over eight years, I’ve helped hundreds of families reduce grocery spending by 25% while dramatically improving their nutrition. My meal planning frameworks have been adopted by local wellness centers because they actually work for busy parents juggling different ages, preferences, and dietary needs in one household.
As a bilingual first-generation Mexican-American and mother of three, I personally navigate the daily challenge of feeding a family nutritiously while honoring cultural traditions and managing a household budget. My “kid-friendly low-carb” protocols show families how to gradually introduce healthier options without triggering mealtime battles or abandoning beloved family recipes.
My “realistic wellness” philosophy is straightforward: health improvements must work within existing family dynamics and financial realities to be truly sustainable. When I’m not developing meal planning systems, I’m creating portable trail snacks for our weekend family hiking adventures – because healthy eating should fuel the life you want to live.
My personal low-carb journey started after pregnancy as a way to regain energy for active parenting, and that experience continues to inform my professional commitment to making healthy eating feel supportive rather than burdensome for busy families.