
Let’s be honest, that craving for a Starbucks drink can hit HARD, right? Especially when you’re juggling a million things and the last thing you want is a long drive-thru line. I’m Maria Fernandez, a Certified Family Nutrition Strategist, and I totally get it. I remember one frantic Thursday morning, feeling totally frazzled, when I decided enough was enough. I didn’t want to brave the car line, so I channeled my inner barista and dove into my pantry. After a little tinkering and a whole lot of optimism, I whipped up a copycat caramel macchiato that honestly tasted *just* like the real deal! That’s when I realized my kitchen could be my own personal coffee shop. This guide is all about making Starbucks drinks at home, and trust me, it’s absolutely foolproof! We’ll break down how to make Starbucks drinks (Foolproof!), so you can save some serious cash and enjoy your favorites without leaving the house.
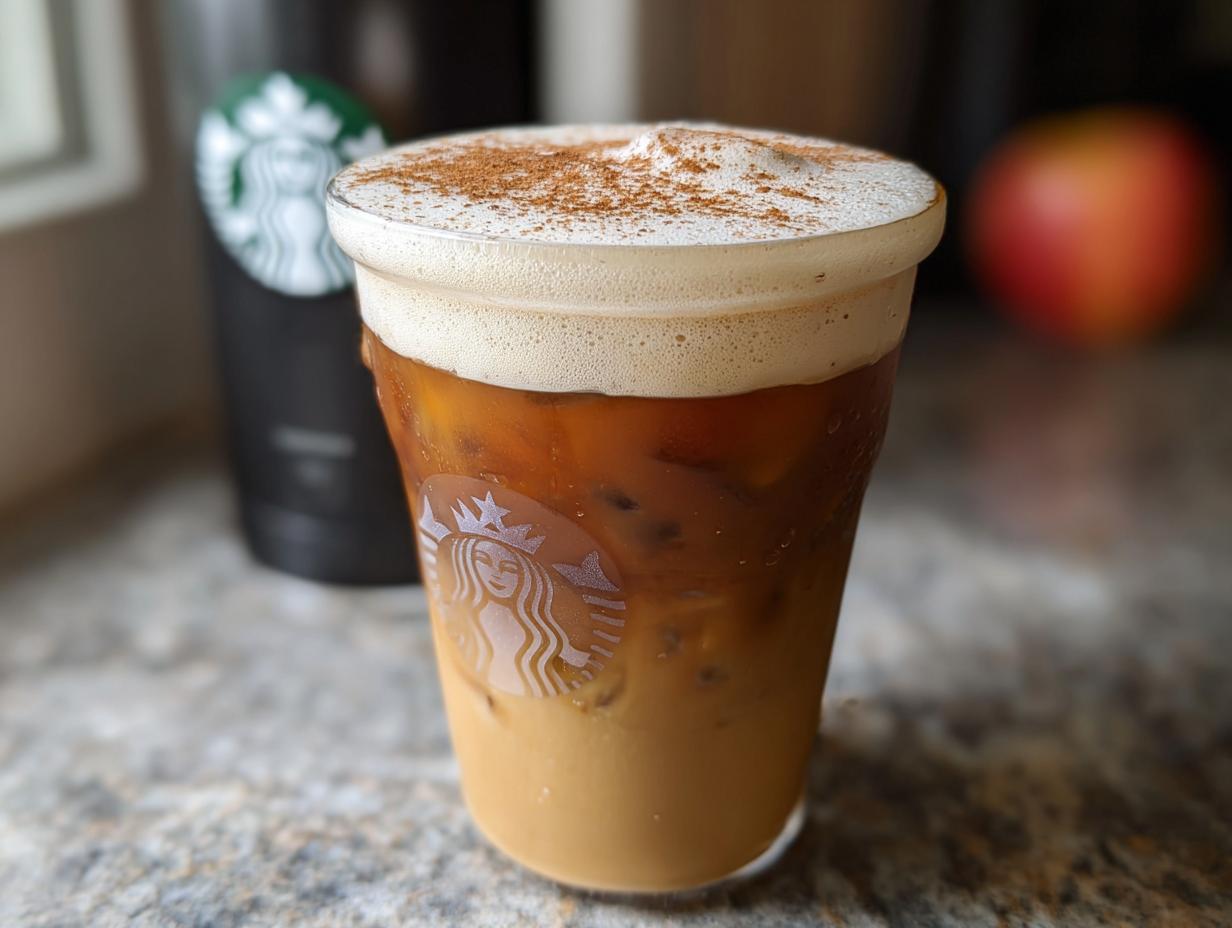
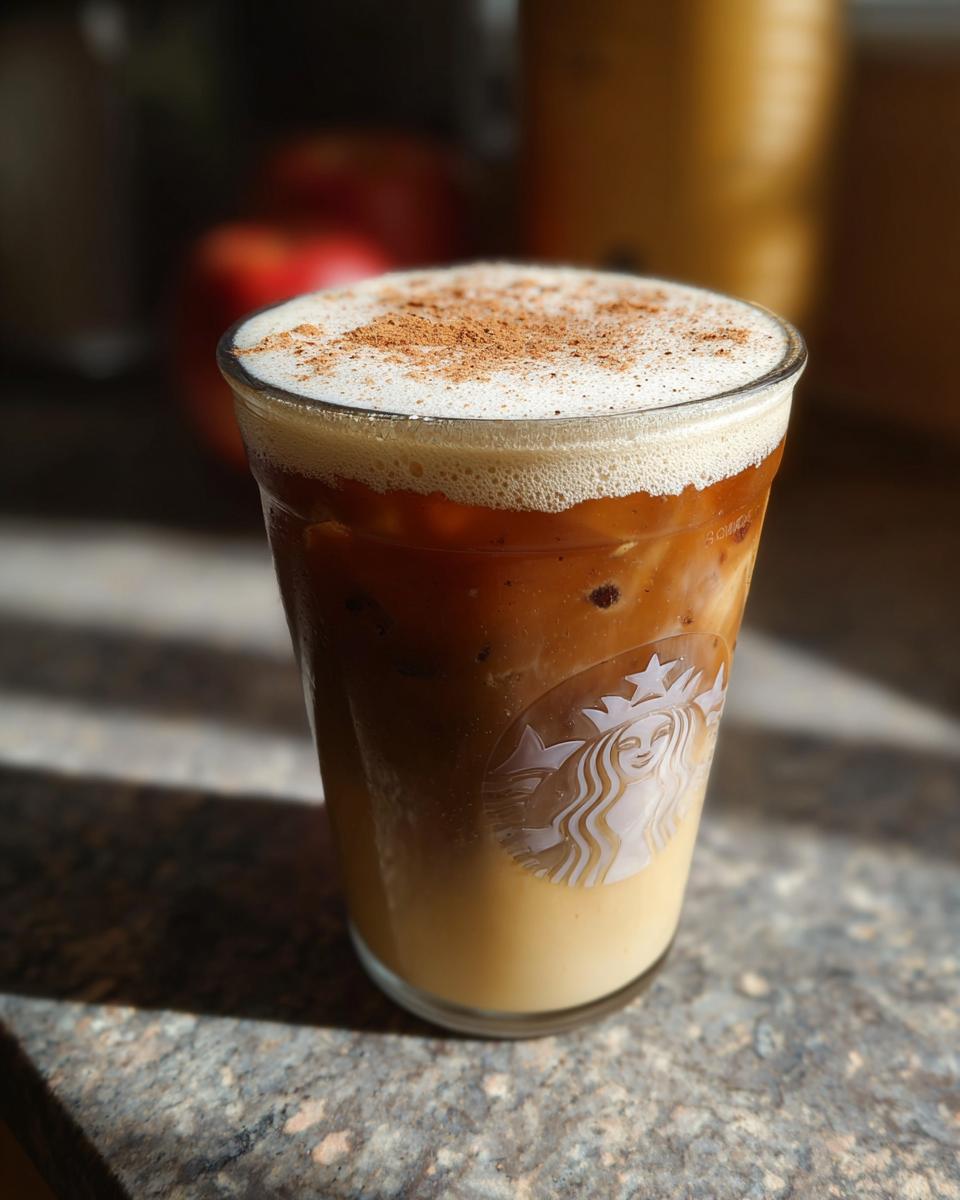
Why You’ll Love This Iced Apple Crisp Oatmilk Shaken Espresso
Seriously, get ready to fall in love with this recipe! Here’s why it’s a total game-changer:
- Super Easy to Make: You’d think a fancy Starbucks drink would be complicated, but nope! We’re talking simple steps that even a coffee newbie can nail.
- Tastes Just Like the Real Deal: That apple brown sugar syrup? It’s magic. It gives you that authentic Starbucks flavor without the hefty price tag.
- Saves You Money (and Time!): Skip the expensive cafe runs. Make this at home and suddenly your daily coffee ritual won’t break the bank. Plus, no waiting in line!
- Totally Customizable: Don’t love oat milk? Swap it! Want it sweeter? Add a bit more syrup. You’re the boss of your own delicious brew.
Gather Your Ingredients: How to Make Starbucks Drinks (Foolproof)
Alright, let’s talk ingredients! The secret to making Starbucks drinks (Foolproof!) at home really comes down to having the right stuff. For this Iced Apple Crisp Oatmilk Shaken Espresso, the magic starts with a seriously delicious homemade Apple Brown Sugar Syrup. Using fresh, real ingredients is key here – it’s what makes homemade taste so much better than those artificial flavorings. Trust me on this one!
For the Apple Brown Sugar Syrup
You’ll need a few simple things to get this syrup party started. Grab:
- 1 cup packed brown sugar (dark or light, your choice!)
- 1 cup water
- 2 small apples, cored and diced (skins on for extra flavor!), about 2 cups worth
- 1/2 teaspoon apple pie spice
- 2 teaspoons vanilla extract
For the Iced Apple Crisp Oatmilk Shaken Espresso
And for the actual drink, it’s super straightforward:
- 2-3 shots of your favorite espresso – make it strong!
- 2 tablespoons of our amazing Apple Brown Sugar Syrup (or more, if you’re feeling brave!)
- A big handful of ice
- 1/3 to 1/2 cup of oat milk (or your preferred milk)
- A pinch of ground cinnamon for garnish (totally optional, but pretty!)
Essential Equipment for Starbucks Drinks at Home
To nail this Iced Apple Crisp Oatmilk Shaken Espresso, you don’t need a professional barista setup, but a few key players will make things SO much easier. You’ll want a medium saucepan for whipping up that delish syrup, and a fine-mesh strainer is a must for getting it nice and smooth. An airtight jar is perfect for storing that homemade goodness! Of course, you’ll need a way to make espresso – whether that’s an espresso machine or even a fancy Moka pot. Lastly, grab a sturdy mason jar for all that essential shaking action and a tall glass to show off your work!
Step-by-Step Guide: How to Make Starbucks Drinks (Foolproof)
Alright, let’s get down to business! Making your favorite Starbucks drinks (Foolproof!) at home is totally doable, and honestly, it’s kinda fun. We’ll start with the star of the show – that amazing Apple Brown Sugar Syrup – and then whip up the actual shaken espresso. Trust me, you’ll feel like a pro in no time! For more tips on crafting your perfect coffee, check out this guide.
Making the Apple Brown Sugar Syrup
This syrup is the heart of our drink, so let’s get it just right. First off, grab your medium saucepan and toss in the brown sugar, water, your diced apples (skins on are great for flavor!), and that pinch of apple pie spice. Give it a good stir. Now, bring that mixture to a boil, stirring so all that sugar dissolves and gets happy. Once it’s boiling, turn the heat down to a simmer and let it bubble away for about 15 minutes. You want it to get nice and syrupy. A little tip: stir it occasionally so nothing sticks to the bottom! After 15 minutes, whisk in the vanilla extract and take it off the heat. Let it cool down for about 10-15 minutes. Once it’s not super hot anymore, it’s time to strain it. Get your fine-mesh strainer over a bowl or a jar and carefully pour the syrup through. Use the back of a spoon to gently press the apples – you want to get every last drop of that yummy syrup out! Transfer this liquid gold into an airtight jar. Make sure it cools down completely before you seal it up tight, because nobody wants a steamy jar. Pop it in the fridge, and it’ll keep for up to two weeks!
Assembling Your Shaken Espresso
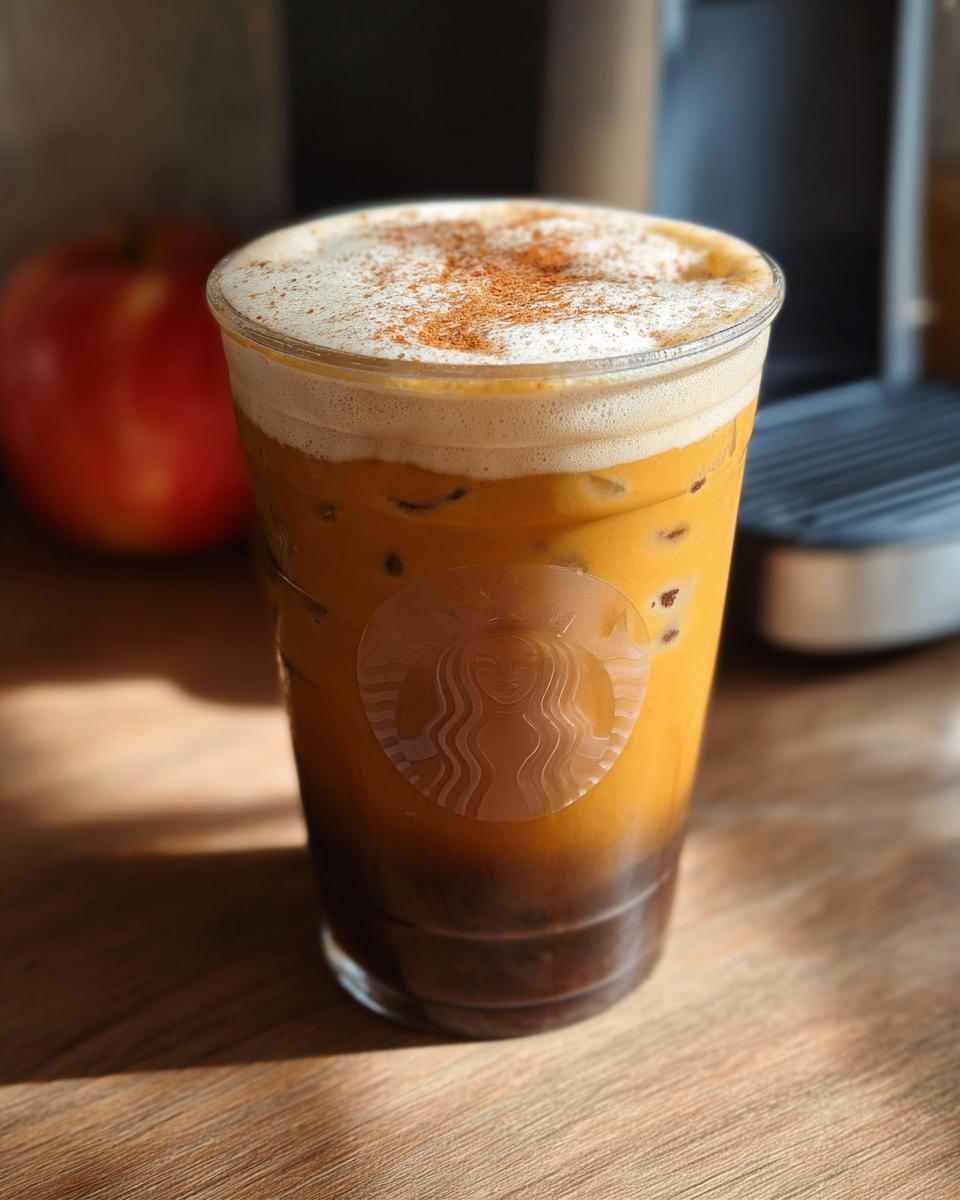
Now for the fun part – building your drink! Brew up 2-3 shots of your favorite espresso. Go for a good, strong shot – it makes a difference! While it’s still hot, pour those shots into a big mason jar. Add in 2 tablespoons of that glorious Apple Brown Sugar Syrup we just made. Don’t be shy, add more if you like it sweeter! Now, toss in a big handful of ice. Seal that mason jar up nice and tight! Here comes the action: shake it like you mean it! Give it a good, vigorous shake for at least 5 seconds. You want it to get super frothy; that’s what makes a shaken espresso so special. Once it’s all bubbly and frosty, grab yourself a tall glass. Pour the contents of the jar right into the glass, making sure to get all that icy goodness in there. Top it off with your oat milk – about 1/3 to 1/2 cup usually does the trick, but add more or less to your liking. And if you’re feeling fancy, a little dusting of cinnamon on top is just chef’s kiss! Now, sit back and enjoy your homemade masterpiece!
Tips for Foolproof Starbucks Drinks at Home
Okay, so crafting those Starbucks-worthy sips at home is totally doable, and I’ve picked up a few tricks along the way to make sure yours turn out PERFECT:
- Quality Ingredients Matter: Seriously, use the best espresso you can get your hands on, and don’t skimp on fresh apples for that syrup. It really makes a flavor explosion difference!
- Espresso Game Strong: Make sure your espresso is brewed nice and hot. The heat helps it emulsify better with the syrup when you shake it up!
- Shake it Out! Don’t be shy with the shaking! That vigorous shake is what creates all those delightful tiny bubbles, making your drink super frothy and delicious, just like you get at the cafe.
- Customize Away: This is YOUR drink! Feel free to tweak the sweetness by adding more or less syrup, or swap out the oat milk for almond, soy, or even good old dairy milk. It’s all about what makes YOU happy.
Ingredient Notes and Substitutions
Let’s chat about making this recipe suit *your* pantry and tastes! For our Apple Brown Sugar Syrup, you can totally use dark brown sugar if you want an even deeper, molasses-y flavor – it’s delicious! If oat milk isn’t your jam, no worries! Almond milk, soy milk, or even good old regular dairy milk work beautifully here. While this recipe is all about that apple-y goodness, I know sometimes you might be craving those other Starbucks vibes like a strawberry acai refresher, or maybe a peach twist with some peach juice and strawberry puree. While our syrup is specific, the general idea of making homemade flavor bases (think dragonfruit purees for refreshers!) is totally the way to go for countless copycat refresher creations at home. Just remember, fresh is often best when you’re aiming for that authentic taste!
How to Make Starbucks Drinks (Foolproof): Storage and Reheating
So you’ve got some of that magical Apple Brown Sugar Syrup left, or maybe you made a whole batch? Smart move! To keep that goodness fresh, just pop the syrup into an airtight jar and tuck it away in the fridge. It’ll keep happily for about two weeks. Now, if you happen to have any leftover *prepared* shaken espresso… well, that’s a bit trickier. Honestly, these are best enjoyed fresh! They don’t store or reheat all that well. But if you absolutely must, you could technically pour it back into a jar and give it a good shake again to froth it up, but it won’t be quite the same. For the best results when learning How to Make Starbucks Drinks (Foolproof), aim to make your drink right before you’re ready to sip!
Frequently Asked Questions
Got questions about recreating that Starbucks magic at home? I’ve totally got you covered. Making your own Starbucks drinks (Foolproof!) is all about getting those little details right, so let’s dive in:
Can I make the apple brown sugar syrup without apples?
You *can*, but honestly, the apples are what give it that authentic apple crisp flavor! Without them, it’ll just be a brown sugar syrup. If you absolutely can’t use them, you could try adding a tiny bit more apple pie spice and maybe a splash of unsweetened apple juice, but it won’t be quite the same.
What’s the best way to get a frothy shaken espresso?
The secret is in the shake! Really go for it – give that mason jar a good, vigorous shake for at least 5 seconds. You want to feel the cold of the ice hitting the sides. The more you shake, the frothier it gets, creating those lovely little bubbles!
How long does the homemade syrup last?
When you store it in a good airtight jar in the fridge, our yummy Apple Brown Sugar Syrup should stay fresh and delicious for about two weeks. So make a batch and enjoy it throughout the week!
Nutritional Information
Just a heads-up, these numbers are estimates for one Iced Apple Crisp Oatmilk Shaken Espresso, and can change depending on the exact ingredients and brands you use. So, think of it as a general guide! Roughly, you’re looking at about 250-300 calories, 10-15g fat, 2-4g protein, and 35-45g carbohydrates per drink. Pretty reasonable for a treat, right?
Share Your Creations!
Now that you’ve whipped up your own Starbucks masterpiece, I’d LOVE to hear all about it! Did you try the Iced Apple Crisp Oatmilk Shaken Espresso? Did it hit the spot? Drop a comment below, give this recipe a star rating, or tag me on social media with your delicious creations! Seeing your coffee adventures makes my day!
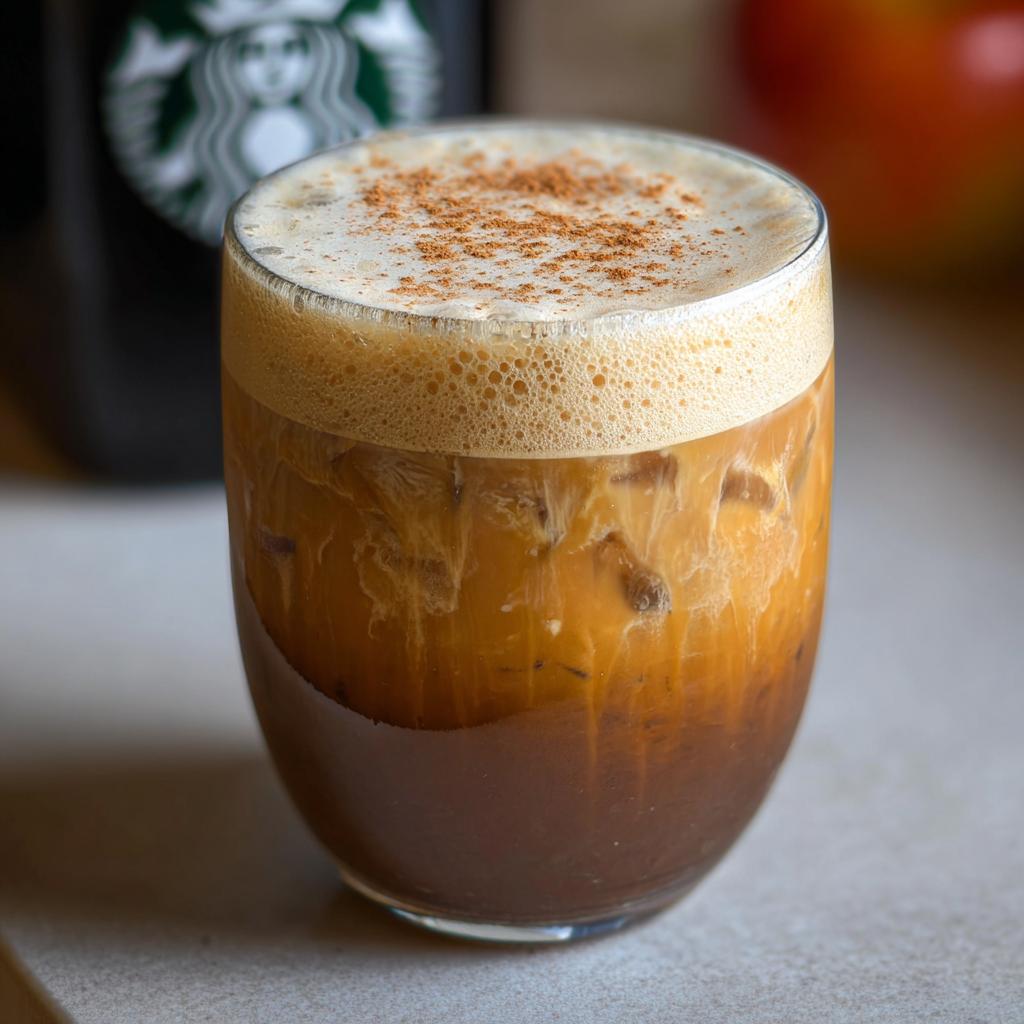
Iced Apple Crisp Oatmilk Shaken Espresso
Ingredients
Equipment
Method
- For the Apple Brown Sugar Syrup: Add brown sugar, water, diced apples, and apple pie spice to a medium saucepan.
- Bring to a boil, stirring constantly until the sugar dissolves. Lower the heat and simmer for 15 minutes, stirring occasionally.
- Remove the syrup from the heat, stir in vanilla extract, and let it cool for 10-15 minutes.
- Strain the syrup into a large jar or bowl through a fine mesh strainer. Use a spoon to press out as much syrup from the apples as possible.
- Transfer the syrup to an airtight jar and store it in the refrigerator for up to 2 weeks. Ensure the syrup cools completely before sealing.
- For the Iced Apple Crisp Oatmilk Shaken Espresso: Brew 2-3 shots of espresso and add them to a large mason jar with the apple brown sugar syrup and ice.
- Seal the jar and shake vigorously for at least 5 seconds until very frothy.
- Pour the drink into a tall glass, including the ice, and top with oat milk.
- Lightly dust the drink with cinnamon if desired and enjoy.
Notes
Tried this recipe?
Let us know how it was!
Certified Family Nutrition Strategist
My path into family nutrition began working with Phoenix Area Family Services, where I saw how traditional nutrition advice often ignored real-world constraints like budget limitations, time crunches, and kids who refuse to eat anything green. That experience sparked my mission to develop meal planning systems that work with family realities, not against them.
Over eight years, I’ve helped hundreds of families reduce grocery spending by 25% while dramatically improving their nutrition. My meal planning frameworks have been adopted by local wellness centers because they actually work for busy parents juggling different ages, preferences, and dietary needs in one household.
As a bilingual first-generation Mexican-American and mother of three, I personally navigate the daily challenge of feeding a family nutritiously while honoring cultural traditions and managing a household budget. My “kid-friendly low-carb” protocols show families how to gradually introduce healthier options without triggering mealtime battles or abandoning beloved family recipes.
My “realistic wellness” philosophy is straightforward: health improvements must work within existing family dynamics and financial realities to be truly sustainable. When I’m not developing meal planning systems, I’m creating portable trail snacks for our weekend family hiking adventures – because healthy eating should fuel the life you want to live.
My personal low-carb journey started after pregnancy as a way to regain energy for active parenting, and that experience continues to inform my professional commitment to making healthy eating feel supportive rather than burdensome for busy families.