
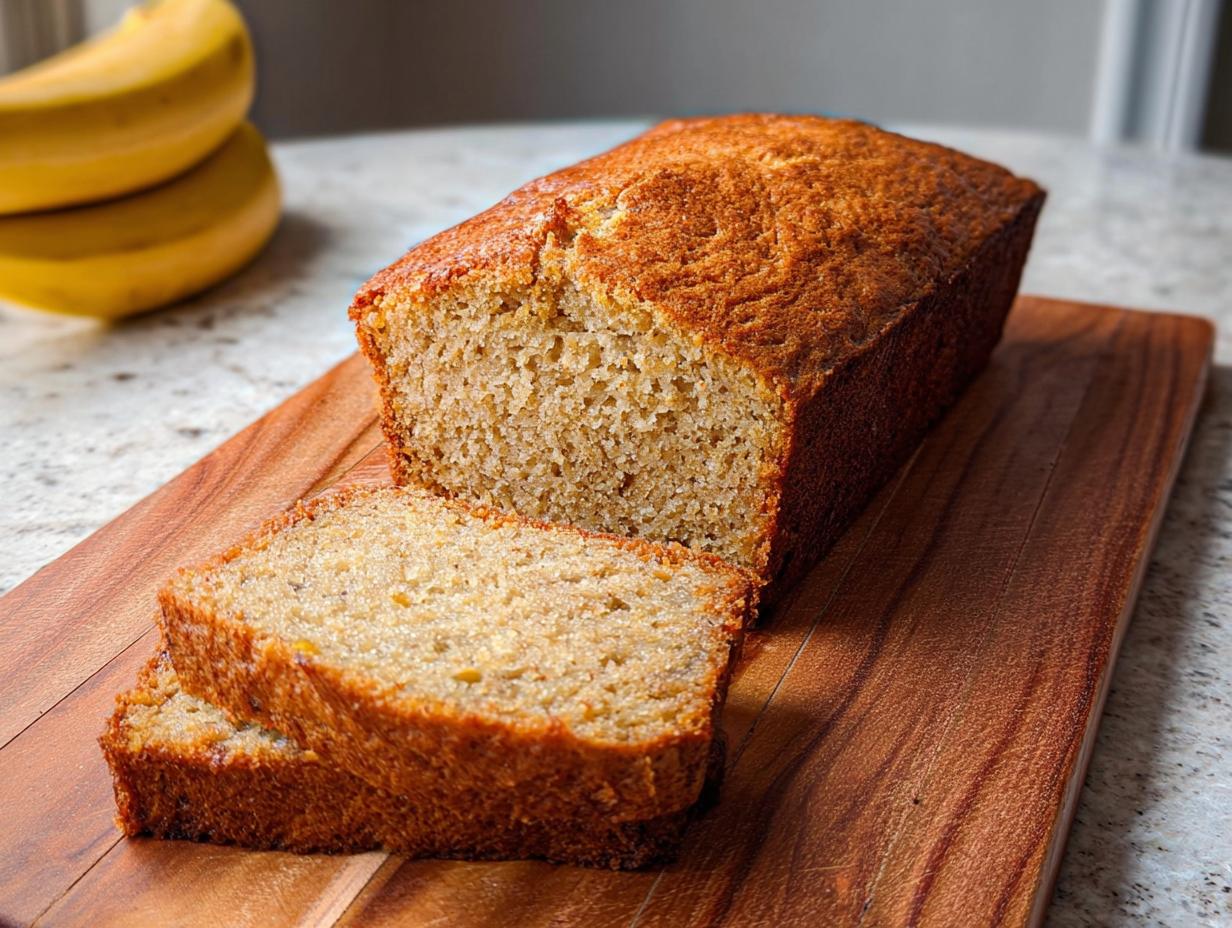
Oh, the smell of warm banana bread baking – it just *gets* you, doesn’t it? It’s pure comfort in a slice, the kind of thing that makes any day feel a little bit special. And let me tell you, my Banana Bread Recipe Everyone Asks For isn’t just any recipe; it’s the one that always gets rave reviews and requests for more. I still remember the first time I brought it to a community potluck. I was a bit nervous, but the moment those golden loaves hit the table, smiles and compliments just poured in. It really showed me how a simple recipe, made with love, can bring people together. As a Master of Culinary Visual Arts, I’ve experimented a lot, but this one? It’s a keeper, pure and simple!
Why This Banana Bread Recipe Everyone Asks For is a Must-Try
So, what makes this Banana Bread Recipe Everyone Asks For so darn special? Honestly, it’s that perfect blend of simple, comforting deliciousness that just hits the spot every single time. You know those recipes that just *work*? This is one of them!
Here’s why it’s a winner:
- It’s a Certified Crowd-Pleaser: Seriously, I’ve never met anyone who didn’t love this banana bread. It’s consistently delicious, making it your go-to for any get-together.
- Super Easy to Whip Up: Even if you’re new to baking, you can totally nail this. It’s straightforward, with no fancy steps, perfect for those busy weeknights or when you just need a quick fix.
- Incredibly Moist and Flavorful: The secret is in the ripe bananas, of course! They give it this amazing tender crumb and a naturally sweet, comforting flavor that’s just pure bliss.
- Smells Like Home: The aroma that fills your kitchen while this bakes? It’s pure magic. It’s like a warm hug, bringing back all those happy memories.
This isn’t just a recipe; it’s pure comfort baked into a loaf!
Gather Your Ingredients for the Perfect Banana Bread Recipe Everyone Asks For
Alright, let’s get our essentials ready for what I call the Banana Bread Recipe Everyone Asks For! It’s all about having the right stuff on hand, and trust me, this recipe doesn’t need anything too complicated. Just good ol’ kitchen staples!
Here’s what you’ll need to grab, and remember, using a digital scale will make things super accurate:
- 2 ripe bananas – the spottier, the better, that’s where the sweet flavor lives!
- 140g caster sugar
- 55g butter or margarine, softened (key for smooth mixing!)
- 1 large free-range egg
- 1 tsp vanilla extract – don’t skip this; it really rounds things out!
- 170g self-raising flour
- 0.5 tsp baking powder
Having these ready means you can whip up this deliciousness in no time!
Step-by-Step Guide to Making Your Banana Bread Recipe Everyone Asks For
Okay, let’s get down to business and bake this amazing Banana Bread Recipe Everyone Asks For! It really couldn’t be simpler, and before you know it, your kitchen will smell divine. You’ll need about 15 minutes of active prep time, and then it bakes for around 40 minutes. Perfect for when you need something delicious *now*!
First things first: preheat your oven to 190°C (that’s 170°C if you’ve got a fan oven, or Gas Mark 5). Grab your loaf tin – a standard 2lb one works a treat – and grease it up well, then line it with grease-proof paper. This makes sure your beautiful loaf slides right out later.
Now for the magic! In a big bowl, mash those ripe bananas with a fork until they’re nice and mushy. Throw in your sugar, softened butter or margarine, the egg, and that splash of vanilla extract. Give that a good mix until it’s all happily combined. It doesn’t have to be super smooth; a few little lumps are fine!
Next up, the dry stuff. Gradually sift in your self-raising flour and baking powder right over the wet mixture. Gently fold it all together until you can’t see any flour streaks. The key here is not to overmix! We want a tender crumb, not a tough one.
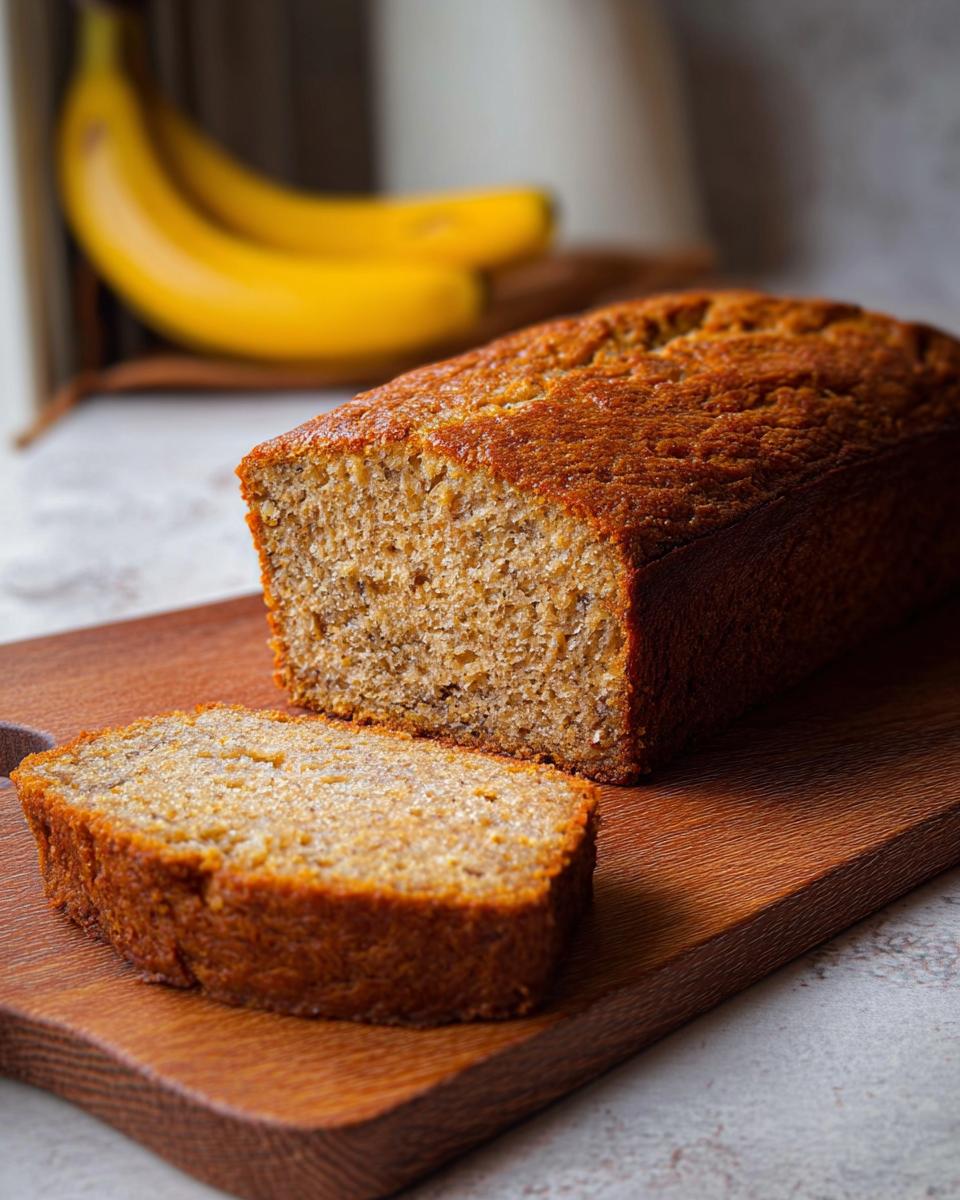
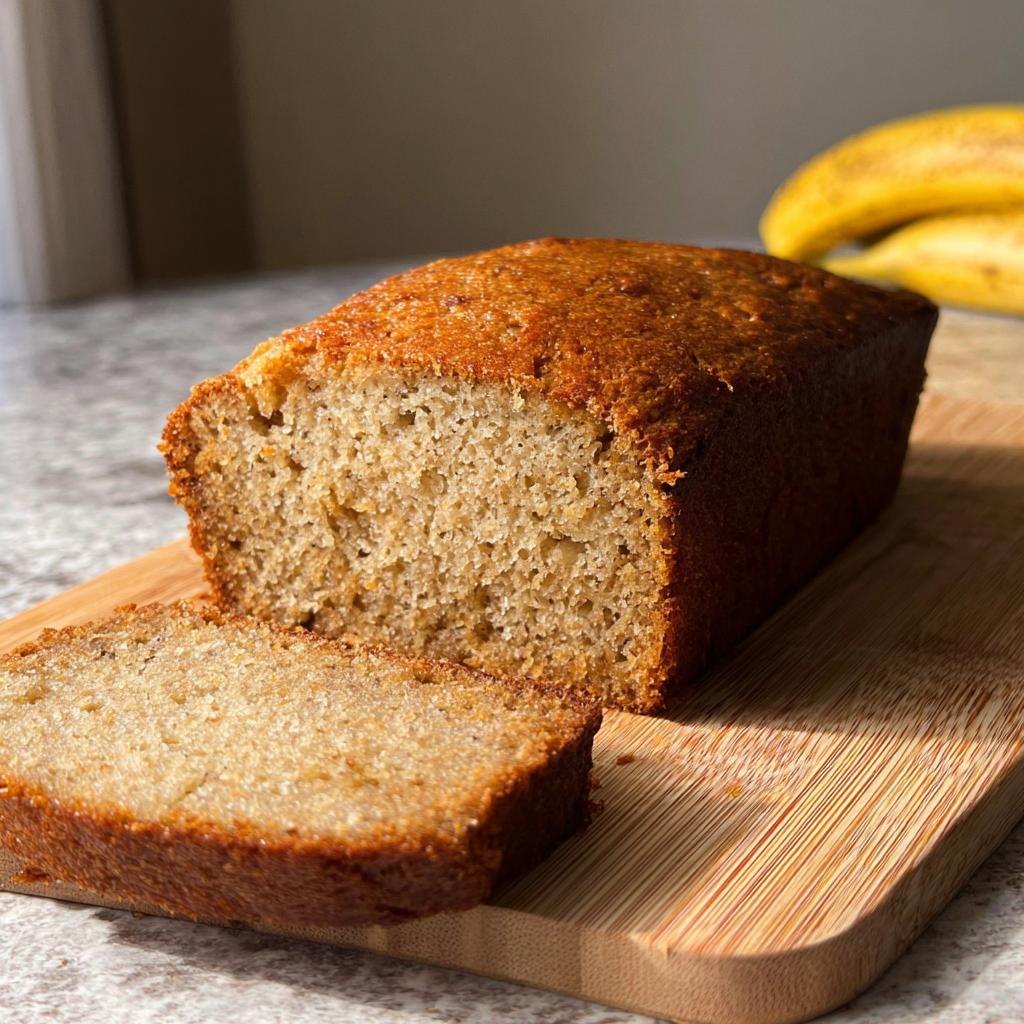
Pour all that lovely batter into your prepared loaf tin. Give the top a little smooth to make sure it’s all even. Pop it into your preheated oven and let it bake for about 40 minutes. You’re looking for a lovely golden-brown top. A little skewer or toothpick popped into the center should come out clean when it’s done.
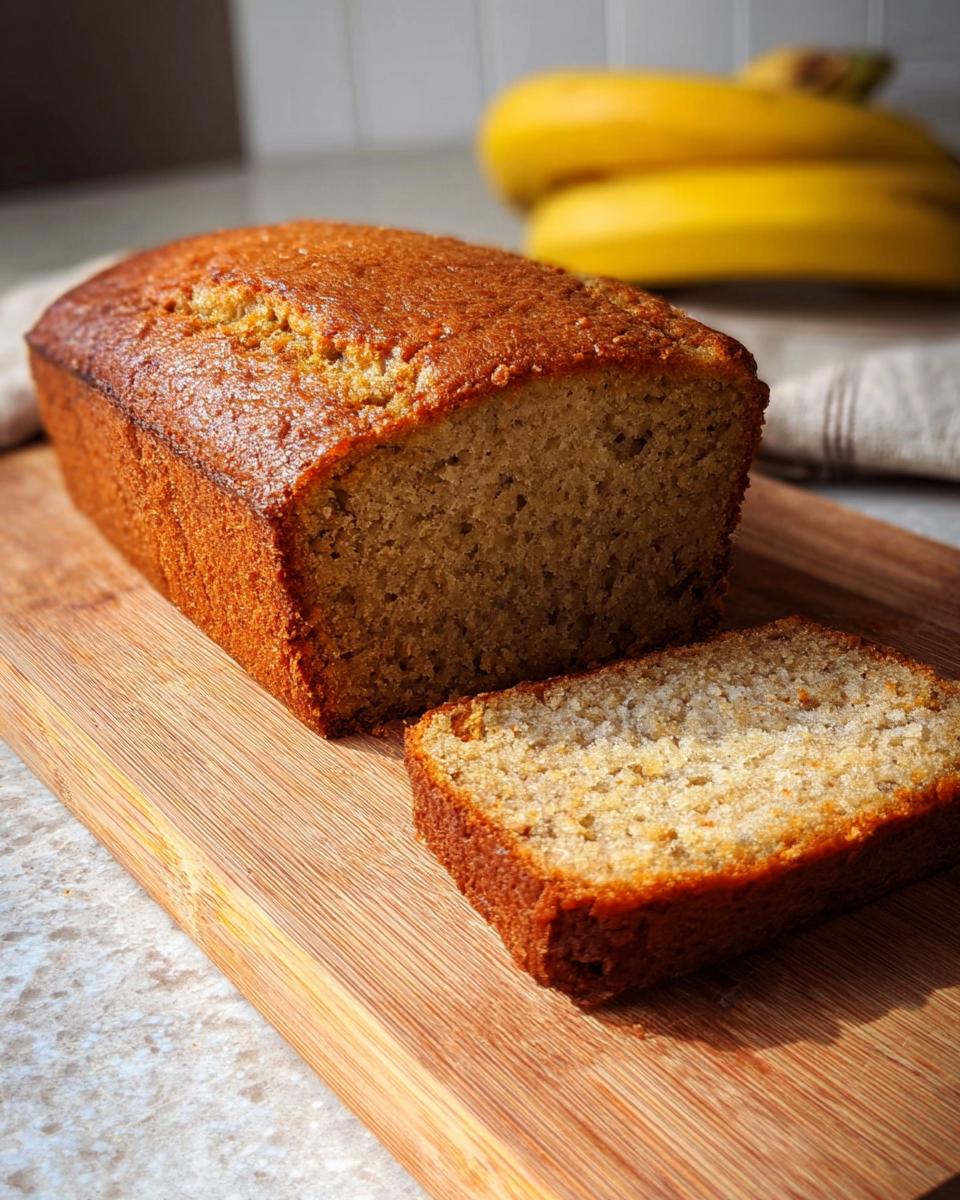
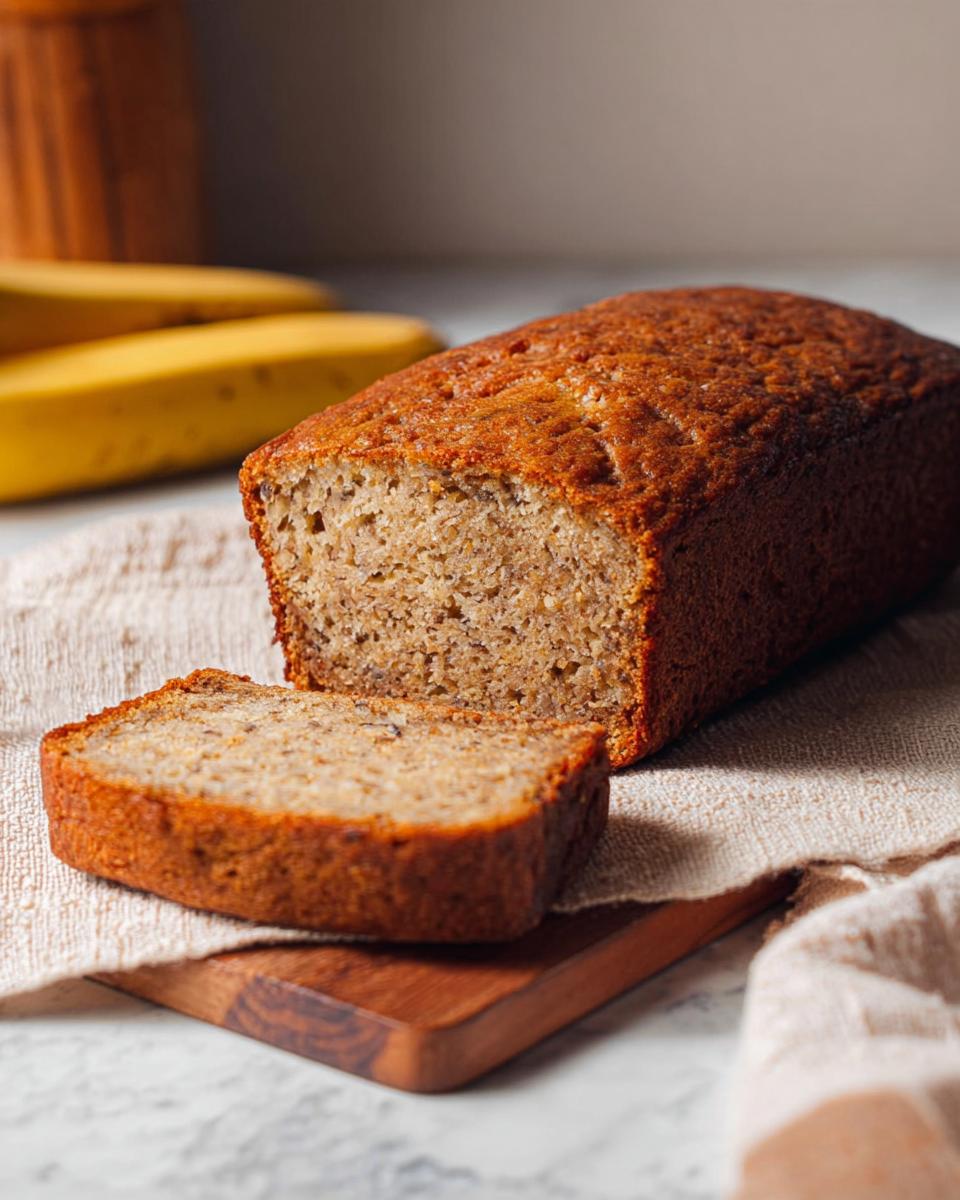
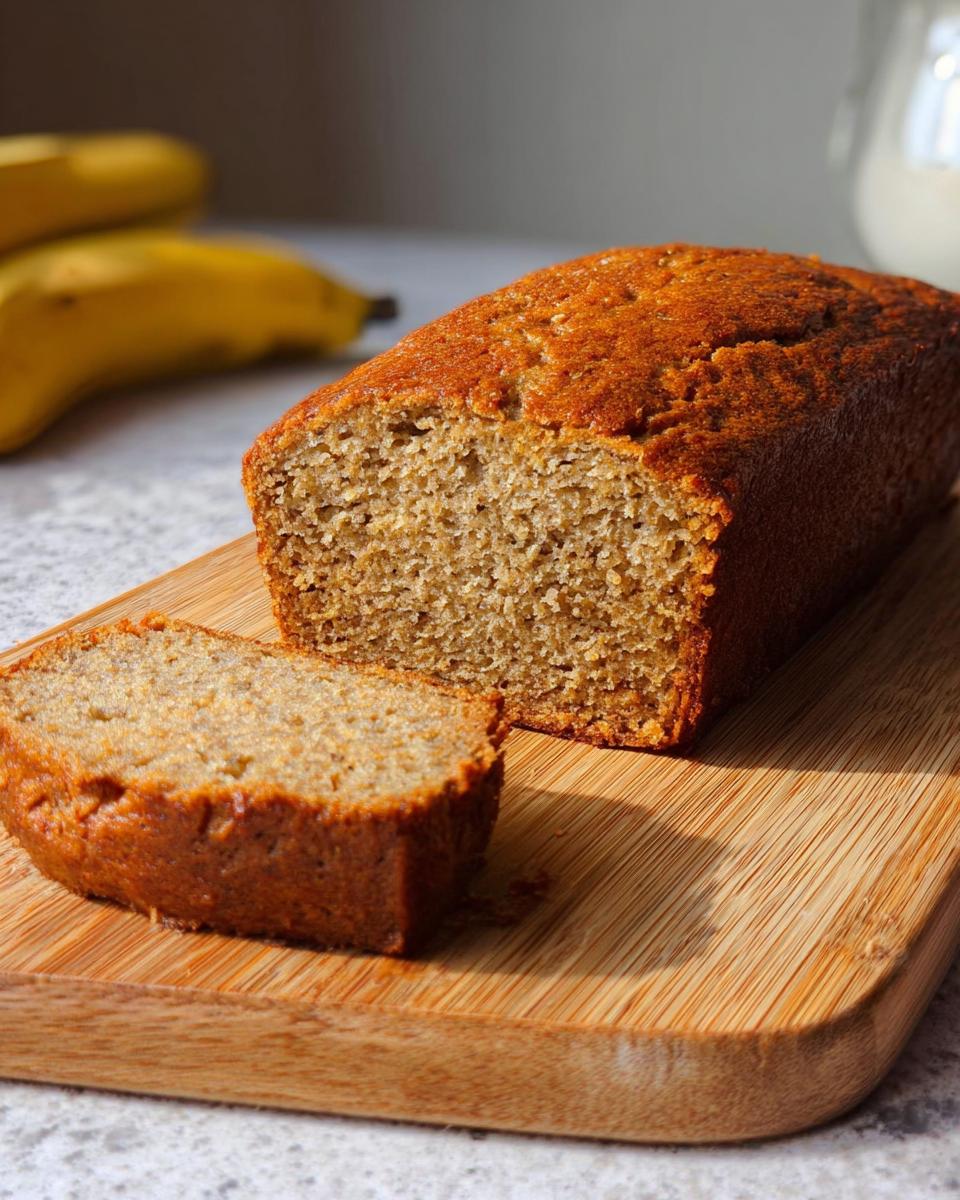
Once it’s baked to perfection, let it cool in the tin for about 10 minutes. This helps it firm up a bit. Then, carefully turn it out to cool completely on a wire rack. Patience is a virtue, but slicing into it while still a little warm is pure heaven!
For more tips and tricks, or if you’re looking for other baking inspiration, you might like to check out this banana loaf recipe.
Expert Tips for the Ultimate Banana Bread
Alright, let’s chat about how to make your Banana Bread Recipe Everyone Asks For truly spectacular. It’s not just about following the steps; it’s about a few little secrets that make all the difference, building that E-E-A-T, you know, your *own experience*!
Choosing the Best Bananas
This is honestly the biggest secret! You want bananas that are *really* ripe. I mean, the spottier and browner they are, the sweeter and more flavorful your bread will be. They mash up so much easier too. If your bananas aren’t quite there yet, you can even pop them on a baking sheet in a warm oven for a few minutes to speed things up – just watch them closely!
Don’t Overmix the Batter!
This is so important for that tender, lovely crumb. Once you add the flour, give it just enough of a mix to combine everything. Seriously, a few streaks of flour left are totally fine; they’ll disappear when you bake it. Overmixing develops the gluten too much, and that’s how you get a tough, dense loaf instead of a light, moist one. Gentle hands are key here!
Ingredient Temperature Matters
For the smoothest batter and the best lift, make sure your butter and your egg are at room temperature. Softened butter creams better with the sugar, creating those tiny air pockets that make the bread fluffy. A room-temperature egg incorporates more easily too. It really makes for a more uniform batter.
Achieving That Golden Crust
That gorgeous golden-brown top? It just screams “eat me!” For a beautiful crust, make sure your oven is fully preheated. If you notice the top is browning a little too quickly before the inside is cooked, you can always loosely tent a piece of foil over the top for the last 10-15 minutes of baking. It protects the crust while the center finishes cooking.
Ingredient Notes and Substitutions
Let’s chat about a few things in this recipe, just to make sure you get the best results possible! We keep it simple, but sometimes you need a few pointers or alternatives.
About the Butter
I usually go with real butter because, well, flavor! But if you’re out or prefer it, softened margarine works just fine. The key is making sure it’s nice and soft, not melted, so it creams up properly with the sugar. This helps make the bread tender!
Sugar Choices
Caster sugar is what the recipe calls for – those fine little grains dissolve so easily. You *can* use granulated sugar, but make sure it’s stirred in really well. Brown sugar would add a lovely caramel note, but it would change the texture a bit, too. For this recipe, caster sugar keeps it classic and light!
Why Self-Raising Flour?
This is our little helper for lift! Self-raising flour already has baking powder mixed in, so combined with the bonus baking powder in the recipe, it guarantees a nice, fluffy rise. If you only have plain flour, just add an extra 1.5 teaspoons of baking powder to your 170g of plain flour, and mix it all up really well first.
Frequently Asked Questions About This Banana Bread
Got questions about whipping up my go-to banana bread? I’ve got you covered! It’s a pretty forgiving recipe, but sometimes a little extra info helps make it absolutely perfect, whether you’re looking for a quick snack or something to impress at a gathering.
Can I use frozen bananas?
Oh yes, absolutely! Frozen bananas are actually fantastic for banana bread. Just make sure you thaw them completely and drain off any excess liquid before mashing. They tend to be even more potent in flavor and mushier, which is just what we want for this recipe!
How do I know when my banana bread is done?
It’s easy peasy! The top should be a beautiful golden brown. A really good sign it’s ready is when you gently insert a skewer or a toothpick right into the center – if it comes out clean (no wet batter clinging to it!), it’s perfect. If there’s a little moist crumb attached, that’s okay too; it just means it’s super moist!
Can I make this recipe gluten-free?
You sure can try! For a gluten-free version, you’ll want to swap out the self-raising flour for a good quality gluten-free flour blend. Make sure your blend has xanthan gum in it, or you might need to add a little bit yourself for structure. You might also need to adjust the baking powder slightly depending on your blend, but generally, it’s a pretty straightforward swap!
Estimated Nutritional Information
Now, let’s talk numbers! While every kitchen is a little different and ingredients can vary, a serving of this delightful Banana Bread Recipe Everyone Asks For is generally estimated to be around 250-300 calories. You’ll find about 10-15g of fat, maybe 4-6g of protein, and roughly 30-40g of carbohydrates. Remember, these are just tasty estimates to give you an idea – the magic is in the deliciousness itself!
Share Your Banana Bread Creations!
I absolutely LOVE seeing what you all create in your kitchens! If you’ve given this banana bread a go, or even tweaked it a bit, tell me all about it! Did it disappear in minutes? Did you add anything special? Please, share your photos and stories in the comments below – I can’t wait to hear!
Banana Bread Recipe Everyone Asks For
Ingredients
Equipment
Method
- Preheat your oven to 190°C (170°C for a fan-assisted oven or Gas Mark 5). Grease and line a 2lb loaf tin with grease-proof paper.
- In a large bowl, mash the bananas with a fork. Add the sugar, butter/margarine, egg, and vanilla extract. Mix until combined.
- Gradually sift in the flour and baking powder, mixing until all combined.
- Pour the batter into your pre-lined loaf tin and smooth into the corners.
- Bake in your pre-heated oven for 40 minutes, or until golden on top. Leave to cool in the loaf tin before serving in slices.
Notes
Tried this recipe?
Let us know how it was!
Master of Culinary Visual Arts
My culinary journey started in the fast-paced kitchens of boutique coastal restaurants throughout Southern California, where I learned that beautiful food doesn’t have to be complicated. After nine years of professional cooking, I’ve made it my mission to prove that sophisticated, nutritionally sound meals can be accessible to busy home cooks who refuse to compromise on flavor or visual appeal.
What changed everything for me was watching talented home cooks feel intimidated by healthy cooking. That’s when I transitioned to private instruction, teaching busy professionals and families how to create restaurant-quality meals using simple techniques and ingredients they can actually find at their local grocery store. My “15-minute meal” frameworks are now used by several regional cooking schools!
As a third-generation Mexican-American, I love weaving vibrant Latin flavors into low-carb creations – proving that healthy eating can be both culturally authentic and visually spectacular. My “effortless elegance” philosophy is simple: nutritious food should look as stunning as it tastes, without requiring professional chef skills or expensive equipment.
When I’m not developing recipes in my San Diego coastal kitchen, you’ll find me surfing the local breaks with my Golden Retriever mix, Mango, who’s both my kitchen companion and unofficial taste-testing assistant. My personal low-carb lifestyle started as a way to maintain energy for my active coastal life, and it’s become the foundation for proving that healthy eating enhances rather than restricts life’s pleasures.