
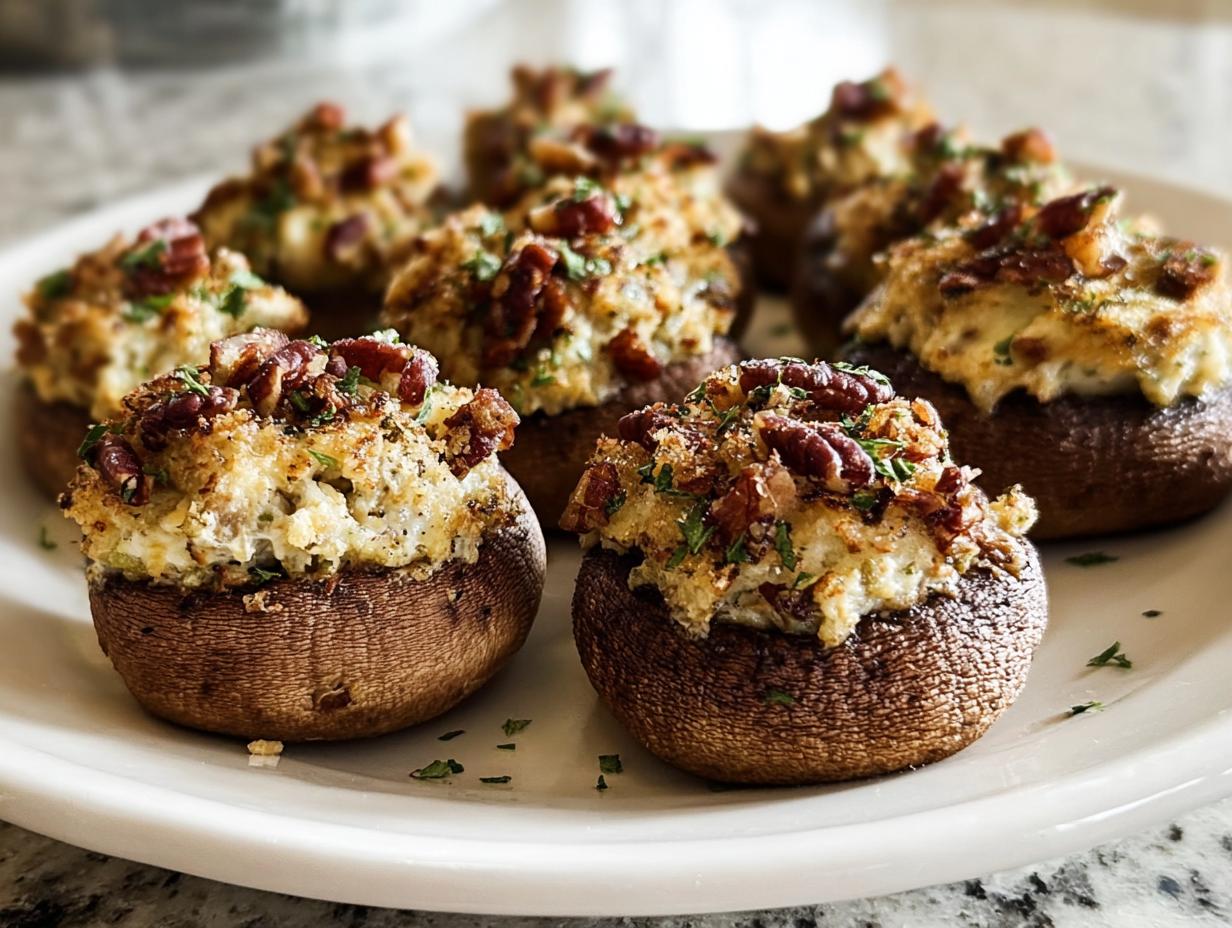
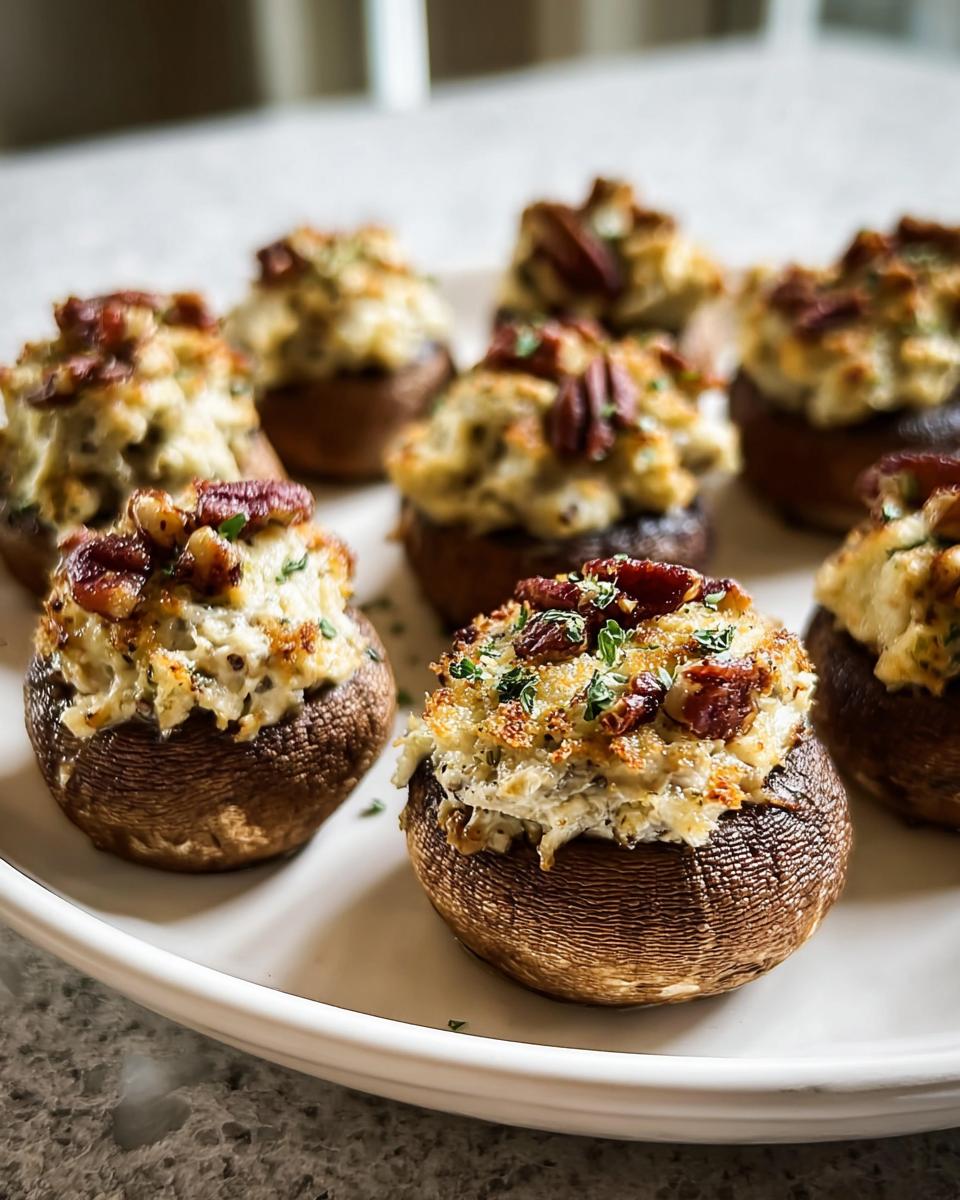
Oh, the panic of party prep! Seriously, trying to juggle appetizers, main courses, and making sure you actually get to talk to your guests can feel impossible. That’s exactly why I became obsessed with dishes that look like they took hours but actually don’t. Say hello to my absolute favorite time-saver: Stuffed Mushrooms (Make Ahead). These little flavor bombs are stunning, incredibly easy to assemble, and they let you actually enjoy your own party!
I still remember the first time I made these for a potluck at my home. I was stressing, trying to bring something beautiful but needing minimal last-minute effort. As I happily mixed that creamy filling, I could hear laughter and the clinking of glasses in the kitchen, and it felt like the perfect moment to create something special. When I pulled those golden-brown beauties from the oven, the aroma just took over the whole house, and the compliments from my friends were truly the icing on the cake. That evening solidified my love for make-ahead recipes, showing me that impressive food absolutely fits into a busy life. Trust me, these are a winner! I’m Clara Martinz, by the way—Master of Culinary Visual Arts—and these are my foolproof steps.
Why Stuffed Mushrooms (Make Ahead) Are Your Party Secret Weapon
Honestly, when I’m planning anything bigger than Tuesday night dinner, I need my appetizers to work for me, not against me! These little guys are total lifesavers because they handle the heavy lifting of prep work way ahead of time. You get all the credit, and almost none of the fuss right before guests walk in the door. Win-win!
Key Benefits of This Make Ahead Appetizer
- Zero day-of assembly stress! Just pull them out of the fridge and bake.
- That rich, creamy filling sets perfectly overnight for the best texture.
- They freeze beautifully if you get really ambitious.
- They look way fancier than the minimal effort required, trust me.
Gathering What You Need for Perfect Stuffed Mushrooms (Make Ahead)
Okay, let’s talk supplies! Getting your ingredients ready is half the battle here, especially since we want these ready to go into the fridge ahead of time. The filling is where the flavor really happens, so make sure you follow my notes on things like softening that cream cheese—it makes stirring so much easier!
Don’t skimp on prepping those mushroom stems; they hold a ton of flavor we don’t want to waste. Just dice them small when you chop them up. Once you have everything gathered, you’ll see how simple this becomes!
Ingredients for the Mushrooms and Filling
You’ll need your basics first for the mushroom caps themselves: twenty baby bell or cremini mushrooms, stems removed and chopped finely. Keep the caps clean and mostly dry.
For the incredible filling, make sure you have: two tablespoons of butter, two cloves of garlic minced, half a medium onion finely diced, and seasonings like half a teaspoon of kosher salt and a quarter teaspoon of black pepper. Then comes the magic: four ounces of cream cheese that is softened, one-third cup of grated parmesan cheese (remember to reserve one tablespoon for topping!), one-third cup of pecans that are roughly chopped (reserve one tablespoon for the top too!), and a quarter cup of fresh parsley finely chopped, with a little extra for that final garnish.
Essential Equipment for Stuffed Mushrooms (Make Ahead)
You definitely don’t need a fancy kitchen for this! We rely on three simple tools. You’ll definitely need a sturdy mixing bowl for combining that creamy filling. A skillet is required for cooking down those mushroom stems and aromatics until they release their moisture.
And finally, grab a standard baking sheet. If you want to use a wire rack on top of that sheet, great for draining any extra juices, but the main vessel for baking is just a simple sheet tray. See? Basic stuff!
Step-by-Step Guide to Preparing Stuffed Mushrooms (Make Ahead)
Alright, let’s put this magic together! The goal here is total smoothness once you combine everything. We start with a hot oven, so get that preheating going immediately to 400°F (200°C). While that’s warming up, clean your twenty mushroom caps. Remember to grab those stems, chop them up super finely, and set them aside because they are going straight into the pan!
Once everything is prepped, you’re ready to start adding flavors. If you look over the full instructions, you’ll see that we need to let the cooked mushroom mixture cool a bit before we put the cold cream cheese in—this stops everything from turning into soup! If you chill the filling right now, you buy yourself some serious time tomorrow. Check out the full flow below, or hop over to see how others are making theirs look amazing right here.
Preparing the Mushrooms and Sautéing Aromatics
First thing: preheat that oven to 400°F (200°C) and make sure your baking sheet is lightly greased. Remember those chopped stems? Melt the butter in your skillet over medium heat and cook those stems for about five minutes until they dry out a little. Then toss in your minced garlic, diced onion, salt, and pepper. Cook until the onion gets soft—just a minute or two more!
Now, here’s the important transfer: move that cooked mushroom mix to a mixing bowl and let it chill down for a few minutes. We can’t have mushy cheese, so let the heat dissipate before we add the dairy!
Mixing the Cream Cheese Filling
Once that sauté is cool enough to handle, it’s time to build the flavor base! Add your softened cream cheese, most of your parmesan, most of your pecans, and all that fresh parsley right into the bowl. Stir, stir, stir until it’s completely mixed and gorgeous. I mean, you want that filling to be uniform!
Quick pause! This is critical for the topping: make sure you save one tablespoon of that parmesan and one tablespoon of those chopped pecans. We’re going to use these reserved beauties to create that perfect golden crust later on. Don’t forget to save them!
Stuffing, Topping, and Baking to Perfection
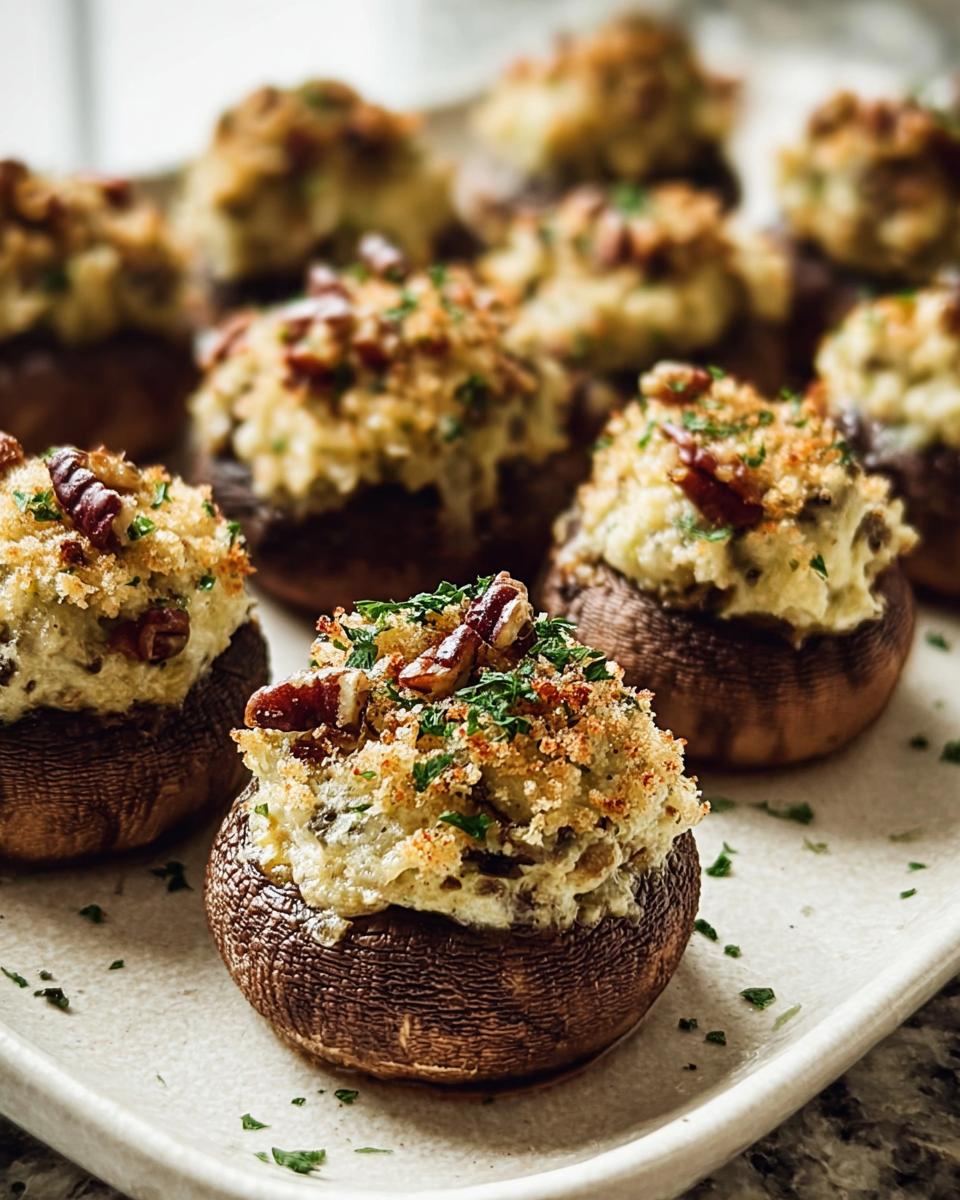
Take big spoonfuls of your amazing cream cheese filling and gently spoon it into the mushroom caps. Don’t be shy, but don’t overstuff them so much that the filling spills over onto the baking sheet—it tends to burn there! Fill them until they look nice and heaping.
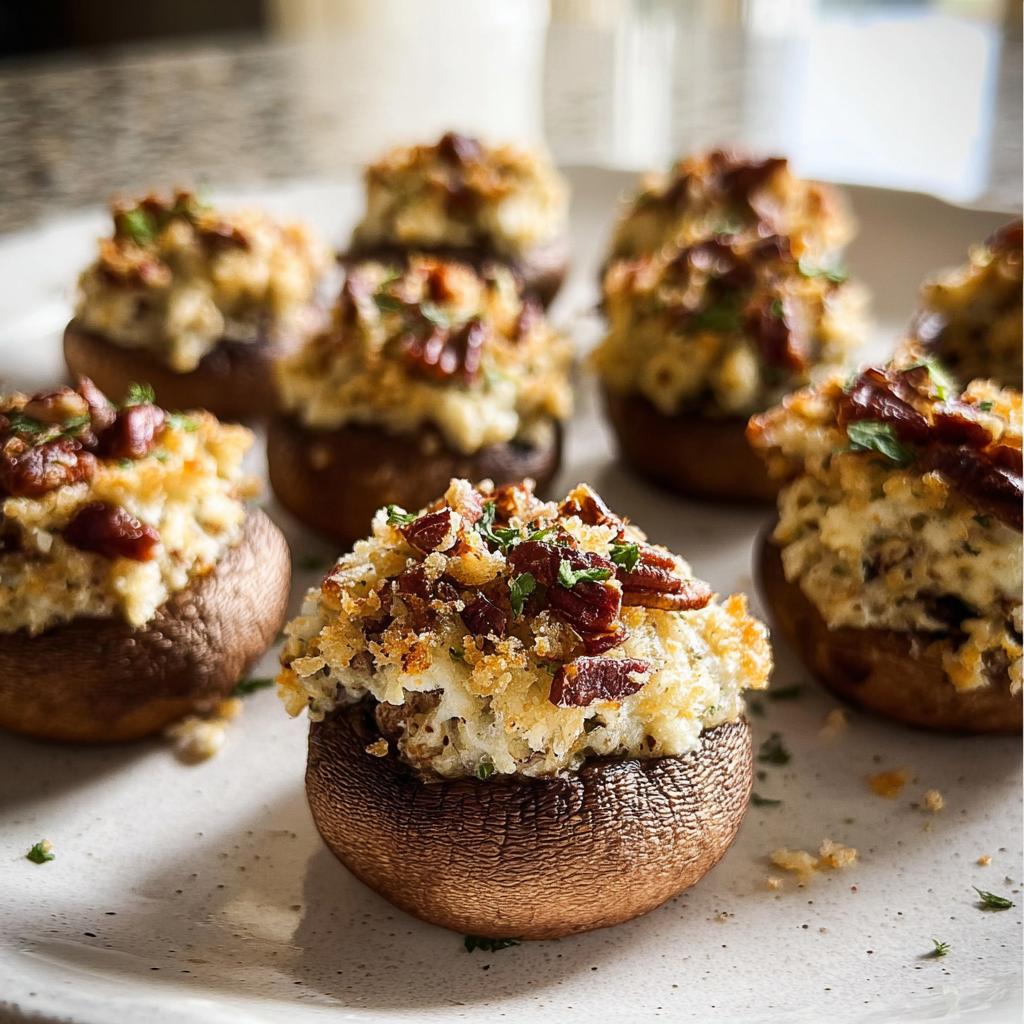
Now, take those reserved parmesan and pecan bits and sprinkle them evenly over the top of every single cap. They add that beautiful crunch we love. Bake them for about 20 to 25 minutes. You are looking for a perfectly golden top and slightly softened mushrooms. A final sprinkle of fresh parsley when they come out, and wow—you did it!
Expert Tips for Perfect Stuffed Mushrooms (Make Ahead)
Listen, the recipe is great, but these little insider tricks are what turn them from good party snacks into the dish everyone asks about next year. My biggest advice revolves around texture and getting the most flavor out of every single bite. Don’t worry if you are missing one or two ingredients; we can pivot!
Ingredient Notes and Smart Substitutions
First off, please make sure that cream cheese is actually softened! If it’s cold, it fights you the whole time and you end up over-mixing the whole batch trying to get it smooth. That ruins the light texture.
If you want more punch, definitely consider adding some chopped sundried tomatoes or even a few crispy, crumbled bacon bits to the filling mix—they pair beautifully with the cream cheese. Or, if you have fresh herbs hanging around, throw in some thyme or rosemary; it just elevates the whole thing!
Tips to Prevent Soggy Stuffed Mushrooms
We hate soggy bottoms, right? Mushrooms release a surprising amount of water when they bake, and we want them golden, not swimming in juice. My main trick is using a wire rack right on top of the baking sheet. It lets all that extra liquid drain away while they bake.
If you’re prepping these way ahead, chilling the filling before you even pipe it into the caps actually helps the cheese firm up, which also reduces the risk of spillage and sogginess during those initial minutes in the oven. It’s a small effort for a massive payoff!
Mastering the Make Ahead Assembly for Stuffed Mushrooms
This is the part that saves your sanity on party day! When I say these are the best Stuffed Mushrooms (Make Ahead), I mean it because you don’t have to touch them again until it’s time to bake. You can totally assemble these puppies up to 12 hours ahead of time—that’s a full day of freedom!
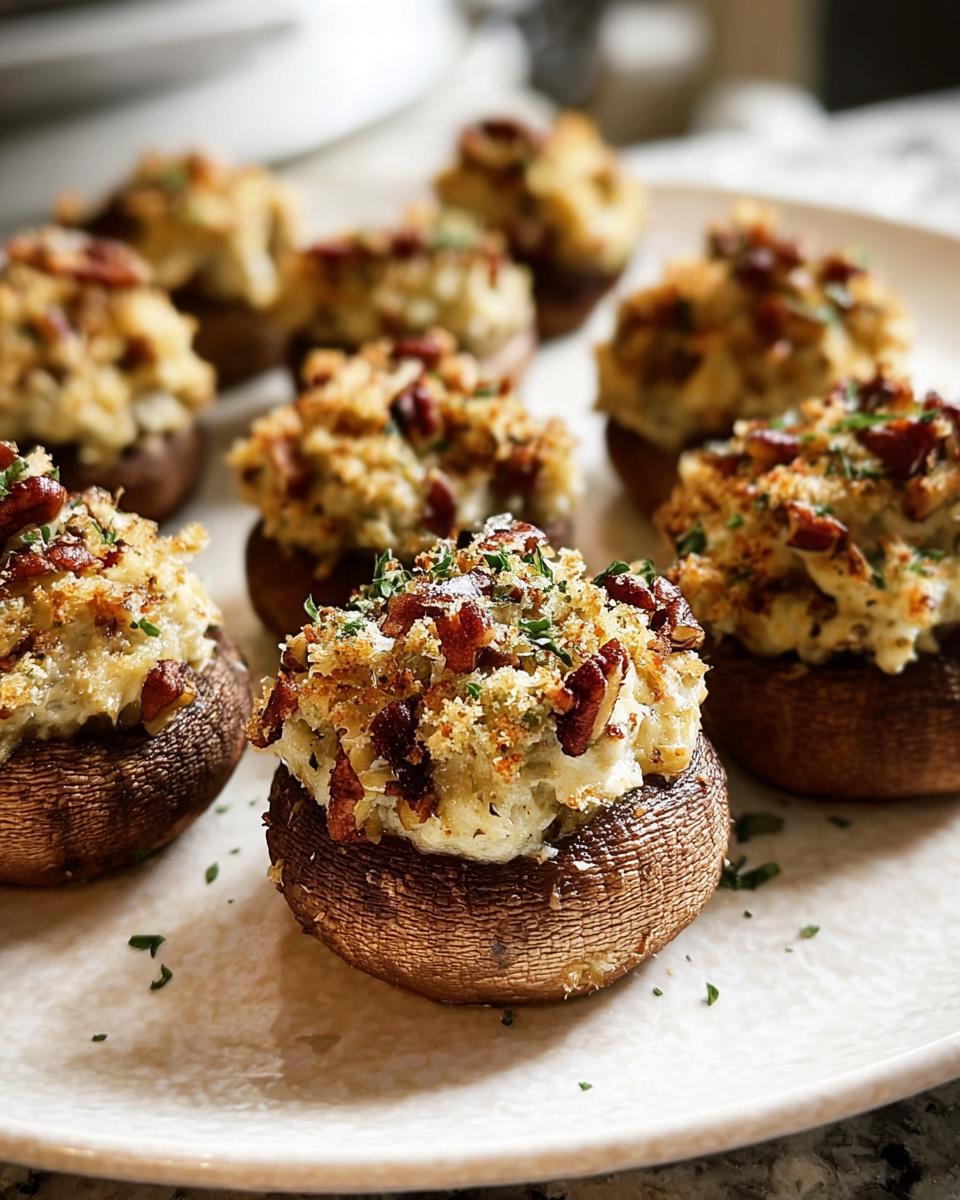
Here’s the drill: Fill your mushroom caps, sprinkle on that reserved parmesan and pecan topping, cover the whole tray tightly with plastic wrap, and tuck them gently into the refrigerator. They need to stay cold and covered. They are perfect party tray material because, when you pull them out the next day, they look freshly made but you haven’t lifted a finger all afternoon!
Storage and Reheating Instructions for Your Stuffed Mushrooms
So, let’s talk about what happens *after* the party, or maybe what happens the day *before* the party! We covered making them ahead of time earlier, but if you have leftovers, or if you prepared them ahead and they are sitting cold in the fridge waiting for the oven, you need the right technique.
If you are reheating already baked leftovers, you have to be gentle. Microwaving them is actually okay if you are in a real pinch, but honestly, they lose that beautiful crispy topping so quickly. I much prefer the oven route. Put your cooled, leftover stuffed mushrooms on a baking sheet and pop them into a 350°F oven. Give them about 8 to 10 minutes, just until they are heated all the way through.
Now, if you assembled them ahead of time—meaning they are raw but fully stuffed and ready to go—and you are pulling them straight from the fridge to bake them immediately (which is totally fine!), you must remember to add a little extra time to the baking. We mentioned 20 to 25 minutes earlier, but when they start out cold, plan on needing closer to 28 to 30 minutes to ensure that cream cheese filling is hot all the way to the center. Watch that tops turn golden for the best visual cue!
Serving Suggestions for Your Party Tray
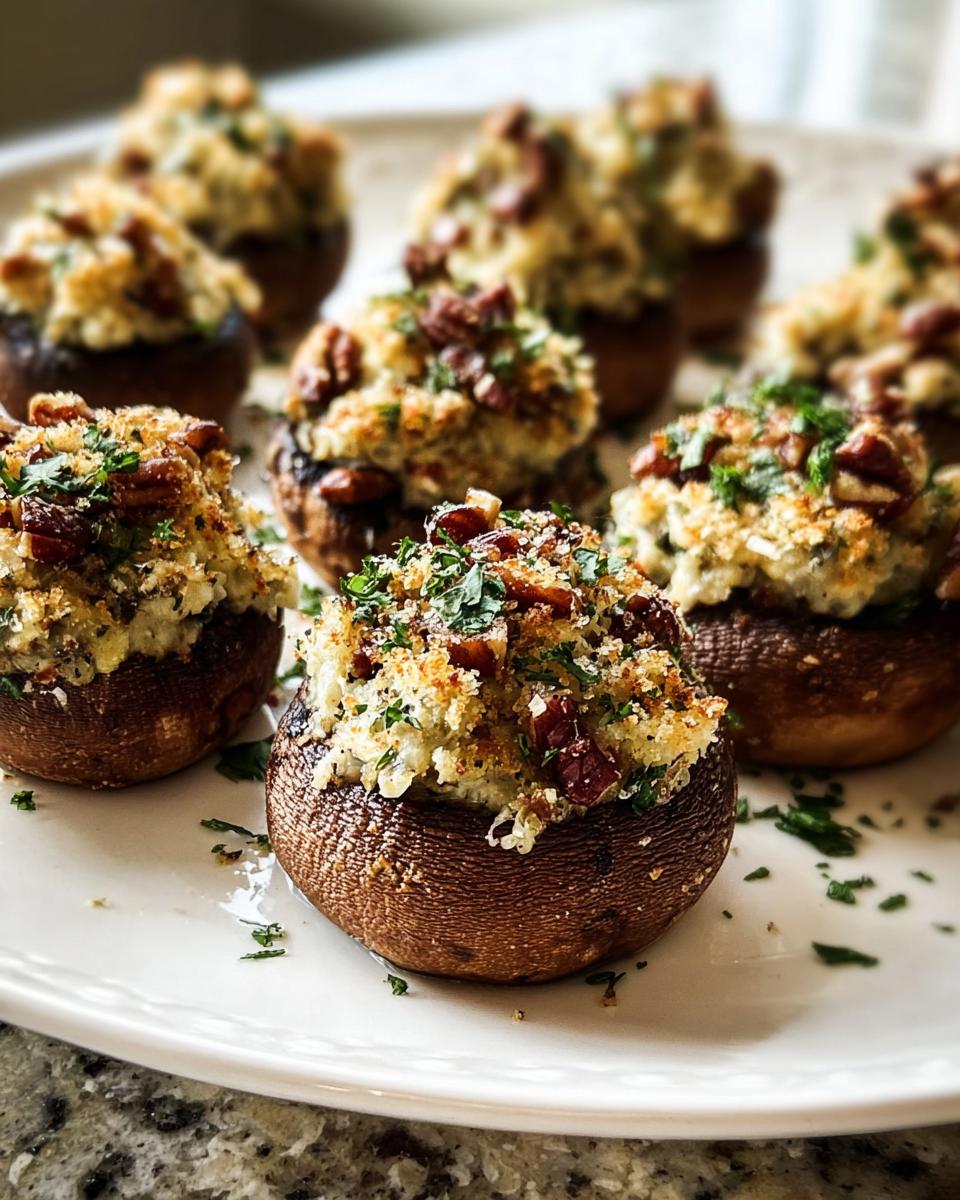
These gorgeous morsels are practically begging to be the star of your next appetizer spread! When you arrange your magnificent Party Tray, give the mushrooms their own special spot. They look fantastic nestled around a small bowl of bright, herbaceous green goddess dip—that cool creaminess is wonderful against the warm, savory filling.
I love pairing them with something crunchy, like some salty Marcona almonds or simple, crisp water crackers. If you’re serving wine, a crisp, unoaked Chardonnay or even a dry Rosé is just perfect for cutting through that rich cream cheese. They are designed to impress!
Frequently Asked Questions About Stuffed Mushrooms (Make Ahead)
I get so many questions about these, which just proves everyone loves a good versatile, Make Ahead Appetizer! You know how it is—when something works this well, you want to know all the little loopholes and exceptions. I’ve gathered the most common ones right here so you can feel confident prepping your tray early.
Can I use different types of mushrooms for this recipe?
You certainly can tinker, but I really, really love using baby bella or cremini mushrooms for this recipe. They are just the perfect size—not too huge that they take forever to bake, and not too tiny that you feel like you need a tweezer to stuff them! White button mushrooms work in a pinch, but they tend to release more water than our friend the cremini. Stick to 20 good-sized caps, and you’ll be golden!
How long can I store the unbaked Stuffed Mushrooms (Make Ahead)?
This is the key selling point, isn’t it? You can absolutely prepare these bad boys completely—stuffing them, topping them, everything—and store them covered tightly in the refrigerator for up to 12 hours. That makes prep on Saturday morning a total breeze if you’re hosting a party Saturday night! They bake straight from the fridge, just budget an extra few minutes for oven time.
And what if you don’t have those pecans? Don’t fret! You can swap them out for toasted breadcrumbs or even finely chopped walnuts for crunch. The goal is texture, not sticking rigidly to one nut choice!
Nutritional Snapshot of These Stuffed Mushrooms
Now, I always tell folks not to worry too much about calories when you’re serving up appetizers—they’re rarely the main event! But, since you asked, I always calculate these things up just in case someone wants to know. Remember, because we are dealing with 20 mushrooms here, these numbers are just estimates based on the ingredients listed in the recipe. They can change wildly depending on how much butter sneaks into your skillet!
These Mushroom Caps are surprisingly satisfying for how small they are, mostly thanks to that rich Cream Cheese Filling. Here’s a quick look at the averages per mushroom, assuming we use all the butter and cheese listed:
- Calories: Roughly 168 per mushroom. See? Not bad for something so delicious!
- Fat: Because of that gorgeous cheese and butter, we land around 16g of fat.
- Protein: You get about 4g of protein, which helps keep everyone satisfied.
- Carbohydrates: Very low carb, sitting right around 5g per piece.
If you wanted to lower the fat content, you could always swap out half the cream cheese for Neufchâtel cheese, but honestly, I find that sacrifices too much of that decadent texture we worked so hard to achieve in the Make Ahead Appetizer process. Enjoy them!
Share Your Experience Making This Make Ahead Appetizer
I absolutely love hearing from you all when you try out one of my go-to recipes, especially the ones that save you major headaches on event days! Seeing your beautiful creations makes all my testing worth it. Did these Stuffed Mushrooms (Make Ahead) save your evening?
Don’t be shy! If you made this recipe, please pop down to the comments section below and leave me a rating. Was the baking time just right for your oven? Did you add any fun ingredients like those bacon bits I mentioned?
And if you snapped a picture of your finished Party Tray looking all golden and perfect, please tag me on social media! I always scroll through and cheer you on. Seeing your success with these make-ahead dishes is seriously the best reward. Happy cooking, friends, and thanks for trusting me with your party planning!
Stuffed Mushrooms (Make Ahead)
Ingredients
Equipment
Method
- Preheat oven to 400°F (200°C). Grease a baking sheet with a little olive oil. Remove the stems from the mushrooms, finely chop them, and set aside.
- Melt the butter in a medium skillet over medium heat. Add the chopped mushroom stems and cook for 5 minutes, or until most of the moisture is gone. Add the onion, garlic, salt, and pepper, and cook for another 1 to 2 minutes, until the onion has softened. Transfer the mushroom mixture to a mixing bowl, and let it cool slightly.
- To the mixing bowl, add the cream cheese, parmesan (reserve 1 tablespoon), parsley, and pecans (reserve 1 tablespoon). Stir until well combined.
- Fill mushroom caps with the cheese filling, and evenly sprinkle the tops with the reserved parmesan and chopped pecans.
- Bake for 20 to 25 minutes, or until the top is golden and the mushrooms are slightly soft. Garnish with extra parsley to serve.
Nutrition
Notes
Tried this recipe?
Let us know how it was!
Master of Culinary Visual Arts
My culinary journey started in the fast-paced kitchens of boutique coastal restaurants throughout Southern California, where I learned that beautiful food doesn’t have to be complicated. After nine years of professional cooking, I’ve made it my mission to prove that sophisticated, nutritionally sound meals can be accessible to busy home cooks who refuse to compromise on flavor or visual appeal.
What changed everything for me was watching talented home cooks feel intimidated by healthy cooking. That’s when I transitioned to private instruction, teaching busy professionals and families how to create restaurant-quality meals using simple techniques and ingredients they can actually find at their local grocery store. My “15-minute meal” frameworks are now used by several regional cooking schools!
As a third-generation Mexican-American, I love weaving vibrant Latin flavors into low-carb creations – proving that healthy eating can be both culturally authentic and visually spectacular. My “effortless elegance” philosophy is simple: nutritious food should look as stunning as it tastes, without requiring professional chef skills or expensive equipment.
When I’m not developing recipes in my San Diego coastal kitchen, you’ll find me surfing the local breaks with my Golden Retriever mix, Mango, who’s both my kitchen companion and unofficial taste-testing assistant. My personal low-carb lifestyle started as a way to maintain energy for my active coastal life, and it’s become the foundation for proving that healthy eating enhances rather than restricts life’s pleasures.