
Oh, the holidays wouldn’t be the holidays without that wonderful, snowy sight on the cooling rack! If you’re like me, you dream of that perfect bite that melts in your mouth, and that’s why we have to talk about the ultimate decadent treat: our magnificent Chocolate Crinkle Cookies. I vividly remember the first time I baked these with my grandmother during Christmas—we laughed so hard rolling that dark dough and getting completely covered in powdered sugar! She always perfected that crackly, white shell over a gorgeously fudgy center, which is exactly what we’re achieving here. My name is Clara Martinz, and as a Master of Culinary Visual Arts, I promise this recipe delivers that classic, show-stopping cookie every single time. Trust me, these are simply the best!
Why You Will Love These Chocolate Crinkle Cookies
Honestly, these aren’t just cookies; they are little pieces of edible art that taste like pure indulgence! You are getting a recipe that consistently knocks it out of the park, every time a batch comes out of the oven. They look amazing on any Party Tray, but they taste even better.
- They are the quintessential Classic Cookie—a stunning visual matched with incredible flavor.
- Perfect for making ahead because the flavor seems to deepen overnight!
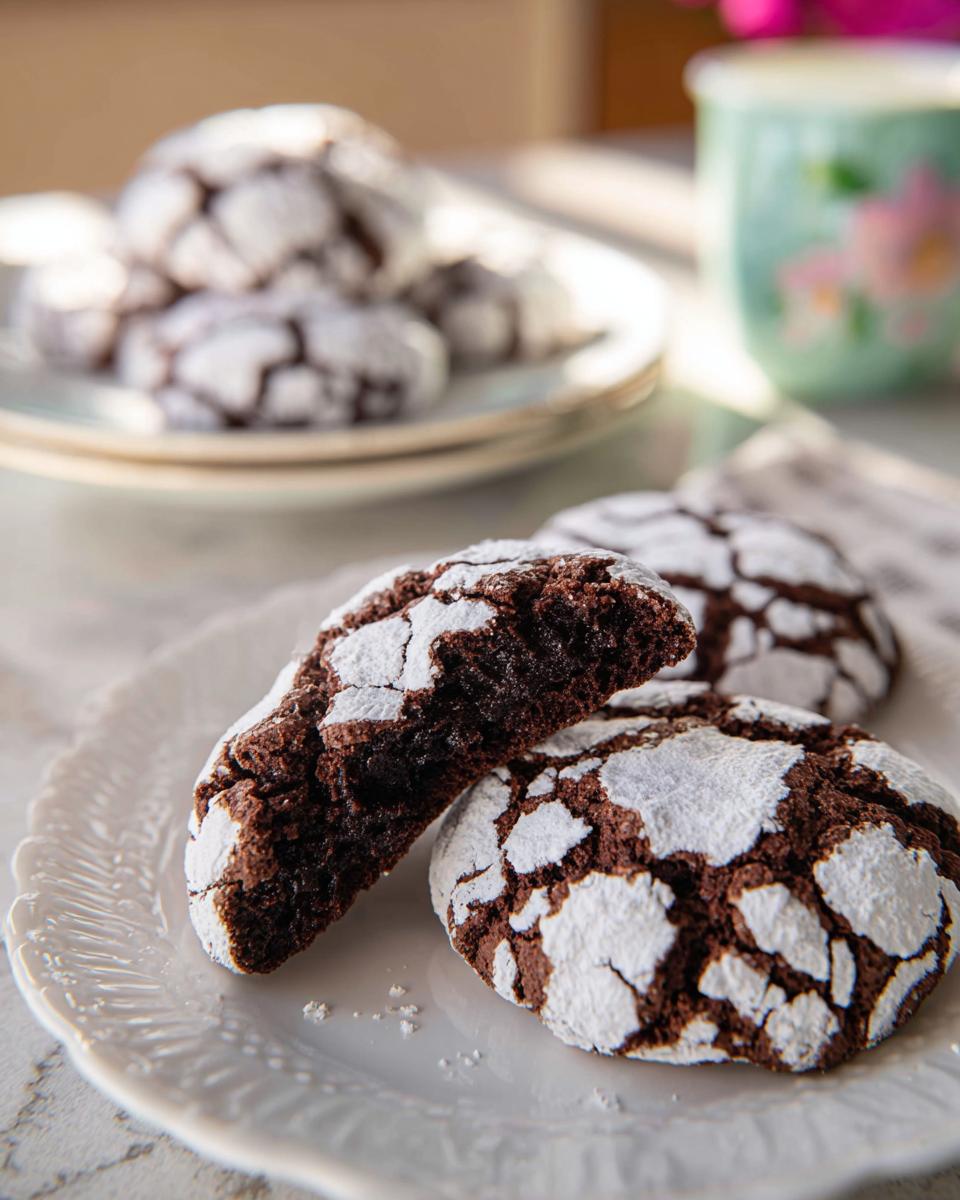
Perfect Texture: Fudgy Centers Guaranteed
The secret sauce here, achieved through that chilling time we discussed, is the interior. I’m talking rich, dense, and unbelievably moist. They bake just long enough for the edges to set beautifully while keeping that gooey, fudgy center intact. Don’t you dare overbake these!
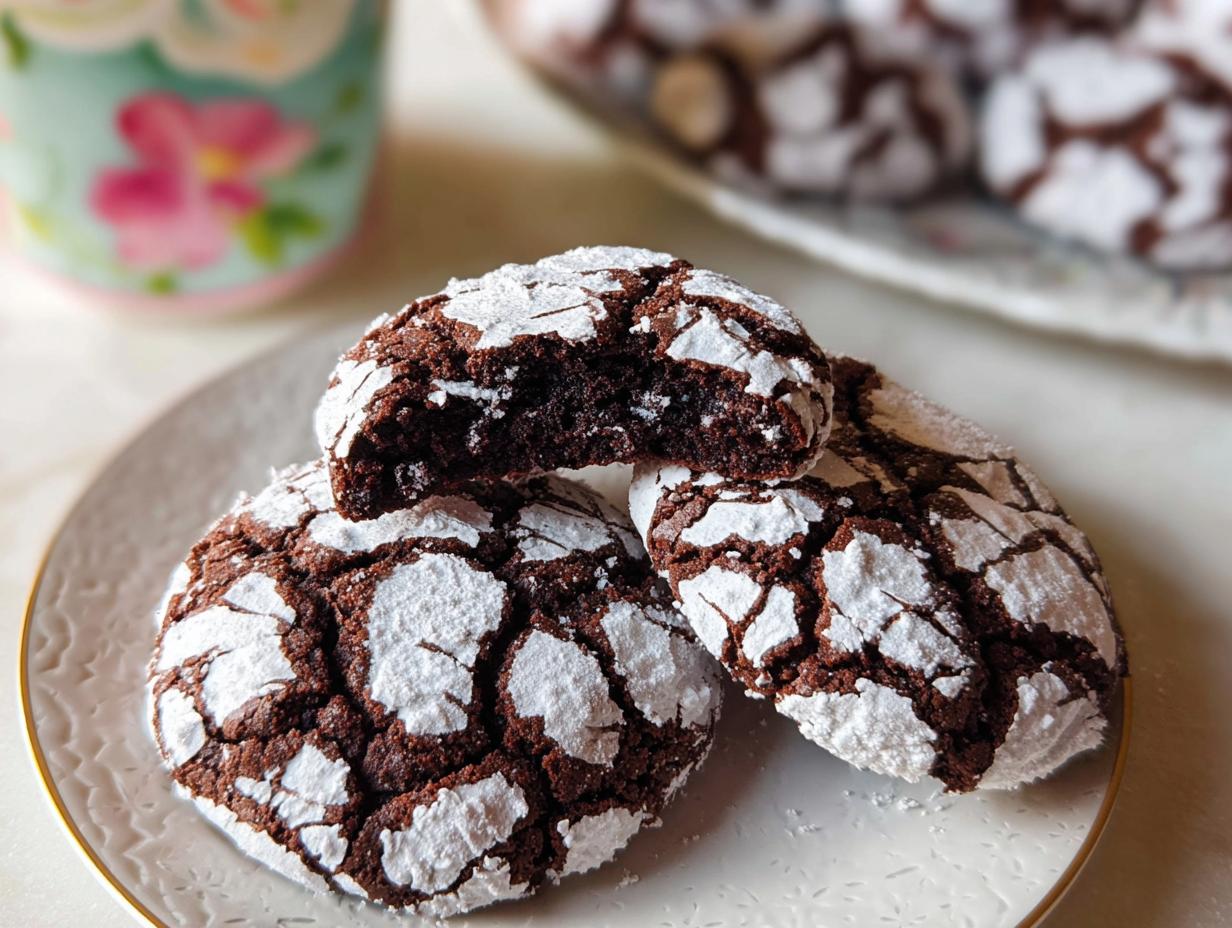
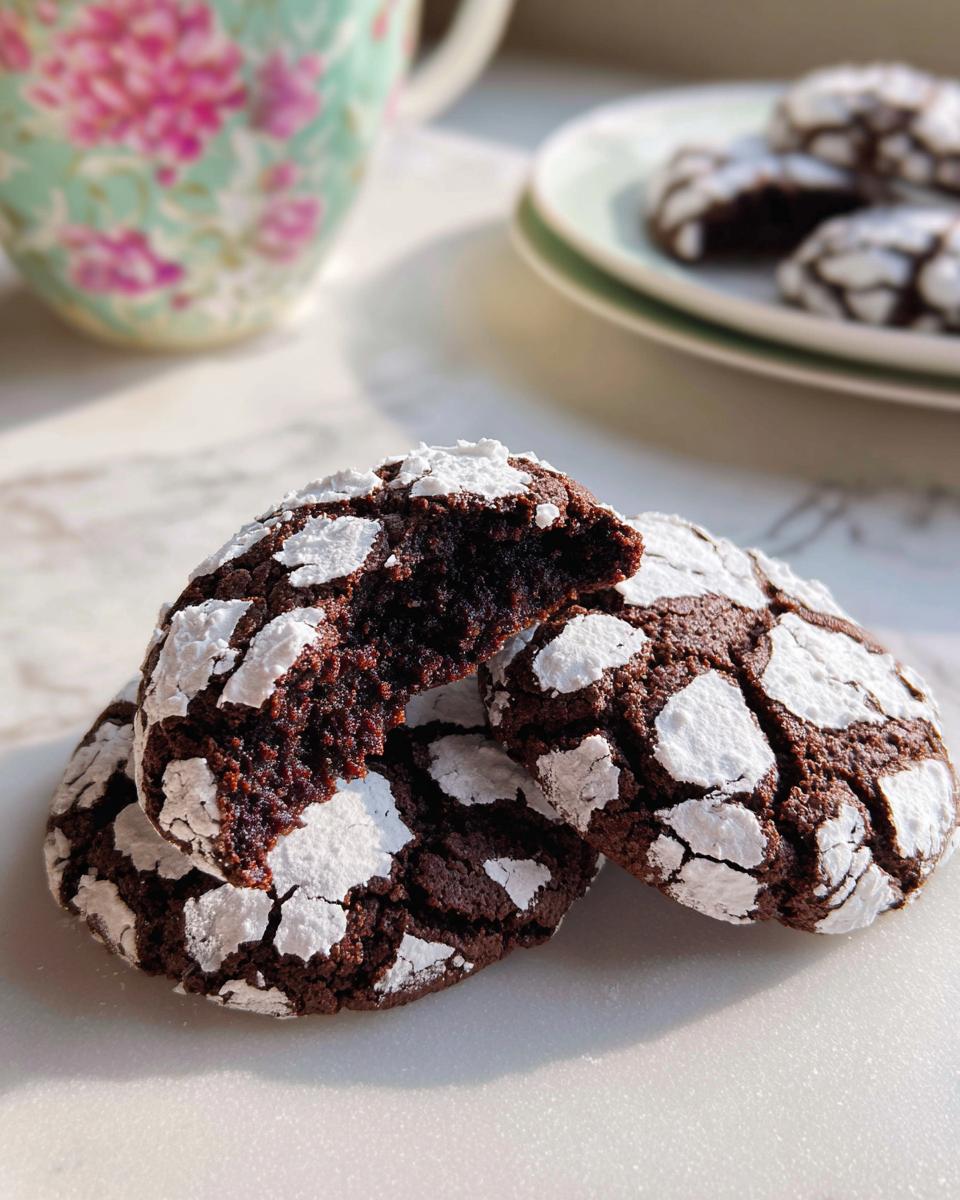
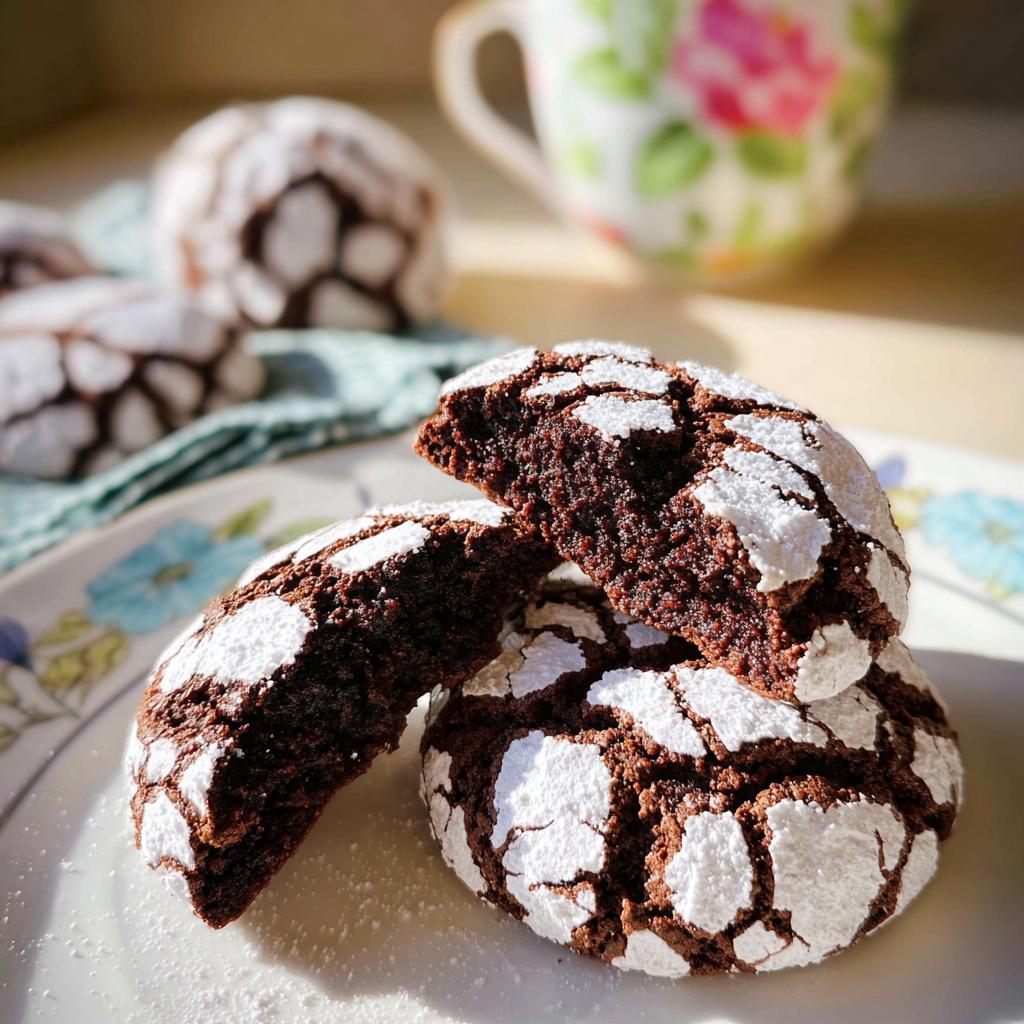
Visually Stunning Chocolate Crinkle Cookies
When you pull these from the oven, the dark, rich chocolate dough erupts through that thick blanket of snowy Powdered Sugar. The contrast is just breathtaking. They look complicated, but trust me, that magnificent crinkle happens naturally when you chill the dough right.
Essential Equipment for Perfect Chocolate Crinkle Cookies
Before we even think about mixing wet and dry, let’s make sure your kitchen is ready! Having the right tools makes this process so much smoother, especially when dealing with sticky dough. You don’t need fancy gadgets, but having these staples on hand will save you a headache later on.
Here is what you need to gather from your drawers:
- A large mixing bowl for that initial chocolate base.
- Your hand mixer or stand mixer—it makes combining that sugar and oil super quick.
- A medium bowl for mixing the dry stuff (flour, baking powder, salt).
- Plastic wrap because chilling is non-negotiable!
- Baking sheets lined with parchment paper—seriously, don’t skip the parchment.
- A small bowl just for holding all that glorious Powdered Sugar.
- A small ice cream scoop or a tablespoon to keep your cookie balls uniform.
Gathering Ingredients for Your Chocolate Crinkle Cookies
Okay, before we jump into the fun part of mixing, let’s get our ingredients ready. Because this dough comes together quickly, having everything measured out—or “mise en place,” as they say in the fancy kitchens—is going to be your best friend! Trust me, dealing with sticky dough is much easier when you’re not frantically searching for the baking powder.
We are dividing our list into two critical groups: the dough maker-uppers and the sugar-coaters. Also, a little tip from me: make absolutely sure those four large eggs are at room temperature. This helps them blend seamlessly with the oil and sugar, giving you that beautiful, non-curdled batter we need for a perfect texture later on. Grab your measuring cups and let’s look at what Clara needs!
Ingredients for the Cookie Dough
This is the heart of our Chocolate Crinkle Cookies. We are aiming for a deep, dark chocolate flavor here, so use good quality cocoa powder!
- 1 cup of unsweetened cocoa powder (that’s about 100g, if you’re weighing).
- 1 3/4 cups of granulated sugar (350g).
- 1/2 cup of vegetable oil (120mL).
- 4 large eggs, and remember—room temperature!
- 2 teaspoons of vanilla extract.
- 2 cups of all-purpose flour (240g).
- 2 teaspoons of baking powder.
- 3/4 teaspoon of salt.
Check out all my best tips for ensuring your baking turn out perfectly over on my Baking Tips page; it covers everything from measuring flour correctly to substituting fats!
What You Need for Rolling
Don’t skimp here! This coating is what creates that signature look. We need:
- 1 full cup of Powdered Sugar (120g). You might even want to sift it first to make sure it’s light as air for maximum crinkling action!
Step-by-Step Instructions for Fudgy Centers
Now we move out of prep mode and into the fun stuff! You’ll find that the mixing process is really quite fast, but the patience you show during the chilling phase is what separates a good cookie from a legendary one. Remember what I told you about my grandmother; these steps are what make the magic!
Mixing the Chocolate Crinkle Cookies Dough
First things first: grab that big bowl and combine your sugar, that gorgeous unsweetened cocoa powder, and the oil. Beat this mixture until it looks glossy and smooth—it almost gets a nice sheen to it. Next, introduce those room-temperature eggs one by one, making sure they are totally incorporated before adding the next. Beat in your vanilla extract.
In a separate medium bowl, whisk your flour, baking powder, and salt together really well. Now, this is important: add the dry mixture to the wet mixture and mix on low speed. You want to stop mixing the moment you see the flour disappear! Overmixing that flour is how you end up with tough cookies instead of soft ones. Take a peek at some other techniques over on my Baking Tips page!
The Critical Chilling Period
This is where we earn those dreamy, non-flattened Crinkle Cookies. You absolutely *must* cover that sticky dough tightly with plastic wrap and stick it in the fridge. I always shoot for overnight, but you need a minimum of 4 hours—that’s 240 minutes! If the dough is warm when it hits the sugar coating, they’ll spread out like pancakes instead of holding that perfect ball shape. The dough needs to get firm so scooping is clean!
Coating and Baking
Once the dough is suitably chilled, preheat your oven to 350°F and line up those baking sheets with parchment paper. Pour your cup of Powdered Sugar into a shallow bowl. Scoop the chilled dough into nice one-inch balls. Here’s the trick: only roll the balls you can fit on one sheet right now! Get a heavy coating of sugar on them, place them 2 inches apart, and get them into the oven immediately. Bake them for 10 to 12 minutes. The visual indicator for perfection is when the edges look firm, but the very center still looks slightly puffed and maybe a little wet. They will deflate slightly as they cool, which just confirms those glorious fudgy centers are waiting for you! For more inspiration, check out this fantastic resource on Chocolate Crinkle Cookies.
Expert Tips for Perfect Chocolate Crinkle Cookies
We’ve done the hard work of mixing and chilling, but a few pro tricks can take these cookies from great to absolutely legendary. Because this is such a beloved Classic Cookie, I love sharing the little things I learned trying to replicate Grandma’s magic. These details really elevate the final product, especially when you’re aiming for that perfect texture.
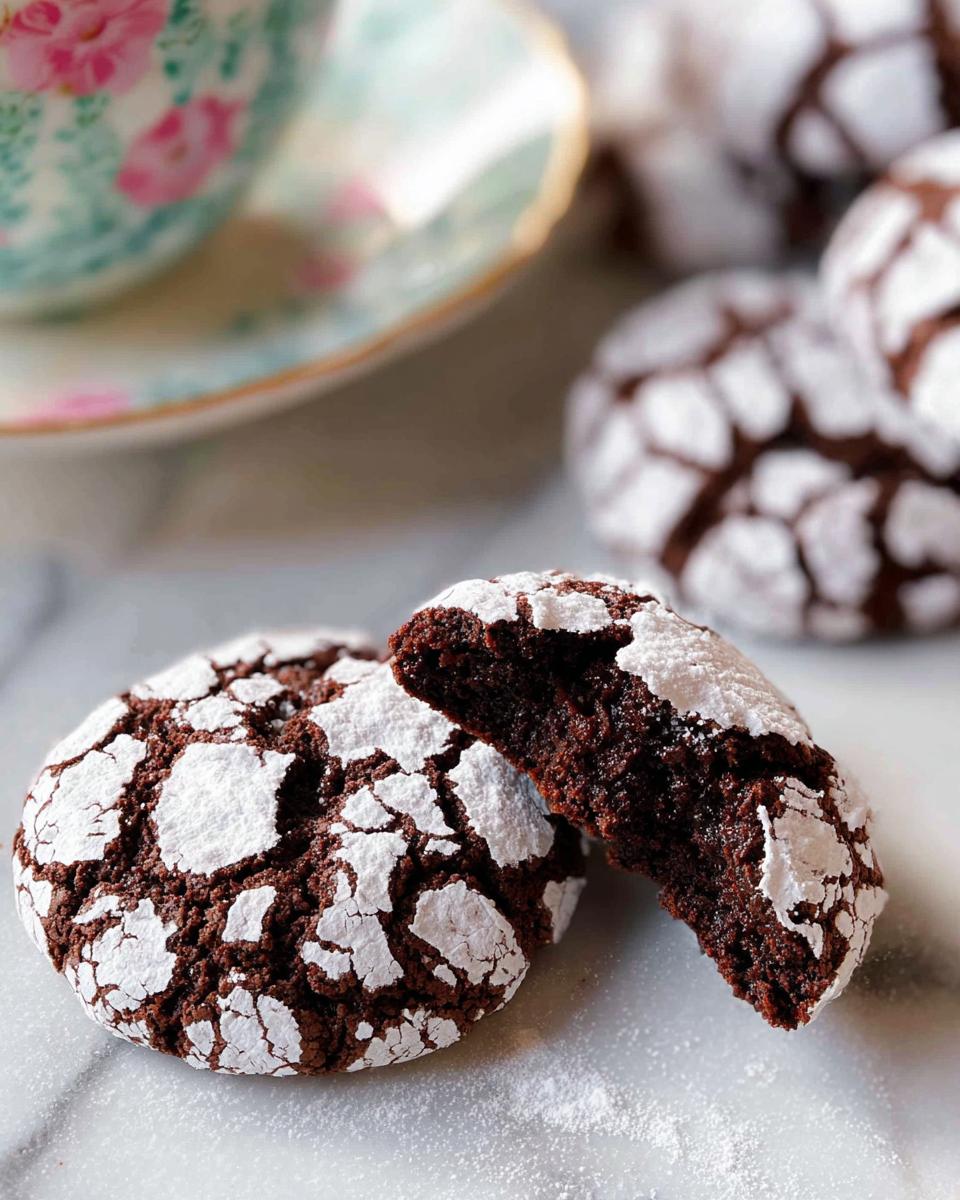
Achieving the Best Fudgy Centers
The biggest rookie mistake with any chocolate cookie is overbaking! If you take them out when they look totally set and dry—nope. Pull them when those edges are firm, but the middle still looks slightly puffy and soft. I know it feels wrong, but trust me, as they sit on the hot pan, the residual heat keeps cooking them. That slight deflation you see when they move to the wire rack? That’s your sign. That’s the beautiful, gooey fudgy center forming right before your eyes. Don’t fight it!
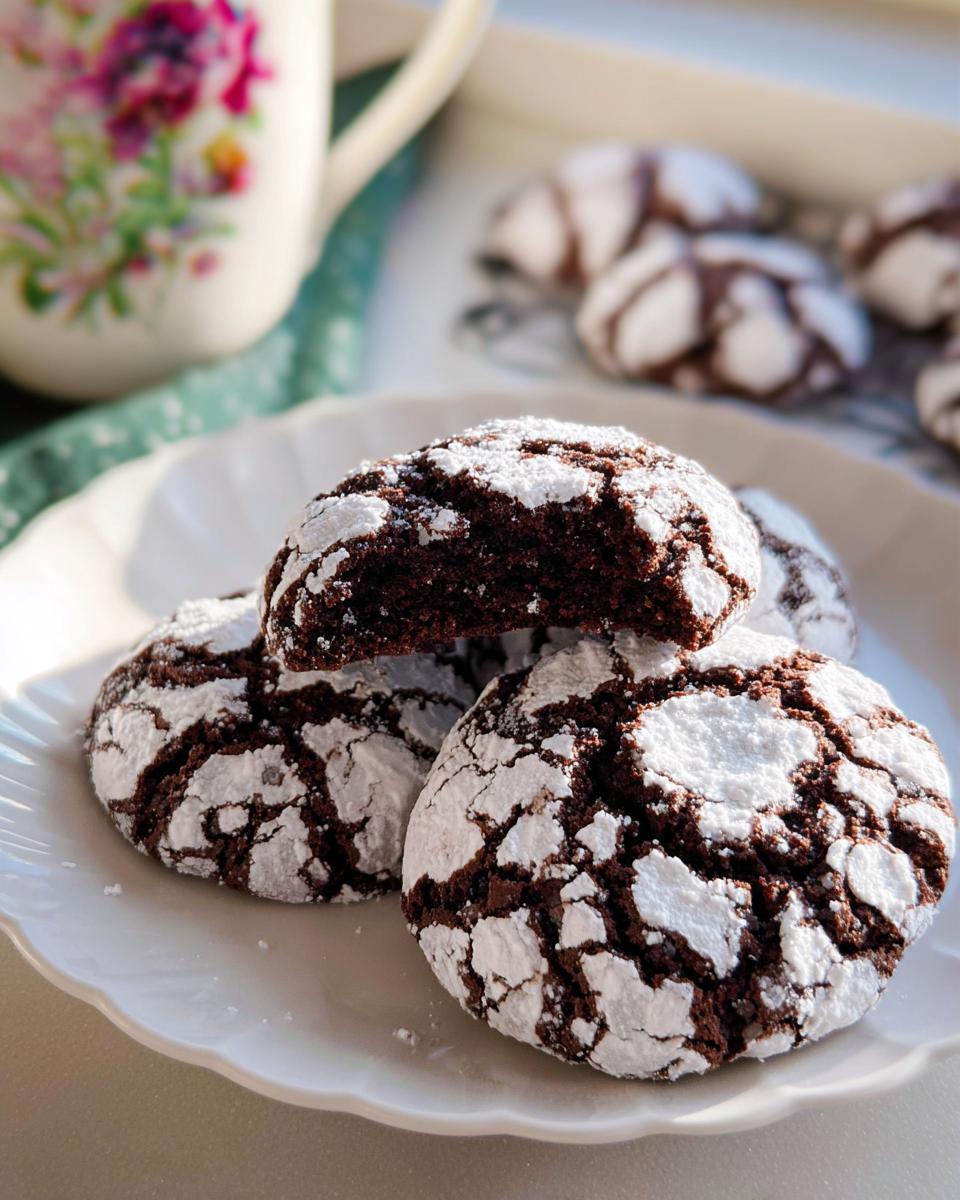
Tips for Powdered Sugar Coating Success
If you want those amazing, thick white cracks instead of thin whispers, here is my absolute favorite hack. After you do the first heavy roll in the Powdered Sugar, let that ball sit on the tray for about five minutes. Then, roll it a second time! It seems unnecessary, but that second coat melts slightly into the first during baking, resulting in a super thick, pure white crust surrounding that dark center. Also, always use the freshest powdered sugar you have; old, clumpy sugar doesn’t coat nearly as well!
Storage and Making Ahead for Your Party Tray
I always bake a huge batch because these Chocolate Crinkle Cookies are the first thing to disappear off any Party Tray! The great news is they store beautifully, making them perfect for doing ahead of time. Once completely cooled, you can keep them in an airtight container at room temperature for about three to five days. If you put them in the fridge, they might get a little firmer, but they’ll still be delicious!
My favorite make-ahead trick is preparing the dough balls early. Mix the dough, chill it, scoop the balls, and then roll them generously in that Powdered Sugar. Lay the coated balls on a parchment-lined baking sheet, making sure they aren’t touching, and freeze them solid. Once frozen, transfer those sugar-coated balls to a freezer bag. You can bake them straight from frozen—just add about 3 or 4 extra minutes to your baking time. It’s magic for when you need last-minute treats!
Variations on Classic Cookie Flavors
While the original flavor of these Chocolate Crinkle Cookies is unbeatable, sometimes you need a little twist, right? This base recipe is so sturdy that it takes on new flavors beautifully without losing that amazing fudgy center. If you’re serving these to a crowd, mixing up the flavors on the Party Tray is always fun!
When mixing in the vanilla extract, try swapping it out for something special! For a cool, minty surprise that feels very festive, I love adding 1 teaspoon of peppermint extract right where the vanilla goes. Or maybe you’re feeling citrusy? Swapping in orange extract brings out the chocolate in such a bright way. It’s surprisingly wonderful.
And for my dedicated dark chocolate lovers out there—I have the ultimate enhancement. When you are combining the sugar and oil at the very beginning, try dissolving 1 teaspoon of instant espresso powder right into that mixture. You won’t taste coffee, I promise! But it dramatically punches up the deep, rich chocolate flavor, making these cookies taste even more intensely like the most decadent chocolate you’ve ever had.
Frequently Asked Questions About Chocolate Crinkle Cookies
I always get questions about these beauties, and honestly, it’s usually because someone rushed the chilling time! But don’t worry, we can fix most little hiccups. Baking is forgiving if you know where to look for the signs. Here are some things I hear most often when people are trying to master their Chocolate Crinkle Cookies.
Why did my Chocolate Crinkle Cookies spread too much?
Nine times out of ten, spreading happens because the dough wasn’t cold enough! If the dough hits the warm oven temperature while it’s still soft, the fats melt too fast, and boom—flat cookies. Always make sure you stick to that 4-hour minimum chilling time. Also, make sure your oven is actually at 350°F, not hotter; too much heat upfront encourages spreading.
Can I skip rolling the dough in Powdered Sugar?
You certainly can roll them without the sugar if you’re in a real pinch, or maybe you just don’t like that extra sweetness, but then they aren’t really ‘Crinkle Cookies,’ are they? Skipping the Powdered Sugar means you lose the entire signature look! The white sugar cracks open as the cookie bakes, creating that beautiful contrast that makes them so appealing for your Party Tray. I strongly advise against skipping it!
How do I get the best contrast on my cookies?
If you want that stark white snowdrift against deep, dark chocolate, you have to pay attention to your cocoa! I always recommend using a high-quality, unsweetened dark cocoa powder for our Chocolate Crinkle Cookies. The darker the dough, the brighter that white coating looks after baking. It really makes them pop!
Estimated Nutritional Data for Chocolate Crinkle Cookies
Now, I always preach that baking should be about joy and love, not counting every little crumb! However, because people always ask, I went ahead and broke down the rough estimates for these amazing Chocolate Crinkle Cookies based on standard measurements for one cookie. Remember, this is just an estimate, especially since the size of your scoops might vary!
When you look at these numbers, it’s wild how much flavor we pack into such a small treat. They are decadent, but surprisingly moderate in a few areas.
- Calories: About 87 per cookie. That’s a perfect little indulgence!
- Fat: Roughly 3 grams. That comes mostly from the oil and butter content, which gives us that required richness.
- Sugar: Around 10 grams. This is the bulk of the cookie, naturally, since we use both granulated sugar and Powdered Sugar for that iconic coating!
- Protein & Fiber: Low, hovering around 1 gram each, but that’s typical for a rich dessert like this.
Keep in mind that nutrition information can change based on the exact brand of cocoa or the size of your eggs, so take these figures as a helpful guideline for your Party Tray planning rather than gospel. Enjoy every bite!
Chocolate Crinkle Cookies
Ingredients
Equipment
Method
- In a large mixing bowl, combine the sugar, cocoa powder, and oil. Beat on medium speed until well combined and shiny.
- Add the eggs one at a time, beating until well combined. Beat in the vanilla.
- Combine the flour, baking powder, and salt in a medium bowl, stirring to combine. Add the flour mixture to the cocoa mixture and mix on low speed just until combined.
- Cover the dough in plastic wrap and refrigerate for at least 4 hours or up to overnight.
- Once the dough has chilled, preheat oven to 350°F. Line two large baking sheets with parchment paper. Place the powdered sugar in a small bowl.
- Using a small ice cream scoop or tablespoon, scoop the chilled dough and roll into roughly one-inch balls. Roll the dough balls in powdered sugar until well coated and place on the prepared baking sheet about 2 inches apart. Only coat as many dough balls as you can fit on the baking sheets at one time. Refrigerate the remaining dough balls and roll in powdered sugar just before baking.
- Bake for 10 to 12 minutes or until the edges of the cookies are firm and the center is puffed but still appears slightly wet. Let them cool on the baking sheets for a few minutes then transfer to a wire rack to cool completely.
Nutrition
Notes
Tried this recipe?
Let us know how it was!
Master of Culinary Visual Arts
My culinary journey started in the fast-paced kitchens of boutique coastal restaurants throughout Southern California, where I learned that beautiful food doesn’t have to be complicated. After nine years of professional cooking, I’ve made it my mission to prove that sophisticated, nutritionally sound meals can be accessible to busy home cooks who refuse to compromise on flavor or visual appeal.
What changed everything for me was watching talented home cooks feel intimidated by healthy cooking. That’s when I transitioned to private instruction, teaching busy professionals and families how to create restaurant-quality meals using simple techniques and ingredients they can actually find at their local grocery store. My “15-minute meal” frameworks are now used by several regional cooking schools!
As a third-generation Mexican-American, I love weaving vibrant Latin flavors into low-carb creations – proving that healthy eating can be both culturally authentic and visually spectacular. My “effortless elegance” philosophy is simple: nutritious food should look as stunning as it tastes, without requiring professional chef skills or expensive equipment.
When I’m not developing recipes in my San Diego coastal kitchen, you’ll find me surfing the local breaks with my Golden Retriever mix, Mango, who’s both my kitchen companion and unofficial taste-testing assistant. My personal low-carb lifestyle started as a way to maintain energy for my active coastal life, and it’s become the foundation for proving that healthy eating enhances rather than restricts life’s pleasures.