
If you are anything like me, the thought of hosting brunch on a weekend can send a little shiver of panic down your spine—all that whisking and flipping when you’d rather be sipping coffee! Well, I have officially retired my spatula for those hectic mornings thanks to the magic of the Overnight French Toast Bake (Make-Ahead). It’s my absolute favorite thing to pull out of the fridge!
I first figured out this trick when my whole family descended on the house after a chilly coastal trip. I wanted something truly special, a comforting hug in a dish, without me chained to the stove. So, I whipped this entire thing up the night before. The next morning, the sweet aroma of cinnamon and vanilla just poured out of the oven as it baked all by itself. Seeing everyone gather around, enjoying every bite while talking about our trip—wow! That moment turned into a tradition. It proves, happily, that you can get that incredible, heartwarming comfort without sacrificing your morning peace.
Why You Will Love This Overnight French Toast Bake (Make-Ahead)
Seriously, this isn’t just another breakfast casserole; it’s a game-changer for anyone who hosts or just loves sleeping in past 7 AM! When you need a fantastic Brunch Recipe that handles itself, this is the one to grab.
- Zero Morning Stress: This is the ultimate Make Ahead solution. You assemble it cold the night before, pull it straight from the fridge in the morning (or even late at night), and bake. Pure relaxation!
- Incredible Flavor Infusion: Letting the bread soak overnight means every cube gets totally saturated with that custard. No dry spots here, promise!
- Perfect for Crowds: It bakes up beautifully in one big pan, making serving a whole family or group of friends ridiculously easy. No endless pancake flipping!
- Warm, Comforting Scents: The second it hits the heat, your kitchen smells like a bakery thanks to all that cinnamon and brown sugar. It’s instant coziness.
- Texture Perfection: Because we use sturdy bread and let it soak, you get that perfect hybrid—soft and gooey inside, with a fantastic little crunch from the streusel topping.
Essential Ingredients for Your Overnight French Toast Bake (Make-Ahead)
Okay, let’s talk about what makes this particular Overnight French Toast Bake (Make-Ahead) sing. It’s not just throwing stuff together! We’re aiming for that rich, creamy soak, and the topping needs to be perfectly crumbly. Don’t stress about finding anything weird; these are simple things you probably have on hand.
The key here is using good quality bread—something sturdy that can really soak up all that delicious custard overnight without collapsing into mush. Trust me, the payoff is huge when you slice into this beauty!
For the French Toast Base
This is where we build that structure and creamy interior. You really, really want to use that crusty loaf for the best result here.
- One loaf of crusty sourdough or French bread, important: tear it into nice chunks or cut it into cubes.
- Eight huge eggs—they are what carries the custard!
- Two cups of whole milk and half a cup of heavy cream. The cream adds that luxurious richness.
- Half a cup each of granulated sugar and brown sugar for sweetness.
- Two tablespoons of vanilla extract—don’t skimp on this, it makes such a difference.
- Don’t forget a little bit of butter for greasing the pan, and have some nice maple syrup ready for serving later!
For the Crunchy Topping
This is what separates a good bake from an absolutely incredible one. We need that topping to stay crisp, even after resting in the fridge. That means cold, cold butter!
- Half a cup of flour.
- Half a cup of firmly packed brown sugar.
- One teaspoon of pure, wonderful cinnamon.
- A quarter teaspoon of salt to balance the sweetness.
- If you’re feeling fancy, a tiny grating of freshly grated nutmeg—it really elevates the cinnamon!
- And the most important part: Half a cup of cold butter, cut up into little pieces, ready to be cut into the dry mix.
Mastering the Overnight French Toast Bake (Make-Ahead) Preparation
Now that everything is measured out, let’s get this beauty assembled so it can do all the hard work while we sleep! This is the magic step that makes this an amazing Overnight Breakfast solution. You want to move quickly but make sure everything gets coated properly before it heads to the fridge for its long soak.
Assembling the French Toast Base
First things first, you need to get your 13×9-inch pan thoroughly greased with butter. I like to be generous here just in case! Next, evenly distribute those torn bread chunks inside. They need space to soak up the liquid. In your large mixing bowl, go ahead and whisk those eight eggs up really well. Once they are foamy, stream in the milk, cream, both sugars, and that wonderful vanilla. Pour this whole custard mixture slowly over the bread in the pan. Take a spatula and gently press down on the bread pieces to make sure every single cube is hugging that milky mixture. Don’t worry if it looks overloaded—it will absorb it all!
Preparing the Make Ahead Topping
This streusel topping has to be done right so it doesn’t turn into one giant cookie sheet of sugar. In a separate, dry bowl, whisk together your flour, brown sugar, cinnamon, salt, and optional nutmeg until they look nicely mixed. Now, add in those cold butter pieces we cut up earlier. You absolutely need to use a pastry cutter here, or your fingers if they are cold! You want to work that butter in until the mixture looks like coarse pebbles. Don’t try to mix it until it’s smooth! We wrap this topping mixture up tightly and keep it chilling right alongside the casserole. We won’t put it on until the morning when it’s time to bake!
Baking Your Perfect Overnight French Toast Bake (Make-Ahead)
The moment of truth arrives in the morning! After all that resting time, it’s finally time to bring this amazing Overnight French Toast Bake (Make-Ahead) to life with heat. Remember how we kept the topping separate? This is where it pays off!
First, you need to warm up that oven to 350°F. While it’s heating, pull that casserole pan out of the fridge—let it sit on the counter for maybe 15 or 20 minutes to take the deep chill off, but don’t let it get warm. Now, uncover it and sprinkle that crumbly topping evenly all over the surface. Seriously, don’t be shy with that streusel; it’s what keeps the top from getting soggy!
Here’s where you decide what kind of texture you love. For something that feels super rich, almost like a decadent bread pudding, you’ll want to pull it out around the 45-minute mark. It will be soft when you poke it. But if you like a firmer set, where the edges are slightly crisped and the center is solid enough to cut neat squares, you need to let it bake for an hour, maybe even a little longer depending on your oven.
Don’t let yourself get distracted by reading other recipes while this is baking—seriously, check on it! You can look over at other baked French toast ideas, but keep your eye on yours! When it’s done, the very center should look set once you wiggle the pan gently. It’s done when it’s perfect!
Expert Tips for the Best Overnight French Toast Bake (Make-Ahead)
Even though this is mostly a hands-off recipe, those little details I picked up over the years—especially when my timing was slightly off—make a huge difference between an okay bake and one that makes people ask for the recipe immediately. Since this relies so much on soaking time, a few small pointers can really boost the structure and overall soak factor of your Overnight French Toast Bake (Make-Ahead).
Bread Selection and Soaking
I cannot stress this enough: the bread matters! If you use flimsy supermarket sandwich bread, it’s going to turn to mush overnight, and we definitely don’t want that soggy disappointment. You need structure. That’s why I love crusty sourdough or a good, slightly stale French loaf. The tanginess of sourdough is honestly my favorite backdrop for all the caramel sweetness, and its sturdiness keeps it from breaking down.
If your bread is super fresh—like, from this morning—it might soak up the custard unevenly. If you’re in a pinch, I sometimes pre-toast the bread chunks for about 10 minutes in a 300°F oven. That little drying step creates pockets for the custard to seep into later. Letting it sit overnight is non-negotiable; that’s when the bread truly transforms from dry cubes into that perfect, custardy cloud.
Achieving the Right Custard Consistency
Whisking the custard is a step many people rush, but it’s where you incorporate the air that keeps the final product from being too dense. When you mix those eggs, milk, cream, and sugars, you want a uniform golden color—no streaks of just egg white allowed! Once you pour it over the bread, you need to act fast to encourage absorption.
Use a gentle press, maybe a couple of times over the spongey top, to push the liquid down. Then, when you cover it, put a little weight on top if you can manage it—maybe a small cutting board across it. This gentle pressure ensures the bottom layers, which are hardest to saturate, are fully submerged in the custard before they head into their long chill session. For more ideas on great make-ahead meals, definitely check out what other brunch prep tips are out there!
Serving Suggestions for Your Sweet Breakfast
Okay, the baking is done, and your kitchen smells amazing! Now for the best part: dressing up this glorious Sweet Breakfast masterpiece. Remember that butter we saved? Don’t just put a thin smear on top!
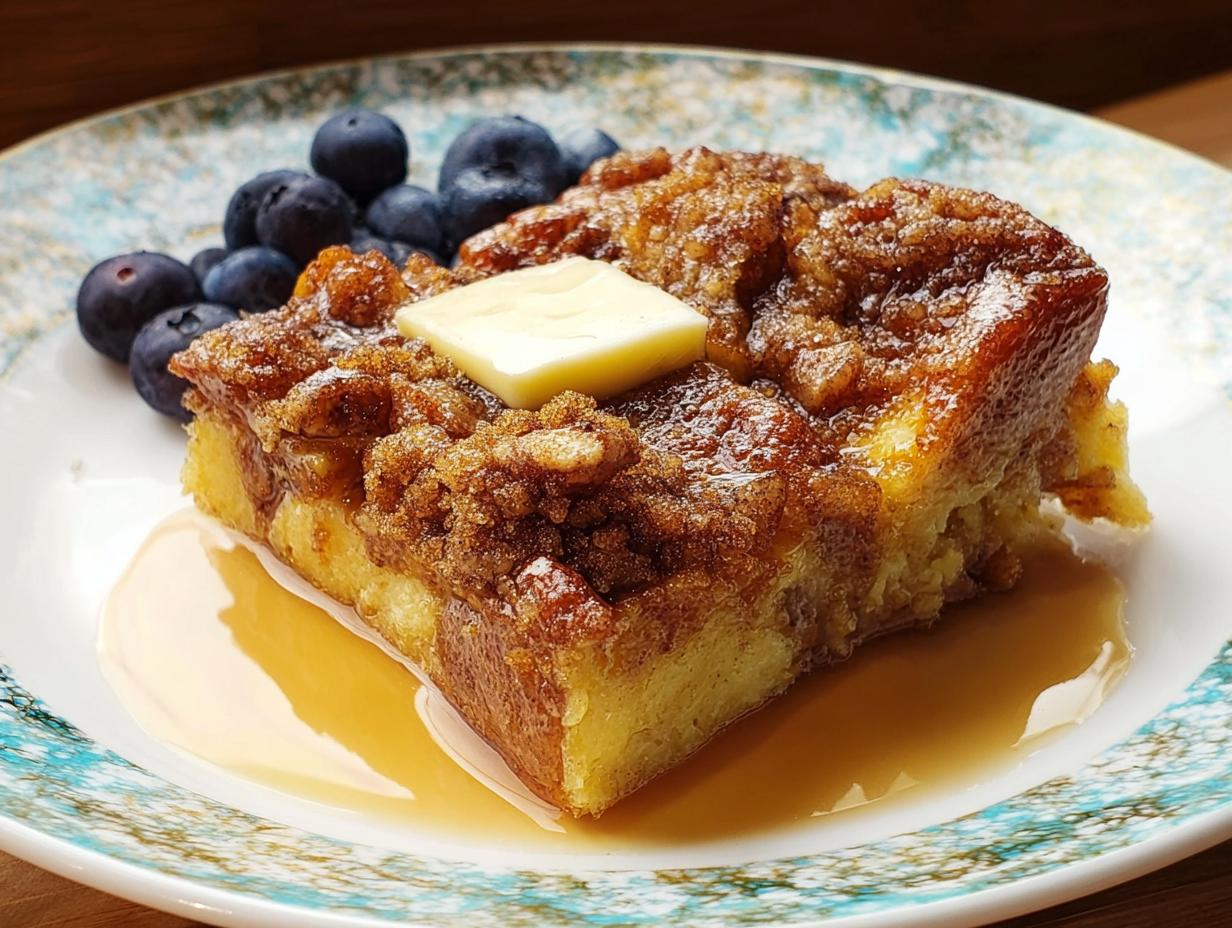
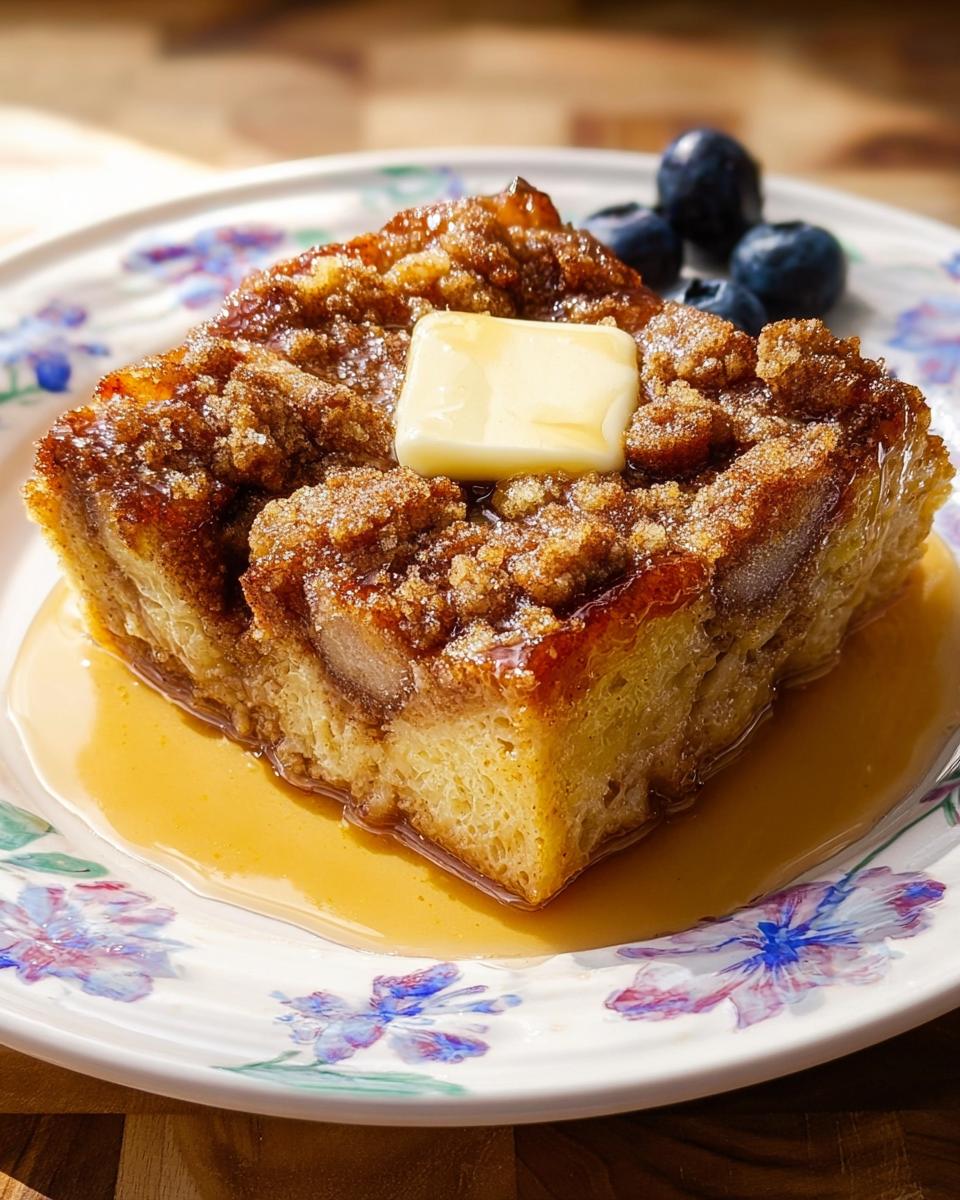
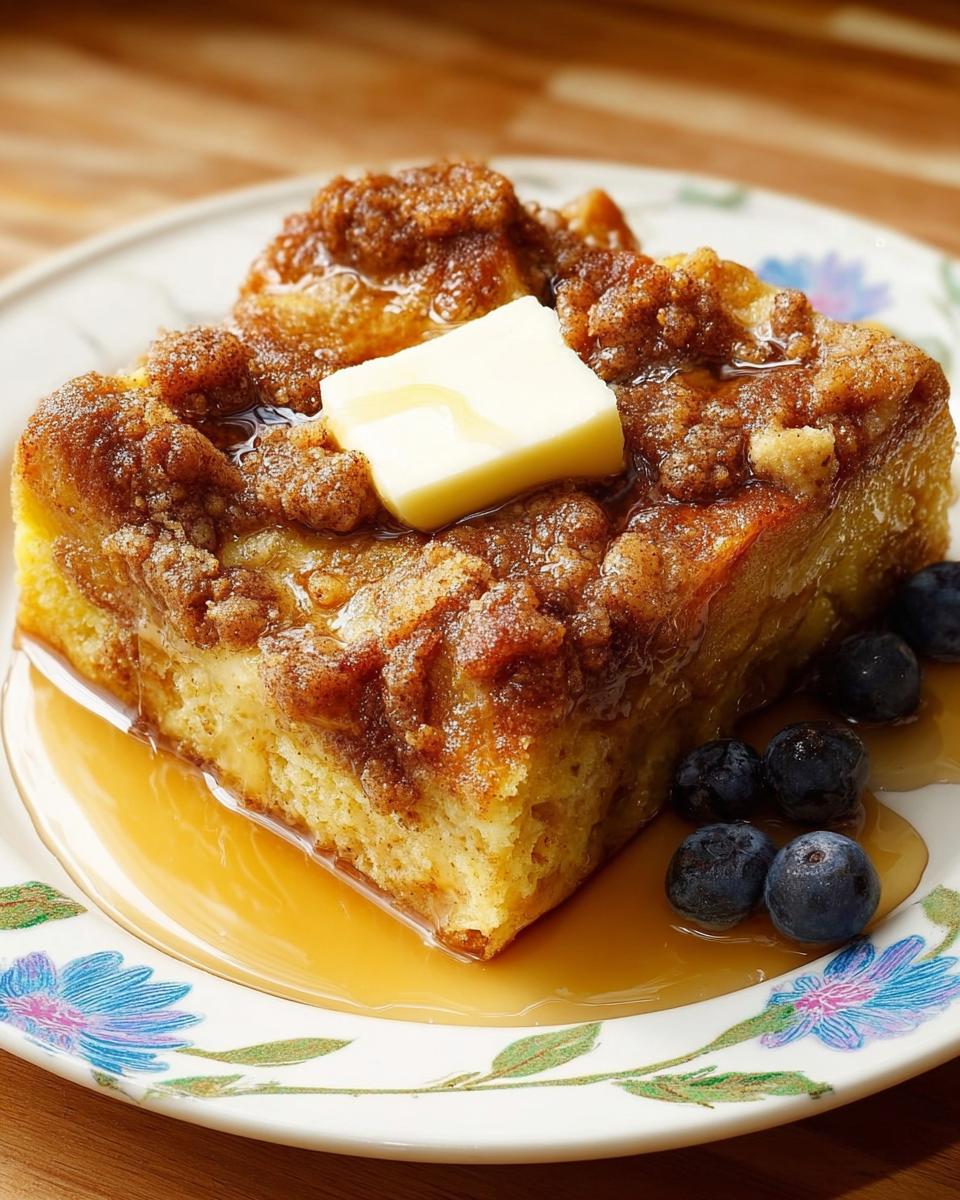
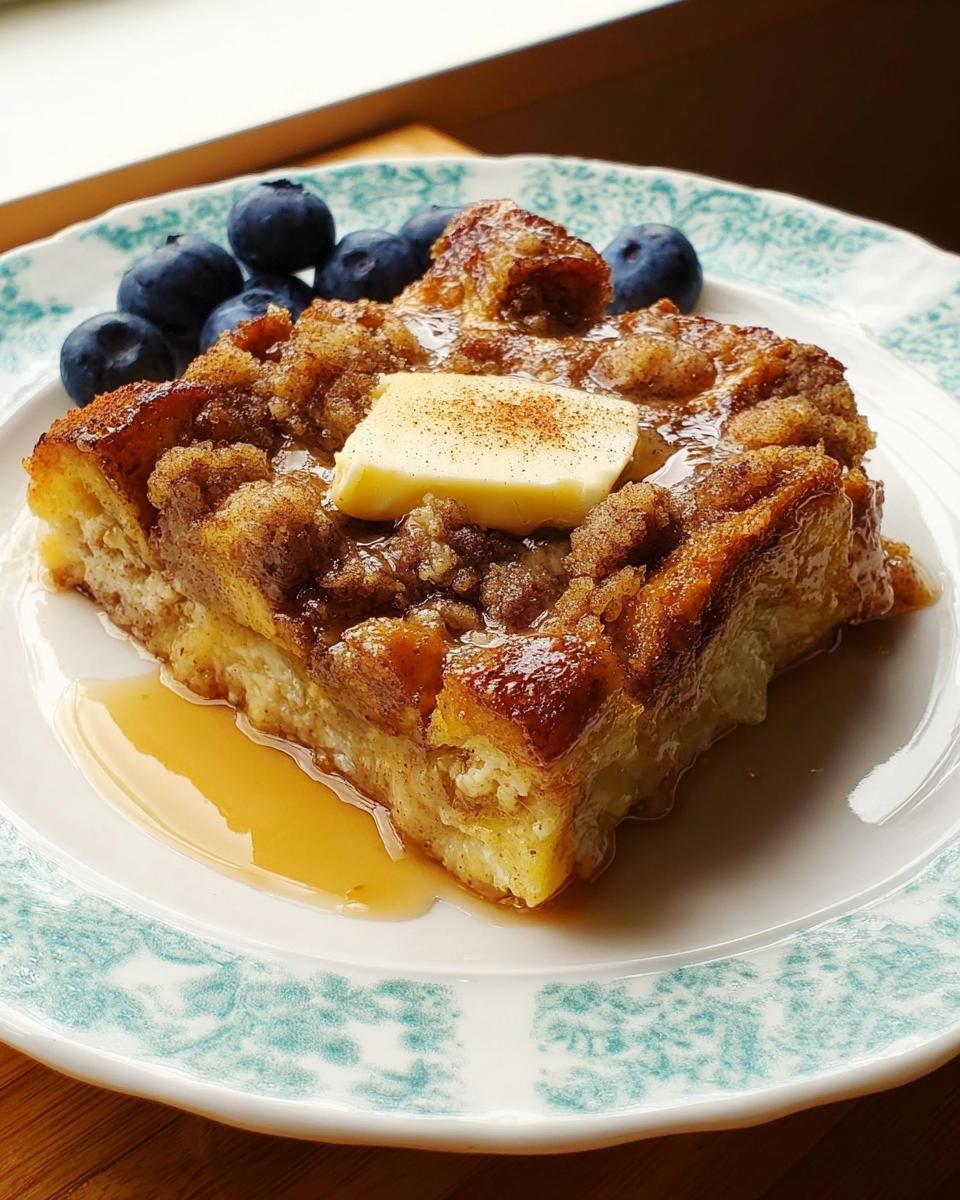
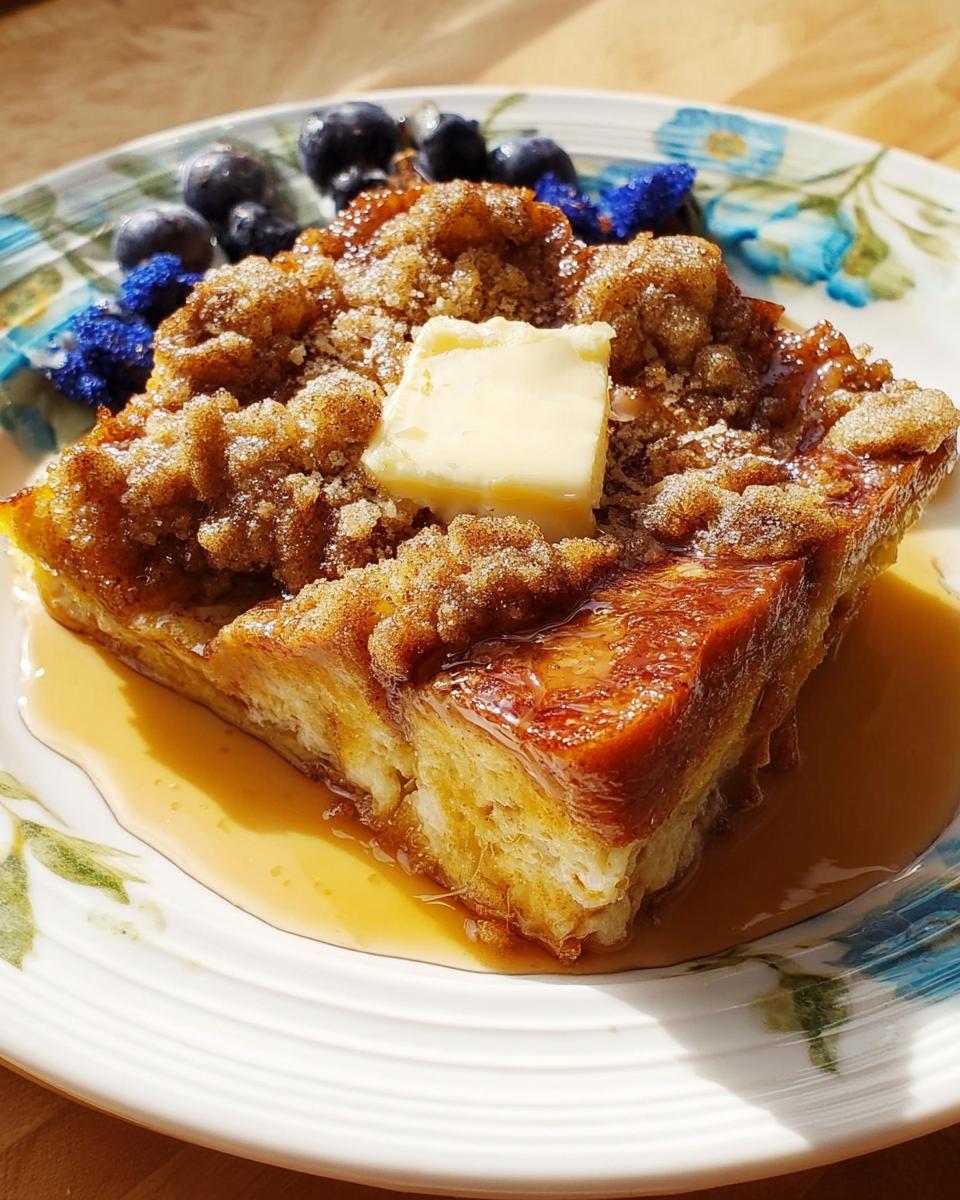
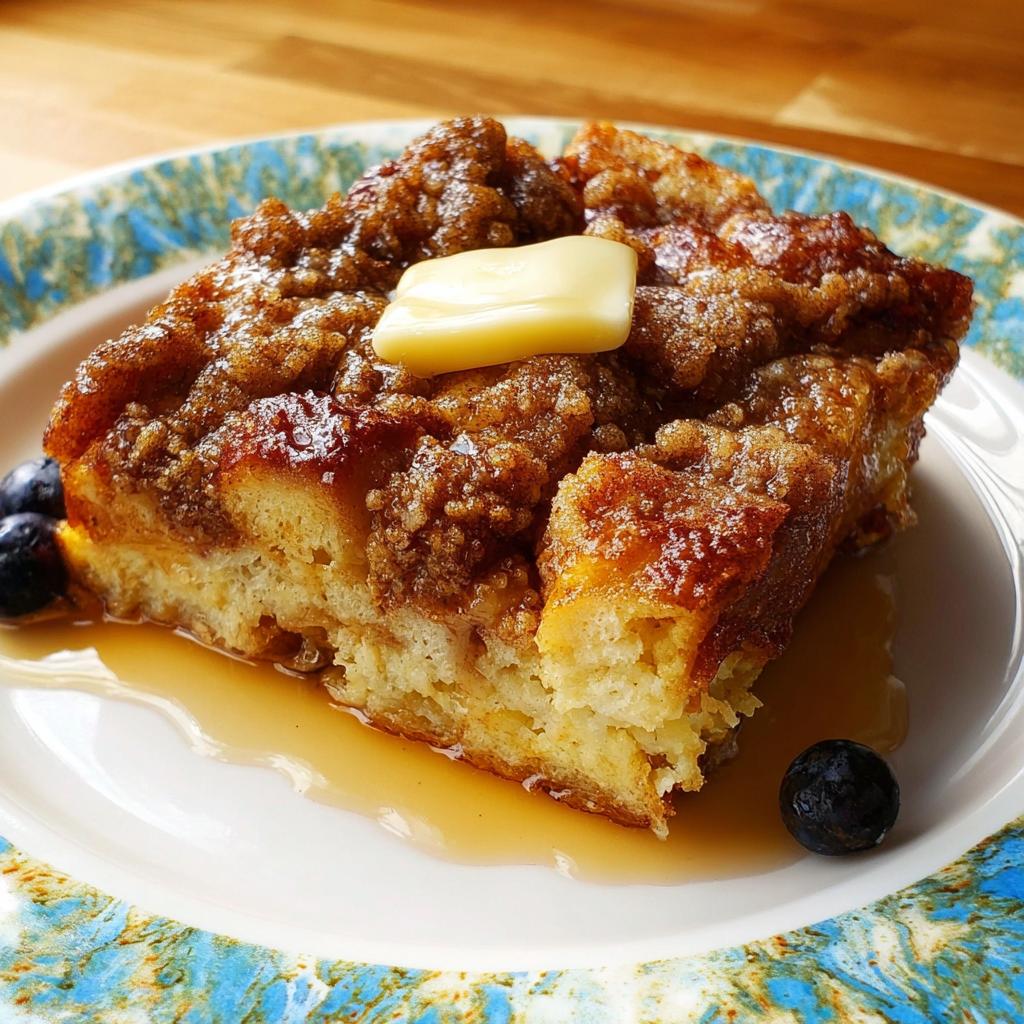
Scoop out individual portions—it should come out nicely now that it’s set. Top each square with a tiny pat of butter so it melts right into the warm topping. Then, drizzle generously with warm syrup—nothing beats that sweet, gooey flow. And finally, finish it off with a scatter of fresh blueberries for a pop of color and tartness. It looks professional, but it took zero morning effort!
Storage and Reheating Instructions for the French Toast Bake
The best part about making this huge tray of Overnight French Toast Bake (Make-Ahead) is that you almost always have leftovers! This recipe holds up unbelievably well, which is exactly what we want when planning ahead for busy weekdays. You shouldn’t have to sacrifice quality just because you’re eating something made two days ago!
When you’re done serving everyone, let any remaining casserole cool down completely on the counter. Then, you need to cover that pan super tightly—plastic wrap followed by foil works best for sealing out any weird fridge smells. It will keep beautifully in the refrigerator for up to three or four days. If someone wants a little treat later in the week, it’s waiting right there for them!
For reheating, you have two main options, and honestly, the oven is superior for texture restoration. If you are just doing one or two squares, tossing it in the microwave works fine; just zap it in 30-second intervals until it’s warm all the way through. Be warned, though: the microwave will soften that amazing topping we worked so hard on.
If you’re reheating a larger piece, say half the pan, I say do it the careful way. Place the portion in an oven-safe dish (you can transfer it from the foil if you need to), cover it lightly with foil, and bake it at 350°F for about 15 to 20 minutes. This gentle heat warms it through and helps the topping crisp up again! If you are looking for more tips on meal planning and storing leftovers, I have some great strategies laid out over on my meal prep guide.
Frequently Asked Questions About the Overnight Breakfast
I get so many questions when I post this recipe because everyone wants to make sure their Overnight French Toast Bake (Make-Ahead) comes out perfect! It’s such a relaxed way to serve breakfast, but sometimes you just need that little extra reassurance about timing or ingredients. Here are the things I hear the most!
Can I assemble this Overnight French Toast Bake (Make-Ahead) more than one day in advance?
Overnight is truly the sweet spot—that means about 12 to 24 hours. The bread soaks up the custard perfectly in that time frame, hitting peak flavor and texture. Can you push it to 36 hours? Maybe, if your bread is super sturdy, but I find that pushing past 24 hours starts to make the texture a little *too* soft. Since this is an Overnight Breakfast solution, I stick to a maximum of one full 24-hour chill time for the absolute best results. It just guarantees that perfect bake!
What types of bread work best for this Brunch Recipe?
Oh, bread choice stress! We talked about it before, but it bears repeating because it’s so vital for a successful Brunch Recipe! You want something that has backbone. I swear by torn chunks of day-old crusty sourdough or a hearty French bread. They act like little sponges that absorb the custard without dissolving. Please, steer clear of that soft, squishy white sandwich bread! It might seem convenient, but it absorbs the liquid too quickly, leading to a gummy, almost soupy texture after the long soak. You need that chew!
Share Your Experience Making This Overnight French Toast Bake (Make-Ahead)
Now that you know my secrets for stress-free mornings, I really want to hear from you! Did you manage to sleep in? Did the whole family devour this easy Overnight French Toast Bake (Make-Ahead)?
You know how much these family recipes mean to me, so please, tell me all about it! Did you add any fun spices to your topping? How long did you let yours soak? Drop a comment below and let me know how this recipe worked for your busy brunch schedule. A quick rating helps other cooks know they can trust this foolproof method too!
Overnight French Toast Bake (Make-Ahead)
Ingredients
Equipment
Method
- Grease a 13-by-9-inch baking pan with butter. Tear the bread into chunks, or cut it into cubes, and evenly distribute it in the pan.
- Crack the eggs in a big bowl. Whisk together the eggs, milk, cream, granulated sugar, brown sugar, and vanilla. Pour this mixture evenly over the bread.
- Cover the pan tightly and store it in the fridge until you plan to bake it. Overnight storage is best.
- For the topping, stir together the flour, brown sugar, cinnamon, salt, and nutmeg in a separate bowl using a fork. Add the cold butter pieces and use a pastry cutter to mix everything until the mixture looks like fine pebbles. Store this topping mixture in a plastic bag in the fridge.
- When you are ready to bake, preheat your oven to 350°F. Remove the casserole from the fridge and sprinkle the topping evenly over the top surface.
- Bake for 45 minutes for a softer, bread pudding-like texture, or bake for 1 hour or longer for a firmer, crisper texture.
- Scoop out individual portions. Top each serving with butter, drizzle with warm syrup, and sprinkle with fresh blueberries.
Notes
Tried this recipe?
Let us know how it was!
Master of Culinary Visual Arts
My culinary journey started in the fast-paced kitchens of boutique coastal restaurants throughout Southern California, where I learned that beautiful food doesn’t have to be complicated. After nine years of professional cooking, I’ve made it my mission to prove that sophisticated, nutritionally sound meals can be accessible to busy home cooks who refuse to compromise on flavor or visual appeal.
What changed everything for me was watching talented home cooks feel intimidated by healthy cooking. That’s when I transitioned to private instruction, teaching busy professionals and families how to create restaurant-quality meals using simple techniques and ingredients they can actually find at their local grocery store. My “15-minute meal” frameworks are now used by several regional cooking schools!
As a third-generation Mexican-American, I love weaving vibrant Latin flavors into low-carb creations – proving that healthy eating can be both culturally authentic and visually spectacular. My “effortless elegance” philosophy is simple: nutritious food should look as stunning as it tastes, without requiring professional chef skills or expensive equipment.
When I’m not developing recipes in my San Diego coastal kitchen, you’ll find me surfing the local breaks with my Golden Retriever mix, Mango, who’s both my kitchen companion and unofficial taste-testing assistant. My personal low-carb lifestyle started as a way to maintain energy for my active coastal life, and it’s become the foundation for proving that healthy eating enhances rather than restricts life’s pleasures.