
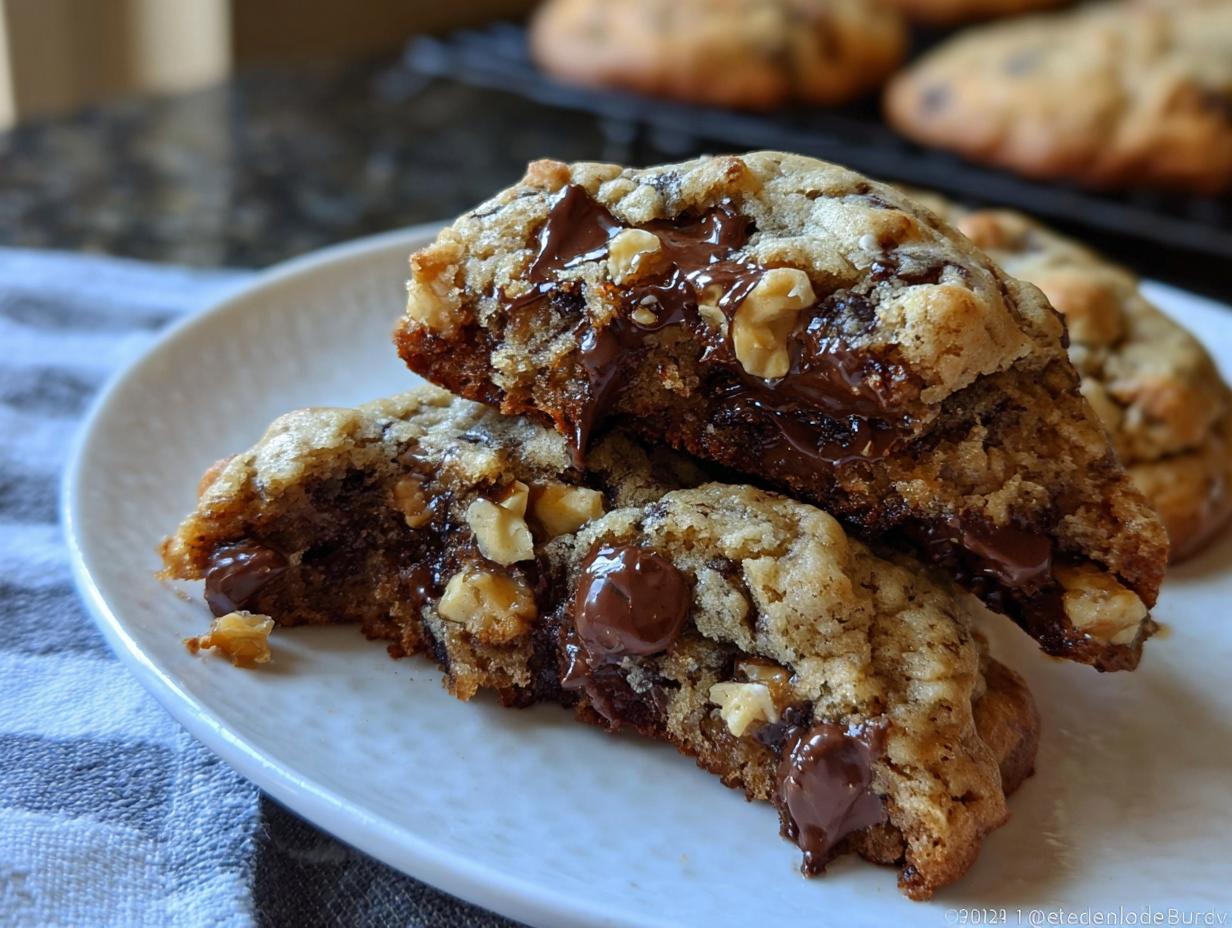
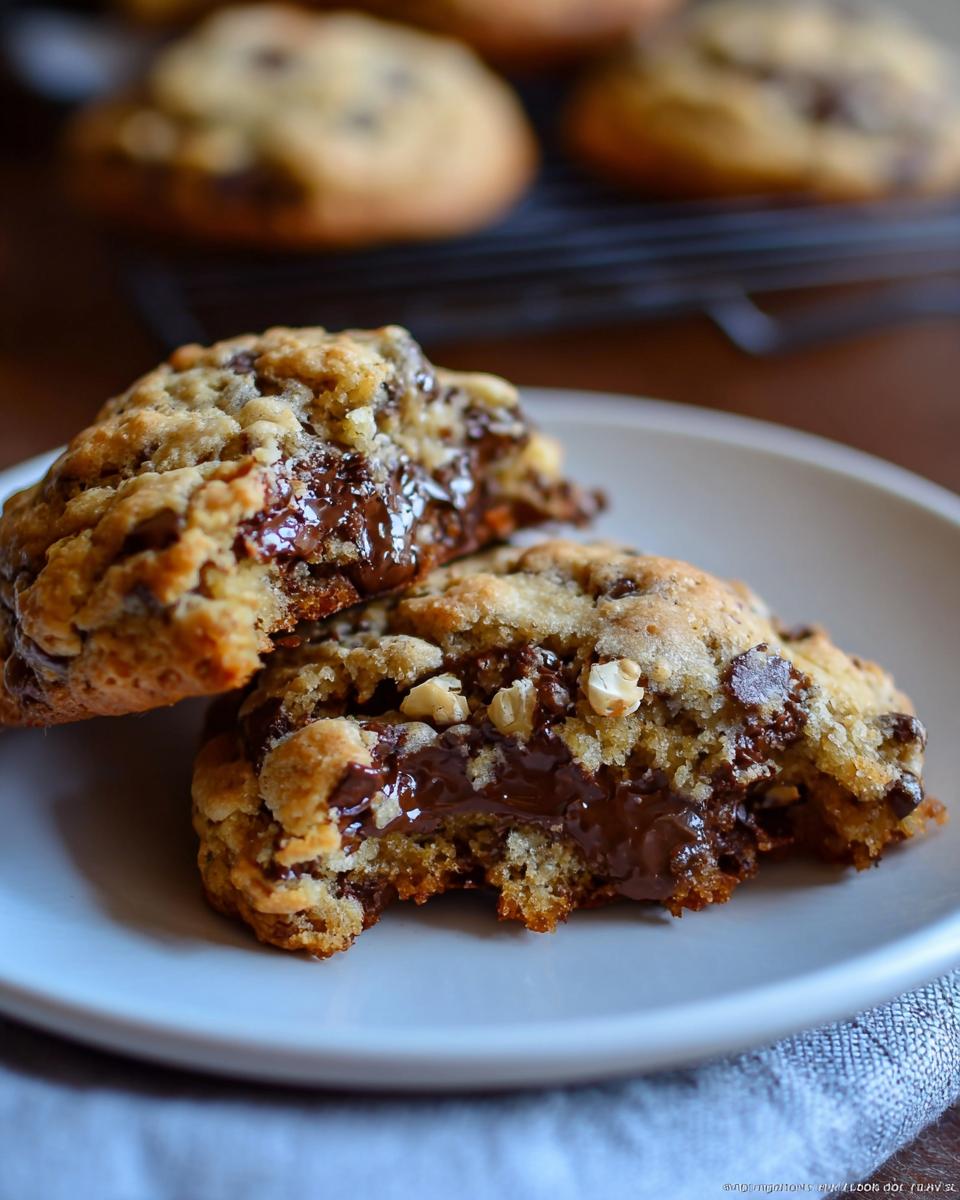
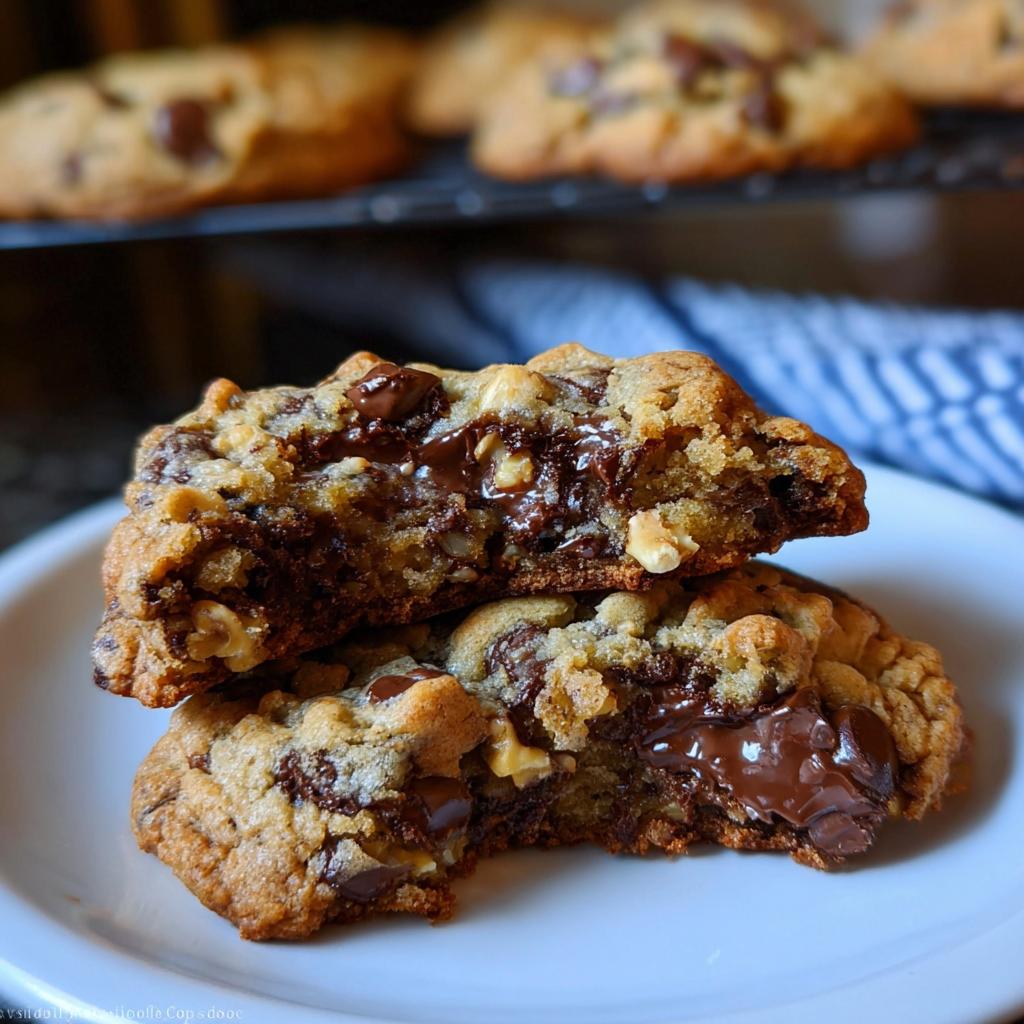
Oh, you know that feeling, right? That deep, desperate craving for a cookie so thick it looks like a small hockey puck, dripping with melted chocolate? I live for those days! For me, that craving hit hard the first time I managed to snag a real bakery wonder—a chilly afternoon and that first bite of a soft, gooey center studded with chocolate and walnuts? Pure comfort, absolute happiness!
That moment inspired me to recreate that experience right here in my kitchen. Trust me, after much trial and error, I finally nailed it. I’m Clara Martinz, a Master of Culinary Visual Arts, and I put all my technique mastery into this guide. Get ready, because we are making truly incredible, truly **Thick Levain Style Chocolate Chip Walnut Cookies** that beat anything you buy!
Why You Will Love These Thick Levain Style Chocolate Chip Walnut Cookies
Honestly, sometimes you just need a cookie that’s going to be a commitment, you know? These aren’t your flat, crispy little things. These are decadent, over-the-top, coffee-shop worthy masterpieces that come together surprisingly fast. Trust me, you’ll be obsessed.
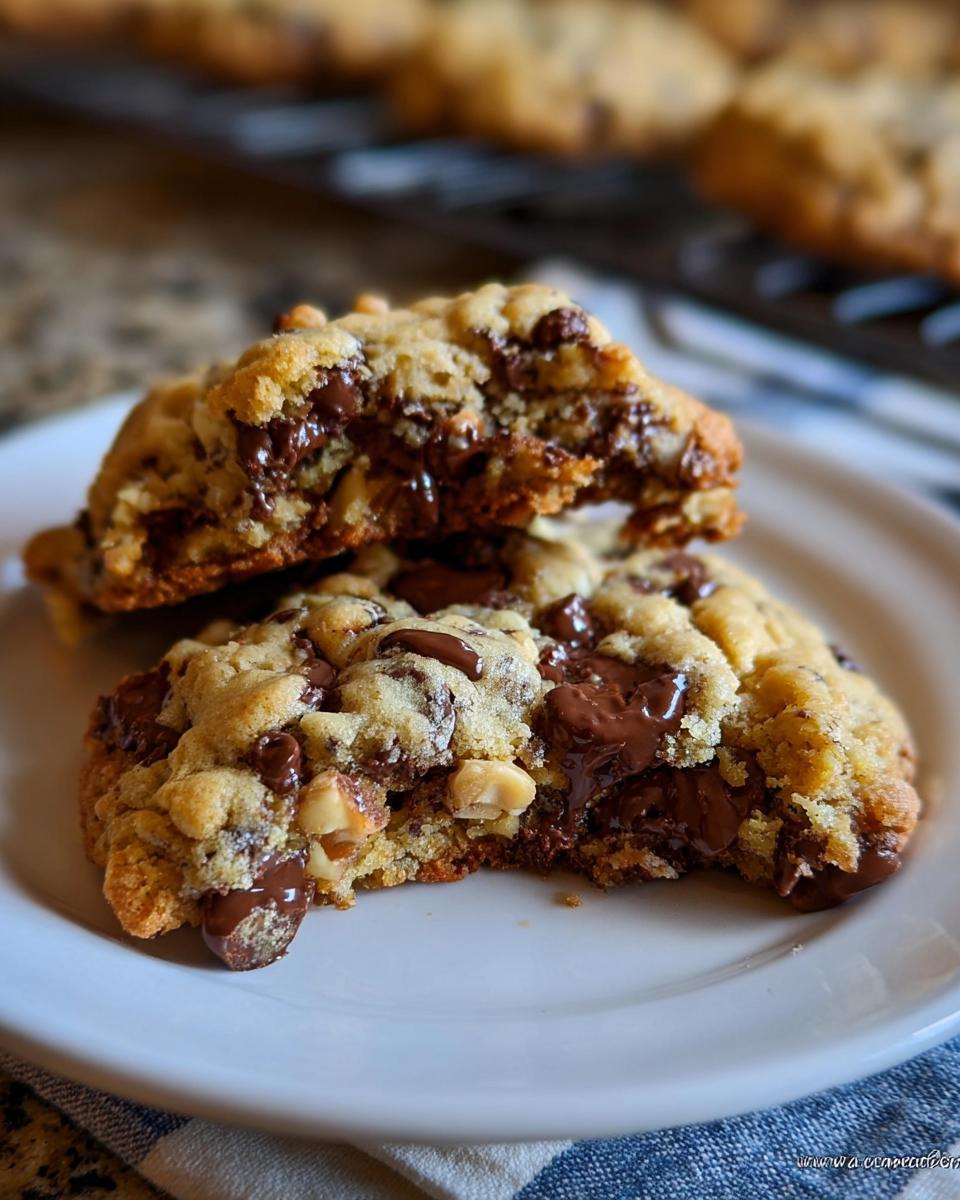
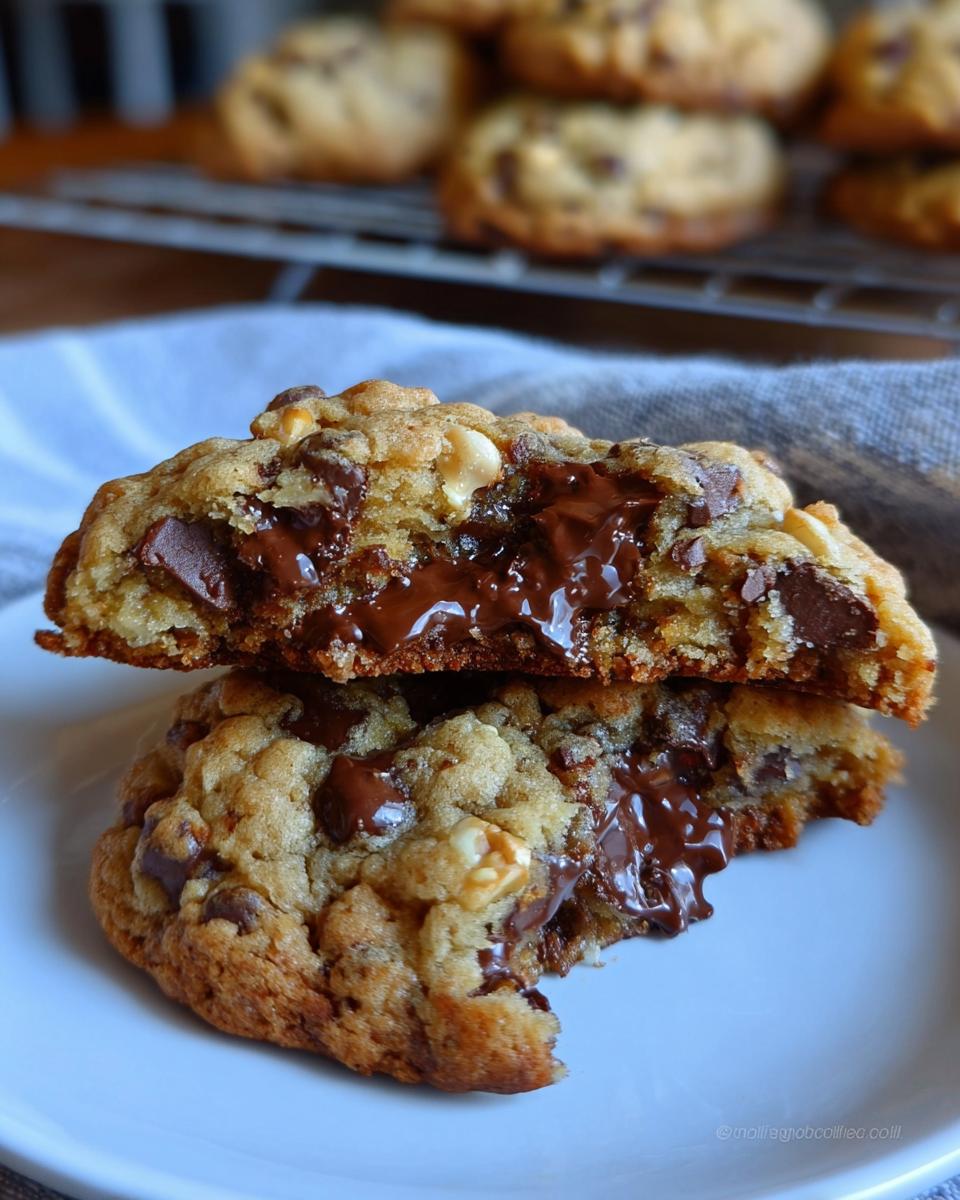
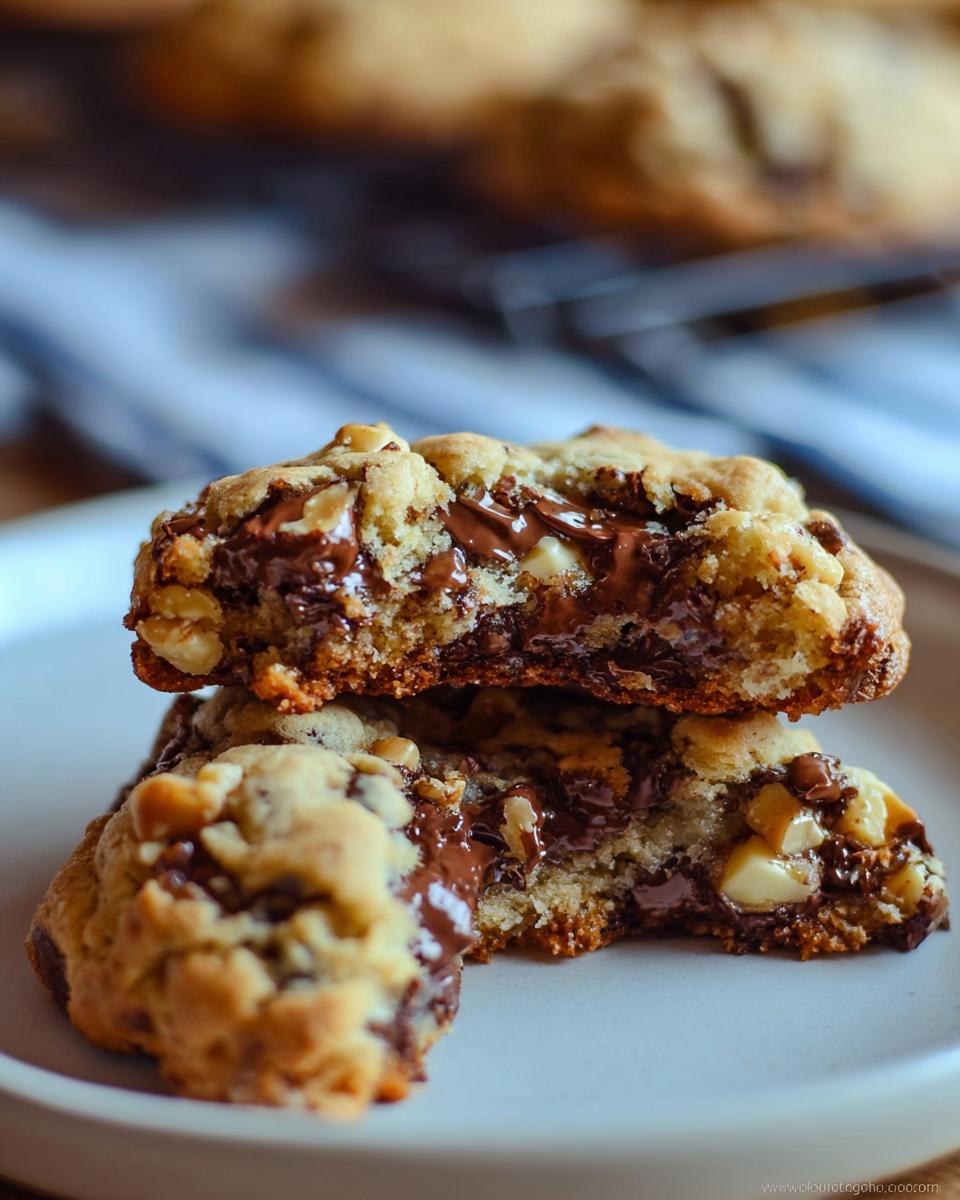
- They achieve that iconic, impressive height—truly extra thick cookies that demand a good, long pause before that first bite!
- The centers stay beautifully soft and gloriously gooey, even after they’ve cooled down (which is the hallmark of a great copycat cookie recipe).
- We use a mix of ingredients to ensure maximum flavor complexity; you get the richness from brown sugar and the warmth of vanilla.
- They are packed—I mean seriously packed—with chocolate chips and chunky walnuts. No skimping here!
- Considering how gourmet they taste, the active prep time is incredibly short, making weekday baking totally achievable.
- This recipe is surprisingly simple once you master the dough portioning; it’s the secret sauce to getting that perfect, pillowy lift.
Essential Ingredients for Perfect Thick Levain Style Chocolate Chip Walnut Cookies
If you want these **Thick Levain Style Chocolate Chip Walnut Cookies** to really sing—I mean, truly mimic that rich flavor you find downtown—you absolutely must pay attention to the quality of your ingredients. This isn’t the time to grab whatever is cheapest! I’ve spent serious time testing, and the difference between using good stuff and just okay stuff is, well, night and day. Getting the flour blend right and using high-quality chocolate will honestly make or break this recipe.
When you look at the list below, remember that accuracy matters! And seriously, grab those high-quality semi-sweet chips—I mentioned Guittard, but Ghirardelli works wonders too. Don’t be shy with the mix-ins; we are going for maximum chunky power!
Ingredient Notes and Substitution Guidance
The secret to keeping these cookies from spreading into sad, flat puddles is simple: our butter has to be cold! I cut mine into tiny cubes and keep it chilly before creaming, which just doesn’t happen when you use softened butter. Speaking of texture, we use both cake flour and all-purpose flour. The cake flour gives us that tender crumb we love without sacrificing the structure needed to maintain height.
As for the walnuts? Feel free to swap them for pecans if you prefer, but don’t skip them entirely! That slight earthy crunch is necessary to balance the richness of the chocolate. If you don’t have a scale, accuracy will be tough, but I highly recommend investing in one; it’s how we guarantee twelve perfect, giant cookies every time. You can check out more baking must-haves right here: my essential baking gear list.
Equipment Needed to Make Your Thick Levain Style Chocolate Chip Walnut Cookies
Okay, so to get these beautiful, extra thick cookies, you can’t just rely on a wooden spoon and hope for the best. We are mixing heavy dough, and we need tools that can handle the job without protesting! Don’t worry, you probably have most of this stuff already hiding in your cupboards.
The stand mixer is going to be your best friend here. It tackles the creaming process better than any hand mixer and gives us that necessary aeration. But here’s the real game-changer for making sure your cookies are exactly the right height and not just melted puddles?
- A digital kitchen scale. Seriously, ditch the measuring cups for the flour and aim for the precise 6 ounces of dough per cookie. Accuracy in weight is how we guarantee that massive height we’re aiming for!
- A sturdy stand mixer with a paddle attachment.
- A couple of reliable baking sheets, preferably the lighter colored ones, because they conduct heat a little more gently.
Make sure your equipment is ready to go before you even start creaming the butter! Trust me, when you’ve got sticky dough and you realize your mixer bowl is currently sitting in the sink with last night’s casserole dish? Disaster.
Step-by-Step Instructions for Making Thick Levain Style Chocolate Chip Walnut Cookies
Okay, let’s get baking! This is where the magic happens, and I promise it feels a lot more exciting than intimidating. We are working with a higher oven temperature here, which is key to setting the outside quickly while keeping the inside gloriously gooey. Don’t skip that little chill time either—it helps stabilize everything before the heat hits!
- First things first, fire up that oven to 410 degrees F. Get your baking sheets ready with parchment paper or silicone liners. You’ll want two sheets ready to go.
- In your stand mixer, cream that cold, cubed butter with both sugars for about a minute total—low, then medium, then high. You want it light and fluffy, which means air is getting whipped in there!
- Beat in your eggs one at a time, scraping down the bowl so everything gets incorporated. Add the vanilla if you are using it because, honestly, why wouldn’t you?
- Now, gently add your dry bits: the cornstarch, baking soda, salt, and both flours. Mix this on low speed **just** until you don’t see white streaks anymore. Stop the mixer!
- Fold in those treasures—your two cups of semi-sweet chocolate chips and those chunky walnuts. Give it one quick mix to distribute them.
- Time for a quick nap! Pop that whole bowl of dough into the fridge for just 15 minutes. This really helps them hold their shape.
- Once chilled, grab your digital scale! Weigh out rough 6-ounce balls of dough. And here’s a big one: just gently shape them into a rough ball—do not smooth them out or compact them tightly! They should look rustic.
- Place four balls on each sheet, making sure they have plenty of space, about three inches apart.
- Bake for 10 to 13 minutes. Start checking at the 10-minute mark! You are looking for a cookie that visually looks done on the outside—a duller texture—but the very center should still look soft and maybe a little underdone. We are aiming for *moist*, not brown and crispy!
- Pull them out and just leave them alone! Seriously, they are delicate right now. Let them cool completely right there on the baking sheet for a good 30 minutes. They finish setting up on that hot surface. Need a little more help nailing that authentic bakery look? I found this fantastic guide on their process over here: copycat cookie recipes guide.
Achieving the Signature Thickness in Thick Levain Style Chocolate Chip Walnut Cookies
If you want these to stand tall, you have to treat the shaping stage like a science experiment! Forget perfectly smooth spheres. We are measuring exactly 6 ounces of dough but forming it into a very rough, almost messy dome shape. This lack of smoothing means the dough can’t collapse as easily when it hits the heat. By avoiding compaction, we trap air which forces the cookie upward instead of outward. This one single step is the difference between a beautiful, thick disc and a flat, chewy pancake. Try it; you’ll see the height difference immediately!
If you’re curious about other tricks I use to keep my baked goods perfect, check out my favorite baking secrets for more tips on temperature control!
Tips for Success When Baking Extra Thick Cookies
Listen, baking these **Thick Levain Style Chocolate Chip Walnut Cookies** is all about controlling just a few variables. These aren’t your grandma’s drop cookies; they need a little respect for their structure! If you overlook these final details, you might lose that glorious height!
My biggest secret weapon for consistency in my baking (and this isn’t just for cookies, seriously!) is my oven thermometer. My main oven runs about 25 degrees hotter than it says on the dial, which would absolutely ruin these if I didn’t know. Baking at 410°F needs precision. If your oven is running cool, your cookies will spread out before they set up, and boom—flat cookies!
Also, I cannot stress this enough: the cooling time needs to be respected. That 30 minutes on the pan is non-negotiable. When they first come out, the centers are barely set, and if you try to move them to a cooling rack too soon, they will collapse or tear apart under their own weight. They are fragile, like a newborn! They look gorgeous sitting there, slightly puffed, and as they settle down, the structure firms up perfectly.
Seriously, give them the time-out they deserve on that warm sheet. Once they are firm enough to handle without bending, then you can move them over to a wire rack. If you follow those two things—temperature accuracy and patience during cool-down—you will have perfect, chunky walnut cookies every single time!
Storage and Reheating Instructions for Your Thick Levain Style Chocolate Chip Walnut Cookies
Saving these amazing cookies for later can be tough because they smell so good right now, but trust me, day-old—or even day-two—cookies are still absolutely divine if you store them right. Since these are so rich and soft, we don’t want them drying out or getting weirdly chewy on the edges because of moisture loss.
The best way to keep your bounty of **Thick Levain Style Chocolate Chip Walnut Cookies** fresh is simple: an airtight container at room temperature. Make sure they are completely cool first! If you stack them, use a small square of parchment paper between each cookie. This stops them from sticking together, especially if the chocolate remnants are sticky.
They should stay wonderfully soft for about three to four days this way. I’ve tried freezing them, and honestly, they freeze really well too, separated by wax paper in a freezer-safe bag. They last about two months frozen, which is great for emergency craving situations!
Now, for the best part: reheating! If you’ve stored them and you need that fresh-from-the-oven experience—that molten, gooey center—you have to reheat them. You don’t even need the big oven for this; the microwave is your hero here.
Pop one cookie on a microwave-safe plate and hit it for just 10 to 15 seconds. My microwave is pretty powerful, so I usually start at 10 seconds. You want the chocolate chips to get soft and melty again, but you don’t want the whole structure to heat up too much or they’ll get greasy. That little blast brings back all the softness and richness. It’s like instant gratification, truly!
Frequently Asked Questions About Copycat Cookie Recipes
Why did my Thick Levain Style Chocolate Chip Walnut Cookies spread out and get flat?
Oh, this is the most common heartbroken baker moment! If your cookies spread too much, it almost always comes down to one of three things. First, your butter was too soft—remember, we need that cold butter cubed up! Second, your oven temperature was too low, meaning the edges didn’t set fast enough before the butter melted fully. If you skipped weighing your dough, that certainly doesn’t help achieve the height! For the best results in these copycat cookie recipes, always use a thermometer to check your oven and make sure you are measuring that 6-ounce dough ball precisely.
Do I really need to use both cake flour and all-purpose flour?
Yes, I highly recommend it for these types of extra thick cookies, initially! The all-purpose flour gives us the structure and chew we want in a good chocolate chip cookie, but the cake flour adds softness because it has less protein. This combination is what gives us that unique texture—sturdy enough to stack high, but tender in the center. If you absolutely cannot find cake flour, you can substitute it by taking out two tablespoons of your all-purpose flour and replacing those two tablespoons with cornstarch. It’s not exactly the same, but it helps mimic the tenderness!
Can I really skip the walnuts in these chunky walnut cookies?
You *can*, but I really advise against it if you are trying to replicate the classic experience! The walnuts provide a vital textural counterpoint to all that melted chocolate and soft dough. Without them, the cookie can taste a little overwhelmingly sweet and incredibly soft because there’s nothing firm to break up the richness. If you have an allergy, pecans are a wonderful, readily available substitute in this recipe.
What is the best way to freeze the dough for later?
Freezing the dough is a lifesaver for always having a fresh, gourmet cookie ready to go! Scoop the dough balls onto a baking sheet lined with parchment paper first. Make sure they aren’t touching. Place that entire sheet in the freezer until the dough balls are rock hard—maybe an hour or two. Then, you can transfer those frozen balls into a labeled, airtight freezer bag. When you bake from frozen, just add about 2 to 4 extra minutes to the baking time. You can find more details on my freezing process here: My favorite cookie storage solutions.
Serving Suggestions for Chunky Walnut Cookies
Now that you’ve pulled off the miracle of making these glorious, thick discs of chocolate joy, you deserve a moment to truly savor them! Honestly, I find that a cookie this rich shouldn’t be eaten standing over the sink. It deserves ceremony, even if that ceremony lasts thirty seconds before you inhale it.
The absolute classic pairing, and what I always default to? A tall, frosty glass of cold milk. There is something fundamentally perfect about dunking that thick edge into cold dairy. It softens the edges just enough and cuts through the deep richness of the dark chocolate beautifully. If milk isn’t your thing, a strong, hot cup of black coffee is my other favorite choice.
The bitterness of a well-brewed coffee really highlights those notes in the brown sugar and the walnuts. If you’re feeling extra indulgent—and honestly, why wouldn’t you be after baking something this incredible?—you have to try it warm with a scoop of high-quality vanilla bean ice cream nestled right beside it. The contrast between the warm, slightly gooey cookie and the cold, creamy ice cream is just heavenly. These **chunky walnut cookies** truly shine when paired with something simple and classic!
Share Your Thick Levain Style Chocolate Chip Walnut Cookies Creations
Well, look at you! You’ve successfully conquered the quest for **Thick Levain Style Chocolate Chip Walnut Cookies**! I hope your kitchen smells amazing right now, because mine usually does when I pull a fresh batch. You took basic pantry ingredients and turned them into an absolute showstopper, and that is something to be incredibly proud of.
Now that you’ve had a chance to taste the soft center and admire that incredible height, I’d be so thrilled if you’d take a moment to let me know how you did! Every baker loves feedback, and your success helps others feel confident tackling this recipe too.
If you made these incredible bites, please head down to the rating section below and let me know what you thought! Remember, this recipe yields about 12 gigantic cookies, takes only about 15 minutes of active prep, 13 minutes to bake, and requires a necessary 30 minutes of cooling time before they are ready to handle.
And please, if you took pictures of your massive, perfectly thick cookies, tag me on social media! I absolutely love seeing your creations—especially if you managed to get a picture right when the chocolate was still gooey. Drop a comment below and tell me: what was your absolute favorite part of these cookies? Was it the crunch of the walnuts or that perfect, soft center? I always love hearing the details!
Thick Levain Style Chocolate Chip Walnut Cookies
Ingredients
Equipment
Method
- Preheat your oven to 410 degrees F. Line 2 baking sheets with parchment paper or silicone liners, then set them aside.
- In the bowl of a stand mixer, cream together the butter and both sugars with the paddle attachment on low speed for 30 seconds. Increase speed to medium and beat for another 30 seconds, then increase to high speed for a final 30 seconds. The mixture should look light and fluffy.
- Beat in the eggs, one at a time, scraping down the sides of the bowl with a spatula as needed. Add the vanilla, if using.
- Add the cornstarch, baking soda, salt, cake flour, and all-purpose flour. Mix on low speed until just incorporated. Add the chocolate chips and chopped walnuts and mix until they are just combined. Refrigerate the dough for 15 minutes.
- Using a digital kitchen scale for accuracy, measure out a rough 6 ounce ball of dough. Shape it roughly and place it on the baking sheet. Do not make the dough ball smooth or compacted; form it into a rough ball shape only. Stagger 3 more dough balls on one baking sheet, spacing them about 3 inches apart. You should have 4 dough balls on one baking sheet.
- Bake for 10 to 13 minutes, working with one sheet at a time on the middle rack of the oven. The cookies should look cooked and have a duller finish on the outside while still looking soft and underdone on the inside. Start checking at the 10-minute mark because it is important not to over-bake them. Remember, cookies will continue to finish cooking on the baking sheet after you remove them from the oven.
- Allow the cookies to cool completely on the baking sheet, about 30 minutes, before moving them to a wire rack or storing them. The cookies are very delicate just after baking, so do not disturb them.
Notes
Tried this recipe?
Let us know how it was!
Master of Culinary Visual Arts
My culinary journey started in the fast-paced kitchens of boutique coastal restaurants throughout Southern California, where I learned that beautiful food doesn’t have to be complicated. After nine years of professional cooking, I’ve made it my mission to prove that sophisticated, nutritionally sound meals can be accessible to busy home cooks who refuse to compromise on flavor or visual appeal.
What changed everything for me was watching talented home cooks feel intimidated by healthy cooking. That’s when I transitioned to private instruction, teaching busy professionals and families how to create restaurant-quality meals using simple techniques and ingredients they can actually find at their local grocery store. My “15-minute meal” frameworks are now used by several regional cooking schools!
As a third-generation Mexican-American, I love weaving vibrant Latin flavors into low-carb creations – proving that healthy eating can be both culturally authentic and visually spectacular. My “effortless elegance” philosophy is simple: nutritious food should look as stunning as it tastes, without requiring professional chef skills or expensive equipment.
When I’m not developing recipes in my San Diego coastal kitchen, you’ll find me surfing the local breaks with my Golden Retriever mix, Mango, who’s both my kitchen companion and unofficial taste-testing assistant. My personal low-carb lifestyle started as a way to maintain energy for my active coastal life, and it’s become the foundation for proving that healthy eating enhances rather than restricts life’s pleasures.