
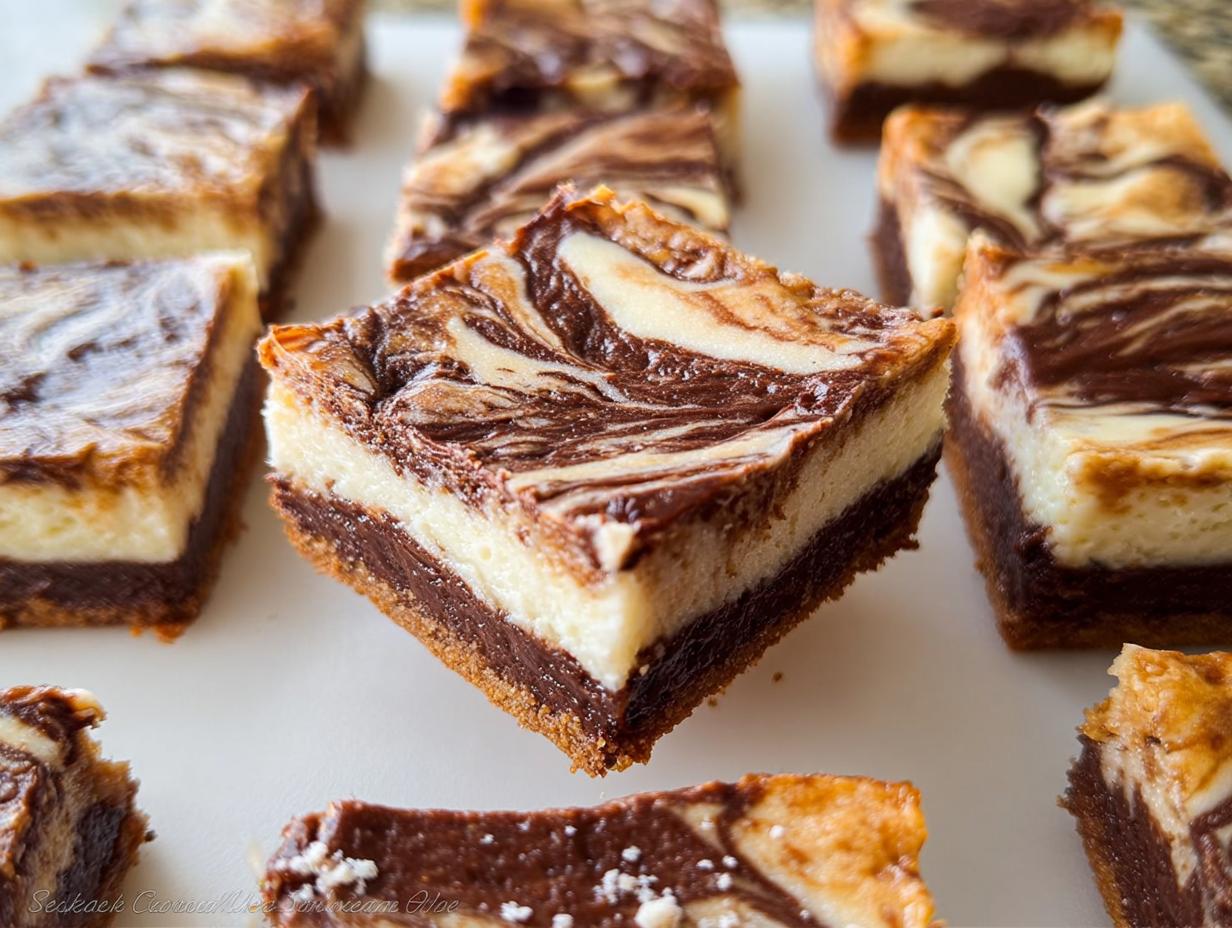
When life gets hectic and the dinner routine turns into a battleground of picky eaters, you just need one simple, foolproof, show-stopping treat. That’s exactly what these Nutella Swirl Cheesecake Bars are! They marry that unbelievably creamy cheesecake texture we all crave with that rich, chocolate hazelnut flavor kids go absolutely wild for. Trust me, these are the easy sliced desserts you’ll be asked to make every single weekend.
I’m Maria Fernandez, and I developed this recipe after one particularly grueling week of meal planning. I needed a win! Rummaging through the pantry sparked the idea—Nutella! The smell as these baked drew my kids right out of their rooms, and the taste? Pure magic. These bars quickly became our family tradition, reminding us that joy doesn’t need to wait for a holiday. They are satisfying perfection!
Why You’ll Love These Nutella Swirl Cheesecake Bars
Honestly, when I pull these out of the fridge, it’s like magic happens in my kitchen. I know you’re busy, so these are designed to deliver maximum flavor payoff for minimum fuss. They truly are the perfect easy sliced dessert for those weeknights!
- They are wonderfully simple to put together—no fancy water baths or worrying about cracks here!
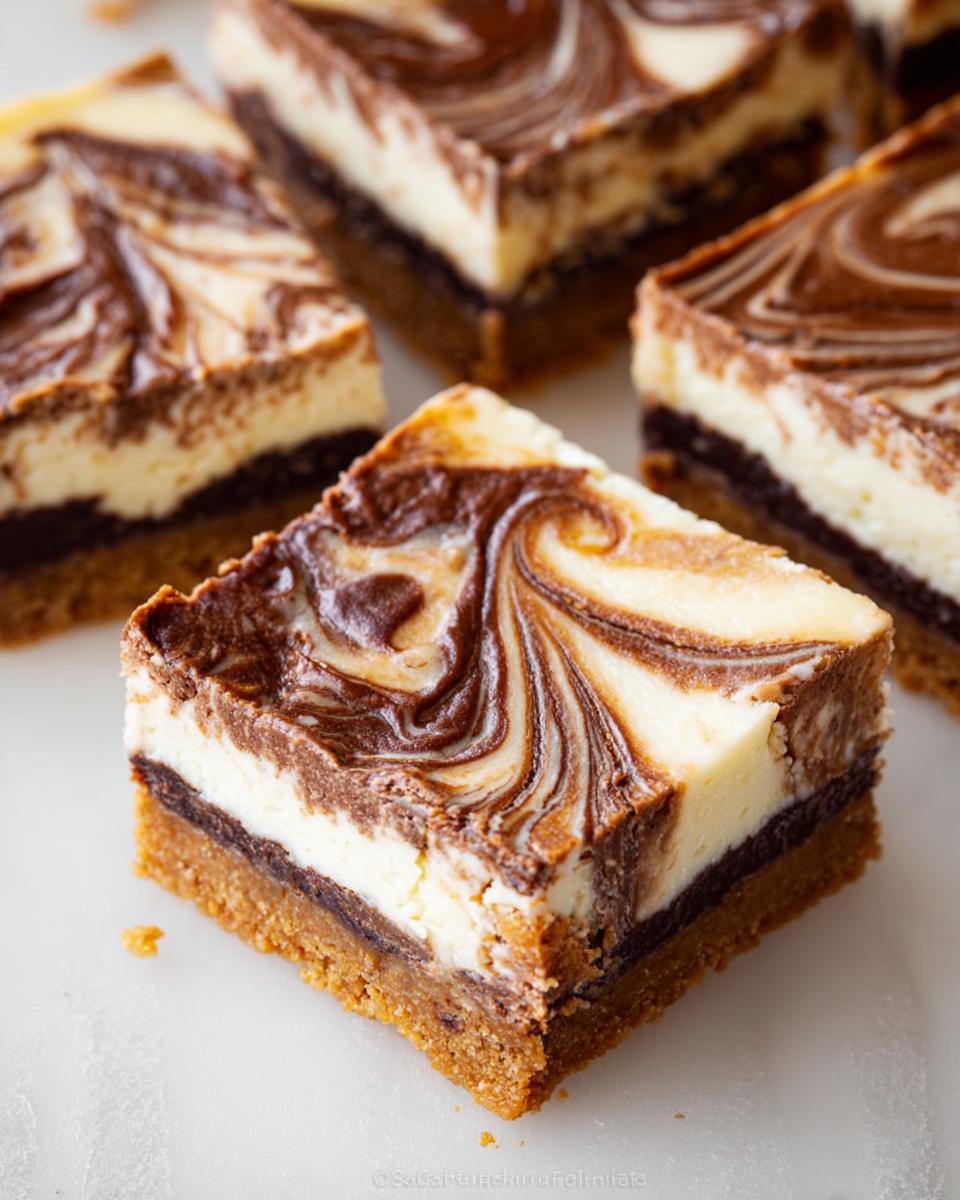
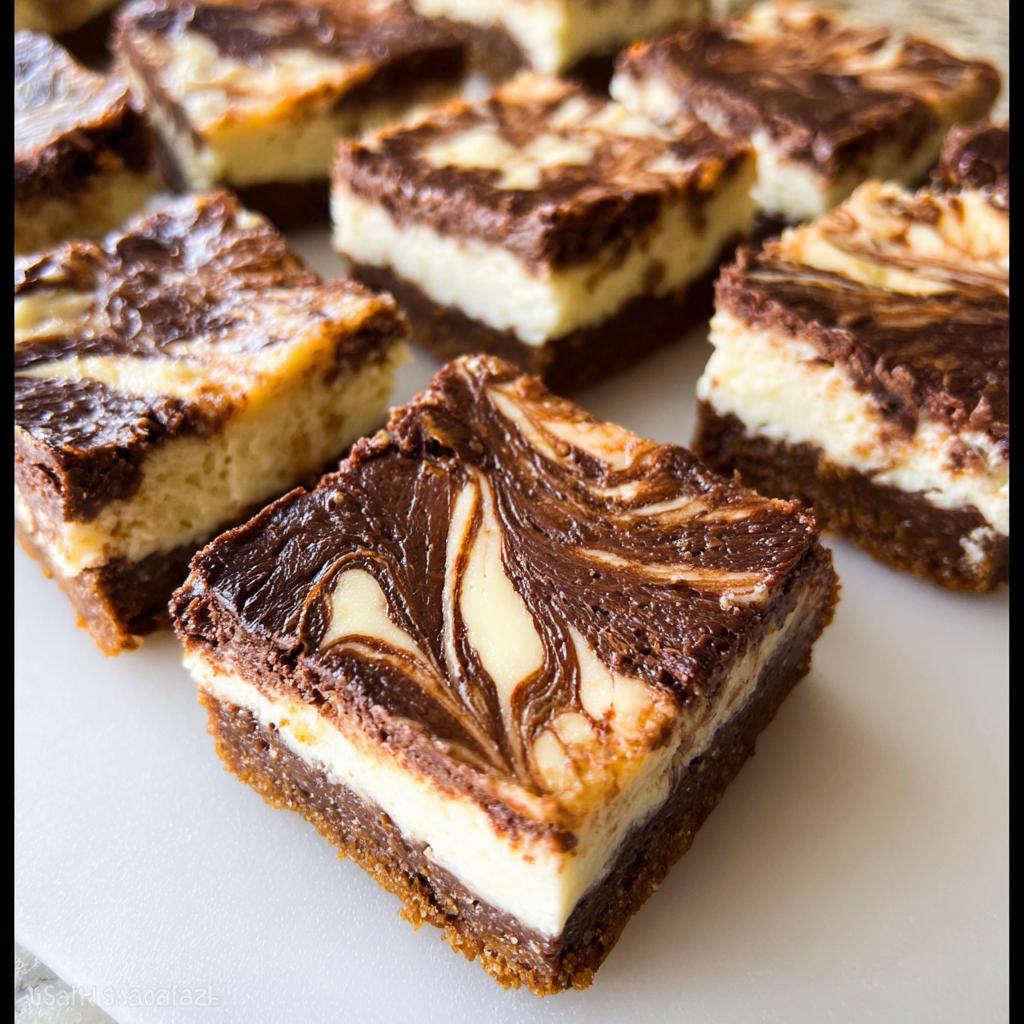
- The buttery graham cracker crust provides the perfect crunchy base for that creamy filling.
- It’s a guaranteed kid-pleaser; what kid doesn’t love Nutella swirled into anything?
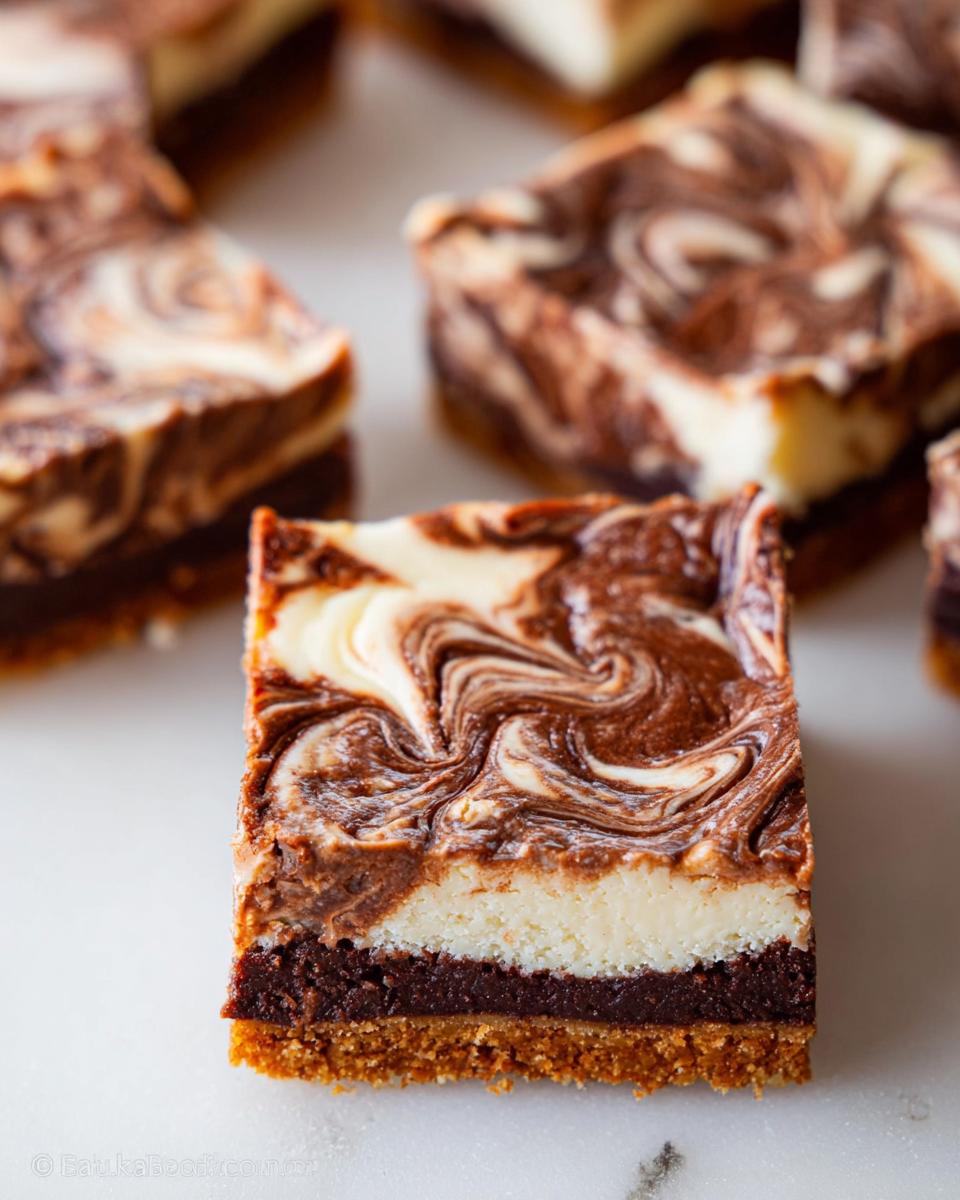
- These bars slice beautifully, making portion control easy (though resisting just one square is tough!).
- The recipe uses basic pantry staples, so you probably have everything you need right now.
- They taste rich and indulgent, perfect for when you need a quick, satisfying chocolate hazelnut treat.
You just mix, swirl, bake, and chill! It’s that easy to make these stellar Nutella Swirl Cheesecake Bars.
Essential Equipment for Perfect Nutella Swirl Cheesecake Bars
One thing I learned early on is that having the right tools makes the difference between a stressed-out baker and a happy one. You don’t need a huge kitchen for this recipe! These Nutella Swirl Cheesecake Bars actually use some of the most basic, must-have items for any real baker.
When gathering supplies, make sure everything is ready to go before you start mixing—it keeps the process smooth, especially when dealing with temperature-sensitive ingredients like cream cheese. Here’s what you’ll need:
- An 8-inch square baking pan. This is key for getting those nice thick bars, so don’t use anything bigger!
- A food processor or blender to get those graham crackers nice and fine for the crust—no one wants giant cracker chunks in their dessert base.
- A hand or sturdy stand mixer. This is essential for whipping the cream cheese until it’s perfectly smooth and lump-free.
- A wire rack for cooling. You have to let the bars cool off outside of the hot pan, which is crucial before that final long chill.
Having these items ready means you can focus on the fun part: swirling that gorgeous Nutella!
Gathering Ingredients for Your Nutella Swirl Cheesecake Bars
Before we dive into the actual baking, we need to get our ingredients lined up! This is so important for making sure these Nutella Swirl Cheesecake Bars come out unbelievably creamy and mix up without any hassle. Don’t skip checking the temperature of your dairy—it really is the secret to avoiding lumps!
If you’re running low on anything, I’ve made sure to include a handy spot to grab what you need right now. Trust me, having your supplies gathered prevents that mid-mix panic! You can check out my favorite brands here: Buy Ingredients.
For the Graham Cracker Crust
The crust is the crunchy hug that holds our cheesecake filling! Remember, we want fine crumbs here—grinding them up well at the start means a solid, uniform base.
- Graham Cracker Crumbs: You’ll need 1.5 cups. That’s about 12 full-sheet graham crackers, ground very fine.
- Unsalted Butter: 6 Tablespoons, and they *must* be melted until liquid.
- Granulated Sugar: Just 1/4 cup to sweeten the crust slightly.
For the Creamy Cheesecake Filling
Okay, pay attention here because this is where texture matters most! For the smoothest, silkiest texture when mixing the filling, both your cream cheese and your egg need to be at full room temperature. Seriously, pull those out an hour before you plan to start!
- Full-Fat Brick Cream Cheese: 16 ounces. It has to be the brick kind, softened completely to room temperature.
- Large Egg: 1 single egg, at room temperature.
- Granulated Sugar: 1/4 cup.
- Pure Vanilla Extract: 2 teaspoons.
- Nutella: 1/3 cup. I like to warm mine up just slightly—it makes it easier to swirl later on.
Step-by-Step Instructions: Making Nutella Swirl Cheesecake Bars
This is where the fun begins! Making these Nutella Swirl Cheesecake Bars is quite straightforward, but the timing is what guarantees that beautiful, crack-free top. We want smooth cheesecake, and that starts with making sure our oven is ready to go! Feel free to check out some of my general baking must-knows here: Baking Tips.
Preparing the Crust and Oven Setup
First things first: turn your oven on! We need it at 350\u00b0F (177\u00b0C). Next, grab that 8-inch square pan and line it completely with parchment paper or foil, making sure you leave some overhang—that’s your handle for lifting the whole thing out later! Now for the crust: mix your graham cracker crumbs, the melted butter, and that 1/4 cup of sugar together until it looks like wet sand. Press it firmly into the bottom of the prepared pan. Pop that crust into the hot oven and bake it for exactly 5 minutes. Take it out and let it cool down while you whip up the creamy topping!
Mixing the Smooth Cheesecake Filling
Now, let’s get that filling unbelievably smooth! Using your hand mixer, start beating the room-temperature cream cheese until it looks creamy and absolutely lump-free. I mean it—no lumps allowed! Once it’s looking perfect, gently mix in the sugar, the vanilla extract, and that one room-temperature egg. Just mix until everything is combined and silky; don’t over-beat once the egg is in, or you might invite too much air in!
Pour this lovely, smooth filling directly over your slightly cooled crust. It should spread out nicely on its own!
Swirling and Baking Your Nutella Swirl Cheesecake Bars
Time for the best part! Take your slightly warmed Nutella and drop spoonfuls all over the top of the cheesecake batter. Now, grab a butter knife or a skewer and gently cut through the batter, moving back and forth just a couple of times to create those gorgeous swirls. Don’t mix it completely, or you’ll lose the swirl effect!
Bake these beauties for 30 to 35 minutes. You’ll know they are done because the edges will look set and slightly browned, even if the very center wiggles just a tiny bit. Once they come out, leave them on the wire rack to cool down for about 30 minutes at room temperature. THEN, cover them and move them to the refrigerator. They need a *minimum* of 3 hours chilling time—I usually leave them overnight, honestly! That chill solidifies everything so you get those clean slices later.
Tips for Success with This Bar Dessert Recipe
Even though these Nutella Swirl Cheesecake Bars are super easy, there are a few little tricks I’ve picked up over the years that make the difference between a good bar and an absolute showstopper. You want that creamy filling and those beautiful layers, right? Here are my non-negotiable tips!
First, let’s talk about ingredients temperature—I mentioned it before, but I can’t stress this enough for any cheesecake adventure. Make sure that brick cream cheese is truly soft, like room temperature butter. Cold cream cheese is the number one reason for weird lumps in your filling. If you rush this, you’re just setting yourself up for extra mixing time, and nobody wants that!
The Secret to Preventing Cracks
Cheesecake bars tend to crack when they bake too fast or cool down too suddenly. Since we aren’t using a water bath for this easy sliced dessert, we control the temperature gently. Don’t open that oven door for at least the first 25 minutes of baking! Then, when they start to set, turn the oven off completely but leave the bars inside for another 10 minutes with the door slightly ajar. This slow transition from hot to room temperature is what keeps the top smooth and crack-free.
Ensuring the Perfect Swirl on Your Nutella Cheesecake
When spreading that beautiful Nutella on top, remember you aren’t making a marble cake; you want distinct ribbons of flavor. After dropping the Nutella dollops, use a thin knife—a sharp paring knife works best—and gently drag it through the batter no more than twice in the same direction. If you over-swirl, the Nutella just blends into a uniform brown, and you lose the visual excitement of these chocolate hazelnut treats.
Mastering the Clean Cut
This often trips people up! If you try to cut these chilled bars straight from the fridge, you end up with messy smears. Wait until you’ve chilled them for at least 3 hours. Then, the secret: run your sharp knife under really hot water, wipe it completely dry, and then make one clean slice. Repeat this process—hot, dry, cut—for every single line. This releases the cheesecake cleanly and gives you those gorgeous, photo-ready edges for slicing your easy sliced desserts.

Storing and Keeping Your Chocolate Hazelnut Treats Fresh
You deserve a break, so yes, you can absolutely make these ahead of time! That’s the beauty of a good bar dessert recipe like these Nutella Swirl Cheesecake Bars.
Once they are completely chilled—and I mean chilled solid—carefully lift them out of the pan using that parchment paper handle we left! Store them in a single layer in an airtight container right in the refrigerator. They stay perfectly creamy and delicious for up to five days. Seriously, they taste even better on day two!
If you need to keep them longer, they freeze like a dream, too! Just wrap individual squares tightly before freezing.
Frequently Asked Questions About nutella cheesecake
When you’re making something as fun as these Nutella Swirl Cheesecake Bars, sometimes little questions pop up! And since I’m always in the kitchen testing things out, I have a few answers ready for you. These questions usually come up when I’m trying to adapt a recipe for a last-minute request or for storage!
Can I use light cream cheese in this bar dessert recipe?
Oh, that’s a great question for the busy parent looking to save a few calories. While you absolutely *can* use light cream cheese, I wouldn’t recommend it if you’re aiming for that classic, rich texture. Light cream cheese has more water content, and when baked, it tends to weep or result in a much softer, almost pudding-like filling rather than a firm structure. For the best results in this bar dessert recipe, please stick to the full-fat brick cream cheese! It provides the necessary density and creaminess we expect.
What is the best way to get clean slices for these easy sliced desserts?
This is my favorite troubleshooting tip because nobody wants a messy bar on the plate! The secret isn’t just the chilling time—though that three-hour minimum is a must for these easy sliced desserts. The real trick is the knife. You must use a very sharp, thin knife, and you have to run it under hot, hot water until it’s steaming, quickly wipe it dry, and then slice. You repeat that hot-water rinse and dry step for every single cut you make. It melts just enough of the filling at the cutting edge to slice right through without sticking or dragging the Nutella swirl.
Can I freeze the Nutella Swirl Cheesecake Bars?
Yes, you certainly can! These chocolate hazelnut treats freeze beautifully, which is perfect for prepping ahead for a party. Once the bars are completely chilled and cut into squares, wrap each individual square tightly in plastic wrap first. Then, place those wrapped bars into a freezer-safe, airtight container or a heavy-duty zip-top bag. They last wonderfully for up to two months in the freezer.
When you’re ready to eat them, just transfer the frozen, wrapped squares to the refrigerator overnight to thaw slowly. They should be perfect by morning, just as creamy as when they were first made!
Nutritional Estimate for Nutella Swirl Cheesecake Bars
Now, I know what you’re thinking! As a mom who tries to stay on top of what my family eats, I always check the nutrition facts, but I only bake these bars for special treats—they are definitely an indulgence! Remember, these numbers are always an estimate because brands vary, and nobody is measuring their graham cracker crumbs down to the exact gram!
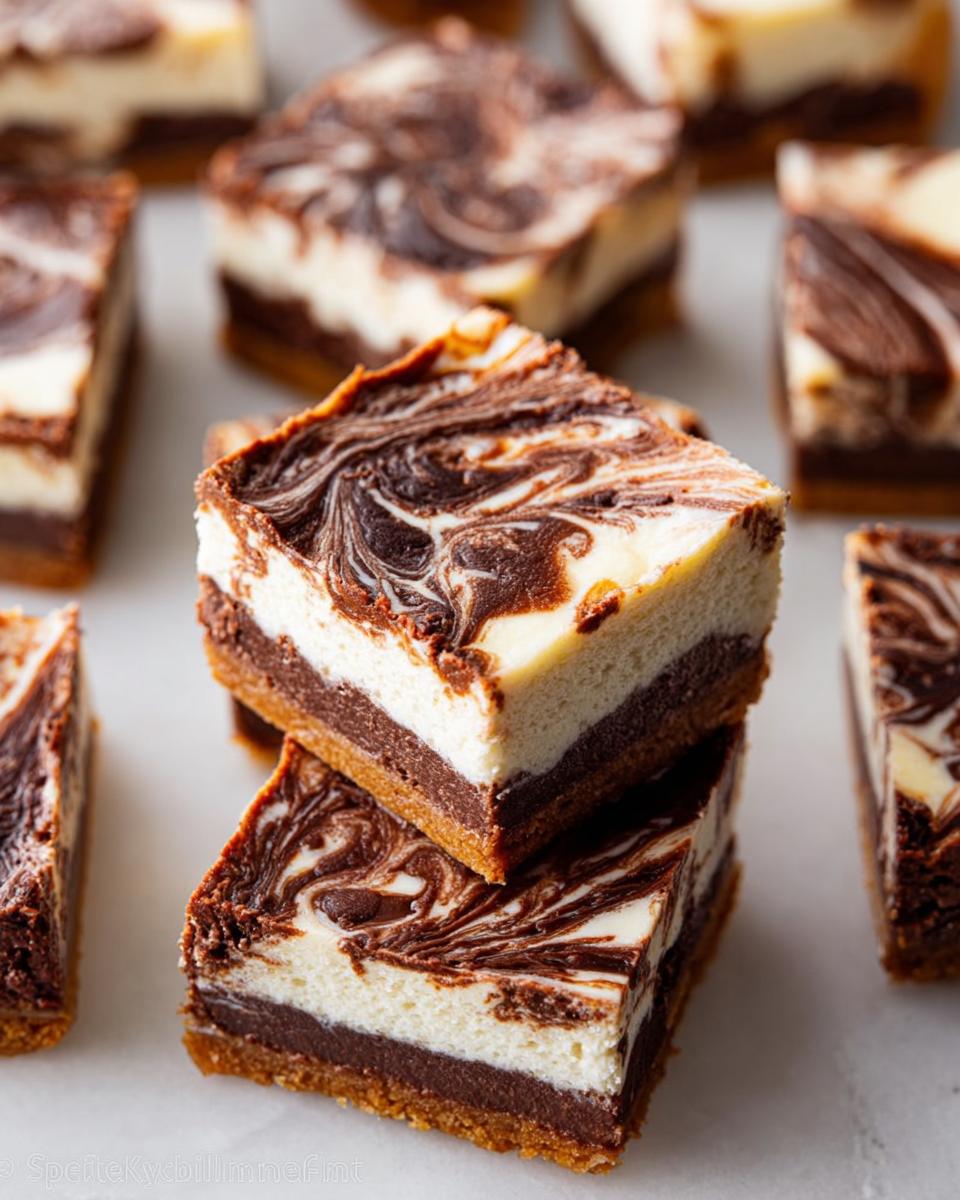
But for tracking purposes, if you cut the batch exactly into 16 squares, here is a rough idea of what you’re looking at per serving of these super satisfying Nutella Swirl Cheesecake Bars, based on the standard ingredients we used. It helps me budget my sweetness for the week, you know?
- Calories: Approximately 240-260 kcal
- Total Fat: Around 15g
- Protein: About 4g
- Total Carbohydrates: Near 23g
Because we use full-fat cream cheese and butter, these are richer than a typical low-fat dessert, but that’s what makes them so incredibly creamy and worthwhile! Everything in moderation, right? Enjoy this little slice of heaven!
Share Your Family’s Sweet Moments
I truly hope making these Nutella Swirl Cheesecake Bars brings as much spontaneous joy to your house as they do to mine! My favorite part of sharing these recipes isn’t just seeing the beautiful finished product; it’s hearing about the moments they create.
Did your kids rush into the kitchen when they smelled the cheesecake baking? Did you find the perfect time to sneak a piece after a long day? I want to hear all about it! Please take a moment to leave a star rating for the recipe right here on the page, and tell me in the comments section below how they turned out for your crew.
If you snapped a picture of those gorgeous swirls before everyone dove in, tag me on social media! Sharing our family successes, whether it’s a complicated roast or just these simple chocolate hazelnut treats, is what makes my day. I’m so excited for you and your family to enjoy every creamy, crunchy bite!
Nutella Swirl Cheesecake Bars
Ingredients
Equipment
Method
- Preheat your oven to 350°F (177°C). Line an 8-inch square baking pan with parchment paper or aluminum foil, leaving overhang on the sides. Set the pan aside.
- Make the crust: Grind the graham crackers into a fine crumb using a food processor or blender. Place the crumbs in a medium bowl and mix them with the melted butter and sugar. Press this mixture firmly into the bottom of the lined pan. Bake the crust for 5 minutes. Let it cool while you prepare the filling.
- Make the filling: Beat the cream cheese, egg, sugar, and vanilla extract together using a hand or stand mixer until the mixture is smooth and creamy, which takes about 3 minutes. Spoon the filling evenly over the cooled crust. Drop large spoonfuls of Nutella on top of the filling and use a knife to swirl it gently.
- Bake for 30 to 35 minutes, or until the cheesecake has set and the edges are lightly browned. The bars will look puffy but will settle slightly as they cool. Allow the bars to cool for 30 minutes at room temperature on a wire rack, then chill them in the refrigerator for a minimum of 3 hours. Lift the foil or paper out of the pan and cut the bars into squares.
- Store the bars in a covered container in the refrigerator for up to 5 days.
Notes
Tried this recipe?
Let us know how it was!
Certified Family Nutrition Strategist
My path into family nutrition began working with Phoenix Area Family Services, where I saw how traditional nutrition advice often ignored real-world constraints like budget limitations, time crunches, and kids who refuse to eat anything green. That experience sparked my mission to develop meal planning systems that work with family realities, not against them.
Over eight years, I’ve helped hundreds of families reduce grocery spending by 25% while dramatically improving their nutrition. My meal planning frameworks have been adopted by local wellness centers because they actually work for busy parents juggling different ages, preferences, and dietary needs in one household.
As a bilingual first-generation Mexican-American and mother of three, I personally navigate the daily challenge of feeding a family nutritiously while honoring cultural traditions and managing a household budget. My “kid-friendly low-carb” protocols show families how to gradually introduce healthier options without triggering mealtime battles or abandoning beloved family recipes.
My “realistic wellness” philosophy is straightforward: health improvements must work within existing family dynamics and financial realities to be truly sustainable. When I’m not developing meal planning systems, I’m creating portable trail snacks for our weekend family hiking adventures – because healthy eating should fuel the life you want to live.
My personal low-carb journey started after pregnancy as a way to regain energy for active parenting, and that experience continues to inform my professional commitment to making healthy eating feel supportive rather than burdensome for busy families.