
Oh, Thanksgiving! The king of all holidays, right? And what’s a Thanksgiving table without *perfect* stuffing? Trust me, I know. I fondly remember the first Thanksgiving I hosted after becoming a mom. It was pure chaos – tiny humans everywhere, last-minute shopping trips, and just general madness. But amidst it all, I decided to tackle my grandmother’s stuffing recipe. I remember fiddling with ingredients, adding a little extra of this, a pinch of that, and you know what? It turned out absolutely incredible! My kids, bless their little hearts, were raving about it, and that feeling was just unforgettable. It really hammered home that cooking for family, even when life is crazy, is so special. That’s why I’m so excited to share how to make stuffing recipes like a pro (2025) with you today, with simple, actionable tips that honor tradition while making it your own. You’ve got this!
Why This How to Make Stuffing Recipes Like a Pro (2025) Guide is Your Secret Weapon
So, why bother with this guide? Because making stuffing *like a pro* doesn’t have to be complicated! Whether you’re a seasoned cook or just starting out, this guide is your secret weapon for a Thanksgiving side dish that will have everyone asking for seconds. You’ll learn:
- How to easily achieve that perfect, not-too-soggy, not-too-dry stuffing texture.
- Simple tricks to boost flavor and make your stuffing truly unforgettable.
- Ways to honor family traditions while maybe adding a little *your* flair.
- How to avoid those common stuffing blunders that can ruin your holiday feast.
Get ready to impress, because with these tips, you’ll be making stuffing like a pro in no time!
Mastering Your Stuffing Base: The Foundation of Flavor
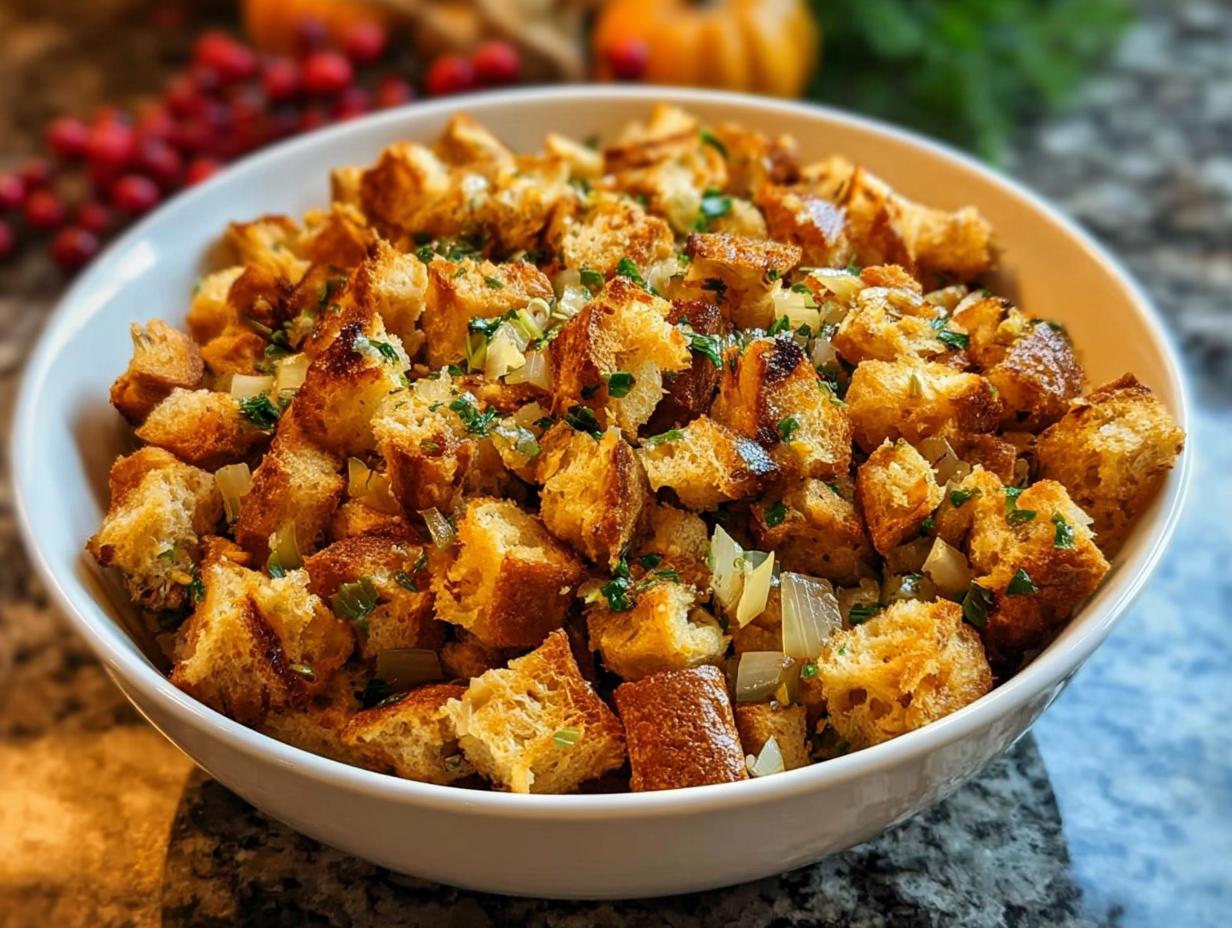
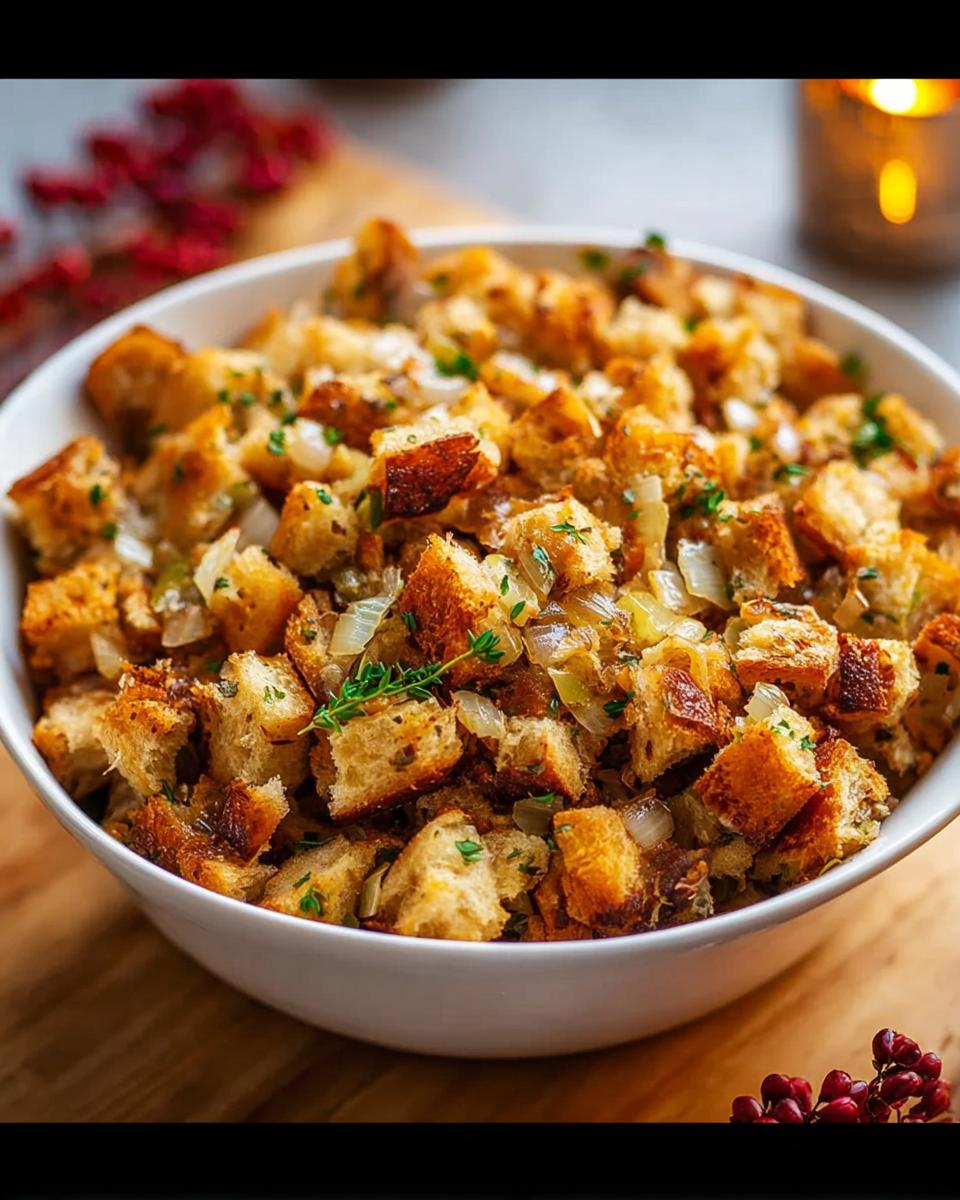
Okay, let’s talk about the absolute heart of any amazing stuffing: the bread! This isn’t just any old bread; it’s the foundation, the stage where all those yummy flavors get to shine. The biggest secret? You absolutely, positively need *dry* bread. Fresh bread is a soggy disaster waiting to happen. That’s why we have that “Bread Drying Time” listed – it’s super important! You can either leave your bread out for a day or two, or do what I like to do and toast it in the oven. It just makes sure that bread cube is ready to soak up all the delicious broth and aromatics without turning into mush. Trust me on this one!
When it comes to choosing bread, don’t be afraid to get a little creative! Classic white bread or sourdough works like a charm, but you could also try a nice challah or even a rustic country loaf. The key is a bread that has some structure. We don’t want anything too airy or delicate. And for that perfect texture? Aim for cubes that are sturdy but still have a little give – not rock hard, but definitely not squishy. It’s all about getting that balance right so your stuffing isn’t heavy, but it’s also not falling apart. You can find more awesome tips on getting that perfect base right here!
Ingredient Selection for Unforgettable Stuffing
Alright, let’s talk about what makes stuffing truly sing – the ingredients! It’s not just about throwing things together; it’s about choosing the right players for your flavor team. First off, butter is non-negotiable. It gives that rich, decadent base that just can’t be faked. Then we have our aromatics: onions and celery. Chopping them nice and small means they’ll soften up beautifully and melt into the stuffing, adding that sweet, savory foundation. Yum!
Now, for the herbs! Fresh parsley, sage, and thyme are my go-to. They bring this bright, earthy flavor that just screams holiday. Don’t skimp on them! And the broth? Use good quality chicken or vegetable broth. It’s what brings everything together and gives your bread that perfect moisture. As a Certified Family Nutrition Strategist, I always tell families to think about quality ingredients because they really do make a difference. You can find some other simple ingredient ideas here, but for stuffing, fresh really is best!
Step-by-Step: How to Make Stuffing Recipes Like a Pro (2025)
Alright, let’s get down to business and make this stuffing shine! Follow these steps, and you’ll see just how easy it is to whip up a stuffing that tastes like you’ve been doing it forever. It’s all about good technique!
Prep Your Bread: The Crucial First Step
First things first, dry out those bread cubes! This is HUGE for stuffing. Whether you leave them out for a day or two or give them a quick toasting in the oven at 250°F (120°C) for about an hour, making sure they’re dry means they’ll soak up all that amazing flavor instead of turning into mush. It’s like building a sponge that’s ready for all the goodness!
Sautéing Aromatics for Depth of Flavor
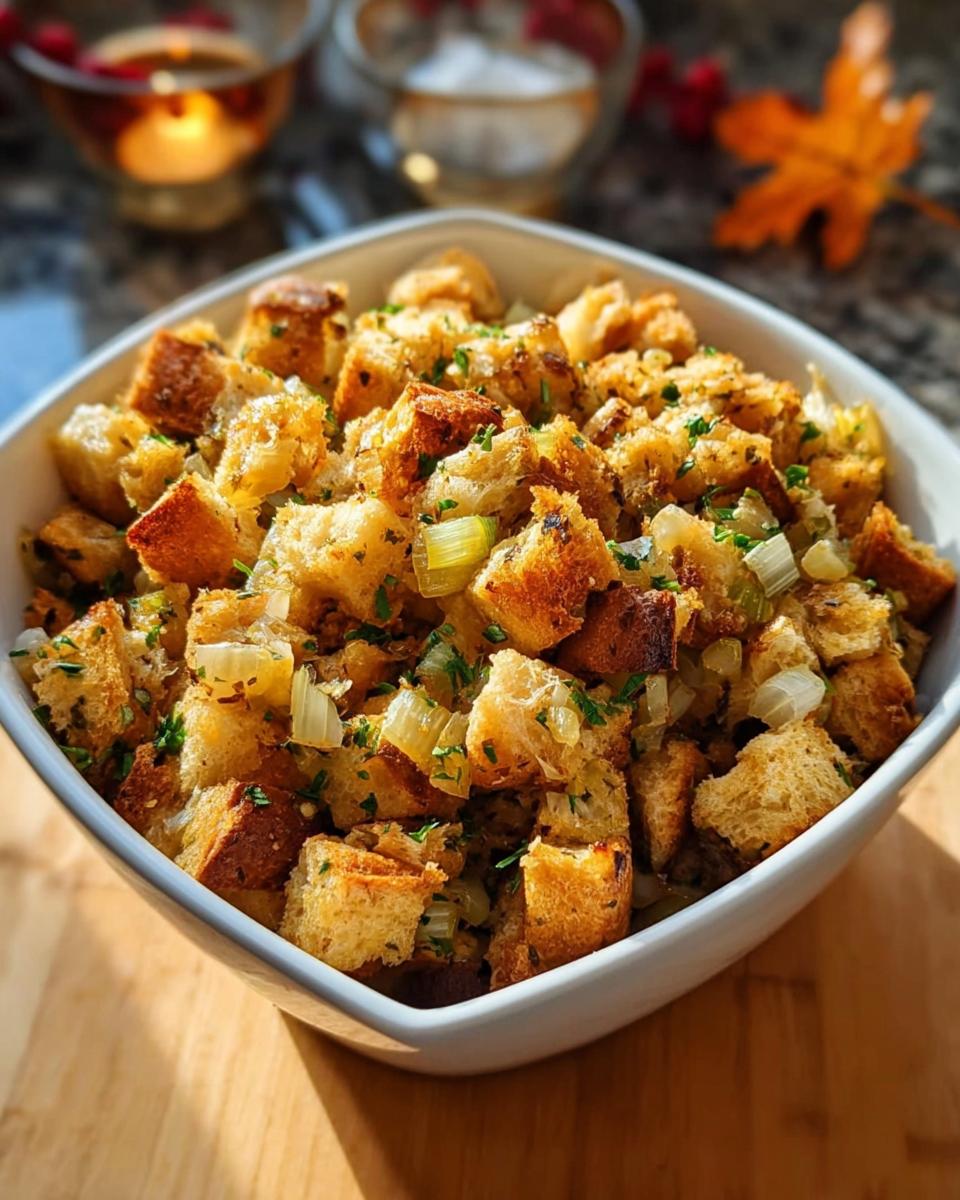
Next, let’s build some flavor! Melt that butter in a big skillet over medium heat. Toss in your chopped onions and celery and cook ’em until they’re nice and soft, usually about 5-7 minutes. We want them tender and sweet, not browned and bitter. Pro tip: try to chop your veggies into similar-sized pieces so they cook evenly!
Combining Ingredients for the Perfect Mix
Now, grab a large bowl and dump in those lovely soft veggies. Add your dried bread cubes, all those fresh chopped herbs like parsley, sage, and thyme, plus the poultry seasoning, salt, and pepper. Give it a gentle toss here. We don’t want to mash our bread; we want to lightly combine everything so those delicious herbs and spices get distributed throughout.
Achieving the Ideal Moisture Level
This is where the magic happens! Start adding your chicken or vegetable broth, just a little bit at a time. You want the stuffing to be moist, not swimming. Think of it as waking up the bread. I usually start with about half a cup and see how it goes. As Maria Fernandez often says, you’re looking for it to be damp but not soggy – a little bit of give! Add more broth slowly until it feels *just* right for your preference.
Baking or Stuffing: The Final Touches
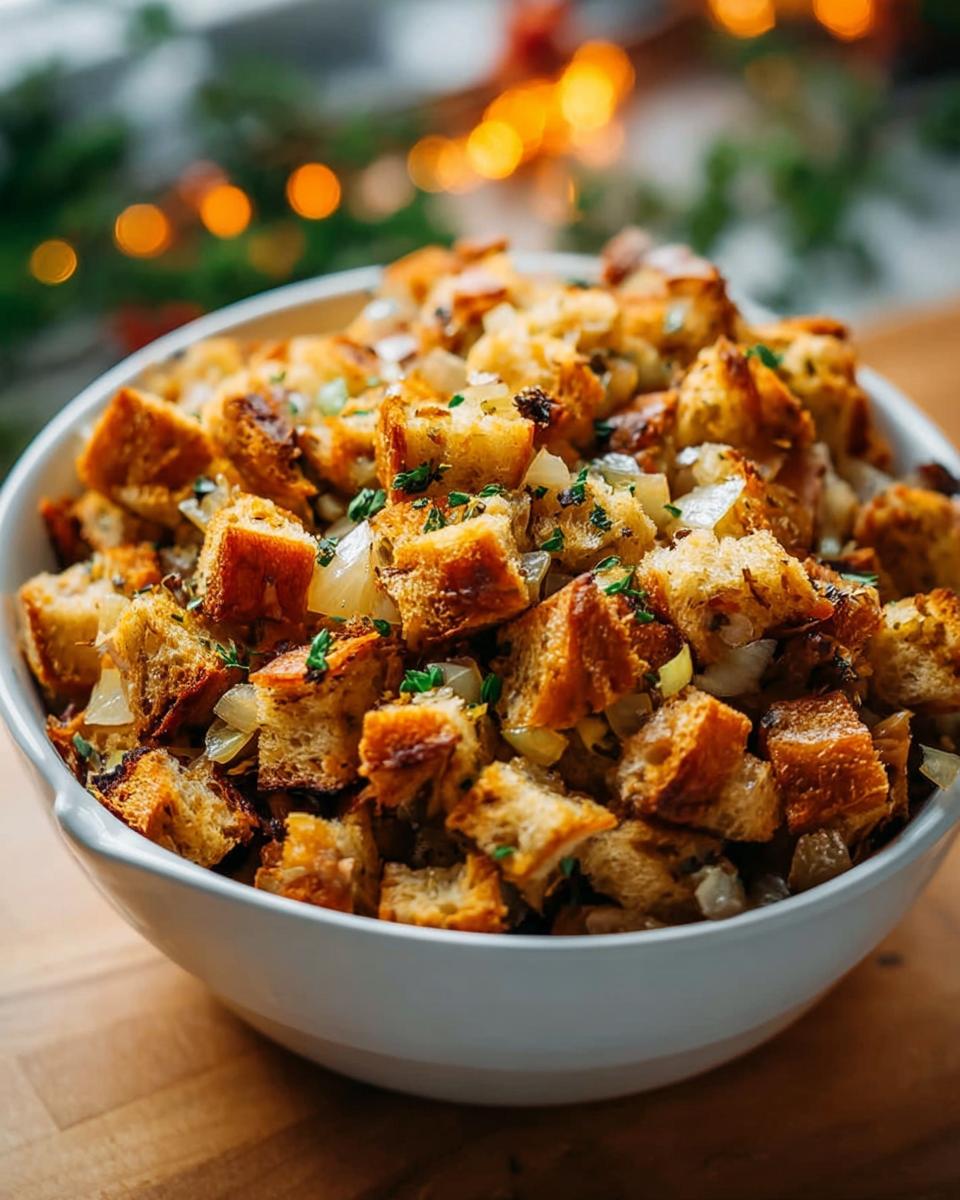
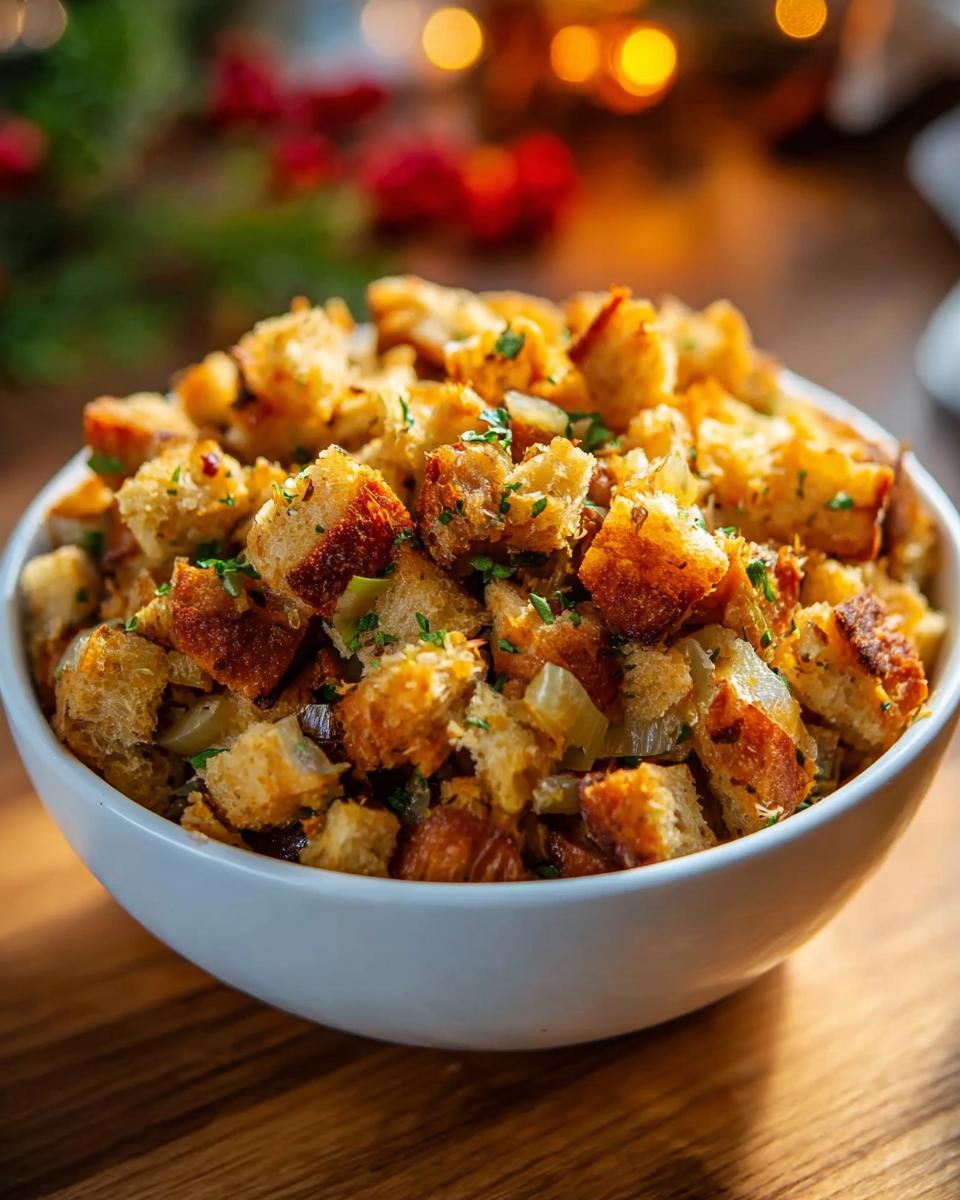
Now you’ve got two paths! If you’re stuffing your turkey, do it just before it goes into the oven. If you prefer baking it separately—which makes for a crispier top, by the way!—transfer everything to a greased baking dish and spread it out evenly. Bake it at 350°F (175°C) for about 30-40 minutes until that top layer is golden brown and delicious. If it’s inside the turkey, make sure it hits 165°F (74°C) for food safety. You can find more great ideas for one-pan meals here, and if you need more stuffing inspiration, this article at twinklingrecipes.com has tons!
Tips for How to Make Stuffing Recipes Like a Pro (2025)
Want to take your stuffing from “pretty good” to “OMG, I need the recipe NOW”? It’s all about those little chef secrets! For starters, if you can swing it, use homemade broth. It adds this incredible depth of flavor that store-bought just can’t touch. Think of it as adding liquid gold! And don’t be afraid to mix things up. Adding some crumbled cooked sausage, sautéed mushrooms, or even a handful of toasted pecans can seriously elevate your stuffing game. I always love a crispy top, so I make sure to spread my stuffing in the baking dish in an even layer. Sometimes, I’ll even toss a little extra butter on top right before it goes in the oven. Oh, and if you want to make your own seasoning blend, check out this homemade dry au jus seasoning mix – it’s fantastic in stuffing!
Frequently Asked Questions About Stuffing
Got questions about stuffing? I totally get it! It’s one of those dishes where a little tweak can make a big difference. Here are some common ones I get:
Can I use fresh bread for stuffing?
Oh, I really don’t recommend it! Fresh bread turns into mush – it just won’t hold its shape or soak up flavor properly. Stick to day-old or dried-out bread for the best results. If you *must* use fresh, try to toast it well first!
How do I make stuffing ahead of time?
Absolutely! You can mix the dry ingredients and wet ingredients separately, store them in the fridge, and combine them just before baking. Or, bake it completely, let it cool, cover it tightly, and reheat in the oven. Just make sure it’s sealed well to keep it moist! You can find great make-ahead ideas here.
What are some popular variations for stuffing?
So many! Crumbled sausage is a classic for a reason – it adds incredible flavor. Sautéed mushrooms, apples, cranberries, or even a sprinkle of toasted nuts like pecans or walnuts can really make it special. Different bread types, like cornbread, also give it a whole new vibe!
How do I ensure my stuffing is moist but not soggy?
The key is adding your broth *gradually*. Start with less and add more only if needed until it’s moist but still holds its form. If it seems a bit dry after baking, just drizzle a little extra warm broth over the top. If it’s too soggy, unfortunately, it’s hard to rescue, which is why starting with dry bread is so important!
Nutritional Information
Wondering about the deets? For a serving of this delicious stuffing, you’re looking at roughly 250-300 calories, about 10-15g of fat, 5-8g of protein, and around 30-40g of carbohydrates. Keep in mind these are estimates, and they can totally change depending on the butter, broth, and bread you use. It’s a hearty side that’s worth every bite, though!
Serving and Storage
This stuffing is honestly a star all on its own, but it’s AMAZING next to roasted turkey or chicken, mashed potatoes, or even a hearty pot roast. It’s the perfect comforting side dish for any festive meal! If you happen to have any leftovers (which is rare in my house!), don’t fret. Just pop it into an airtight container and pop it in the fridge. It’ll keep for about 3-4 days. To reheat, I love spreading it out in a baking dish and warming it in the oven at around 350°F (175°C) until it’s heated through and nice and crispy on top again. You can also microwave it, but you might lose some of that lovely crunch. For more ideas on pinning down your whole meal, check out these dinner ideas for busy weeknights!

How to Make Stuffing Recipes Like a Pro (2025)
Ingredients
Equipment
Method
- Dry your bread cubes. You can leave them out for 1-2 days or toast them in an oven at 250°F (120°C) for 45-60 minutes, stirring occasionally, until dry.
- Melt butter in a large skillet over medium heat. Add chopped onions and celery. Cook until softened, about 5-7 minutes.
- Transfer the cooked vegetables to a large bowl. Add the dry bread cubes, chopped fresh herbs (parsley, sage, thyme), poultry seasoning, salt, and pepper. Mix gently to combine.
- Gradually add chicken or vegetable broth, starting with 1/2 cup, and mix until the stuffing is moist but not soggy. Add more broth if needed, a little at a time.
- If stuffing the turkey, do so just before roasting. If baking separately, transfer the stuffing to a greased baking dish and spread evenly.
- Bake the stuffing in a dish at 350°F (175°C) for about 30-40 minutes, or until the top is golden brown and crisp. If stuffed in the turkey, ensure the stuffing reaches an internal temperature of 165°F (74°C).
Notes
Tried this recipe?
Let us know how it was!
Certified Family Nutrition Strategist
My path into family nutrition began working with Phoenix Area Family Services, where I saw how traditional nutrition advice often ignored real-world constraints like budget limitations, time crunches, and kids who refuse to eat anything green. That experience sparked my mission to develop meal planning systems that work with family realities, not against them.
Over eight years, I’ve helped hundreds of families reduce grocery spending by 25% while dramatically improving their nutrition. My meal planning frameworks have been adopted by local wellness centers because they actually work for busy parents juggling different ages, preferences, and dietary needs in one household.
As a bilingual first-generation Mexican-American and mother of three, I personally navigate the daily challenge of feeding a family nutritiously while honoring cultural traditions and managing a household budget. My “kid-friendly low-carb” protocols show families how to gradually introduce healthier options without triggering mealtime battles or abandoning beloved family recipes.
My “realistic wellness” philosophy is straightforward: health improvements must work within existing family dynamics and financial realities to be truly sustainable. When I’m not developing meal planning systems, I’m creating portable trail snacks for our weekend family hiking adventures – because healthy eating should fuel the life you want to live.
My personal low-carb journey started after pregnancy as a way to regain energy for active parenting, and that experience continues to inform my professional commitment to making healthy eating feel supportive rather than burdensome for busy families.