
You know that feeling when you taste something so perfectly seasoned, so rich and comforting, that you just *have* to recreate it? That’s exactly how I felt after a magical Thanksgiving dinner at a tiny bistro in Barcelona years ago. The star of the show? Their incredible stuffing. It was so good, it honestly changed how I thought about this classic side! That experience sparked this whole journey into making amazing Restaurant-Style Stuffing Recipes at Home (2025). Coming from a Lebanese-Italian background, food has always been about bringing people together, and my stuffing recipes are a little blend of that homemade love with that special restaurant flair. Get ready to wow everyone this holiday season, because this isn’t just stuffing; it’s a memory maker.
Why You’ll Love These Restaurant-Style Stuffing Recipes at Home (2025)
Seriously, this stuffing is a game-changer for your holiday table! You’re going to love how:
- It’s surprisingly easy to whip up, even with all those other Thanksgiving dishes going on. Trust me, you won’t need chef skills!
- The flavor is just *chef’s kiss* – totally authentic and comforting, like that perfect bite you get at your favorite restaurant.
- It’s the ultimate crowd-pleaser; I’ve never met anyone who didn’t ask for seconds!
- It makes your home smell absolutely divine. Seriously, the aroma alone is worth it!
Gather Your Ingredients for the Best Restaurant-Style Stuffing
Okay, are you ready to make some magic happen? To get that incredible restaurant-style stuffing you’ve been dreaming of, you’ll need a few simple, but super important, ingredients. Don’t worry, it’s all pretty basic stuff you can find anywhere, but it’s how we put them together that makes all the difference! Make sure you’ve got these on hand:
For the Stuffing:
- About 30 slices of white bread – these need to be dried out until they’re really hard, like little croutons!
- 2 tablespoons of butter
- 1 big onion, chopped up super fine
- 2 stalks of celery, also chopped nice and small
- 2 cups of good chicken broth
- 2 large eggs, whisked up a bit
- 2 tablespoons of water (this is just in case things look a little dry)
- 2 teaspoons of rubbed sage – this is key for that classic flavor!
- 1 teaspoon of garlic powder
- And of course, salt and pepper to taste – don’t be shy!
Step-by-Step Guide to Making Restaurant-Style Stuffing at Home
Alright, let’s get down to business and make this stuffing happen! It really isn’t complicated, just a few key steps that make all the difference. My secret? Patience with the bread drying – it’s totally worth it!
-
First things first, let’s get that bread ready. Spread your 30 slices of white bread out on baking sheets. You want them to get nice and hard, so leave them out at room temperature until they’re completely dried out. Trust me, this takes about 24 hours, but don’t skip this part – it’s what gives you that perfect stuffing texture!
-
Once your bread is good and hard, it’s time to get the oven going. Preheat it to 325 degrees F (165 degrees C). While that’s warming up, lightly grease a 9×13-inch baking dish. Think of it as prepping the stage for our delicious stuffing star!
-
Now, take those dried-out bread slices and crush ’em up! The easiest way is with a rolling pin – just go to town until they’re mostly crumbs. You can leave a few slightly bigger chunks for texture; I sometimes like those little surprises!
-
Melt your butter in a medium saucepan over medium heat. Toss in your finely chopped onion and celery. Cook and stir these guys until they’re nice and soft, usually about 5 to 7 minutes. You want them tender, not browned. Once they’re ready, take the pan off the heat and drain off any extra liquid.
-
Time to bring it all together! In a big bowl, combine your bread crumbs with the chicken broth and the lightly beaten eggs. Mix it all up until everything is nicely moistened, but we don’t want soggy bread here, so just mix until it comes together. If it seems a bit dry, add that optional water, a tablespoon at a time. Now, gently stir in your cooked onion and celery mixture, the rubbed sage, and the garlic powder. Give it a good season with salt and pepper – taste it and adjust until it’s just right for you!
-
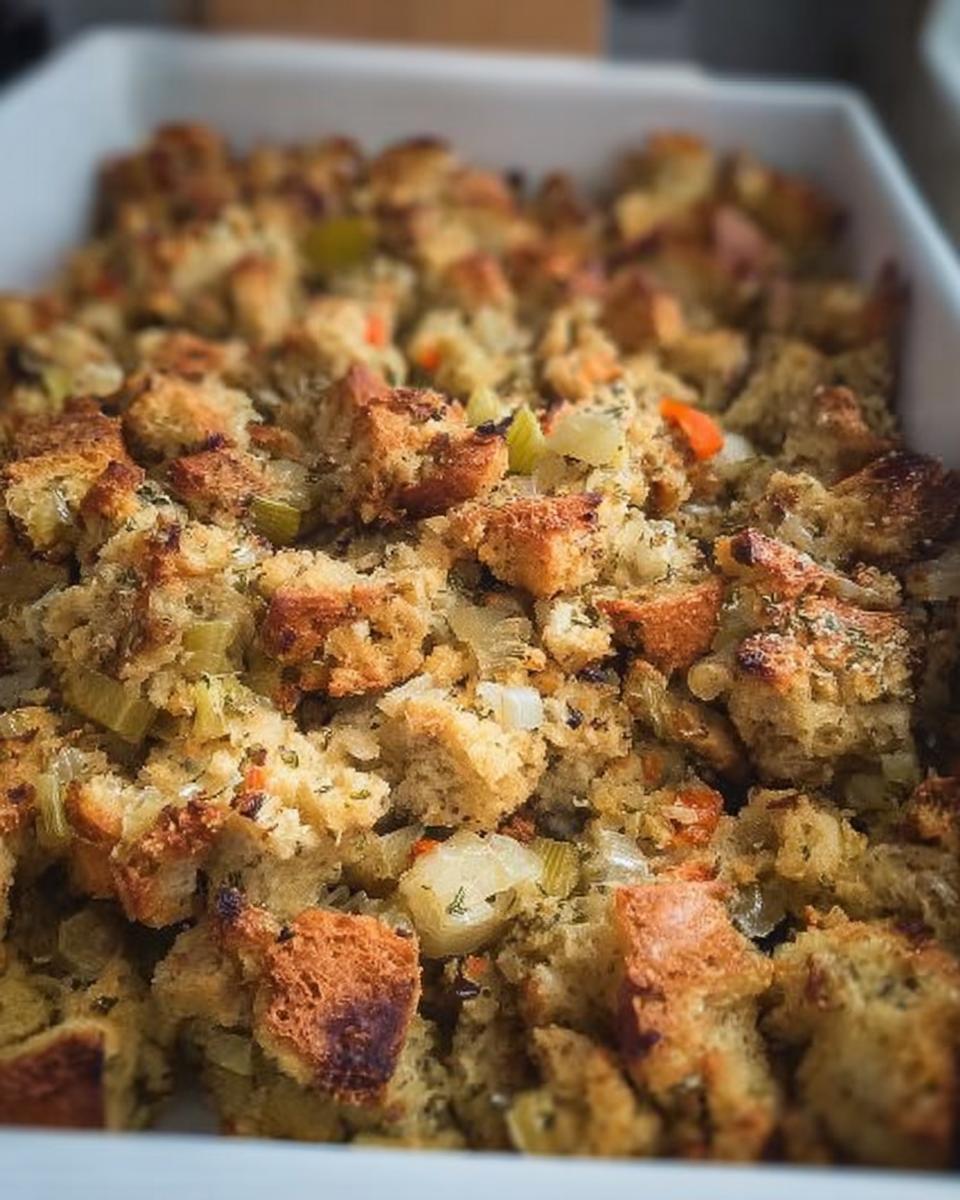
Once it’s all mixed perfectly, press the stuffing mixture evenly into that prepared baking dish. Make sure it’s packed down a bit so it holds together nicely while it bakes.
-
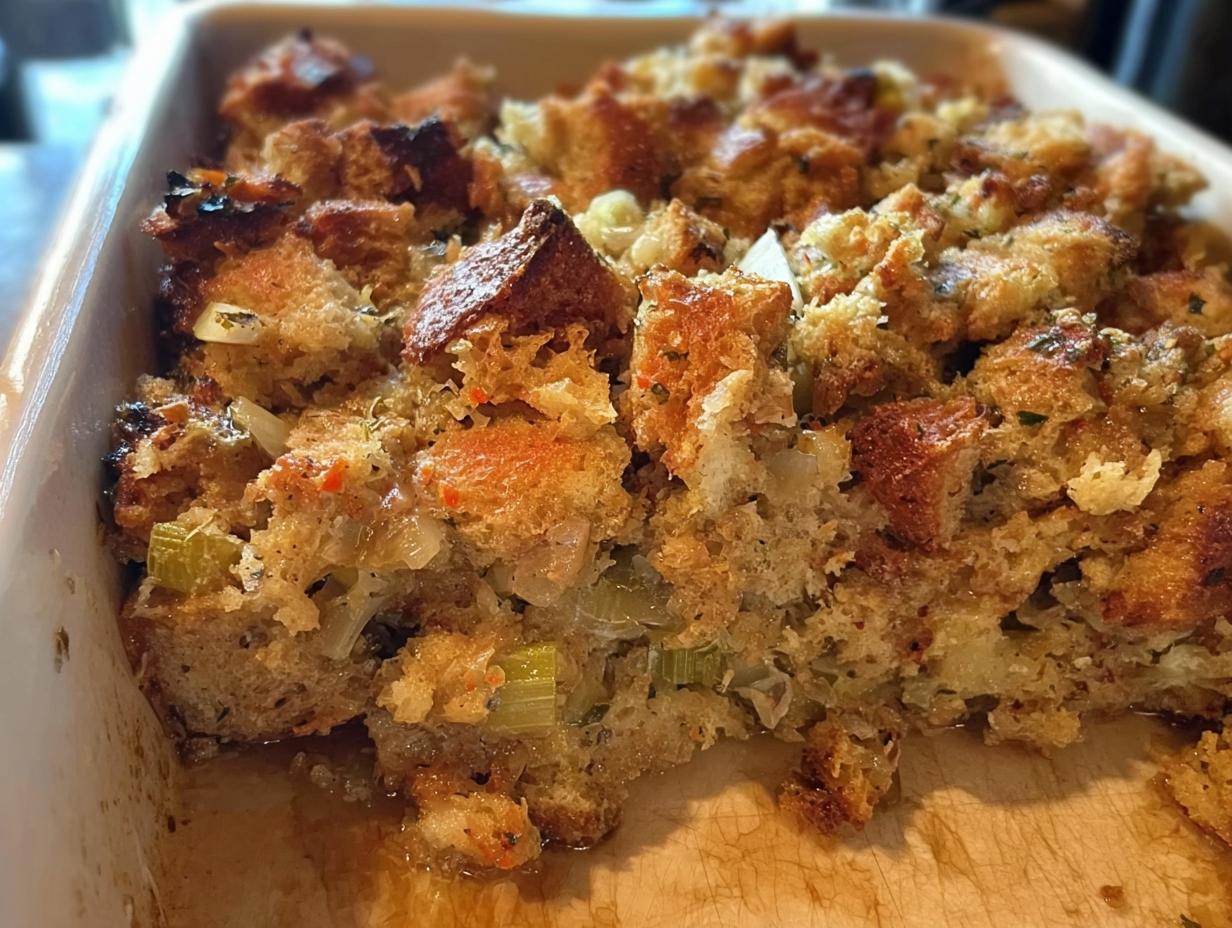
Pop that dish into your preheated oven. Bake it for about 1 hour, or until the top looks beautifully golden brown and wonderfully crisp. That crisp top is what really gives it that restaurant feel!
-
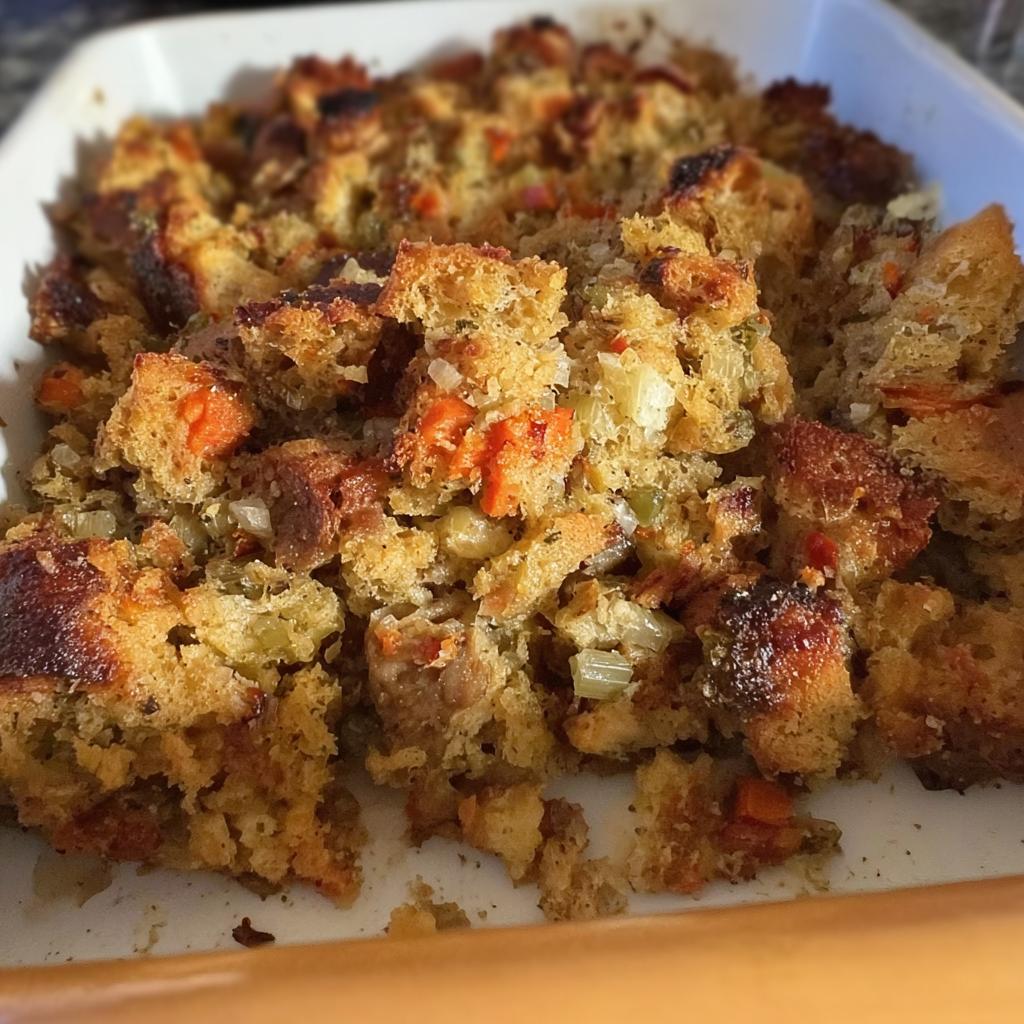
And there you have it! Serve your amazing stuffing hot, and get ready for all the compliments. It’s seriously that good! For more classic inspiration, check out this old-fashioned stuffing recipe; it’s a great starting point.
A little tip from my kitchen: If you want to make sure your stuffing gets extra crispy all over, you can always mix in some extra toasted bread cubes or even some crusty sourdough. It totally bumps up that texture!
Need some ideas on what to serve with this masterpiece? Check out these foolproof Thanksgiving green beans – they go perfectly!
Tips for Perfect Restaurant-Style Stuffing Every Time
Okay, so you’ve got the recipe, but how do you make sure your stuffing is truly restaurant-worthy, every single time? It’s all about a few little tricks! First, don’t skimp on drying out that bread. Seriously, hard as a rock is the goal! This stops your stuffing from turning into a mushy mess. Also, when you’re mixing the broth and eggs into the bread, go gently. You want it moist, not swimming! Too much liquid, and you lose that lovely texture. For extra flavor, really sauté those onions and celery until they’re soft and sweet – don’t rush that step. And remember that extra pinch of sage and garlic powder? It makes all the difference!
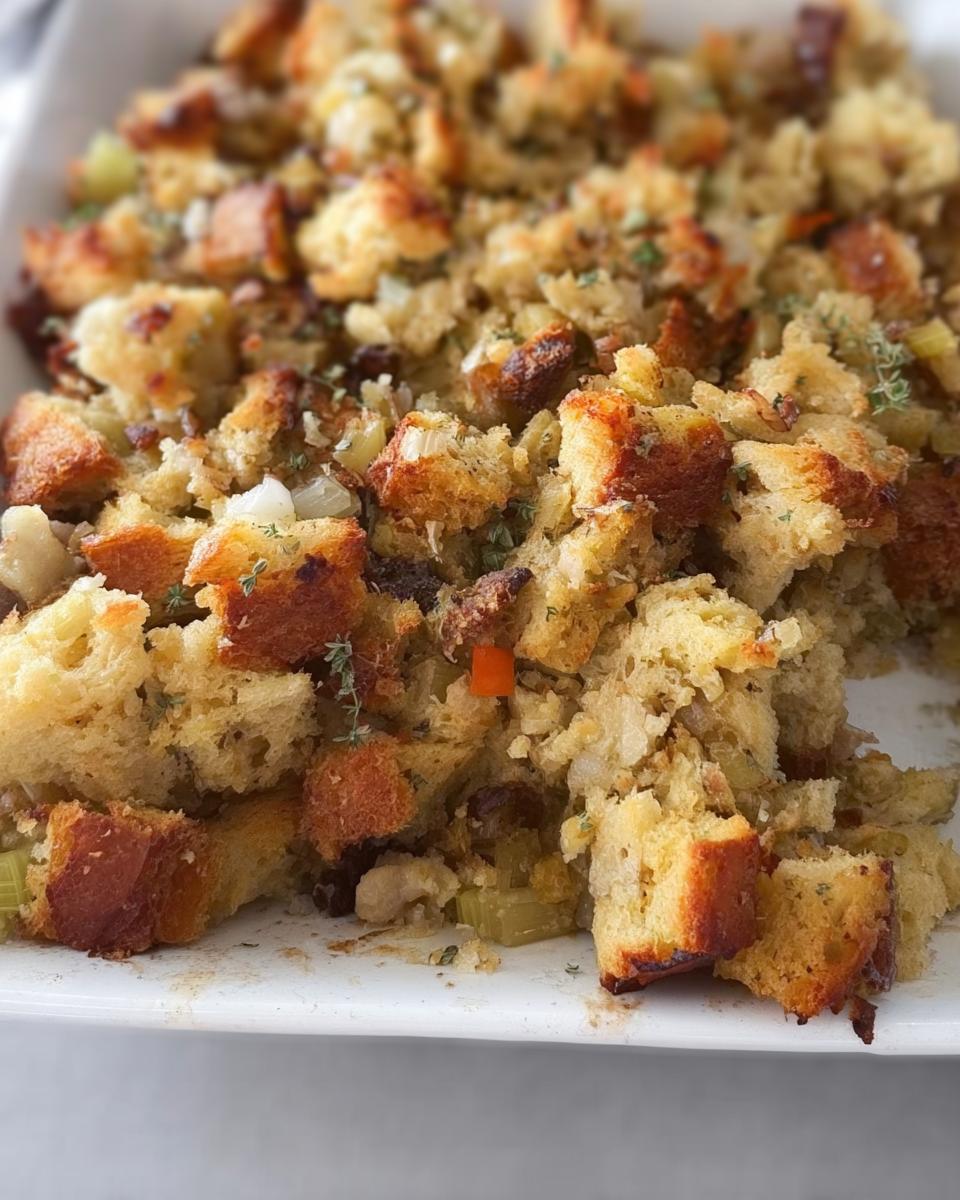
Want to know another secret for that perfect crispy top? Before you bake, you can actually sprinkle a few more bread crumbs or even some toasted nuts over the top. It adds a fantastic crunch! For more great ideas on nailing those perfect dinner recipes, check out this guide to perfect easy dinner recipes. It’s all about those little finishing touches!
Ingredient Notes and Substitutions for Your Stuffing
Let’s talk ingredients for a sec! That white bread is classic, but hey, if you’re feeling adventurous, a good day-old challah or brioche bread can add a touch of sweetness and richness. Just make sure it’s dried out super well, okay? And about that chicken broth? If you need a vegetarian option, a savory vegetable broth works like a charm! Sometimes I even mix in a little mushroom broth for an extra earthy kick. The key is to use a good quality broth; it really shines through.
Serving and Storage for Your Restaurant-Style Stuffing
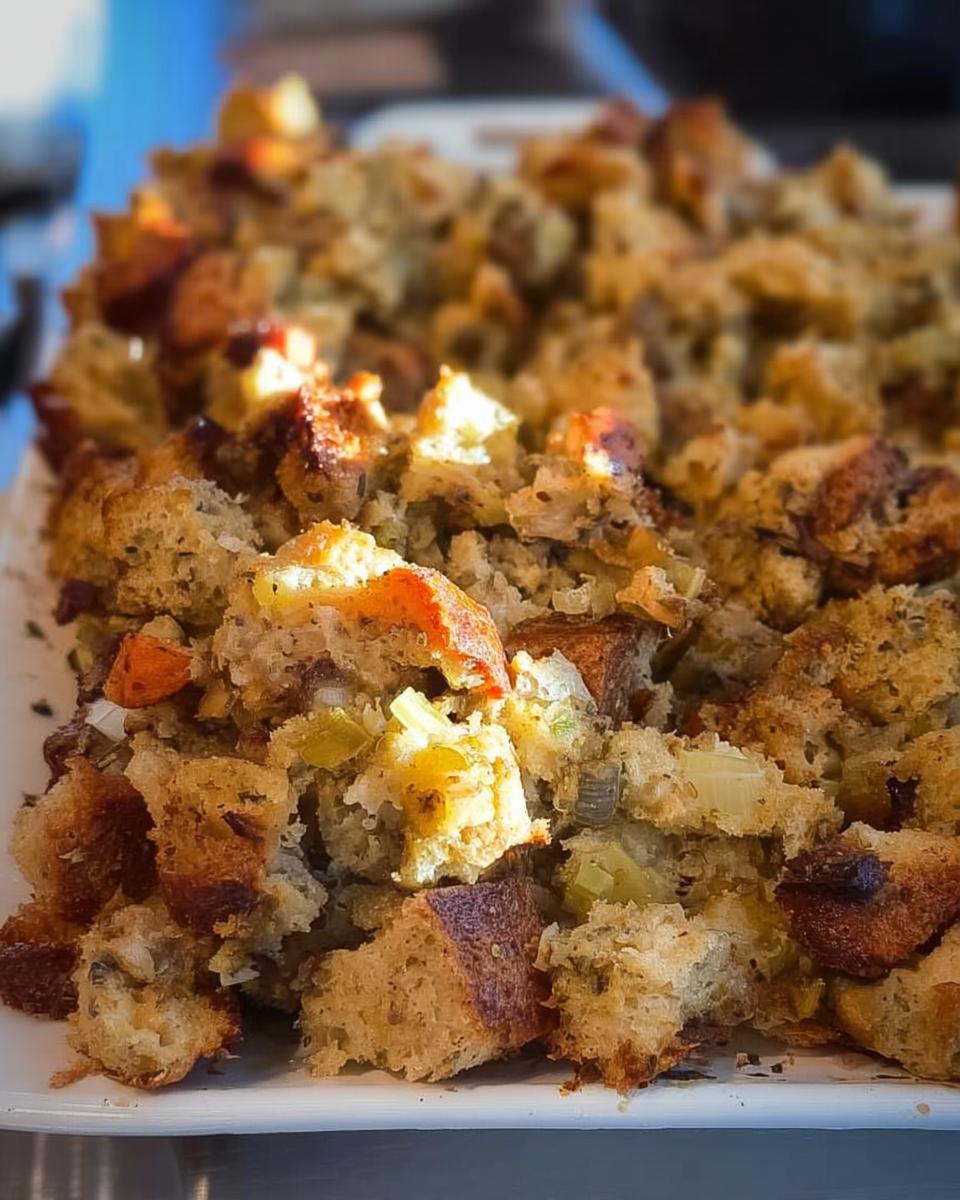
Alright, you’ve made it! This stuffing is best served piping hot, straight from the oven, so your guests can really appreciate that crunchy top and moist interior. It’s seriously a showstopper next to your turkey or roast!

Got leftovers? Lucky you! Just pop them into an airtight container and stash them in the fridge. They’ll keep perfectly for about 2-3 days. To reheat, just spread them on a baking sheet and pop ’em back in a moderate oven (around 350°F or 175°C) until they’re warmed through and that top gets nice and crisp again. For more amazing side dish ideas, especially for those busy holiday times, you should totally check out these side dish trends!
Frequently Asked Questions About Restaurant-Style Stuffing
Can I use a different kind of bread for this stuffing recipe?
Absolutely! While white bread is classic for that tender texture, don’t be afraid to experiment. A good day-old sourdough adds a lovely tang, or challah and brioche will give it a richer, slightly sweeter flavor. The most important thing is to make sure whatever bread you use is nice and dry before you start mixing everything. That’s the real secret to avoiding soggy stuffing!
What if I don’t have chicken broth? Can I use something else?
You sure can! If chicken broth isn’t your thing or you don’t have any on hand, a good quality vegetable broth is a fantastic substitute, especially if you’re making this a vegetarian dish. For an even deeper flavor, you could even mix in a little mushroom broth for a really earthy, savory taste. Just make sure it’s a flavorful broth, as it really brings the whole stuffing together!
How do I make sure my stuffing topping gets crispy like in a restaurant?
Ah, the crispy top is everything, right? For that perfect crunch, make sure you bake it long enough – till it’s beautifully golden brown. If after an hour it’s not quite there, just give it another 10-15 minutes. You can even carefully lift the edges to see if the bottom is getting crisp too. Another trick is to not pack the stuffing down *too* tightly in the dish so heat can circulate better.
Is it really okay to make stuffing ahead of Thanksgiving dinner?
Totally! Stuffing is actually one of those dishes that can be made a day ahead, which is a lifesaver during the busy Thanksgiving rush! Just prepare it all, press it into the dish, cover it tightly, and keep it in the fridge. Then, just pop it in the oven when you’re ready to serve. It might need a few extra minutes to heat through, but it’ll still be delicious. You can even find more top Thanksgiving side dishes that are make-ahead friendly!
Nutritional Information (Estimated)
Just so you know, this is a general estimate for about 1/24th of the entire stuffing recipe. Things can change a bit depending on the exact brands and ingredients you use, but this will give you a good idea:
Calories: 101
Carbohydrates: 17g
Protein: 3g
Fat: 2g
Saturated Fat: 1g
Cholesterol: 18mg
Sodium: 228mg
Potassium: 57mg
Fiber: 1g
Sugar: 2g
Calcium: 54mg
Iron: 1%
Restaurant-Style Stuffing Recipes at Home (2025)
Ingredients
Equipment
Method
- Spread toasted bread slices on baking sheets and let sit out at room temperature until hard, about 24 hours.
- Once bread slices are ready, gather all ingredients. Preheat the oven to 325 degrees F (165 degrees C). Lightly grease a 9×13-inch baking dish.
- Crush bread slices into crumbs with a rolling pin. Transfer crumbs to a large bowl.
- Melt butter in a medium saucepan over medium heat. Stir in onion and celery; cook and stir until soft, 5 to 7 minutes. Remove from heat and drain.
- Stir chicken broth and eggs into bread crumbs; mix until evenly moistened, but not soggy. Add water, if needed. Mix in cooked onion and celery, sage, garlic powder; season with salt and pepper.
- Press dressing mixture into the prepared baking dish.
- Bake in the preheated oven until the top is brown and crisp, about 1 hour.
- Serve hot and enjoy!
Nutrition
Notes
Tried this recipe?
Let us know how it was!
Master of Global Fusion Innovation
My culinary adventure reflects my Lebanese-Italian heritage and a decade spent in the dynamic fusion restaurant scenes of Miami and Barcelona. I’ve made it my mission to prove that beloved global comfort foods can be successfully adapted for low-carb living without losing their soul, their cultural authenticity, or their ability to comfort.
With advanced training in molecular gastronomy and experience spanning Mediterranean, Middle Eastern, and Latin American traditions, I’ve developed what I call “respectful innovation” – culinary creativity that honors traditional cooking wisdom rather than replacing it. My alternative ingredient substitution systems are now taught in specialty diet cooking schools throughout the region.
Drawing from my trilingual upbringing, I understand how deeply food connects to identity and memory. That’s why my flavor-bridging techniques allow classic dishes from around the world to maintain their comforting, familiar qualities while meeting contemporary nutritional standards. I regularly share these techniques at international culinary symposiums and innovation events.
When I’m not experimenting in my Miami fusion kitchen laboratory, you’ll find me at local salsa dance venues – the rhythm and improvisation skills translate directly to my creative cooking process! My role as a foster parent to rescue rabbits has unexpectedly inspired some of my most creative plant-based low-carb innovations.
My personal low-carb journey began as a way to maintain energy for my active lifestyle, but it’s evolved into a professional mission of proving that healthy eating can be globally adventurous rather than restrictively limiting. Every recipe I create is a passport to culinary adventure, transforming kitchens into laboratories for exploring healthy versions of the world’s most beloved comfort foods.