
Picture this: the aroma of baking dough, bubbling cheese, and your absolute favorite toppings filling your kitchen. Doesn’t that just scream “perfect night in”? I still remember the first time I decided to host a pizza night for friends in my small kitchen. It was a chaotic but exhilarating experience—dough flying, laughter filling the air, and everyone trying their hand at crafting their own unique toppings. That night, we not only made delicious pizzas, but we also created lasting memories, bonding over our love for food and shared experiences. Ever since, “pizza night” has become a cherished tradition in my home, where every person gets to express their culinary creativity. And guess what? You can totally nail that restaurant-quality magic right in your own home with these Restaurant-Style Pizza Night Recipes at Home (2025)!
Why You’ll Love These Restaurant-Style Pizza Night Recipes at Home (2025)
Honestly, who doesn’t love pizza night? But taking it up a notch with restaurant-style results at home? That’s pure magic! Here’s why you’ll adore this recipe:
- Seriously Easy: Even if you’re new to dough-making, this recipe is super straightforward. We break it all down so you can get that perfect crust without the fuss.
- Incredible Flavor: Forget bland homemade pizza. We’re talking a chewy, slightly crisp crust and that unforgettable, craveable taste you get from your favorite pizzeria.
- Family Fun Guaranteed: This is more than just dinner; it’s an event! Get the kids involved in topping creation – it’s the best way to make memories.
- Impress Your Guests: Whip these out for friends and watch their jaws drop. You’ll be the hero of the potluck or the ultimate host with these pizzas!
Gather Your Ingredients for Perfect Restaurant-Style Pizza Night Recipes at Home
Okay, so before we can get our hands messy and create some pizza magic, let’s chat about what you’ll need. Trust me, good ingredients make all the difference, and we’re aiming for that *chef’s kiss* restaurant-quality taste right here in our own kitchens! Don’t stress if you don’t have everything; most of these are pantry staples.
For the Dough:
- 1 (1 1/4 oz. packet) active dry yeast (that’s about 2 1/4 teaspoons, just so you know!)
- 2 tsp. granulated sugar
- 1 1/2 cups warm water (make sure it’s between 90 to 100°, not too hot, not too cold!)
- 4 cups all-purpose flour
- 2 Tbsp. olive oil, divided, plus more for brushing
- 2 1/4 tsp. kosher salt
For the Topping:
- 1/4 cup grated parmesan cheese, divided
- 1 cup Homemade Pizza Sauce (you can whip this up ahead of time or use your favorite jarred kind!)
- 3 cups shredded low-moisture mozzarella cheese
- 1 cup cubed fresh mozzarella cheese
- Fresh basil, for serving (oh, the smell is divine!)
Using good quality olive oil really makes the crust sing, and I always try to get the freshest yeast I can find. It makes such a difference in how the dough rises!
Step-by-Step Guide to Making Restaurant-Style Pizza at Home
Alright, let’s get down to business! This is where the real pizza magic happens. Don’t let making dough scare you; it’s honestly way easier than you think, and the results? Oh, they’re SO worth it. We’re going to walk through it all, nice and slow, so you can get that perfect, chewy, slightly crispy crust that just screams “I’m eating fancy pizza!” It’s a fun process, and I promise, the end result will have everyone asking for seconds. We’re channeling that Pioneer Woman pizza night energy, but with our own special restaurant-style twist. Plus, who knows, maybe you’ll discover a new favorite recipe, almost as good as these restaurant-style banana bread recipes at home here!
Preparing the Pizza Dough
First up, let’s get this dough party started in your stand mixer. Sprinkle that active dry yeast and sugar over your warm water. Give it a little whisk and let it hang out for about 5 minutes. You’ll see little bubbles pop up – that’s the yeast waking up and getting ready to work its magic! Now, toss in your flour, a tablespoon of olive oil, and the kosher salt. Attach your dough hook and let it do its thing on low speed. You want it to just start coming together, maybe 2 minutes. Then, crank it up to medium-low and let it mix for another 2 to 3 minutes until the dough looks smooth but still a little sticky. That slight stickiness is exactly what we want! Drizzle the rest of the olive oil over the top and down the sides. Use a spatula to flip the dough around so it gets coated. Pop some plastic wrap on that bowl and let it rise for about an hour and a half, or until it’s doubled in size. Patience is key here – this is what gives us that airy texture!
Shaping and Topping Your Pizza
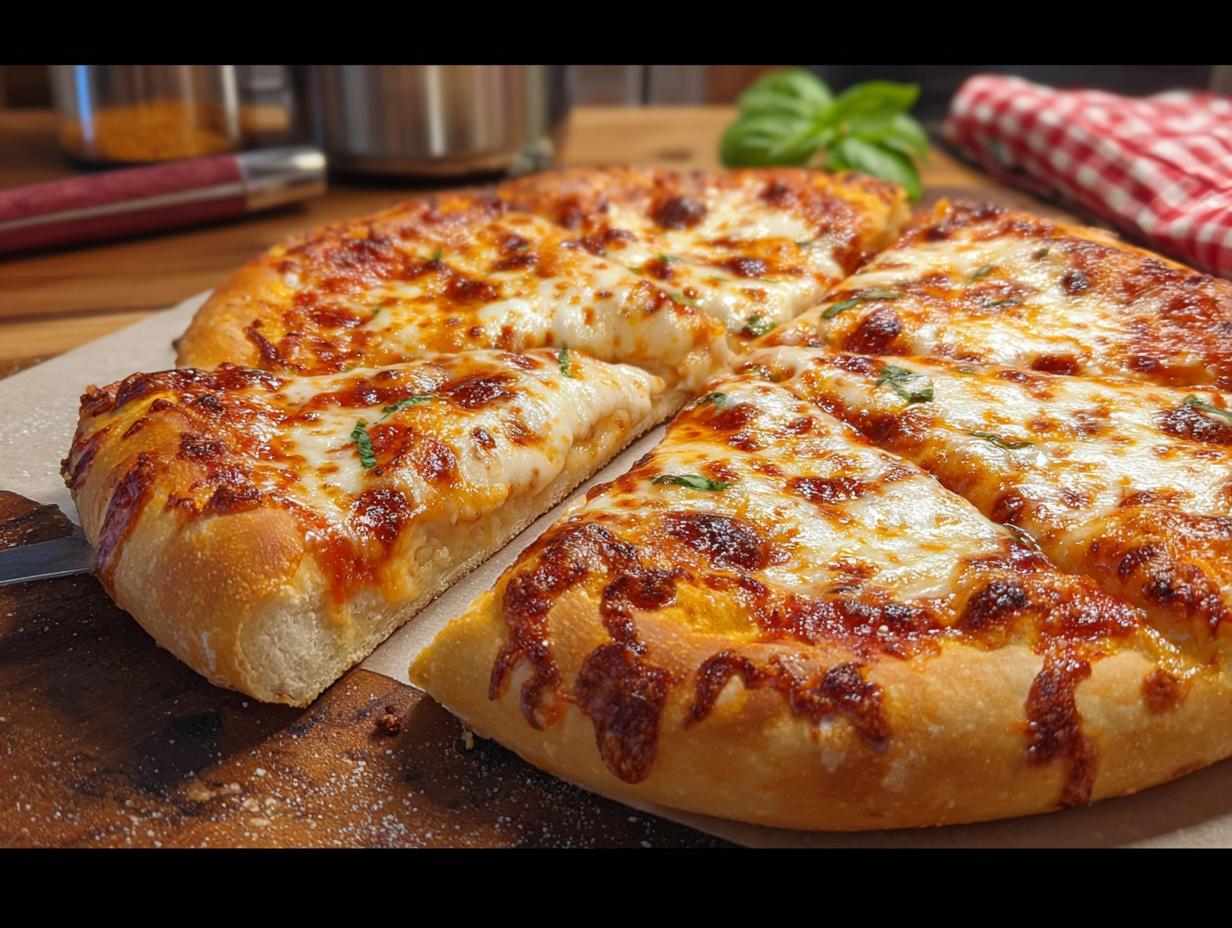
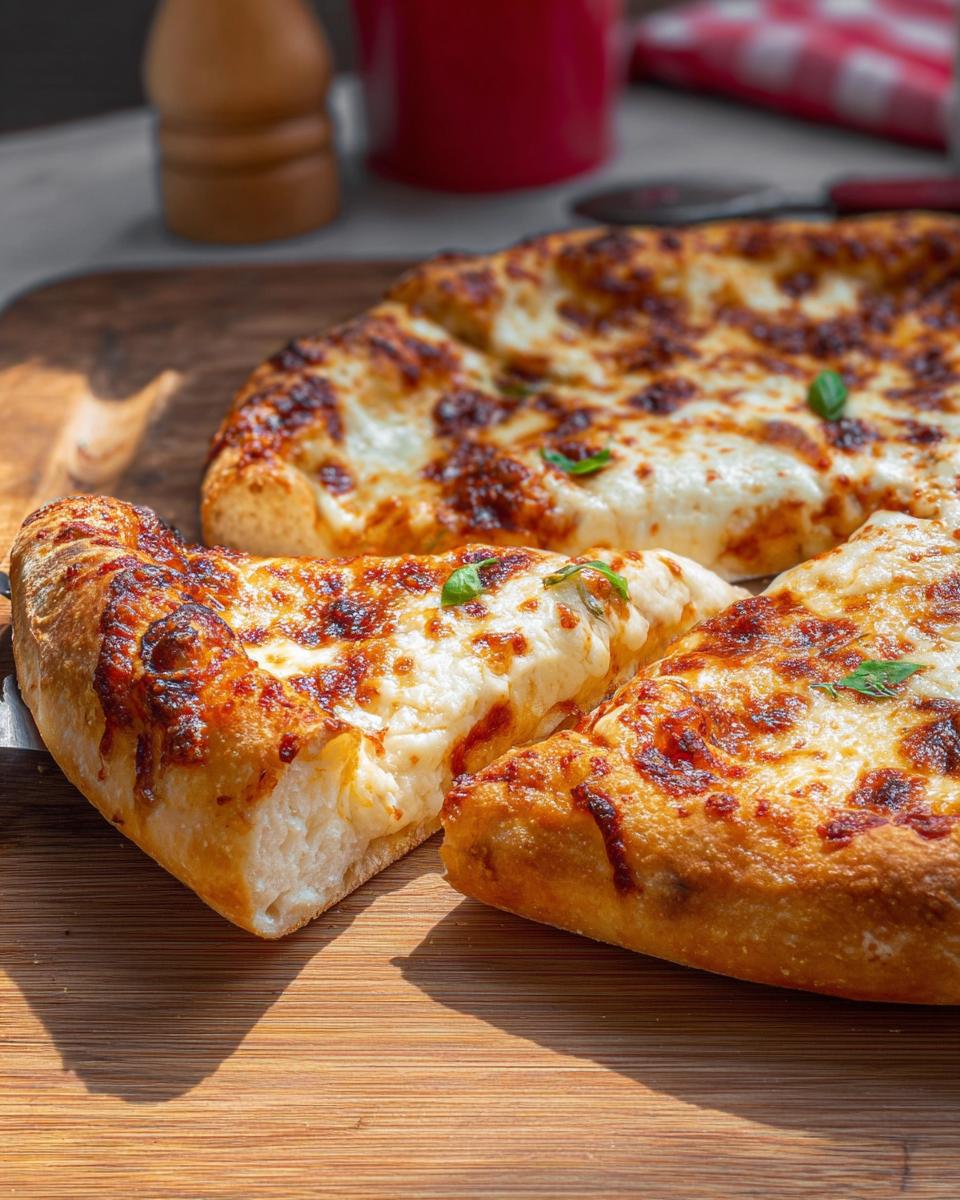
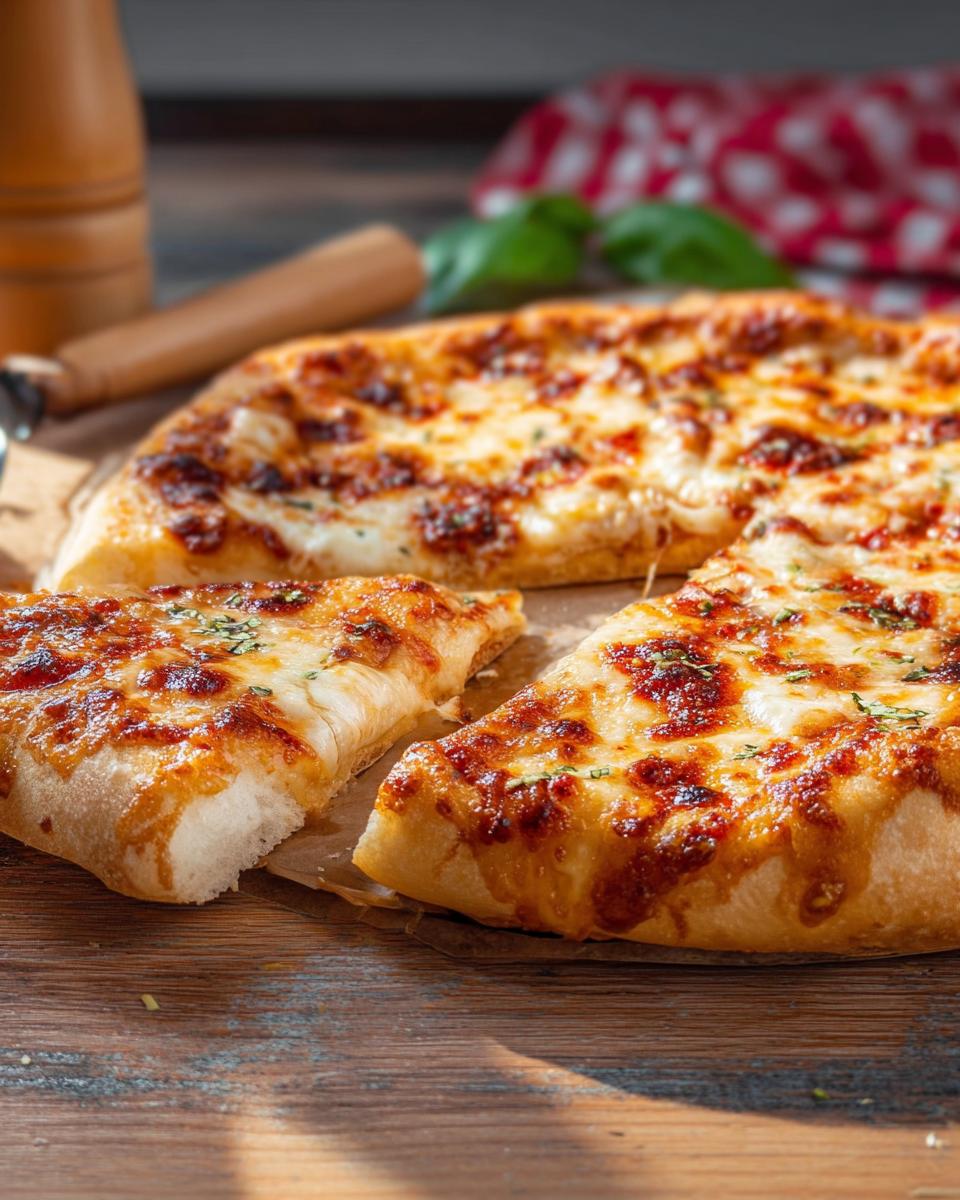
Okay, your dough should be looking beautifully puffy now! About an hour before you plan to bake, get your oven preheating to a screaming hot 500°F (that’s crucial!). You’ll want to place a pizza stone, steel, or even an upside-down baking sheet on the top rack. Now, turn that glorious dough out onto a lightly floured surface. Cut it in half – these are for two amazing pizzas. Form each half into a tight ball. To do this, just flatten the dough a bit, fold all the edges into the center, flip it over, and gently pull it against the counter to make it nice and taut on top. Let these little dough balls rest, covered, for about 30 minutes. When you’re ready to assemble, grab a piece of heavy-duty foil (about 14 inches long) and lay it on an upside-down half-sheet pan. Lightly oil and flour the foil – this is going to be your makeshift pizza peel! Take one dough ball and gently press it into an 8-inch round on a floured surface. Now for the fun part: carefully lift the dough and let gravity do the work. Gently stretch it out by rotating it in your hands until you have a lovely 12-inch circle. Drape it onto your prepared foil. Sprinkle on about 2 tablespoons of parmesan, then spread half a cup of that delicious pizza sauce, leaving a little border. Top with your shredded mozzarella and fresh mozzarella. Oh, the anticipation!
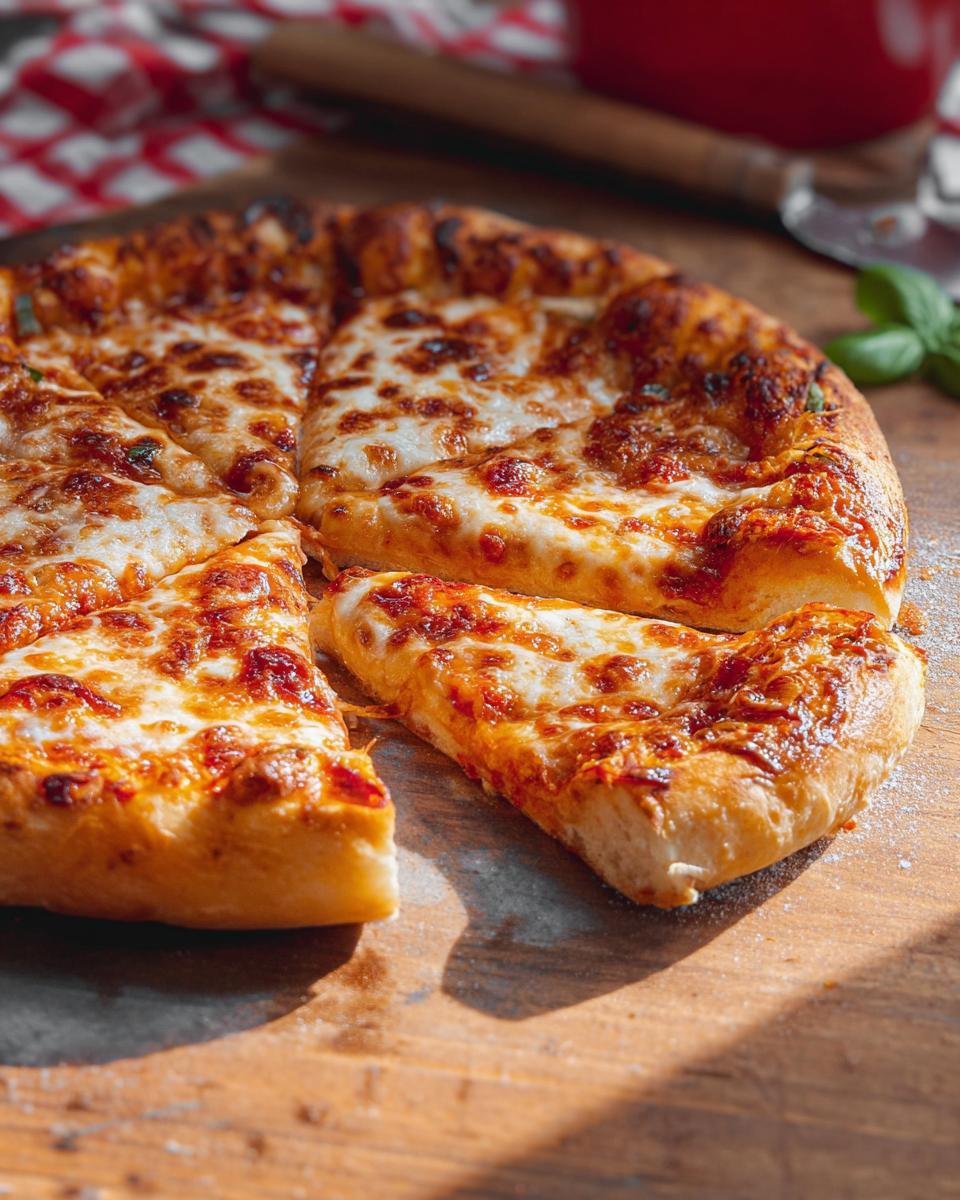
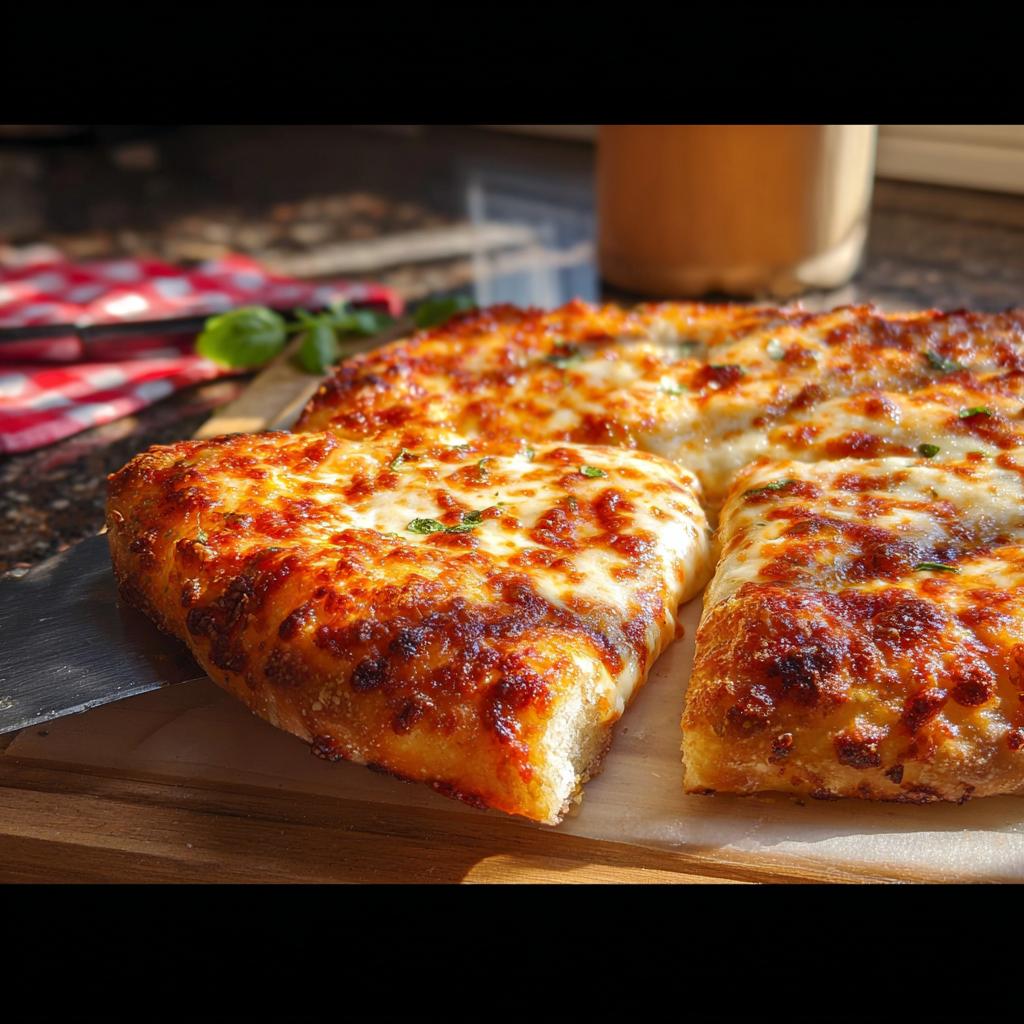
Baking Your Restaurant-Style Pizza to Perfection
Here comes the grand finale! Carefully slide that whole foil-topped baking sheet onto your super-hot pizza stone in the oven. Bake it for about 12 to 14 minutes. You’re looking for a crust that’s golden brown and those gorgeous cheese bubbles that just make you want to dive right in. Once it’s ready, carefully transfer the pizza off the foil onto a cooling rack. Brush that crust with a little olive oil – it gives it that lovely sheen – and scatter some fresh basil leaves on top. The aroma alone is intoxicating! Repeat the whole topping and baking process with your second pizza. It’s best to assemble just before they go in the oven, so get those toppings ready!
Tips for the Ultimate Restaurant-Style Pizza Night Experience
Okay, so we’ve got the pizza made, but let’s talk about taking your pizza night from great to absolutely legendary! It’s all about those little touches that really make it feel like you’re dining out, but from the comfort of your couch. Trust me, these tips are game-changers!
First off, oven heat is your best friend here. Make sure that oven is properly preheated to 500°F (or even higher if yours goes there!). That blast of heat is what gives you that crackly, chewy crust we’re all after. And that pizza stone or steel? It’s not just for show; it holds onto heat like nobody’s business, giving your pizza that perfect bottom crisp. If you don’t have a stone, a preheated baking sheet works in a pinch!
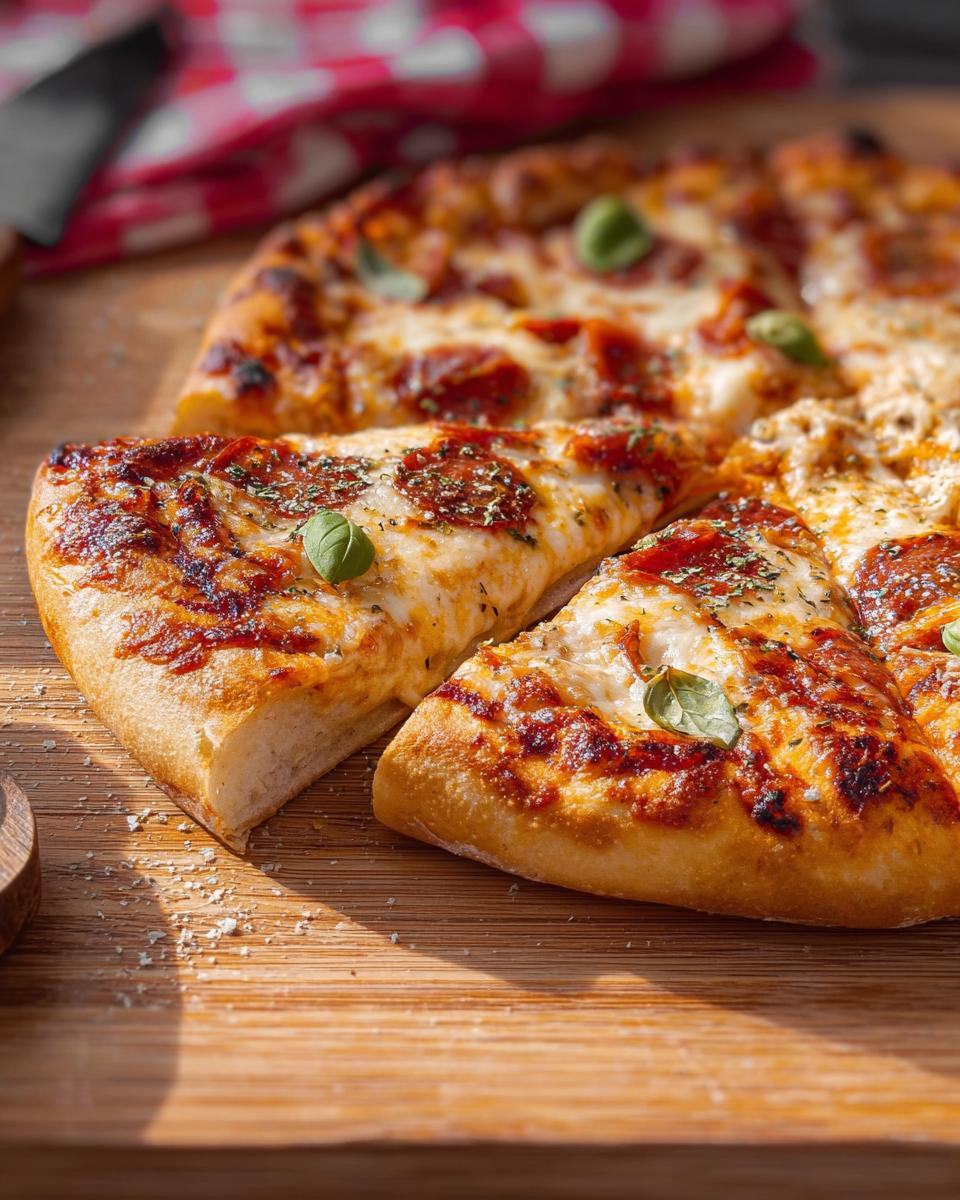
When you’re handling the dough, a little flour on your surface is key, but don’t go overboard – too much flour can make the crust tough. Gentle is the name of the game when stretching. Think of it like coaxing it into shape, not wrestling it! And for toppings? Get creative! Think beyond the usual pepperoni. A drizzle of hot honey, some caramelized onions, or even a sprinkle of pesto after baking can totally elevate your pizza game. Don’t forget to check out other restaurant-style dinner ideas for more inspo!
Frequently Asked Questions About Restaurant-Style Pizza Night Recipes
Got questions about whipping up your own pizza masterpiece? You’re not alone! Making pizza at home can feel a little daunting at first, but trust me, it’s all part of the fun. Here are some things people often ask:
Can I make the pizza dough ahead of time?
Absolutely! This dough is super forgiving. You can let it rise, then pop it into a well-oiled bowl, cover it tightly with plastic wrap, and stash it in the fridge for up to 2 days. Just remember to take it out about 30 minutes before you plan to shape it so it can come to room temperature. It’s perfect for spontaneous pizza nights or if you just want to get a head start!
What are some fun topping combinations for a family pizza night?
Oh, the possibilities! For a classic family favorite, you can’t go wrong with pepperoni and mushrooms, or maybe a simple margherita with fresh basil. For something a little different, try a white pizza with ricotta, garlic, and spinach, or a BBQ chicken pizza with red onion and cilantro. The best part of a family pizza night is letting everyone pick their own adventure for toppings – it’s always a hit!
How do I get a really crispy crust?
Getting that perfect crispy crust is all about heat! Make sure your oven is cranked up as high as it can go, ideally 500°F or more, and preheat your pizza stone or baking steel for at least 30 minutes. That intense heat transfer from the stone to the dough is what creates that lovely crispiness. Also, don’t overload your pizza with too many wet toppings, as they can make the crust soggy.
Serving Suggestions for Your Homemade Pizza
Now that you’ve mastered the art of homemade restaurant-style pizza, let’s talk about what to serve alongside it to make your pizza night truly special! Since we’ve already put in the main work, you’ll want sides that are super easy to whip up and don’t take away from the pizza star. Think casual, fun, and delicious!
A big, vibrant salad is always a winner. Something like this one-pan Thanksgiving salad would be amazing, or even a simple mixed green salad with a zesty vinaigrette. If you’re feeling a little more adventurous, a bubbling pot of queso dip with tortilla chips is always a crowd-pleaser and perfect for dipping crusts! Sometimes, I even just do some garlic bread or a simple bowl of olives. The goal is to complement the pizza, not compete with it, while keeping that fun, relaxed vibe going.
Nutritional Information (Estimated)
Just a heads-up, these numbers are approximate! Depending on the exact ingredients you use and how cheesy you get (no judgment here!), your totals might vary a bit. This recipe makes 4 pizzas, and we’re estimating the breakdown per pizza. So, grab your calculator, or just enjoy the deliciousness!
Per Pizza (Estimated):
- Calories: Around 750-900 kcal
- Fat: 30-40g
- Protein: 30-35g
- Carbohydrates: 90-110g
Restaurant-Style Pizza Night Recipes at Home (2025)
Ingredients
Equipment
Method
- In the bowl of a stand mixer, sprinkle the yeast and sugar over the warm water (90 to 100°). Whisk to combine and let sit until bubbles form on the top, about 5 minutes. Add the flour, 1 tablespoon of olive oil, and salt. Mix with the dough hook on low speed until the dough comes together, about 2 minutes. Scrape the bowl. Increase speed to medium-low and mix until well incorporated and the dough is sticky, 2 to 3 minutes more.
- Drizzle the remaining 1 tablespoon of olive oil over the top of the dough and down the sides of the bowl. Use a rubber spatula to flip the dough to coat in oil. Cover the bowl with plastic wrap and let it rise until doubled, about 1 hour and 30 minutes.
- About 1 hour before you plan to make pizza, place a pizza stone, steel, or an upside-down baking sheet on the upper third rack of your oven. Preheat the oven to 500°.
- On a lightly floured work surface, cut the dough in half and form into tight rounds. To form a round, flatten the dough into a circle on the counter and fold all edges into the center. Flip it over and gently pull the round against the counter to form a taut ball. Place the rounds on a lightly floured baking sheet with space for them to rise. If not making pizza immediately, cover with plastic wrap and refrigerate for up to 2 days. Remove from the refrigerator and let sit at room temperature for 30 minutes before proceeding.
- Place a 14-inch piece of heavy-duty foil on top of an upside-down half-sheet pan. Lightly brush the foil with oil and dust with flour. While working with one dough round, cover the other with plastic wrap.
- On a well-floured surface, press 1 piece of dough into an 8-inch round with a 1-inch outer lip. Carefully lift the dough, cupping the lip to keep it from flattening. Rotate the edge of the dough through your hands in a clockwise motion, allowing gravity to stretch it into a round shape. Place the dough back on the flour and stretch it into a 12-inch circle. Transfer it to the prepared foil.
- Sprinkle the surface of the pizza with 2 tablespoons of grated parmesan. Spread 1/2 cup Homemade Pizza Sauce over the parmesan, leaving a 1-inch border. Sprinkle with 1 1/2 cups of low-moisture mozzarella and 1/2 cup of cubed fresh mozzarella.
- Using the upside-down baking sheet as a pizza peel, transfer the pizza with the foil to the preheated baking stone. Bake until the crust is browned and the cheese is bubbling, 12 to 14 minutes. Transfer the pizza from the foil to a cooling rack. Brush the crust with olive oil, sprinkle with basil leaves, and serve hot.
- Repeat the process with the remaining dough, sauce, and cheese. Assemble the pizza just before it goes into the oven.
Notes
Tried this recipe?
Let us know how it was!
Master of Culinary Visual Arts
My culinary journey started in the fast-paced kitchens of boutique coastal restaurants throughout Southern California, where I learned that beautiful food doesn’t have to be complicated. After nine years of professional cooking, I’ve made it my mission to prove that sophisticated, nutritionally sound meals can be accessible to busy home cooks who refuse to compromise on flavor or visual appeal.
What changed everything for me was watching talented home cooks feel intimidated by healthy cooking. That’s when I transitioned to private instruction, teaching busy professionals and families how to create restaurant-quality meals using simple techniques and ingredients they can actually find at their local grocery store. My “15-minute meal” frameworks are now used by several regional cooking schools!
As a third-generation Mexican-American, I love weaving vibrant Latin flavors into low-carb creations – proving that healthy eating can be both culturally authentic and visually spectacular. My “effortless elegance” philosophy is simple: nutritious food should look as stunning as it tastes, without requiring professional chef skills or expensive equipment.
When I’m not developing recipes in my San Diego coastal kitchen, you’ll find me surfing the local breaks with my Golden Retriever mix, Mango, who’s both my kitchen companion and unofficial taste-testing assistant. My personal low-carb lifestyle started as a way to maintain energy for my active coastal life, and it’s become the foundation for proving that healthy eating enhances rather than restricts life’s pleasures.