
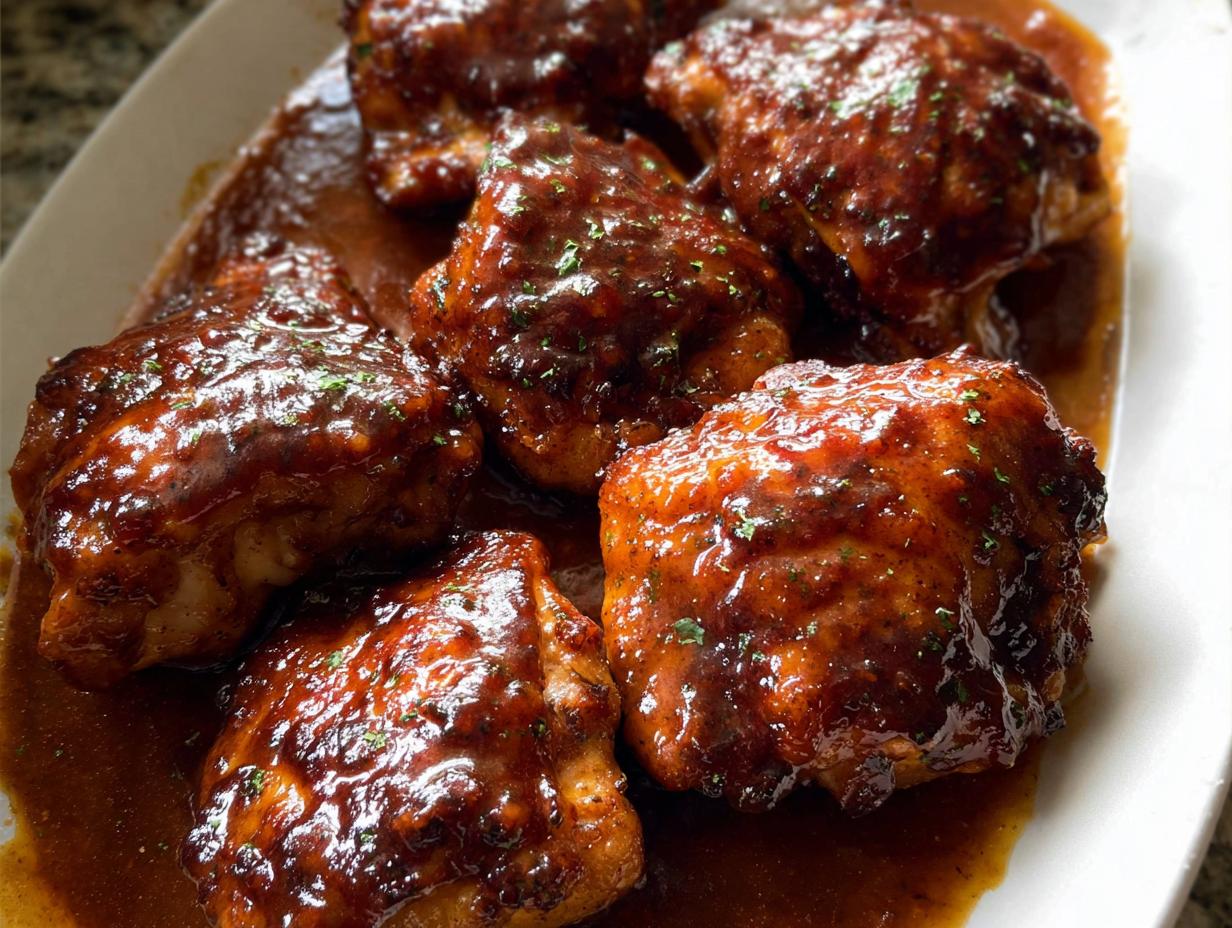
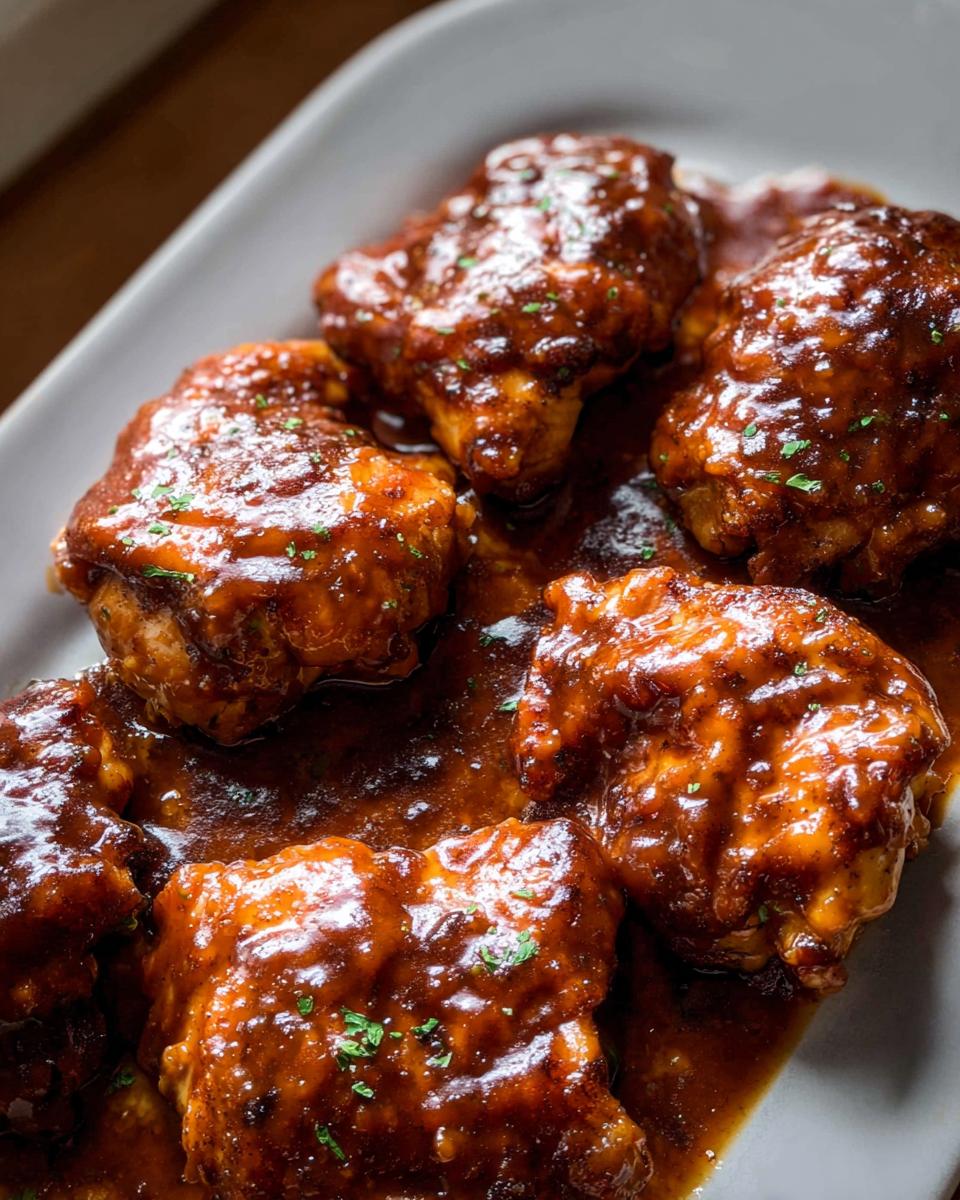
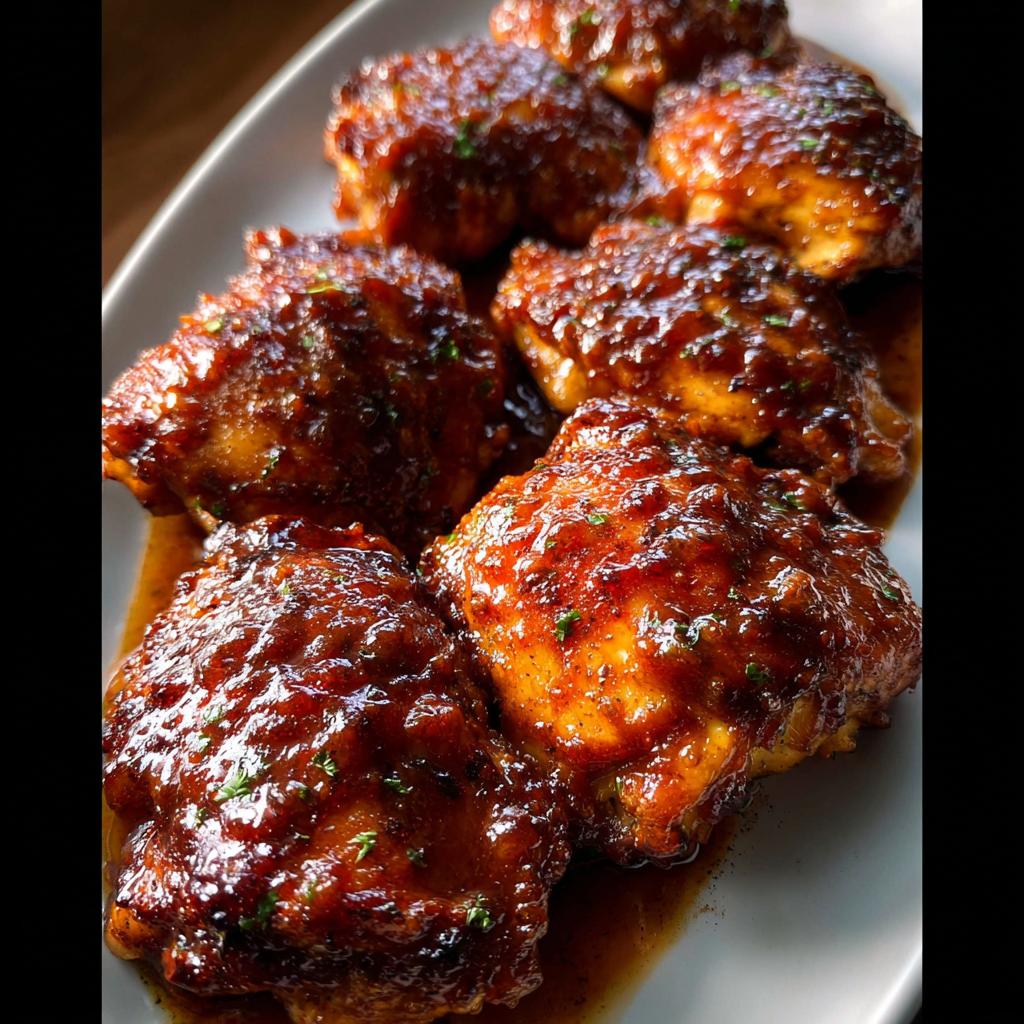
Oh my goodness, let’s talk about those hectic weeknights when cooking feels like too much effort. Don’t we all just crave something delicious that doesn’t require standing over a hot stove for an hour? That’s exactly where my recipe for Sticky BBQ Sheet Pan Chicken Thighs swoops in to save the day. It truly is the ultimate one-pan wonder—maximum flavor, minimum dishes!
I still remember the first time I tried this method. It was a super long Tuesday, and I just needed dinner on the table fast. I tossed some thighs with sauce, shoved them in the oven, and honestly, the smell that came out was incredible. My whole family rushed into the kitchen! That simple meal instantly reminded me that the best things in life, even food, don’t need complexity. This recipe makes dinner feel special, even when I’m tired. Trust me, you’ll be making these constantly!
Why This Recipe for Sticky BBQ Sheet Pan Chicken Thighs is Your New Weeknight Hero
Look, I get it. After wrangling the kids or facing down a mountain of emails, the last thing you want is a sink full of pots and pans. This recipe is designed purely for the busy cook who still wants dinner to taste like it took way more effort than it did!
- It’s truly ready for the oven in about 10 minutes flat. You can’t beat that speed when dinner bells are ringing!
- We are using foil, which means cleanup is just folding up the foil and tossing it. Seriously, half the clean-up battle is won right there.
- This flavor profile hits the sweet spot—that sticky, caramelized sauce makes everyone at the table happy.
Quick Prep and Minimal Cleanup
Prep time is just ten minutes—maybe even less if you’re quick! The whole magic trick here is using both a sheet pan and lining it with foil. This stops that sugary glaze from fusing to the metal. When the chicken is done resting, you literally just peel the foil off, and the pan underneath is practically spotless. It’s a dream, I tell you!
Intense Summer Grilling Flavors
You don’t need charcoal or propane tanks for great flavor anymore! Because we finish this recipe under the high heat of the broiler, we get that incredible, slightly charred, caramelized exterior. It locks in those amazing summer grilling flavors—that perfect balance of sweet, tangy, and savory—right on your kitchen counter. Nobody will believe you didn’t fire up the actual grill!
Gathering Ingredients for Sticky BBQ Sheet Pan Chicken Thighs
Okay, here’s where the planning happens before the magic. The beauty of this recipe is that the ingredient list is short and sweet. We’re focusing on high-impact flavor builders, meaning you probably have most of this stuff lurking in your pantry already!
See that link below for a deeper dive into sauce bases, but honestly, for this recipe, we just mix everything straight up. Precision matters here, especially with the sugar—we want that sticky pull, not a burnt mess. Make sure your garlic is freshly minced; the jarred stuff just doesn’t give you the same punch!
The Chicken Base
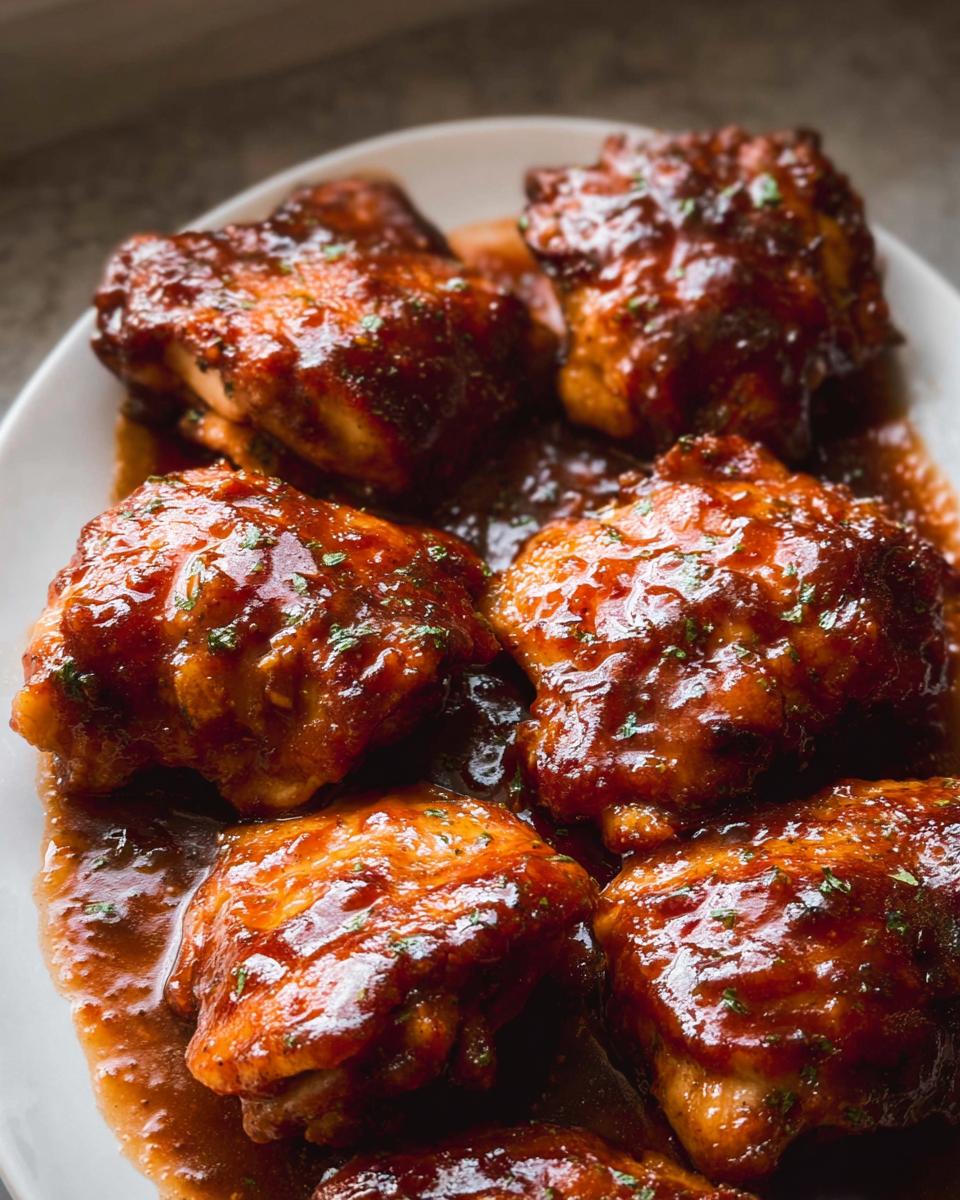
We absolutely need chicken thighs for this one. Please don’t try to substitute breasts unless you want dry sadness! Thighs hold up perfectly to that high heat finish and they stay juicy. You’ll need about 700 grams of skinless, boneless chicken thighs; that usually works out to about five or six nice pieces.
Crafting the Sticky BBQ Glaze
This is the star of the show! I always mix this up right in the measuring cup to save on washing up. Pay attention to the brown sugar—it needs to be lightly packed so you get the right amount of molasses flavor. If you want to get fancy with your sauce recipe later, check out this guide to sauce building, but for now, just mix it up!
- Ketchup: 1/4 cup
- Brown Sugar: 3 tablespoons (lightly packed, remember!)
- Soy Sauce: 1.5 tablespoons (Use your regular stuff)
- Apple Cider Vinegar: 1 tablespoon (That tang is crucial!)
- Olive Oil: 1 tablespoon
- Worcestershire Sauce: 2 teaspoons
- Garlic: 2 cloves, minced very finely
Step-by-Step Instructions for Sticky BBQ Sheet Pan Chicken Thighs
Okay, this is the easiest part, but it’s where we build that amazing sticky layer. First things first, get your oven hot! We need it cranked up to 220°C, or 420°F. If you have a fan setting, you can drop it to 200°C—I usually check my oven guide here if I’m unsure about the conversion, but 420°F is what we are aiming for.
Grab that sheet pan you chose—remember, it needs to be big enough so the thighs aren’t too crowded. Line it with aluminum foil! I cannot stress this enough: the high sugar content in the glaze will literally weld itself to a bare pan, and scrubbing that off feels like a punishment. Parchment paper is a no-go for the finish here; it can scorch under the broiler, so stick to the foil!
Preparation and Initial Glazing
Once your oven is heating up, lay your chicken thighs flat on that foil-lined pan. Now, take about two-thirds of that beautiful BBQ glaze you just mixed up. You want to brush it generously all over the top surface of each thigh. Don’t worry about the bottom; that side will cook in its own juices and keep the top ready for that final sticky treatment. Just get that top coated!
The Two-Stage Bake and Broil Finish
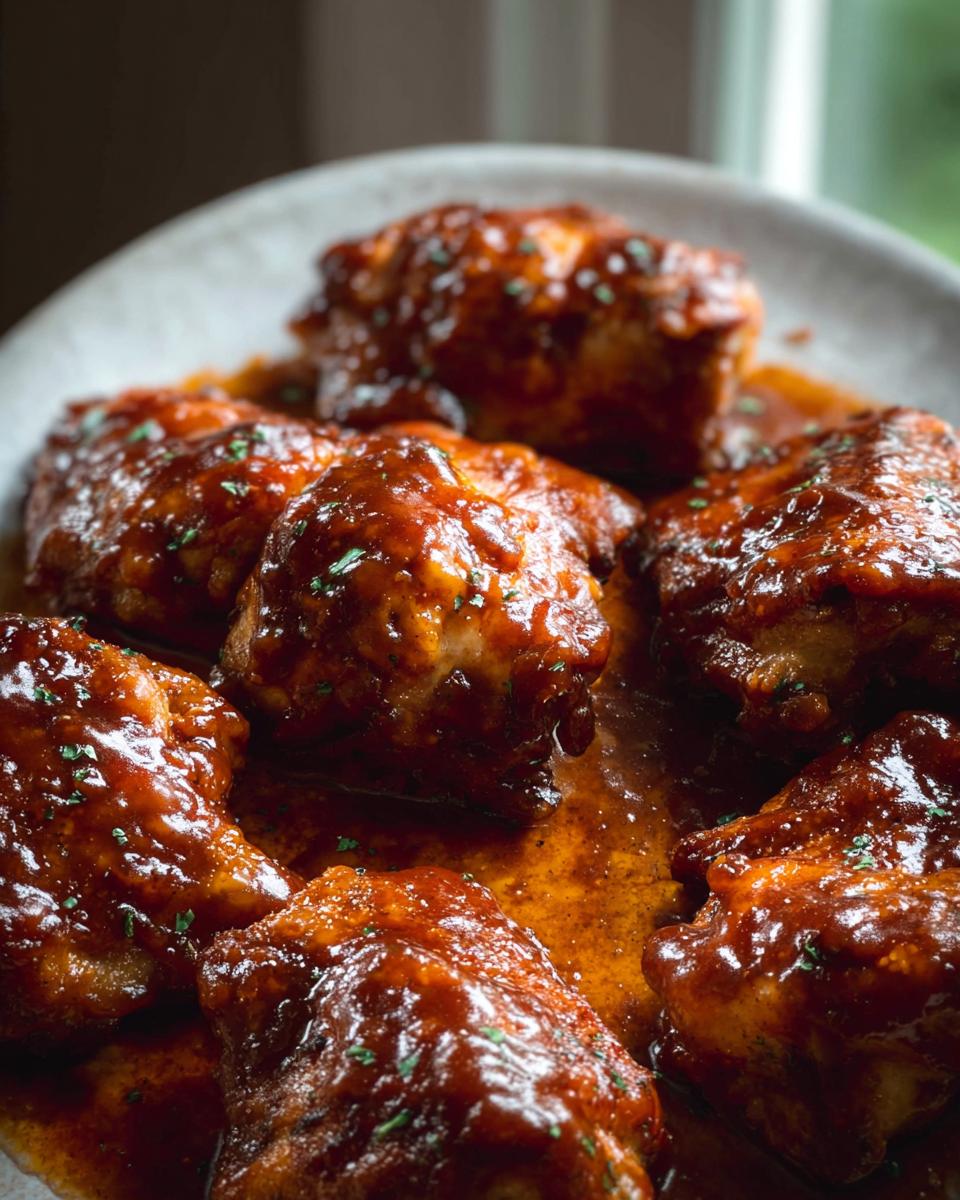
Pop the pan into the preheated oven and let them bake for exactly 15 minutes. This gets the chicken cooked mostly through before we introduce high broil heat. After 15 minutes, carefully pull the pan out. It’s time to adjust the heat! Switch your oven setting to the grill or broiler on high. You must move that oven rack up—aim for about 20cm or 8 inches away from the element above you. This high, direct heat is what makes the magic happen!
Now, spoon any liquid that has collected in the pan back over the tops of the chicken. Then, brush on that reserved glaze you held back earlier. Slide it back under the broiler and watch it closely for about 8 to 10 minutes until the sauce looks dark, bubbly, and beautifully caramelized. If you want more detail on that final bake, this resource has some great visual tips!
Expert Tips for Perfect Sticky BBQ Sheet Pan Chicken Thighs
You’ve got the basics down, but I want to share a few little tricks that I learned through trial and—I’ll admit it—a few sticky, frustrating failures! Cooking with sugary sauces under high heat is tricky, but once you know the secrets, you’ll nail that perfect texture every time. These tips are what separate the good sheet pan dinners from the *great* ones!
Mastering the Caramelization
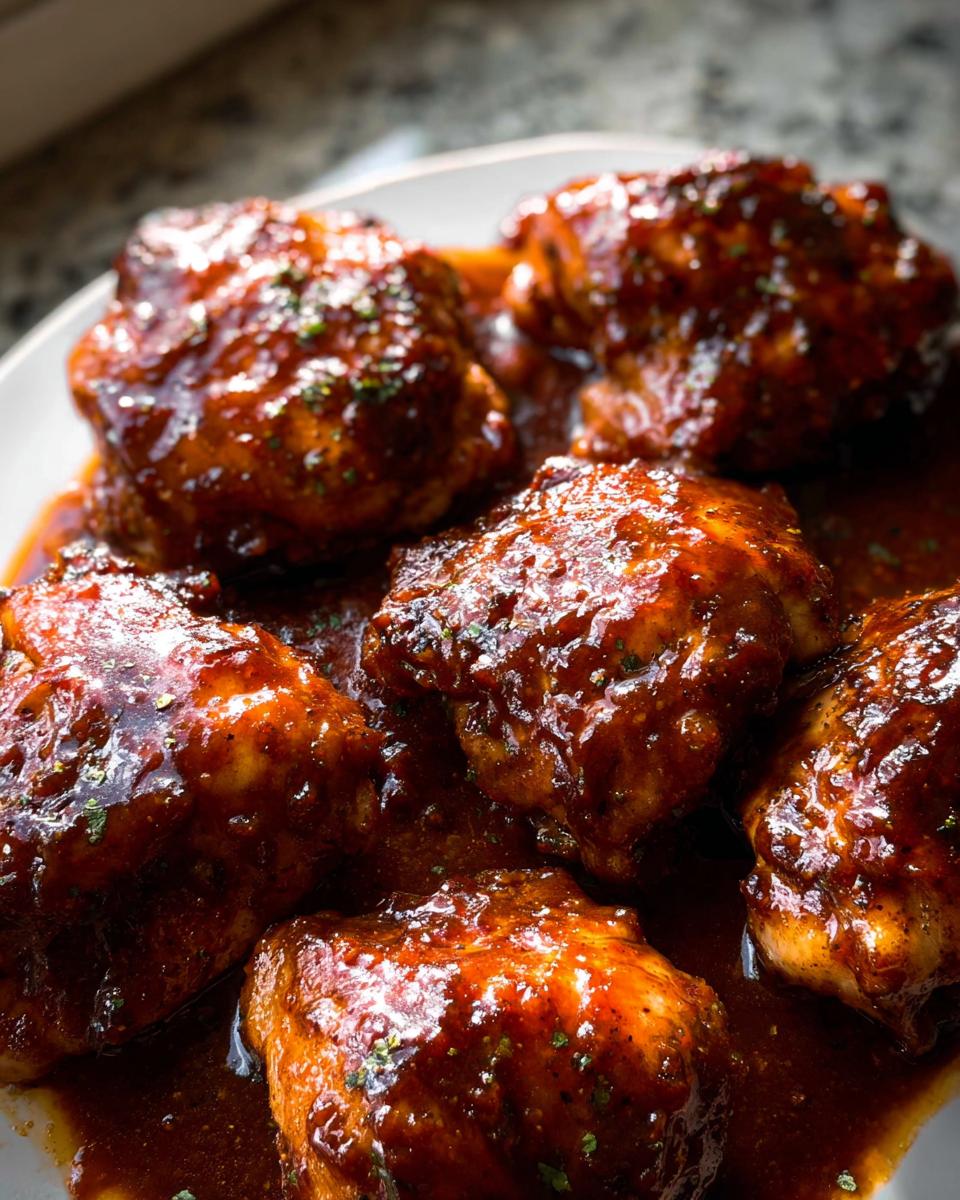
The absolute key to getting that deep, dark, sticky finish is resisting the urge to smother the chicken bottom in sauce before the main bake. If you coat the bottom, it just sits there steaming against the foil instead of actually caramelizing against the heat. That’s why we only glaze the top generously before the first 15 minutes.
The real magic happens during that broiler finish you just did. Pushing the pan close to the heat source for those final 8 to 10 minutes creates that beautiful, slightly chewy, intensely flavored crust. If you see any part of the sauce looking dry or dusty, brush on your reserved sauce right beforehand. That’s what pulls everything together!
Handling the Sticky Residue
I mentioned this before, but I need to say it again because it’s crucial for keeping your sanity: Use foil! Always. If you use parchment paper, especially just for the final broil step, the edges can start to singe or even catch fire because that direct heat is so intense. Parchment is great for roasting vegetables, but sugar burns fast, and foil is much safer underneath that broiler element.
When the chicken is done, let it rest on the pan for about five minutes uncovered. The sauce will seem very liquidy, but trust me, as it cools slightly, it sets up into that perfect, tacky, sticky glaze. If you try to move it immediately, you risk tearing the meat and losing all those delicious pan juices that are super flavorful!
Making It Your Own: Variations on Sticky BBQ Sheet Pan Chicken Thighs
While these Sticky BBQ Sheet Pan Chicken Thighs are absolutely perfect as written, I love when you all start making these recipes your own! It’s easy to customize this, especially if you have little eaters or just feel like a change of pace. These easy swaps keep it firmly in the realm of great family friendly recipes.
Spice and Heat Adjustments
If you like a little kick—and who doesn’t now and then?—you can easily amp up the heat. I sometimes throw a half teaspoon of cayenne pepper right into the wet glaze mix. You’ll feel that warmth, but it won’t overpower the sweetness. If you’re feeling smoky, a teaspoon of smoked paprika added in is divine; it makes the sauce look deeper, too!
If a family member isn’t into spice, just use less cayenne in *your* portion of the glaze before you mix it all together. Or, you could try swapping out my simple BBQ base for a Korean-style Gochujang sauce if you want a totally different profile! For more inspiration on building bold flavors, check out my favorite guide on spice blending.
Adding Vegetables to Your Sheet Pan Dinner
Because we use a sheet pan, we absolutely have to talk about adding veggies to make this a complete sheet pan dinner! This is where you need to be mindful of timing. If you add softer veggies like bell peppers or thin-sliced onions right at the start, they’ll turn to mush by the time the chicken is done.
I recommend adding heartier veg like cubed potatoes or broccoli florets after the chicken has baked for about 10 minutes. Then, toss them in the oven for the remaining 15 minutes of the chicken’s bake time. If you use quick-cooking veggies like asparagus, wait until the last 5-7 minutes of the broil time. They’ll get crunchy and absorb all those amazing BBQ drippings!
Serving Suggestions for Your BBQ Chicken Thighs
When the chicken comes out looking that beautiful and sticky, you want sides that can soak up every last bit of those amazing pan juices. Seriously, don’t let those drippings go to waste! Since this is such a quick weeknight meal, I always stick to sides that can cook while the chicken is baking or just need a quick steam.
My absolute favorite, easy pairing is a big scoop of creamy mashed potatoes if I have a little extra time. The potatoes are like little sponges for that sweet and savory glaze that drips off the thighs. If you’re aiming for super low effort, perfectly fluffy white rice is fantastic for soaking everything up too!
Coleslaw for Crunch
You need some freshness to cut through the richness of the BBQ sauce, right? A simple, crisp coleslaw is the perfect answer. It doesn’t even need to be fancy—just cabbage, carrots, a little mayo, and some vinegar for a bite. The cool, vinegary crunch is the ideal contrast to the hot, sticky chicken. It just works!
Simple Roasted or Steamed Greens
If you need a vegetable, keep it simple. Roasted green beans tossed lightly with some salt and pepper are great because they don’t fight the BBQ flavor profile. Alternatively, tender steamed broccoli or asparagus is fantastic. Everything can be cooked while the chicken is in the oven, so you serve it all hot at the same time. Quick, balanced, and practically zero extra cleanup!
Remember, the whole point of the sheet pan method is convenience. So, pick sides that can steam, boil, or roast alongside the chicken without needing their own separate pan if you can help it!
Storage and Reheating for Meal Prep
One of the best parts about making a batch of these Sticky BBQ Sheet Pan Chicken Thighs is knowing you have lunches sorted for the next couple of days! Because we used skinless, boneless thighs and a thick glaze, they store really well, but you do need to treat that glaze gently when you reheat it.
For storage, let the chicken cool down completely on the pan—don’t store it hot! Once it’s room temperature, transfer it to an airtight container. I always separate my container so the chicken isn’t sitting directly in too much of the pan juice; too much moisture trapped in there can make the texture weird later. A good, sealed container in the fridge will keep these happy for about 3 to 4 days. If you want more general tips on how to keep your leftovers tasting fresh, check out my guide on long-term storage methods.
The Best Way to Reheat for Texture
Here’s where people go wrong with sticky sauces! If you just throw these in the microwave for two minutes, the sauce gets runny, and the chicken can get rubbery. We want to preserve that slightly tacky crust we worked so hard for!
The best way is to use the oven or an air fryer for reheating. Pop the thighs on a small, foil-lined tray (yes, more foil!) and heat them up at about 350°F (175°C) for about 8 to 10 minutes. The gentle heat warms the chicken through and tightens up that BBQ glaze again, making it feel almost freshly cooked. If you’re totally pressed for time, microwave for 45 seconds, then quickly stick it under the broiler for 1 minute just to wake the sauce back up!
Keeping Sides Separate
If you plan on meal prepping your side dishes—like rice or those roasted green beans we talked about—always store them in a separate compartment from the chicken. If you mix the warm, sticky chicken right against the rice or potatoes, the moisture will migrate, making your sides soggy, which defeats the whole purpose of a perfect meal prep!
Frequently Asked Questions About Sticky BBQ Sheet Pan Chicken Thighs
I know you might still have a few nagging questions before you dive into making these, and that’s totally fine! When dealing with a sticky sauce and high heat, cooks often need a little extra reassurance. Here are the questions I get asked most often about making these bbq chicken thighs.
Can I use chicken breasts instead of thighs?
Oh, I totally understand if thighs aren’t your favorite, but you need to adjust your expectations significantly! Chicken breasts are much leaner, so they dry out incredibly fast under that high broil heat we use to get the glaze sticky. If you must use breasts, I suggest cutting them into thick chunks first so they cook evenly, and you’ll definitely want to drastically cut down the broiling time—aim for maybe 5 minutes max while checking the temperature constantly.
Also, only apply about half the glaze before the initial bake, and save the rest. Chicken breasts just don’t handle being smothered as well as the fatty thigh meat does. They are simply not the ideal choice for this specific recipe.
What is the best way to make this recipe low-sodium?
That’s a great question, especially since we are using soy sauce and Worcestershire sauce, which are sodium bombs! If you need to cut back on salt, you can easily substitute the standard soy sauce with a liquid aminos product or a low-sodium soy sauce variation. That will handle the bulk of the adjustment.
For the Worcestershire sauce, look specifically for low-sodium labels if your store carries them. If you can’t find one, just skip the Worcestershire entirely for the first glaze application. You won’t lose too much flavor, and you can always add a tiny sprinkle of salt later if needed. It still finishes up as a fantastic sheet pan dinner!
How do I know when the bbq chicken thighs are fully cooked?
Visual cues are nice—like seeing the sauce bubbling—but for absolute food safety, especially with poultry, you must use a meat thermometer! Always check the thickest part of the thigh, making sure the probe doesn’t touch the pan underneath. The FDA standard, which I always trust, is 165°F (74°C) internal temperature. Once your thighs hit that mark, they are perfectly cooked, safe to eat, and ready to rest before you devour them!
Nutritional Estimate for This Recipe
Now, I know some of you are very mindful of what goes into your weekly diet plans, and that’s smart cooking! I always pull the numbers for you on these quick weeknight staples. Remember, these estimates are based on the exact ingredient amounts listed above, using standard pantry items, and divided across 5 servings.
For example, using skinless, boneless chicken thighs means we keep the saturated fat lower than if we left the skin on, which is a great trade-off for a baked dish like this. But, because of that lovely sticky BBQ sauce packed with brown sugar and Worcestershire, sodium levels are what they are—it’s that addictive flavor we love!
Here is the breakdown based on the recipe for Sticky BBQ Sheet Pan Chicken Thighs:
- Calories: 297
- Carbohydrates: 13g
- Protein: 34g (Wow, that’s a powerhouse!)
- Fat: 10g
- Saturated Fat: 2g
- Sugar: 12g
- Sodium: 701mg
Keep in mind these numbers are estimates, especially depending on the brand of BBQ sauce base you use. If you swap out soy sauce for something lower in sodium, you’ll definitely see that 701mg drop down. Enjoy them, and don’t sweat the small stuff—it’s a delicious, balanced meal built around lean protein!
Share Your Sticky BBQ Sheet Pan Chicken Thighs Success
Alright, friends, now the best part: I want to hear all about it! You’ve pulled off the perfect Sticky BBQ Sheet Pan Chicken Thighs, I just know it. Did the glaze get super caramelized? Did your family devour every last messy piece?
Don’t just cook this and walk away! I built this recipe based on my own chaotic kitchen nights, and I thrive on seeing how you adapt and enjoy it. Leave a rating below—five stars if you think this saved your weeknight dinner struggle! I read every single comment, so tell me what worked, what you paired it with, or if you tried swapping out the vinegar for lemon juice!
Snap a Picture and Tag Me!
If you took a gorgeous photo of the sticky, glossy finish—and I bet you did—please share it! Tagging me on social media is the best way for me to see your culinary creations. It truly makes my day when I see the recipes helping busy cooks create easy, wonderful memories around the table.
Let’s Talk Sides
I gave you my ideas for sides, but I’m always looking for new inspiration! What did you serve alongside your BBQ chicken thighs? Did you try that coleslaw trick, or did you pair it with something totally unexpected? Drop your favorite side dish pairing in the comments right now so other readers can share in the genius!
Happy cooking, and enjoy those easy weeknights!
Sticky BBQ Sheet Pan Chicken Thighs
Ingredients
Equipment
Method
- Preheat your oven to 220°C/420°F (200°C fan). Use a pan large enough to fit the thighs lying flat. Line the pan with foil.
- Mix all the Glaze ingredients together. Spoon about 2/3 of the Glaze over the surface of each chicken thigh, avoiding the underside. Reserve the remaining glaze.
- Bake for 15 minutes, then remove the pan from the oven.
- Switch your oven setting to grill or broiler on high. Adjust the oven shelf to be 20cm/8 inches from the heat source.
- Spoon any pan juices over the chicken. Then, spoon or dab the remaining reserved Glaze onto the chicken tops.
- Broil the chicken for 8 to 10 minutes until the surface is well caramelized.
- Remove the chicken from the oven and let it stand uncovered for a few minutes before serving with the pan juices.
Nutrition
Notes
Tried this recipe?
Let us know how it was!
Master of Culinary Visual Arts
My culinary journey started in the fast-paced kitchens of boutique coastal restaurants throughout Southern California, where I learned that beautiful food doesn’t have to be complicated. After nine years of professional cooking, I’ve made it my mission to prove that sophisticated, nutritionally sound meals can be accessible to busy home cooks who refuse to compromise on flavor or visual appeal.
What changed everything for me was watching talented home cooks feel intimidated by healthy cooking. That’s when I transitioned to private instruction, teaching busy professionals and families how to create restaurant-quality meals using simple techniques and ingredients they can actually find at their local grocery store. My “15-minute meal” frameworks are now used by several regional cooking schools!
As a third-generation Mexican-American, I love weaving vibrant Latin flavors into low-carb creations – proving that healthy eating can be both culturally authentic and visually spectacular. My “effortless elegance” philosophy is simple: nutritious food should look as stunning as it tastes, without requiring professional chef skills or expensive equipment.
When I’m not developing recipes in my San Diego coastal kitchen, you’ll find me surfing the local breaks with my Golden Retriever mix, Mango, who’s both my kitchen companion and unofficial taste-testing assistant. My personal low-carb lifestyle started as a way to maintain energy for my active coastal life, and it’s become the foundation for proving that healthy eating enhances rather than restricts life’s pleasures.