
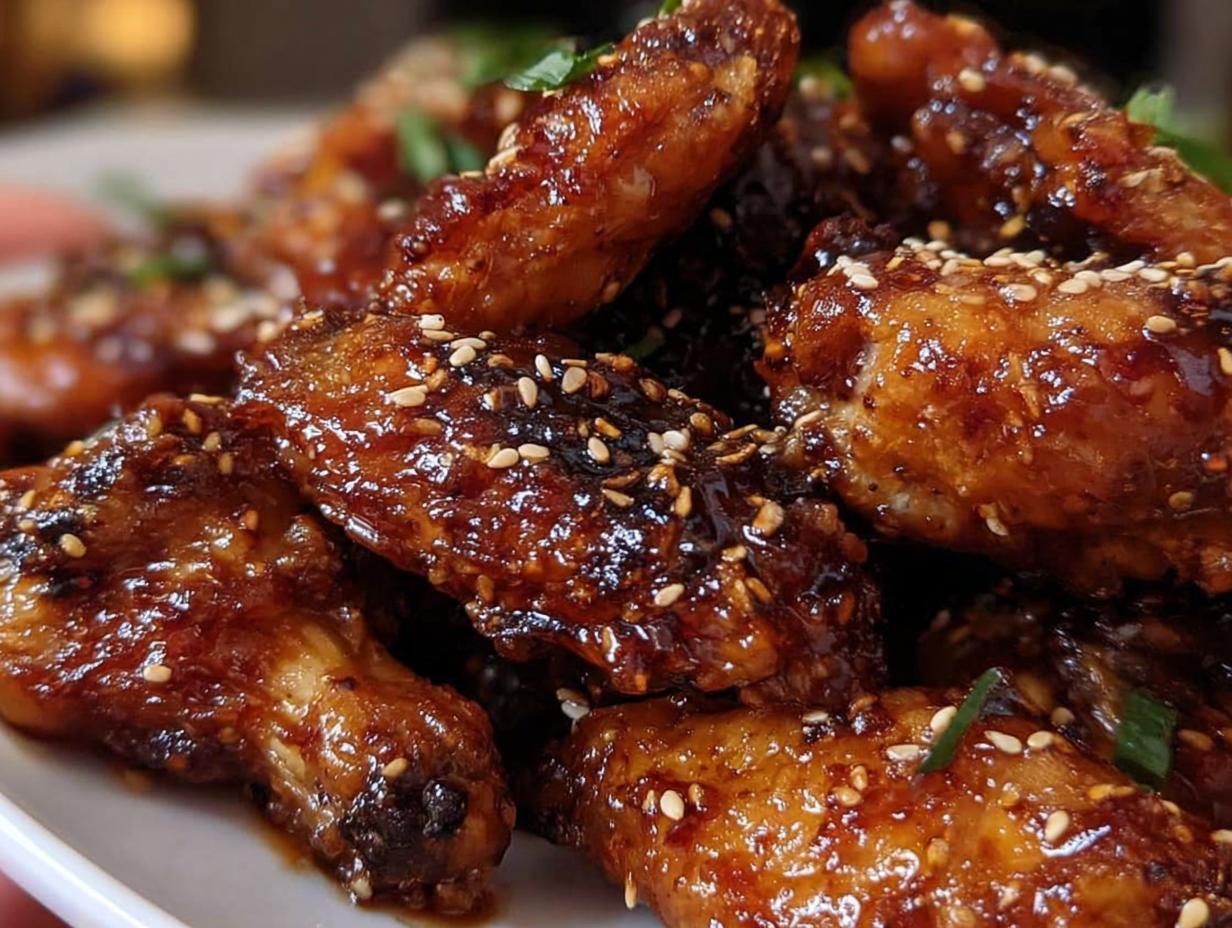
If you’re like me, the end of a long day means you need dinner on the table fast, but you don’t want to compromise on flavor, especially if you have picky eaters staring you down. That’s why I’m thrilled to share what quickly became a staple in our rotation: the best Teriyaki Sesame Baked Chicken Wings you’ll ever make outside of a takeout box. I remember serving these to my family after a hectic day. I needed an easy recipe that would please my picky eaters. When they took their first bites, their faces lit up with delight. This meal balances quick preparation with great taste, and trust me, they are absolute winners.
I’m Maria Fernandez, a Certified Family Nutrition Strategist, and I developed this recipe because feeding a family shouldn’t feel like a battle. These wings prove that simple, baked recipes can deliver that satisfying, craveable flavor everyone loves.
Why You’ll Love These Teriyaki Sesame Baked Chicken Wings
When I’m trying to get dinner ready before homework, I need recipes that practically make themselves. These wings hit that sweet spot every single time. They bring that intense, savory flavor kids and adults obsess over, but without making me feel guilty about serving up fried food on a Tuesday night.
- Hands-Off Baking: Once they are coated and in the oven, you mostly just wait! The passive cooking time allows you to handle chores or help with math homework.
- Crispy Skin Guarantee: Seriously, the little secret kick from the baking powder means you get that satisfying crunch without ever turning on the deep fryer. That’s a huge win in my book.
- Flavor That Delivers: The balance of salty soy, sweet honey, and nutty sesame is just incredible. It’s bold enough for adults but still sweet enough my youngest asks for seconds.
- Minimal Cleanup: We use that trick with the parchment paper underneath the rack, remember? That means cleanup is usually just soaking a rack for a few minutes.
- Great for Game Day or Homework Breaks: These aren’t just dinner; they are a fantastic, crowd-pleasing snack option for almost any occasion.
Quick Prep for Busy Weeknights
You simply cannot beat the prep time on this recipe. We’re talking 15 minutes, tops, to get everything seasoned and into the oven. Most of that time is just drying the wings off! You can mix the sauce while the wings are getting their first 20 minutes in the oven, which saves so much time.
Perfect for Family Movie Night Snacks
Forget those greasy bags of chips or ordering in pizza! These wings make the absolute best family movie night snacks. They satisfy that salty, savory craving perfectly, and because they are baked, they feel slightly more wholesome than traditional deep-fried favorites. Plus, they’re easy to share!
Essential Equipment for Perfect Teriyaki Sesame Baked Chicken Wings
When I’m making these teriyaki wings, I keep things simple in terms of tools. The beauty of this recipe is that it relies mostly on your oven doing the heavy lifting, not complicated gadgets! You really only need the basics, which is great news for keeping kitchen clutter down.
Make sure you have these items handy. Trust me, having them ready means you can pivot straight into cooking when that dinner rush hits later.
- Your trusty Oven, preheated, of course!
- A sturdy Baking Sheet.
- A wire Baking Rack that fits inside that sheet—this is key for crispiness!
- A good old Large Bowl for tossing everything together.
- A small Skillet for thickening up our amazing sauce.
Ingredients for Flavorful Teriyaki Sesame Baked Chicken Wings
Alright, let’s talk about what goes into these wings! If you want that perfect crunch followed by that glossy, sticky coating? You can’t skimp on the quality here, but thankfully, the shopping list is refreshingly short. We break it down into two main parts: the base that gets crispy, and the sauce that makes everything delicious.
I always make sure my ingredients are handy before I even set the oven temperature. It just makes the whole flow smoother, especially when you only have about 15 minutes before those wings need to hit the heat!
For the Crispy Chicken Wings Base
This is where the magic starts, and trust me, the baking powder is non-negotiable. I know it sounds weird to put this in a savory recipe—it’s not for leavening here, folks! It actually raises the skin’s pH level, helping it brown beautifully and get wonderfully crisp. It’s the secret weapon that lets us skip the messy frying oil!
- 1 lb chicken wings (about 455 g). Make sure they’re patted as dry as possible!
- 2 teaspoons of baking powder. This is our texture secret!
- 1 teaspoon of plain salt.
Crafting the Sesame Glaze
This sauce is what makes these my go-to teriyaki wings. It’s a beautiful blend of salty, sweet, and nutty that coats everything perfectly. We reduce it down so it’s thick enough to stick, not just soggy the skin.
- 1/3 cup low sodium soy sauce (70 mL). I use low sodium because we are controlling the salt separately.
- 2 tablespoons of honey.
- 2 tablespoons of brown sugar. Don’t use white sugar here; the molasses in the brown sugar adds depth!
- 1 tablespoon of sesame seed. These toast up a bit in the skillet and really enhance that nutty flavor.
Step-by-Step Instructions for Teriyaki Sesame Baked Chicken Wings
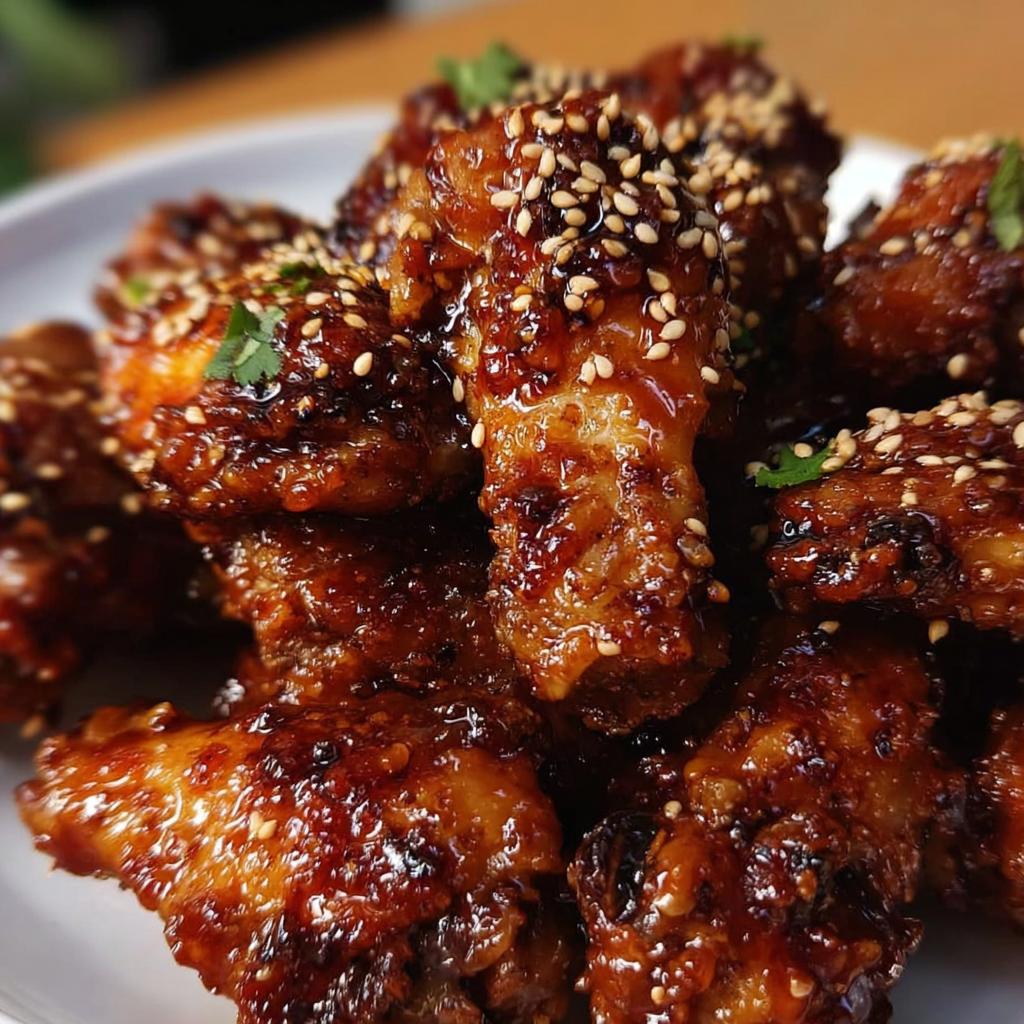
Okay, friends, this is where the rubber meets the road! Getting these teriyaki wings perfect is all about method, not magic. It takes about an hour total cook time, but the prep is lightning fast. Just follow these steps closely, and you’ll have that amazing sticky coating without any deep frying mess. I promise this method works wonderfully; check out how others have loved theirs too! These shiny gems come out of the oven looking incredible every time.

Preparing the Wings for Baking
First up, preheat that oven way high—we’re aiming for 400˚F (or 200˚C). Next, this is crucial: pat your chicken wings bone dry with paper towels. Seriously, moisture is the enemy of crispiness! Once they’re dry, toss them in that big bowl with the baking powder and salt. Make sure you give them a really thorough stir until every piece is lightly dusted. This dry coating is what sets us up for success!
Achieving Crispy Baked Teriyaki Sesame Baked Chicken Wings
Now it’s time for baking. Place that rack on your foil-lined sheet (for easy cleanup, remember?) and arrange the wings so they aren’t touching. We bake them for a full hour here. The trick is to keep flipping them every single 20 minutes. This ensures that all sides get evenly exposed to the heat and turn that gorgeous golden brown color we are looking for.
Making the Thick Sesame Glaze
While the wings are roasting, get your sauce going! Whisk the soy sauce, honey, and brown sugar together in your skillet on medium heat. Bring it to a respectable boil, then toss in those sesame seeds. Keep stirring until that mixture has visibly thickened up—it should coat the back of a spoon nicely. Once the wings are out of the oven and crispy, toss them right into that skillet and mix until every wing is coated in that sticky sesame glaze. Serve ’em up hot!
Tips for Success with Your Teriyaki Sesame Baked Chicken Wings
Even though this recipe is pretty foolproof, I’ve picked up a few little tricks over the years that make the difference between good wings and absolutely unforgettable teriyaki wings. You want that perfect marriage of crispy skin and thick, glossy sauce, right? It’s all in the details!
Don’t just eyeball things when you get to the sauce part. That thick, sticky sesame glaze is the star of the show, and getting the reduction just right means the sauce actually clings to the wing instead of just dripping off into a puddle on your plate. Trust me on these pointers—they are keepers!
Ingredient Notes and Substitutions
I always try to make sure you have flexibility in the kitchen, because we never keep every single ingredient stocked all the time! If you’re missing just one thing, don’t panic—you can usually swap it out.
- For the honey, if you run out, pure maple syrup works brilliantly. It adds a slightly different, woodsy note, but it handles the caramelization process just as well. I used it once when I was out and honestly, I loved the slight flavor change!
- If you only have regular soy sauce instead of low sodium, you might want to cut the added salt in the wing rub down to just half a teaspoon, or even skip it entirely until you taste the final glaze.
- Can’t find brown sugar? You can use white sugar, but remember, you lose some of that deep, molasses flavor that makes the sauce so rich. Add a tiny dash of molasses if you are swapping to white sugar, just to bring some of that flavor back.
- If you are using frozen wings, you absolutely must thaw them! Even worse, if you try to use them even slightly frozen, the baking powder won’t work right on the skin, and you’ll end up with boiled, soggy spots instead of that beautiful crisp texture we are aiming for.
Remember, baking powder is your friend for crispiness, but the sauce ingredients are what give you that signature sweet and salty punch! Keep shining in that kitchen!
Serving Suggestions for Baked Chicken Appetizers
It can be tough making sure everyone at the table eats something green when their main focus is on these incredibly flavorful teriyaki wings! But trust me, it’s easy to round out the meal without putting too much more effort in. Since these are such a flavor-packed component, I find that keeping the sides light and fresh really makes them shine.
When I serve these as part of a quick dinner, I look for things that require zero cooking or just ten minutes in the microwave. These baked chicken appetizers are hearty enough to be a main event, so the sides should complement them, not compete!
Here are a few simple pairings that my own picky eaters devour:
- Steamed Broccoli with Lemon: Seriously, just a little steam until it’s bright green, then a squeeze of fresh lemon juice and maybe a tiny sprinkle of salt. The clean, bright flavor cuts right through the richness of the sesame glaze.
- Quick Cucumber Salad: I slice cucumbers thinly, toss them with a splash of rice vinegar, and maybe a dash of sugar if you have kids who prefer sweeter flavors. They are so refreshing alongside the sticky chicken.
- Simple White Rice: If you’re serving these as the main course, a mound of fluffy white rice is perfect for soaking up any extra sauce that drips off the wings. Everybody loves scooping up that extra bit of glaze!
- A Quick Tangy Dipping Sauce: Even though they are coated, some folks just love dipping! A little bit of watered-down Sriracha mixed with mayo, or even just some plain Greek yogurt with chives, works wonders as a cool contrast.
Using these simple sides means you’ve got a balanced, delicious meal on the table fast, and everyone leaves happy. Keep it simple!
Storage and Reheating Instructions for Teriyaki Sesame Baked Chicken Wings
Oh no, the inevitable—having amazing leftovers! If you surprisingly have any of these Teriyaki Sesame Baked Chicken Wings left after your family movie night, you want to handle them right. Nobody wants soggy wings the next day, right? That glorious crispiness we worked so hard for needs a little saving!
First things first: storage. Once they are completely cool, you need to get them sealed up tight. Transfer any leftover wings into an airtight container. I usually try to line the container with a paper towel right underneath the wings first. This just helps absorb any extra moisture that might try to creep in overnight. They should hang out in the fridge for about three to four days max. Don’t try to keep them much longer than that—fresh is always best!
Restoring That Perfect Crunch
This is the golden rule section! You absolutely cannot just microwave these wings if you want them to taste good later. Microwaving works against everything that baking powder did for us; it just makes them soft and rubbery. That’s a tragedy for a perfectly cooked wing!
If you want to bring back that satisfying texture, you have two main options that actually work:
- The Oven or Toaster Oven Method: This is my favorite. Set your oven or toaster oven to about 375˚F (190˚C). Lay the wings out in a single layer on a rack set over a baking sheet—just like you did when you first baked them! Bake them for about 8 to 10 minutes. That dry heat gets the skin crackling again without overcooking the inside.
- The Air Fryer Shortcut: If you were lucky enough to use an air fryer, it’s even faster to reheat! Pop them in at 350˚F (about 175˚C) for just 4 to 6 minutes. Keep an eye on them, though; the air fryer is fierce and can scorch that glaze quickly if you forget about them for even a minute!
When you reheat them, I always give them a quick, light toss in a bowl with just a teaspoon of extra soy sauce or teriyaki sauce before putting them back in the oven. This refreshes that wonderful sesame glaze without making them soggy. Happy snacking!
Frequently Asked Questions About Teriyaki Wings
I know you’ve poured over the recipe, but sometimes those little nagging questions just pop up when you think about making them on a busy weeknight. That’s totally normal! Below are the most common things people ask me about when they are planning on making these amazing teriyaki wings for their family.
If you’re planning a gathering or just need an easy dinner, knowing these details upfront helps everything run smoother. I’m always here to help you succeed!
Can I make these Teriyaki Sesame Baked Chicken Wings in an Air Fryer?
Oh yes, you absolutely can! An air fryer is fantastic for getting that crunch factor even faster. Since the air circulation is much more intense than in a standard oven, you need to adjust the temperature and time. I’d suggest setting your air fryer to 375˚F (about 190˚C).
Instead of that full hour bake time, start checking them after about 25 minutes. You’ll need to shake the basket or flip the wings halfway through. Keep an eye on them because that honey and brown sugar in the glaze can burn quickly if you overcook them!
How do I ensure my sesame glaze sticks well?
This is the make-or-break moment for those beautiful family movie night snacks! The key is reduction. Remember when we simmered the sauce in the skillet? Never skip that step! You need to cook it down until it sizzles slowly and coats the back of a spoon thickly. If you toss your crispy wings in a sauce that’s still too watery, it will just steam the skin, and you’ll end up with plain, saucy wings instead of sticky, glazed ones.
Toss the wings immediately after taking them out of the oven while they are still piping hot, and stir quickly until everything is uniformly coated. If you let them cool down too much first, the sauce won’t adhere properly.
Are these wings super spicy? My kids hate heat.
That’s a common worry with any teriyaki recipe! The good news is that this base recipe is savory and sweet, not spicy at all. We rely on soy sauce, honey, and brown sugar for flavor, so there is zero heat built into the main sauce ingredients. If you were to look at that glaze, you would see the rich brown color from the sugar mixture, not the red tones of chili flakes!
If you *do* like heat later on, you can easily serve it on the side. I sometimes mix a tiny bit of chili garlic sauce into a small portion of the glaze just for my husband and me, leaving the main batch totally kid-approved. So yes, they are perfect for the whole family!
Share Your Teriyaki Sesame Baked Chicken Wings Experience
Wow, we made it through! Now that you have made the most amazing, crispy, sticky Teriyaki Sesame Baked Chicken Wings in your own kitchen, I really, really want to hear about it. Sharing recipes is wonderful, but seeing how they fit into your busy family life? That’s the best part of this whole job for me.
Did your picky eaters actually clean their plates? Did you serve them up for the big game or just a Tuesday night win? Don’t be shy!
Please take a moment to drop a rating below—even just five stars tells me this recipe is holding up well for other busy families out there. And if you took a gorgeous picture of those shiny, saucy wings, snap a photo and tag me on social media! I honestly live for seeing your delicious results. Your feedback helps me cook up more easy, family-approved meals just like this one. Happy eating, everyone!
Teriyaki Sesame Baked Chicken Wings
Ingredients
Equipment
Method
- Preheat your oven to 400˚F/200˚C.
- Remove excess moisture from the chicken wings using a paper towel.
- In a large bowl, stir the baking powder and salt together until the chicken is fully coated.
- Bake the wings on a baking rack for 1 hour, or until they are golden brown and crispy. Flip the wings every 20 minutes during baking. Place the baking rack on a baking sheet covered with parchment paper or foil to catch drippings for easier cleanup.
- In a skillet, combine the soy sauce, honey, and brown sugar over medium heat. Bring the mixture to a boil and then add in the sesame seeds.
- Once the sauce has thickened, stir in the baked chicken wings until they are completely coated.
- Serve the wings with your preferred side dish or dipping sauce.
Notes
Tried this recipe?
Let us know how it was!
Certified Family Nutrition Strategist
My path into family nutrition began working with Phoenix Area Family Services, where I saw how traditional nutrition advice often ignored real-world constraints like budget limitations, time crunches, and kids who refuse to eat anything green. That experience sparked my mission to develop meal planning systems that work with family realities, not against them.
Over eight years, I’ve helped hundreds of families reduce grocery spending by 25% while dramatically improving their nutrition. My meal planning frameworks have been adopted by local wellness centers because they actually work for busy parents juggling different ages, preferences, and dietary needs in one household.
As a bilingual first-generation Mexican-American and mother of three, I personally navigate the daily challenge of feeding a family nutritiously while honoring cultural traditions and managing a household budget. My “kid-friendly low-carb” protocols show families how to gradually introduce healthier options without triggering mealtime battles or abandoning beloved family recipes.
My “realistic wellness” philosophy is straightforward: health improvements must work within existing family dynamics and financial realities to be truly sustainable. When I’m not developing meal planning systems, I’m creating portable trail snacks for our weekend family hiking adventures – because healthy eating should fuel the life you want to live.
My personal low-carb journey started after pregnancy as a way to regain energy for active parenting, and that experience continues to inform my professional commitment to making healthy eating feel supportive rather than burdensome for busy families.