
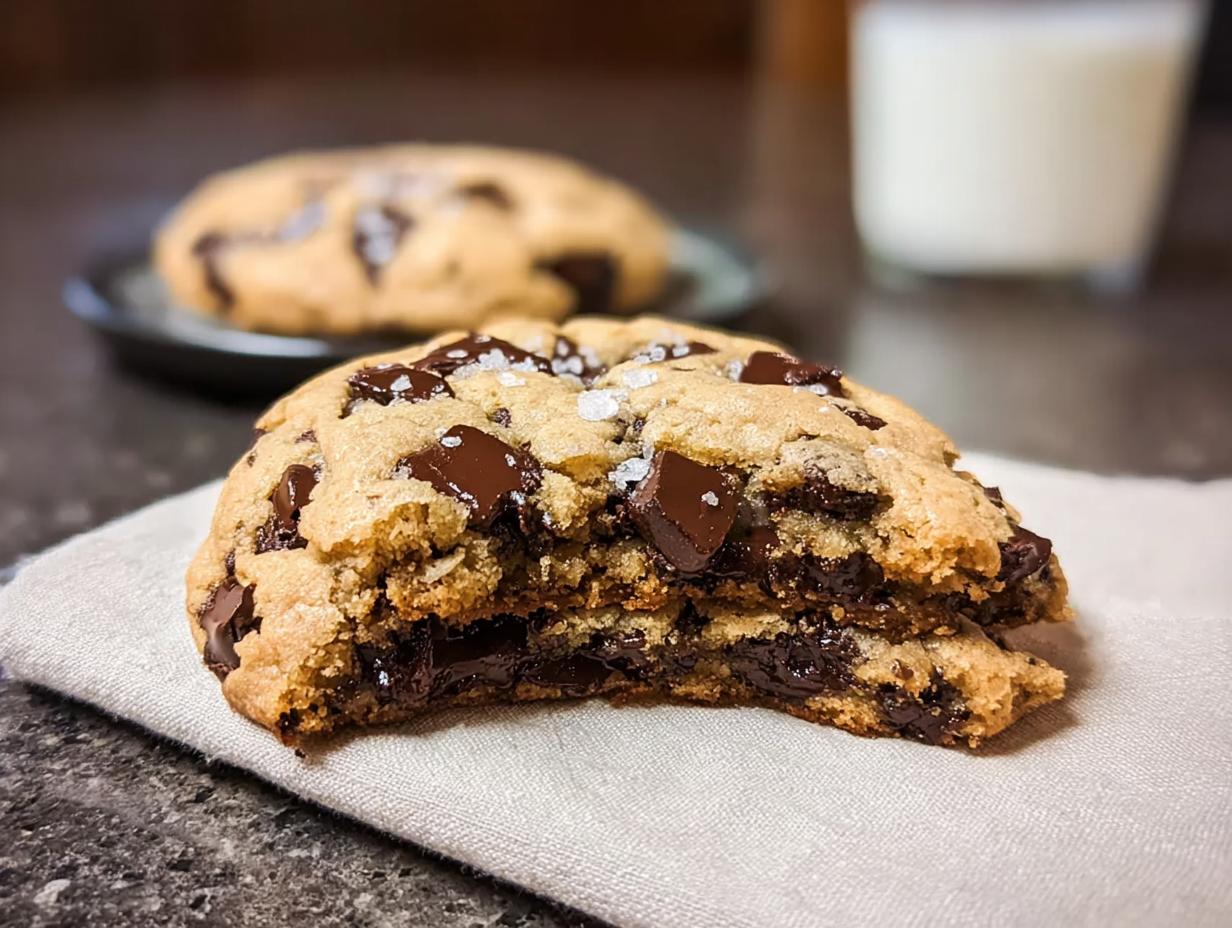
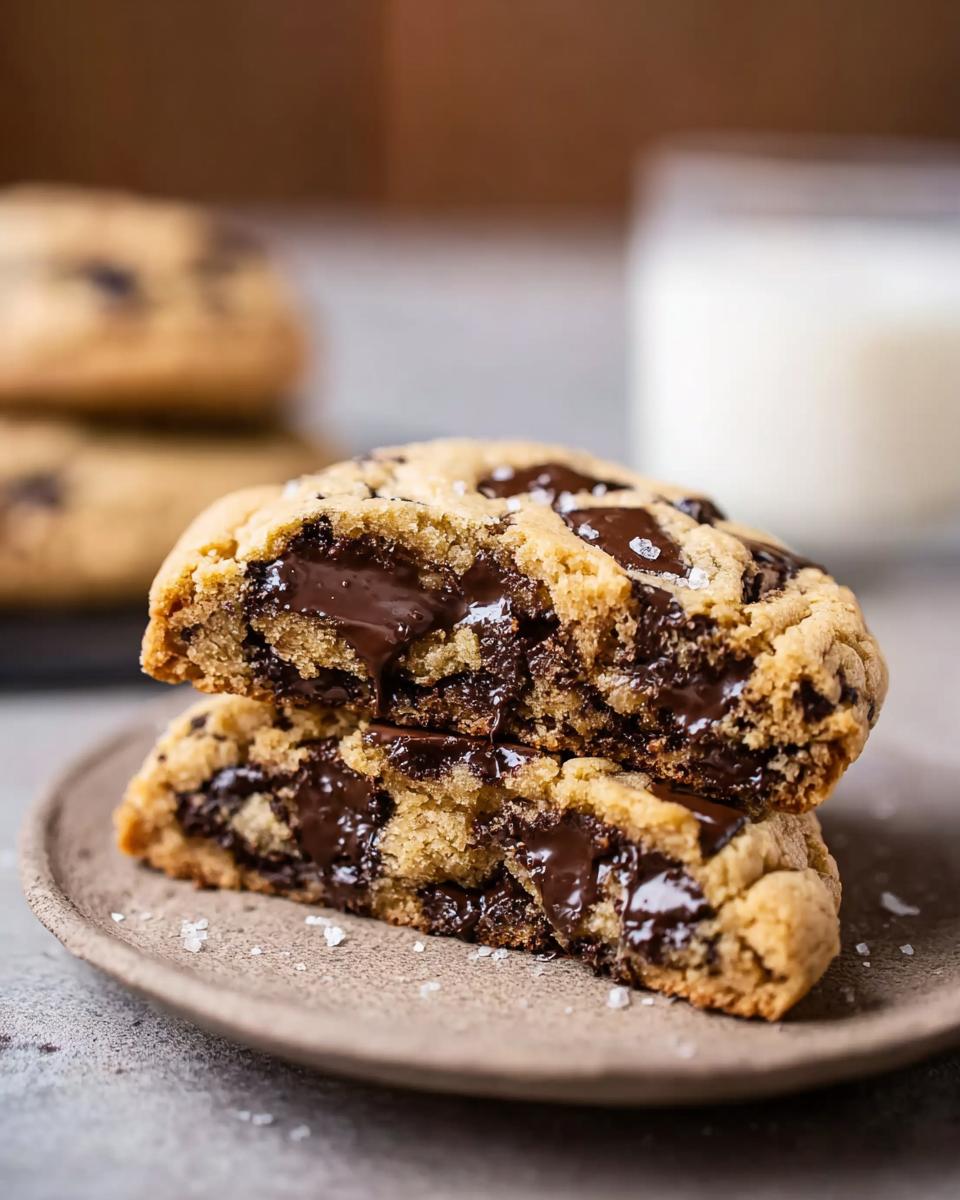
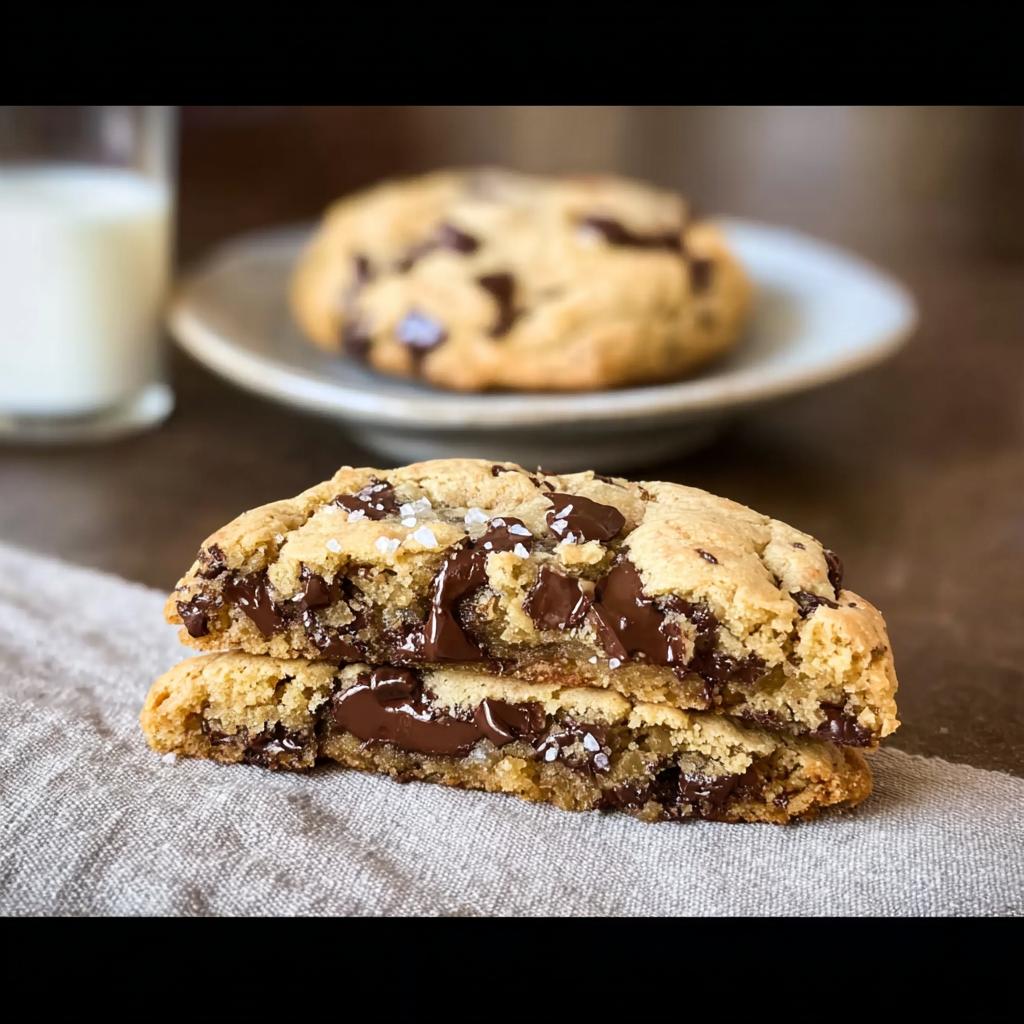
You know that moment when you bite into a chocolate chip cookie that just melts in your mouth? That perfect, slightly gooey bite that you only ever seem to find at the famous local spots? Well, forget the drive! As Clara Martinz, Master of Culinary Visual Arts, I’m here to tell you that level of perfection is totally achievable right here in your own kitchen. We’re making Bakery Style Giant Chocolate Chip Cookies!
These aren’t just large cookies; they’re engineered for those deep, satisfyingly chewy centers that everyone fights over. Honestly, the aroma takes me right back to my grandmother’s kitchen on lazy Sunday afternoons. She had this magical recipe for what we called her “Bakery Style Giant Chocolate Chip Cookies,” and I always volunteered to help. I can still see her smiling face as she taught me how to perfectly measure the flour and not to skimp on the chocolate chips. Those cookies were always a crowd favorite, often disappearing within minutes. Now, every time I bake a batch, I’m transported back to those delightful moments, proving that a simple recipe can bridge generations and create lasting memories around the table.
Why These Bakery Style Giant Chocolate Chip Cookies Are Worth Making
I promise you, these are the cookies you’ve been searching for. Forget those flat, crispy discs! We’re aiming for something substantial that feels special, even though the recipe is pretty straightforward—I’m telling you, if you can mix, you can make these. The results speak for themselves.
- They are truly giant—perfect for sharing (or not, I don’t judge!).
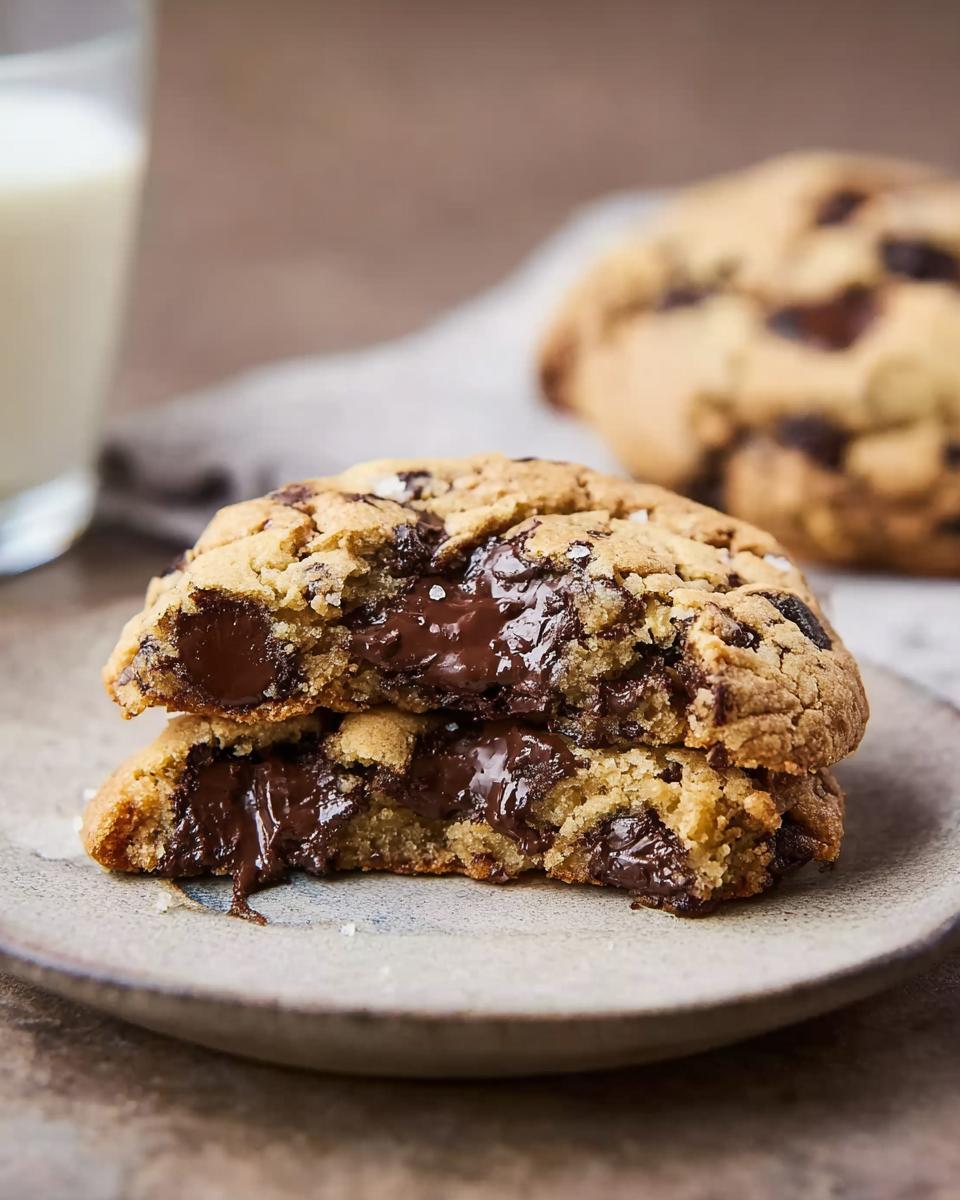
- The texture inside is supreme: totally soft and those chewy centers are non-negotiable.
- The balance of salts and sugars gives them that deep, comforting flavor you can’t quite place but just crave.
Achieving Perfect Bakery Style Cookies Texture
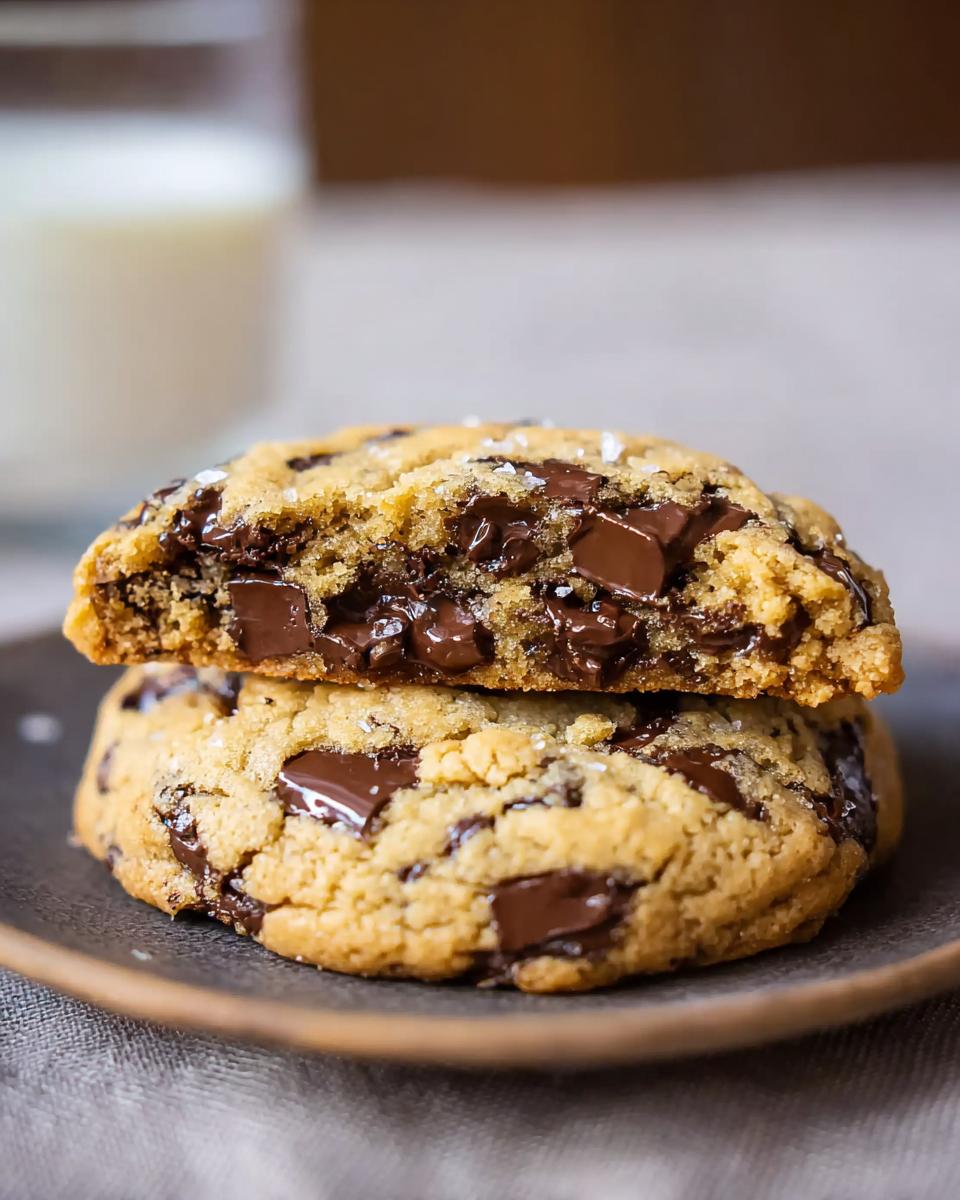
So, what’s the secret to truly great bakery style cookies? It’s all in the temperature game, my friends. We rely on butter that is soft but *not* melted—this helps trap air beautifully when creaming. Plus, using both brown and toasted white sugars gives us that complex flavor and those wonderful, slightly crisp edges contrasted with that gooey middle we love so much.
Essential Ingredients for Bakery Style Giant Chocolate Chip Cookies
Wow, okay, let’s talk ingredients! For these Bakery Style Giant Chocolate Chip Cookies to turn out exactly like my grandma’s, we have to be precise here. When you’re aiming for something this perfect, skipping a tiny measurement can throw the whole texture off. Trust me on this one; precision pays off!
For the Dough: Precise Measurements for Big Chocolate Chip Cookies
We start with four ounces of unsalted American butter, and it needs to be soft—I mean, around 65°F (18°C), which feels only slightly cool to the touch, not greasy. For sugar, grab four ounces of light brown sugar packed firmly, and 3.5 ounces of white sugar, which I highly recommend toasting lightly beforehand for extra depth! We absolutely need that flavor punch from one ounce (about a tablespoon) of vanilla extract and two teaspoons of Diamond Crystal kosher salt—don’t swap that out if you can help it!
For lift, measure out 1.75 teaspoons of baking powder and one teaspoon of baking soda, plus just a pinch of grated nutmeg; that’s my secret background note. Then we add two large eggs, which should be straight from the fridge (yes, cold eggs here!). For the structure, use 10 ounces of all-purpose flour, about 2 1/4 cups if you’re spooning it gently into your measuring cup—you can see my tips on how to measure flour properly right here. Finally, the stars: 15 ounces of assorted chocolate chips—and please, no chopped bars here—and about 8.5 ounces of pecans or walnuts if you like a little crunch in your big chocolate chip cookies.
Step-by-Step Instructions for Bakery Style Giant Chocolate Chip Cookies
Alright, this is where the magic really starts! Get your stand mixer ready. We are building these cookies layer by layer, so don’t rush the process. If you’re looking for those incredible, thick, bakery-quality results, paying attention to mixing stages is what separates a good cookie from a legendary one. Pay close attention to the time needed for that creaming step!
Creaming: Building the Base for Chewy Centers
First things first, combine all your softened butter, both sugars, vanilla, salt, baking soda, baking powder, and that tiny bit of nutmeg right into your mixer bowl. Start it on low speed so nothing flies out everywhere—oops, been there! Once everything is just barely moistened, crank that speed up to medium. You need to beat this mixture for a solid 8 minutes! Yes, 8 minutes! During those 8 minutes, you absolutely must stop to scrape down the sides and the paddle with your flexible spatula. This meticulous mixing is what locks in air and develops those amazing chewy centers later on, so don’t phone it in!
Incorporating Eggs and Flour into Your Bakery Style Giant Chocolate Chip Cookies Dough
Once the mixture is pale, fluffy, and looking gorgeous, it’s time for the eggs. Add them one at a time, making sure the first one is fully mixed in before you even think about adding the second. This keeps the emulsion stable. Next, drop your mixer speed way down to low—we don’t want to deflate all that lovely air we just whipped in! Add all 10 ounces of your flour mixture all at once. Just mix until you see the flour disappear. Seriously, stop when it’s *almost* there. For more hands-on advice on baking techniques like this, check out my guide on essential baking tips.
Folding in the Mix-ins
Time for the best part! Turn your mixer off, grab that beautiful dough, and gently fold in your 15 ounces of chocolate chips and those nuts you chose. Use your spatula for this—don’t use the paddle attachment anymore! We only mix until everything is just evenly distributed. The second everything looks combined, stop mixing immediately. Overmixing now develops gluten unnecessarily, and we want tender giant cookies, not tough ones, right?
Expert Tips for Copycat Bakery Recipes Success
Even though this recipe is pretty foolproof, getting that true copycat bakery recipes vibe means paying attention to a few details that bakers sweat over. We’re past the mixing stage, but the preparation before they hit the oven is just as crucial for massive, thick cookies that don’t spread into greasy puddles.
I know it sounds fussy, but trust me, these small adjustments separate your home batch from the ones you pay five dollars for!
Temperature Control for Bakery Style Giant Chocolate Chip Cookies
Let’s circle back to temperature because it’s everything in cookie making, especially when you’re making them this big. Remember I said your butter needs to be soft—room temperature, about 65°F? That’s key because it allows the fat structure to hold air when you cream it with the sugar. But then, we add fridge-cold eggs! That slight temperature shock helps keep the mixture emulsified without getting too warm too fast.
Now, if you look at your dough and it already feels a little oily or sad, stop what you’re doing and chill it. I mean it. Pop that bowl into the fridge for at least 30 minutes, or even longer if you have the patience. Chilling solidifies the fats again, which means when those balls hit the hot oven, they won’t immediately melt and spread thin. They stay thick! They hold their shape, which is essential for those gorgeous, towering Bakery Style Giant Chocolate Chip Cookies.
If you want to see how the pros handle making cookies super thick, I always look at deep-dive articles like this one—it gives you a lot of perspective on spread control! Check out this reference if you’re feeling extra experimental!
Troubleshooting Common Bakery Style Giant Chocolate Chip Cookies Issues
Don’t panic if your first batch of these Bakery Style Giant Chocolate Chip Cookies doesn’t look exactly like the picture on the blog! Honestly, every baker has an oven that runs a little hot or a day where the humidity is weird.
The most common cry for help I get is, “Why did my cookies spread into giant, thin pancakes?” Usually, this points right back to the temperature we just talked about! If your butter was too soft, or if you skipped chilling the dough, the cookies melt before they set. Next time, chill that dough for at least an hour, seriously.
If your cookies end up dry, it’s often because you might have overmixed after the flour went in, developing too much unpleasant gluten. Remember, we stop mixing as soon as the flour disappears! Keep these simple rules in mind, and you’ll rescue any disappointing batch!
Storing and Reheating Your Bakery Style Giant Chocolate Chip Cookies
These Bakery Style Giant Chocolate Chip Cookies are so big and rich that you probably won’t eat them all in one sitting—though I highly respect anyone who tries! Since we worked so hard to get those perfect, soft textures, we want to make sure they stay that way. Storing them correctly is just as important as mixing them right.
For short-term storage, I use a simple airtight container. Separate the layers with parchment paper—don’t just stack them directly on top of each other! If you stack them tight, the moisture transfers, and you can end up with sticky tops, which defeats the purpose of a beautiful cookie, right? They stay wonderfully soft at room temperature for about four days if you seal them up tight. If you want them to last longer, you absolutely should freeze them!
When freezing, tuck them into a sturdy freezer bag or container. They freeze beautifully for up to three months. If you’re ever unsure about the best way to keep homemade treats fresh, I have a whole guide on food storage for baked goods that you might find helpful!
Bringing Those Chewy Centers Back to Life
Reheating is key to getting that just-out-of-the-oven experience. If you try to eat a room-temperature giant cookie straight from the fridge, it might feel a bit too firm for your liking. You need gentle heat!
I usually microwave mine for just 10 to 15 seconds. That little burst of warmth softens the chocolate chips just enough and brings back that wonderfully pliable texture we love in big chocolate chip cookies. If you’re heating a batch, a quick 5 minutes on a baking sheet in a 300°F oven works wonders too. Just watch them closely so they don’t dry out!
Frequently Asked Questions About Bakery Style Cookies
I know you might still have a few lingering questions after reading all that cookie science! It’s totally normal when you’re trying to nail a legendary recipe like this. Here are a few things I hear all the time when people tackle these giants.
Can I make smaller cookies with this recipe?
Oh sure, you absolutely can! If you’re not looking for the signature giant size, slicing the dough balls down to standard 2-tablespoon size is no big deal. Just keep in mind that baking time shifts. When you make smaller portions, you need to watch them closely. They probably won’t take the full 15 minutes; start checking for doneness around 10 or 11 minutes. You’re still going to get that incredible flavor profile, but they won’t look quite like the massive bakery style cookies we’ve been focused on perfecting here.
What kind of chocolate works best for big chocolate chip cookies?
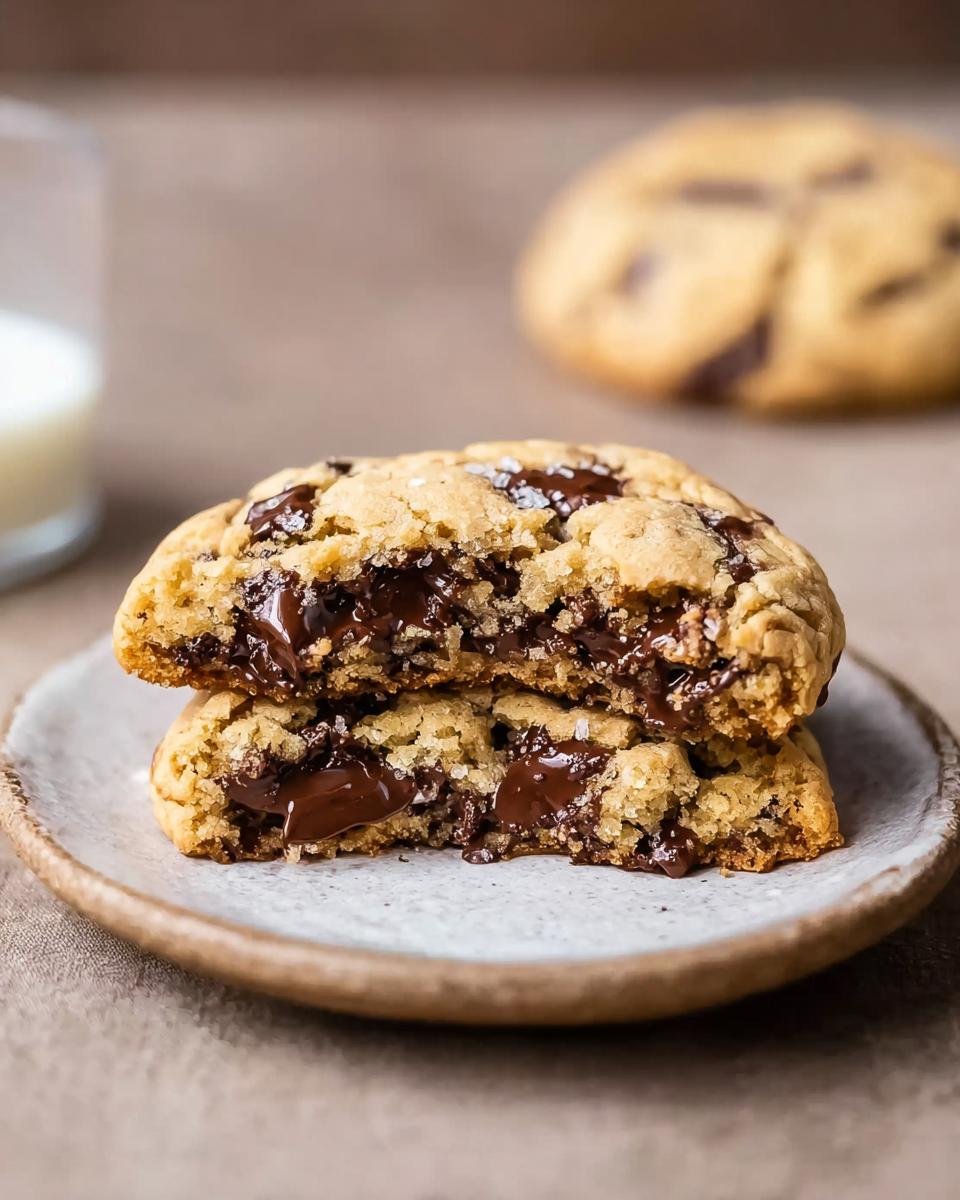
This is my favorite question! Don’t just stick to one kind of chip. For truly rich, complex flavor in these big chocolate chip cookies, you need variety. I always use a mix—about 60% semi-sweet chips for that classic structure, and 40% milk chocolate chunks or discs. The chunks melt differently than the chips, creating those beautiful little pools of melted chocolate throughout the cookie.
Also, don’t forget a sprinkle of flaky sea salt right on top of the raw dough! It sounds minor, but that burst of salt against the pools of melted chocolate? Perfection. Seriously, the quality of the chocolate makes the whole difference when you’re making something this delicious.
Do I absolutely have to toast the white sugar?
Listen, if you are in a hurry, you can skip it, but I wouldn’t advise it if you want that deep, almost caramel flavor! To toast it lightly, you spread the white sugar thinly on a baking sheet and pop it in a 300°F oven for maybe 8 minutes, stirring halfway. It just deepens that nutty molasses note so it blends better with the brown sugar. It’s one of those quiet little secrets that elevates a good cookie to a ‘wow’ cookie!
Why is the butter temperature so specific?
Because we are aiming for those amazing chewy centers! If your butter is too cold (straight-out-of-the-fridge hard), it won’t cream properly, and you won’t trap enough air for that fluffy lift. If your butter is too warm or melted, it just turns into liquid fat, and the cookies spread way too thin before they bake. That 65°F sweet spot lets the mixture get fluffy while beating, setting you up for the best texture!
Nutritional Estimates for Bakery Style Giant Chocolate Chip Cookies
Now, let’s talk reality for a second. These Bakery Style Giant Chocolate Chip Cookies are decadent. They are made with real butter, lots of sugar, and frankly, a truly unfair amount of chocolate, so we need to talk numbers. I always tell people that if you’re baking something this incredible, you probably shouldn’t check the nutrition facts until you’ve had one already!
Please remember that these numbers are just my best guess based on the ingredients listed above, assuming we get a full 12 cookies out of the batch—and trust me, scooping these giants evenly is an art form in itself! Depending on the exact brand of chocolate you use, your results might vary a tiny bit. I always encourage people to be mindful of ingredients but never let calorie counting stop you from enjoying the moment a warm cookie is in front of you!
Based on dividing all the recipe ingredients by 12 generous servings, here is what you are looking at, approximately:
- **Calories:** Around 550-600 kcal
- **Fat:** Approximately 32g
- **Protein:** About 6g
- **Carbohydrates:** Roughy 65g
These are rich cookies designed for indulgence, not a light snack! You’re paying for all that glorious butter and those high-quality chocolate chips, and honestly, every single bite is worth the estimate. Enjoy them, and if you bake them, let me know if your calorie count came out higher—I suspect most people add extra chocolate!
Share Your Giant Cookie Creations
Okay, you’ve mastered the creaming, you’ve folded the chocolate just right, and now you have a fresh batch of the most incredible Bakery Style Giant Chocolate Chip Cookies cooling on the rack. I’m so excited for you!
This recipe feels like family history to me, and the best part of sharing it is hearing how it turns out in *your* kitchen. Did you manage to keep them thick? Did you sprinkle extra salt on top like I suggested?
Please, please, please take a minute to leave a star rating right down below this post. It truly helps me know that this recipe is working its magic for other bakers, too! More importantly, tell me about your experience in the comments below. I absolutely adore reading your stories about baking these giants, especially if you tried to copycat a specific bakery treat you love!
And if you’re sending photos to friends or posting them online, tag me! I want to see those towering, gooey, chocolate-studded masterpieces. Happy baking, everyone—now go enjoy that first bite!
Bakery Style Giant Chocolate Chip Cookies
Ingredients
Equipment
Method
- Combine butter, light brown sugar, white sugar, vanilla extract, salt, baking powder, baking soda, and nutmeg in the bowl of a stand mixer fitted with a paddle attachment.
- Mix on low speed to moisten the ingredients. Increase the speed to medium and beat until the mixture is soft, fluffy, and pale, which takes about 8 minutes. Pause halfway through to scrape the bowl and beater with a flexible spatula.
- With the mixer running, add the eggs one at a time. Let each egg incorporate fully before adding the next one.
- Reduce the mixer speed to low. Add the flour all at once.
- When the flour is incorporated, add the chocolate chips and nuts. Keep mixing until the dough is homogeneous.
Notes
Tried this recipe?
Let us know how it was!
Master of Culinary Visual Arts
My culinary journey started in the fast-paced kitchens of boutique coastal restaurants throughout Southern California, where I learned that beautiful food doesn’t have to be complicated. After nine years of professional cooking, I’ve made it my mission to prove that sophisticated, nutritionally sound meals can be accessible to busy home cooks who refuse to compromise on flavor or visual appeal.
What changed everything for me was watching talented home cooks feel intimidated by healthy cooking. That’s when I transitioned to private instruction, teaching busy professionals and families how to create restaurant-quality meals using simple techniques and ingredients they can actually find at their local grocery store. My “15-minute meal” frameworks are now used by several regional cooking schools!
As a third-generation Mexican-American, I love weaving vibrant Latin flavors into low-carb creations – proving that healthy eating can be both culturally authentic and visually spectacular. My “effortless elegance” philosophy is simple: nutritious food should look as stunning as it tastes, without requiring professional chef skills or expensive equipment.
When I’m not developing recipes in my San Diego coastal kitchen, you’ll find me surfing the local breaks with my Golden Retriever mix, Mango, who’s both my kitchen companion and unofficial taste-testing assistant. My personal low-carb lifestyle started as a way to maintain energy for my active coastal life, and it’s become the foundation for proving that healthy eating enhances rather than restricts life’s pleasures.