

Oh, friends, if there is one thing I adore, it’s a dessert that looks absolutely show-stopping but requires zero sweat equity. You know what I mean—that showstopper that tastes like you spent all day fussing, but really, it just hung out in the fridge? That’s exactly what we are making today! I’m talking about my heavenly No Bake Strawberry Swirl Cheesecake. One warm summer afternoon, I was craving something light and delicious, yet effortless to prepare, and remembering a vibrant gathering with friends, I was inspired! Suddenly, mixing that creamy cheese with the sweet tang of strawberries felt like pure magic. As the Master of Global Fusion Innovation here, SIMO MIMO, I can tell you this recipe is truly foolproof and perfect for making any casual get-together feel like the celebration it deserves to be.
Why This No Bake Strawberry Swirl Cheesecake Is Your New Favorite Summer Dessert Recipes
Trust me when I say this cheesecake will become a staple because it seriously makes you look like a baking genius! Since there’s no oven involved, you can keep your kitchen cool even when the sun is blazing outside. That’s a huge win when you’re looking for amazing summer dessert recipes.
- It’s incredibly stable and sets up perfectly in the fridge, making it one of the best easy fridge cakes around.
- The bright berry flavor is such a wonderfully light contrast to heavy baked goods.
- Overall, it’s just the reliable, delicious no bake cheesecake you’ve been dreaming about.
Effortless Preparation for Easy Fridge Cakes
The best part? Your active time is practically nothing! We are talking about whipping up a crust and mixing a filling. You don’t have to worry about preheating or testing temperatures. This recipe guarantees that you can pull it together quickly, set it, and forget it until it’s time to serve. Less active cooking time means more time enjoying your guests!
Stunning Presentation with Minimal Fuss
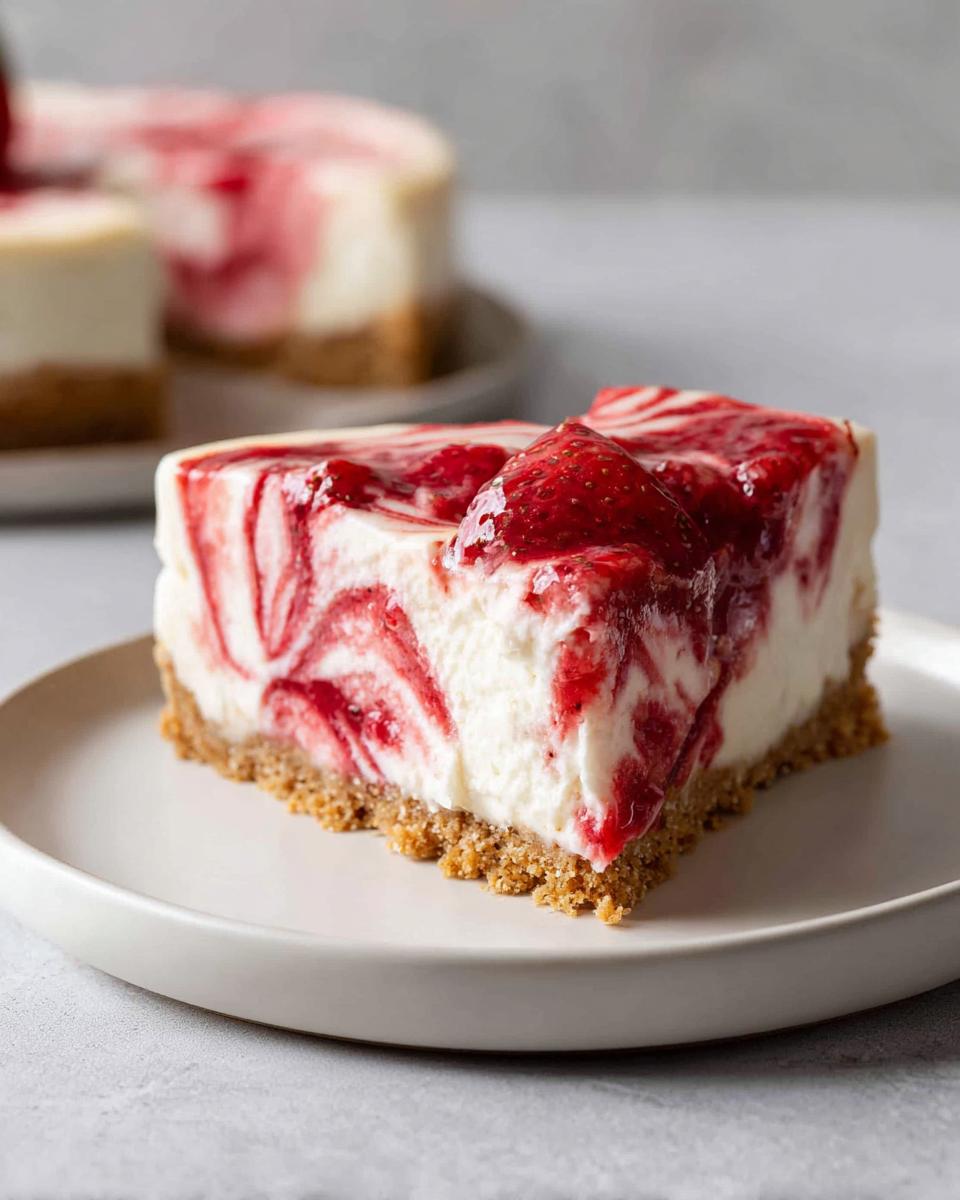
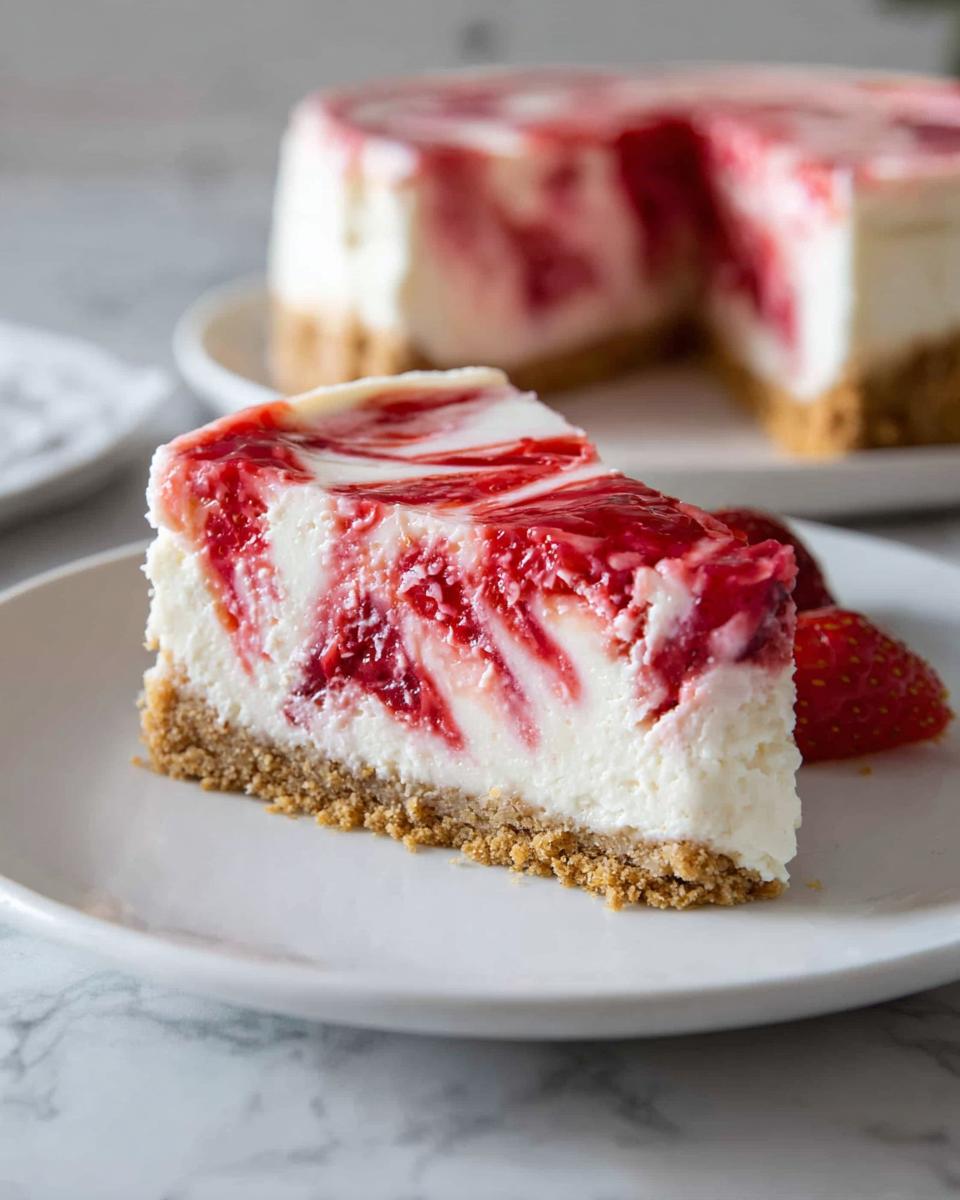
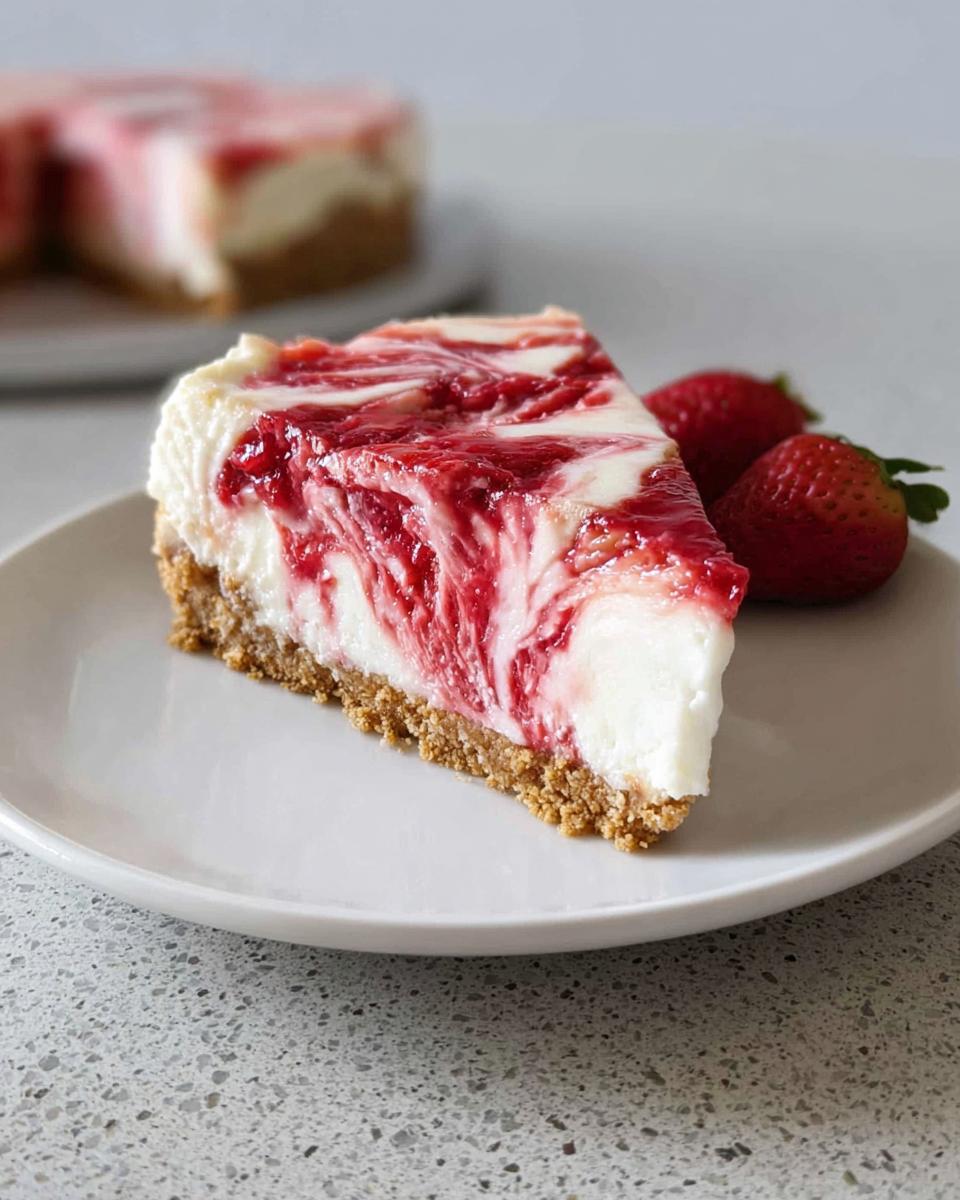
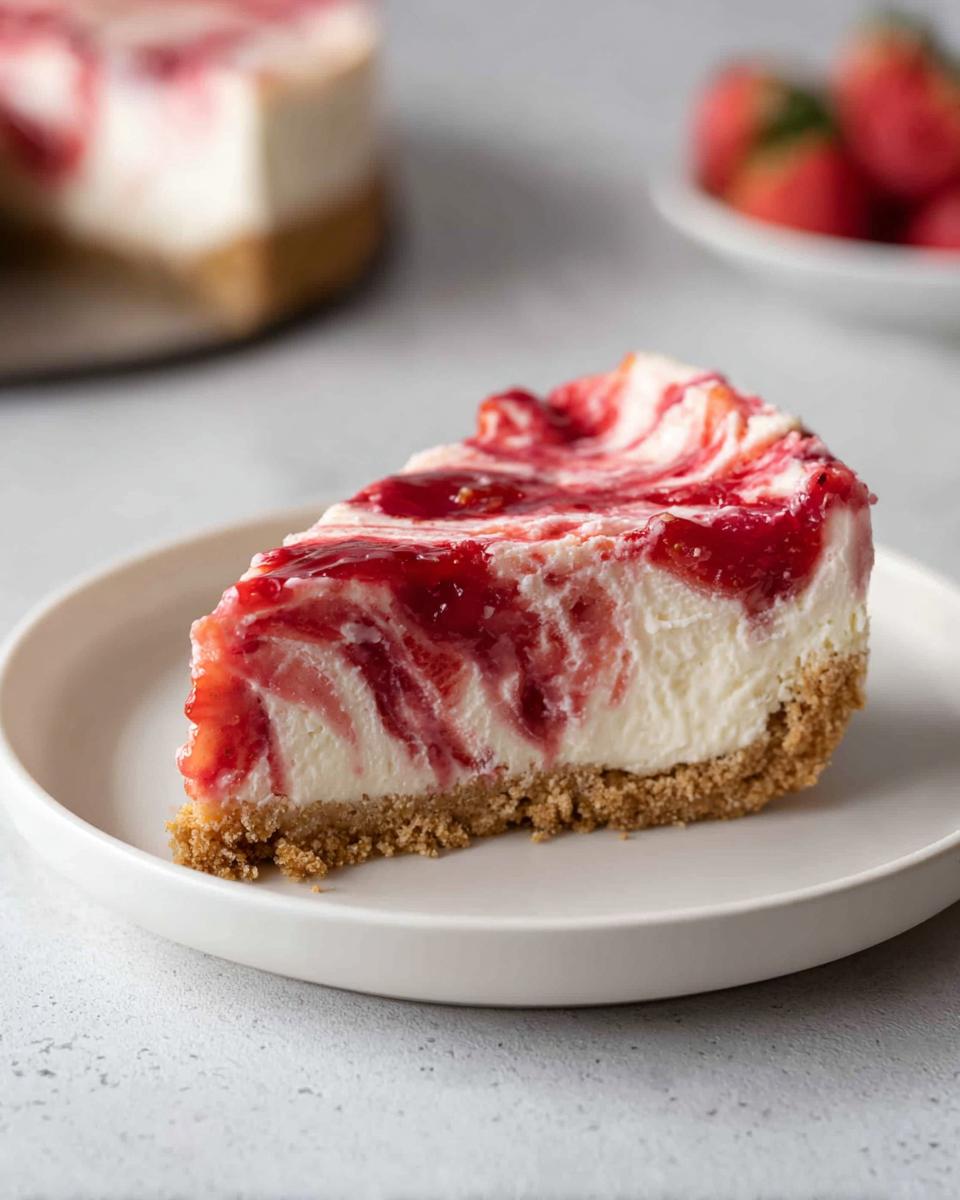
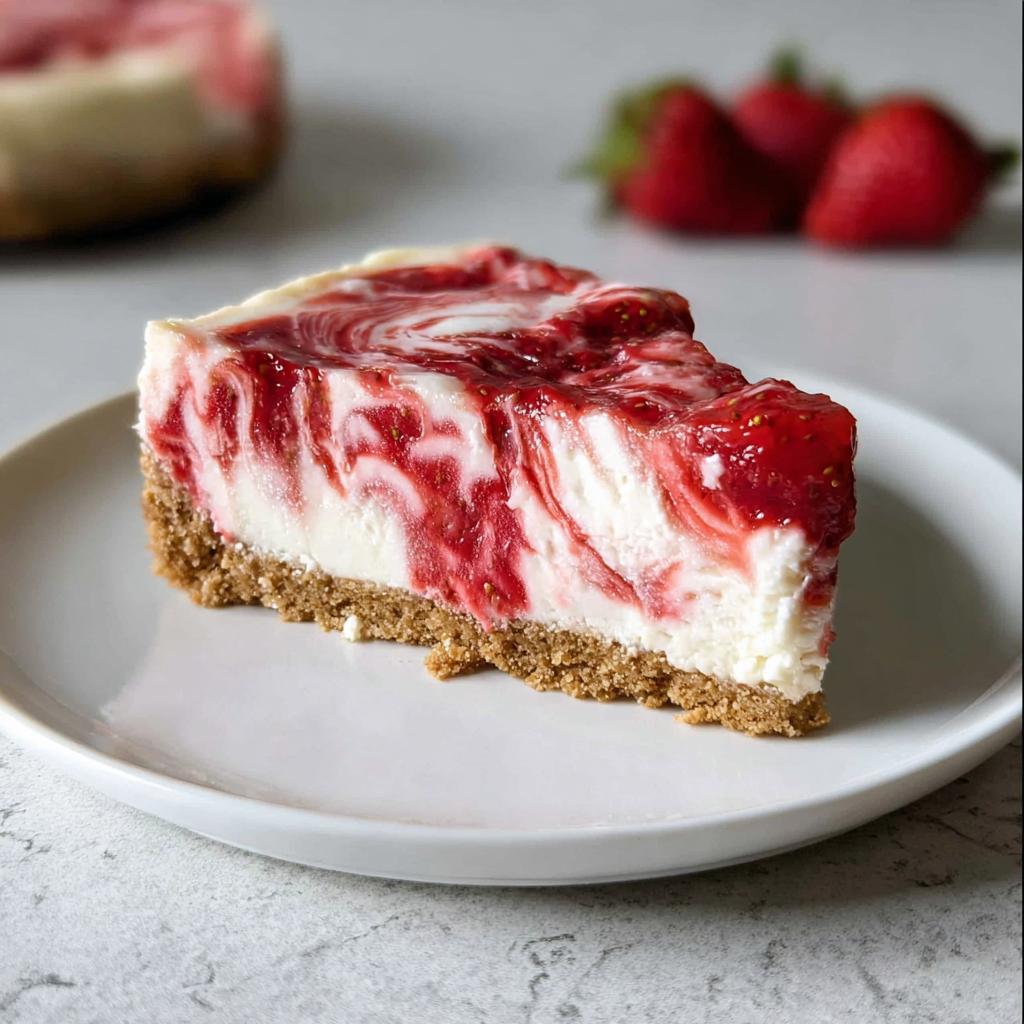
Don’t you just love that ribbon of color? That gorgeous strawberry swirl topping looks like it took hours of complicated folding, but I promise you, it’s just a simple knife drag! It creates these beautiful marble patterns that always get compliments. It’s all about maximum impact with minimum effort, which is my favorite kind of kitchen magic.
Gathering Supplies for the No Bake Strawberry Swirl Cheesecake
Before we start stirring up that gorgeous creamy filling, we need to make sure our station is ready! Having the right tools on hand makes everything flow so much better. Since we aren’t baking, we rely on a few key items to get that perfect texture and shape. It just gives you so much more confidence when you know you have everything you need right there on the counter!
Essential Equipment List
You won’t need your oven, but you will want these things ready to go. Remember, presentation is key for this dessert, so having a nice pan helps a ton!
- A food processor to get those strawberries perfectly smooth.
- A fine mesh sieve—super important for that silky jam later!
- A small saucepan, just for quick cooking the swirl.
- Your trusty 9-inch springform pan. This is our foundation!
- A stand mixer or a good handheld electric mixer for getting that filling light and fluffy.
Ingredients for the Perfect No Bake Strawberry Swirl Cheesecake
Okay, time for the fun part: gathering our goodies! Since this is a no bake cheesecake, the quality of what goes in really counts, especially for both the creamy base and that bright, tangy swirl. I’ve organized everything by component so you can prep one section at a time. Don’t worry if you need to grab things as you go; that’s totally normal when you’re creating magic!
For the Strawberry Jam (The Swirl)
This is the star of the show, folks! You take 16 ounces (about 454 grams) of fresh strawberries, make sure they are hulled and diced up small, and then we work some magic with a little cornstarch to get that perfect thickening agent. We add 1 cup of granulated sugar (that’s 200 grams) and just half a tablespoon of unsalted butter for silkiness. Don’t forget 2 teaspoons of vanilla extract—it wakes up the berry flavor!
For the Graham Cracker Crust
This needs to be firm enough to hold up our luscious filling, and the key here is real butter. Grab 1.5 cups of graham cracker crumbs—that’s roughly 126 grams or about one and a half sleeves if you’re counting. Then, you’ll need 6 tablespoons of unsalted butter, melted, to bind those crumbs together. That’s it! Super simple base!
For the Creamy Filling
Here’s where the richness comes in. You absolutely must have 24 ounces of cream cheese; make sure it is softened to room temperature, or you’ll have lumps! We are using 1.5 cups of confectioners’ sugar, and please, sift it! No one wants streaks of powdery sugar in their creamy filling. To balance the sweetness, we add 1 tablespoon of vanilla extract, 1 teaspoon of lemon juice for that authentic tang, and just ⅛ teaspoon (a tiny pinch!) of salt. Finally, the secret to the airy texture is 1 cup of heavy cream.
Step-by-Step Instructions for Your No Bake Strawberry Swirl Cheesecake
Okay, time to actually create this beauty! Since we aren’t wrestling with hot ovens, our timing focuses on making sure everything cools down just right before we layer it. Follow these phases, and you’ll have a perfect no bake cheesecake setting up in no time.
Making the Bright Strawberry Swirl Topping
First things first, we need that vibrant color! Pop those diced strawberries and the cornstarch into your food processor until it’s totally smooth. Now, this is the part where you need that fine mesh sieve. Push that puree right through until all the seeds and pulp are gone. Pour the smooth liquid into a saucepan with your sugar and butter. Cook that mixture until it thickens up nicely—this takes about 15 minutes on the stove. Stir in the vanilla, then transfer it to a bowl. You absolutely must let this jam cool completely to room temperature—figure about 40 minutes—before moving on. If it’s warm, it’ll melt our lovely filling!
Preparing and Setting the Crust
While your jam is cooling, let’s tackle the foundation. Mix your graham cracker crumbs with the melted butter until every crumb is coated—it should look like slightly damp sand. Press this mixture *firmly* into the bottom and even about an inch up the sides of your 9-inch springform pan. Once it’s nicely compacted, tuck that pan into the freezer. We want it nice and firm while we focus on the filling!
Whipping the Light Cheesecake Filling
Grab your softened cream cheese—and I mean *softened*—and beat it on medium speed until it’s completely creamy, usually about 3 minutes. Don’t rush this; those lumps are the enemy of magnificent no-bake desserts! Slowly add in your sifted confectioners’ sugar until it’s incorporated, then mix in the vanilla, lemon juice, and salt. Now switch to the whisk attachment if you have one! It’s time for the heavy cream. Beat this on high speed for about 3 to 5 minutes until the whole batter is thick and holds its shape stiffly. Wow, that looks amazing!
Assembling and Chilling the No Bake Strawberry Swirl Cheesecake
Take the crust out of the freezer. Pour that luxurious filling right over the top and smooth it out evenly to the edges. Now, for the artistic part: drop spoonfuls of your cooled strawberry jam all over the surface. Grab a butter knife and gently drag it through the jam drops, creating those beautiful swirls. Just a light touch is all it takes! Cover it gently and send it to the refrigerator. This needs a long nap—at least 8 hours, but honestly, overnight is always best so it sets up perfectly for slicing.
Tips for Success When Making Your No Bake Strawberry Swirl Cheesecake
You’ve got the steps down, but I want to share a couple of quick thoughts to make sure this no bake strawberry swirl cheesecake is absolutely flawless. You deserve that perfect slice every time! These little details are what separate a good dessert from a spectacular one.
Achieving the Perfect Swirl Texture
Listen closely to this one tip about the jam: Make certain that strawberry mixture is totally cool—room temperature, like your filling was when you mixed it. If you drop warm jam onto that cold cream cheese filling, you’ll end up with an orange puddle instead of a beautiful swirl. Patience pays off here!
Cream Cheese Temperature Matters
If your cream cheese is straight from the fridge, you’re inviting lumps, and we just don’t have time for that with this quick recipe. Let that cream cheese sit out for at least an hour. When it’s perfectly soft, it whips into that oh-so-smooth base texture without any struggle. You want velvety, not bumpy!
Storage and Serving Suggestions for Your Summer Dessert Recipes
Once you’ve managed to wait the requisite 8 hours (or ideally, overnight!), it’s time to think about making sure this gorgeous no bake cheesecake stays perfect until serving. Since this is one of those wonderful easy fridge cakes, storage planning is super simple, which is great news after all that swirling!
How to Store Your No Bake Cheesecake
The best way to keep this beauty firm and fresh is to cover it tightly. Once it’s set, use plastic wrap or foil to cover the springform pan completely—or transfer slices to an airtight container. It must stay in the refrigerator, of course. Honestly, it tastes amazing for about three to four days, though I doubt it’ll last that long at your house, right?
For serving, nothing much is needed! A little extra fresh strawberry sliced on top of each portion looks beautiful. Sometimes I even add a tiny dollop of stabilized whipped cream right next to it. The tang of the lemon and the sweetness of the strawberry swirl are perfectly balanced just as they are!
Frequently Asked Questions About No Bake Strawberry Swirl Cheesecake
It’s funny how many questions pop up once you’ve made something fantastic! Folks always want to know how to tweak my favorite no bake cheesecake or make sure it sets just right. Since this is one of those recipes that feels almost too easy to be true, people check in on the details. Here are the top things I always get asked about!
Can I use frozen strawberries for the jam?
Oh, absolutely, you can! Sometimes fresh berries are just too pricey, right? If you use frozen strawberries, just know they sometimes release a little extra water when they start to cook down. So, my tip is to let your jam simmer for just a couple of extra minutes than the recipe says. You want to make sure all that extra liquid evaporates so your strawberry swirl topping is thick, not runny. No one wants watery swirl paths!
How long does the No Bake Strawberry Swirl Cheesecake need to chill?
This is the absolute most important question for any easy fridge cake! While the recipe says a minimum of 8 hours, and yes, it will be firm enough to slice then, let me tell you a secret: it’s always better overnight. Chilling for 12 hours lets the filling fully firm up, ensuring super clean, beautiful slices when you pull that springform ring off. Don’t rush the chilling if you can help it!
Can I substitute the graham cracker crust?
Of course, you can get creative with the base! Graham crackers are traditional, but they aren’t the only cookie that can handle the job. If you’re out of crumbs or just want a different flavor profile, vanilla wafers make a fantastic, slightly sweeter crust. Shortbread cookies are another winner—they give it a slightly richer, more buttery flavor. Just treat them the same way: pulse them into crumbs and mix with melted butter. Easy peasy!
Sharing Your Delicious No Bake Strawberry Swirl Cheesecake
Now that you’ve mastered this creamy, dreamy no bake cheesecake, you have to show it off! Honestly, watching people take that first bite of a dessert you didn’t even have to turn the oven on for is the best reward. I hope you loved making this, from the simple graham cracker crust to that vibrant strawberry swirl topping!
If you made this No Bake Strawberry Swirl Cheesecake and your kitchen smells like summer heaven, please come back and leave me a star rating! Seriously, your feedback helps others feel confident enough to try this recipe, and knowing you enjoyed it makes my day. And if you share a picture on social media, tag me! I absolutely love seeing your beautiful creations and hearing how much your friends and family enjoyed these simple but impressive summer dessert recipes. Happy swirling!
No Bake Strawberry Swirl Cheesecake
Ingredients
Equipment
Method
- Process the strawberries and cornstarch in a food processor until smooth. Press the puree through a fine mesh sieve into a small saucepan. Discard the seeds and pulp.
- Add the sugar and butter. Cook the puree until thickened, about 15 minutes.
- Remove from heat and stir in the vanilla.
- Transfer the jam to a bowl and set aside to cool to room temperature, about 40 minutes.
- Line the bottom of a 9-inch springform pan with foil or parchment paper and set it aside.
- In a medium bowl, combine the graham crumbs and melted butter. Mix until the crumbs are well coated with butter.
- Press the mixture firmly into the bottom and 1 inch up the sides of the prepared pan. Set the pan in the freezer while you make the filling.
- In the bowl of a stand mixer fitted with the paddle attachment or using a handheld electric mixer, beat the cream cheese on medium speed until smooth and creamy, about 3 minutes.
- Add the confectioners’ sugar and mix on low speed until the sugar is moistened. Then turn the speed up to medium and continue mixing until well combined, about 2 minutes.
- Add the vanilla, lemon juice, and salt. Mix on medium speed until well incorporated, about 1 minute.
- If using a stand mixer with a paddle attachment, switch to the whisk attachment and add the cream. Beat on low speed until the cream is well mixed in. Turn the speed up to high and beat until the batter becomes thick and almost stiff, about 3-5 minutes.
- Pour the filling over the prepared crust and spread evenly to the edges of the pan.
- Drop spoonfuls of jam evenly over the top. Use a butter knife to swirl the jam into the filling.
- Refrigerate the cheesecake for at least 8 hours before serving.
Notes
Tried this recipe?
Let us know how it was!
Master of Global Fusion Innovation
My culinary adventure reflects my Lebanese-Italian heritage and a decade spent in the dynamic fusion restaurant scenes of Miami and Barcelona. I’ve made it my mission to prove that beloved global comfort foods can be successfully adapted for low-carb living without losing their soul, their cultural authenticity, or their ability to comfort.
With advanced training in molecular gastronomy and experience spanning Mediterranean, Middle Eastern, and Latin American traditions, I’ve developed what I call “respectful innovation” – culinary creativity that honors traditional cooking wisdom rather than replacing it. My alternative ingredient substitution systems are now taught in specialty diet cooking schools throughout the region.
Drawing from my trilingual upbringing, I understand how deeply food connects to identity and memory. That’s why my flavor-bridging techniques allow classic dishes from around the world to maintain their comforting, familiar qualities while meeting contemporary nutritional standards. I regularly share these techniques at international culinary symposiums and innovation events.
When I’m not experimenting in my Miami fusion kitchen laboratory, you’ll find me at local salsa dance venues – the rhythm and improvisation skills translate directly to my creative cooking process! My role as a foster parent to rescue rabbits has unexpectedly inspired some of my most creative plant-based low-carb innovations.
My personal low-carb journey began as a way to maintain energy for my active lifestyle, but it’s evolved into a professional mission of proving that healthy eating can be globally adventurous rather than restrictively limiting. Every recipe I create is a passport to culinary adventure, transforming kitchens into laboratories for exploring healthy versions of the world’s most beloved comfort foods.