
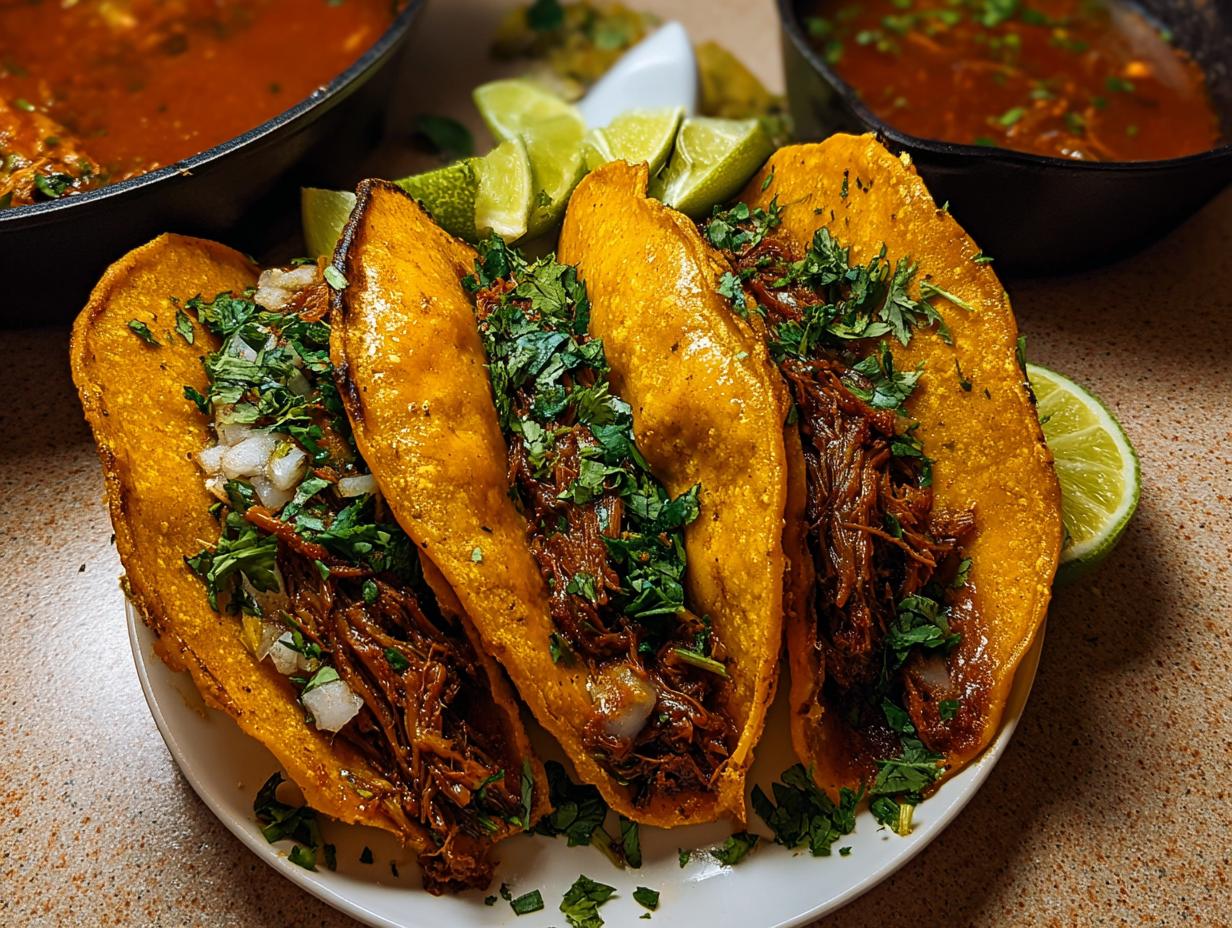
Oh my goodness, the moment you bite into one of these tacos, you’ll understand why I call them My Fave Birria Tacos. It’s that intense, soulful flavor from the slow-braised beef soaking in that rich, red consommé. It’s pure satisfaction, truly—Mexican comfort food perfection right in your hands!
I first fell head-over-heels for birria at a huge neighborhood festival down in Miami. The air was thick and sweet with spices simmering away, and honestly, I followed my nose right to a tiny stand that was absolutely buzzing. That first taste of meat, so unbelievably tender, wrapped in a crisp tortilla… well, it transported me! It really hit me right then how deeply food connects us to history and feeling.
That day sparked something in me, and I had to try and capture that magic at home, blending my own culinary background into the mix. So, I spent weeks tinkering, and trust me, this recipe has the deep, authentic soul of birria while being something you can absolutely conquer in your own kitchen. I’m Simo Mimo, and I promise, this rich braised beef filling is going to be your new weeknight hero.
Why You Will Love Making My Fave Birria Tacos
Honestly, you aren’t just making dinner here; you’re unlocking serious flavor! People always ask why the time commitment is worth it, and I tell them it’s magic—pure, delicious magic.
- The meat becomes like butter—seriously falling apart tender after the slow braise.
- We use real dried chiles, so the flavor is way deeper than anything you can get pre-made.
- It captures that feeling of sitting down somewhere special and sharing amazing Mexican comfort food. You’ll feel like a pro!
Deep Flavor Profile from Homemade Chili Paste
That chili paste? That’s where the secret weapon is hiding. It’s super easy—just blend some soaked dried peppers with onions and glorious spices. Trust me, the payoff for that fresh paste is massive. It coats every single shred of beef and turns the braising liquid into gold!
Authentic Mexican Comfort Food Experience
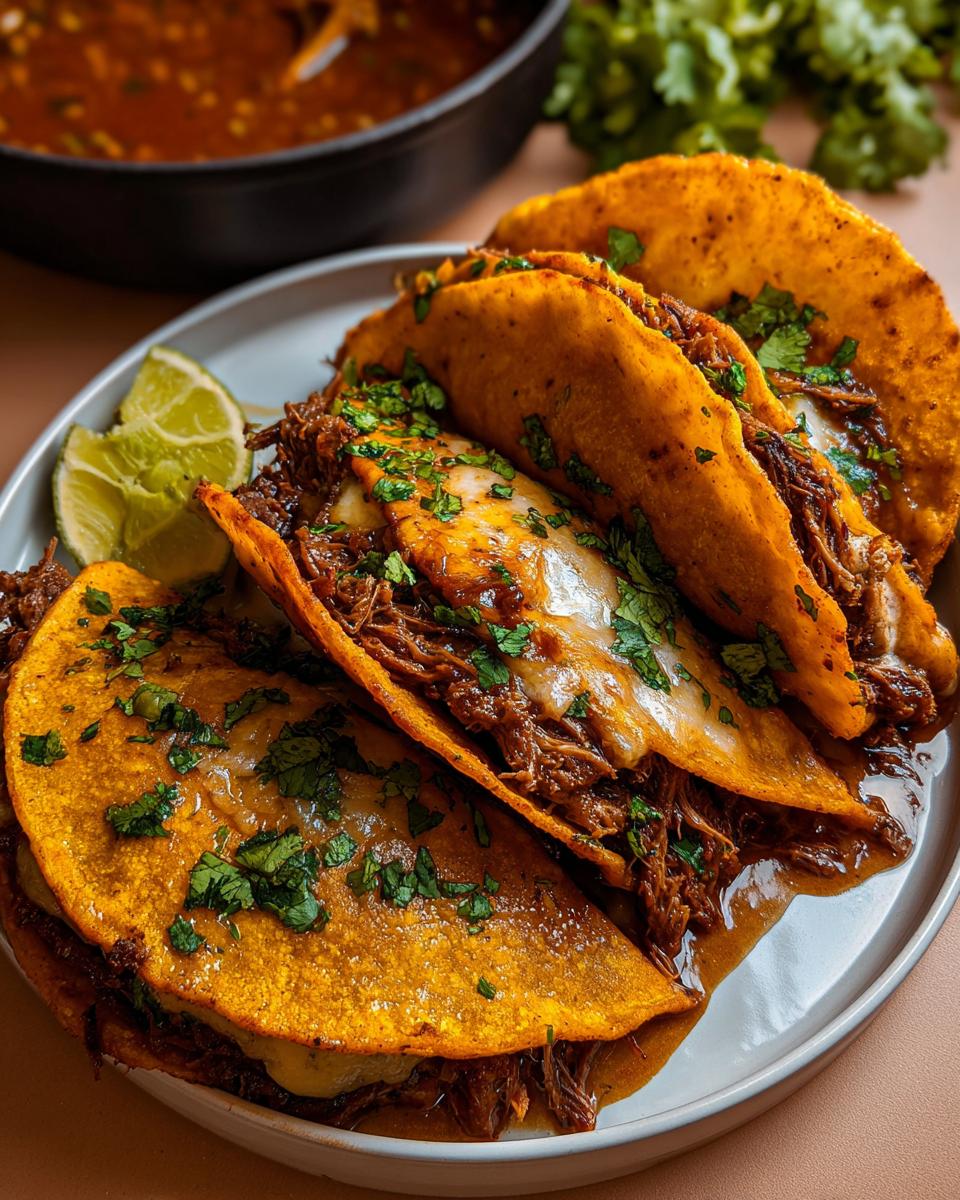
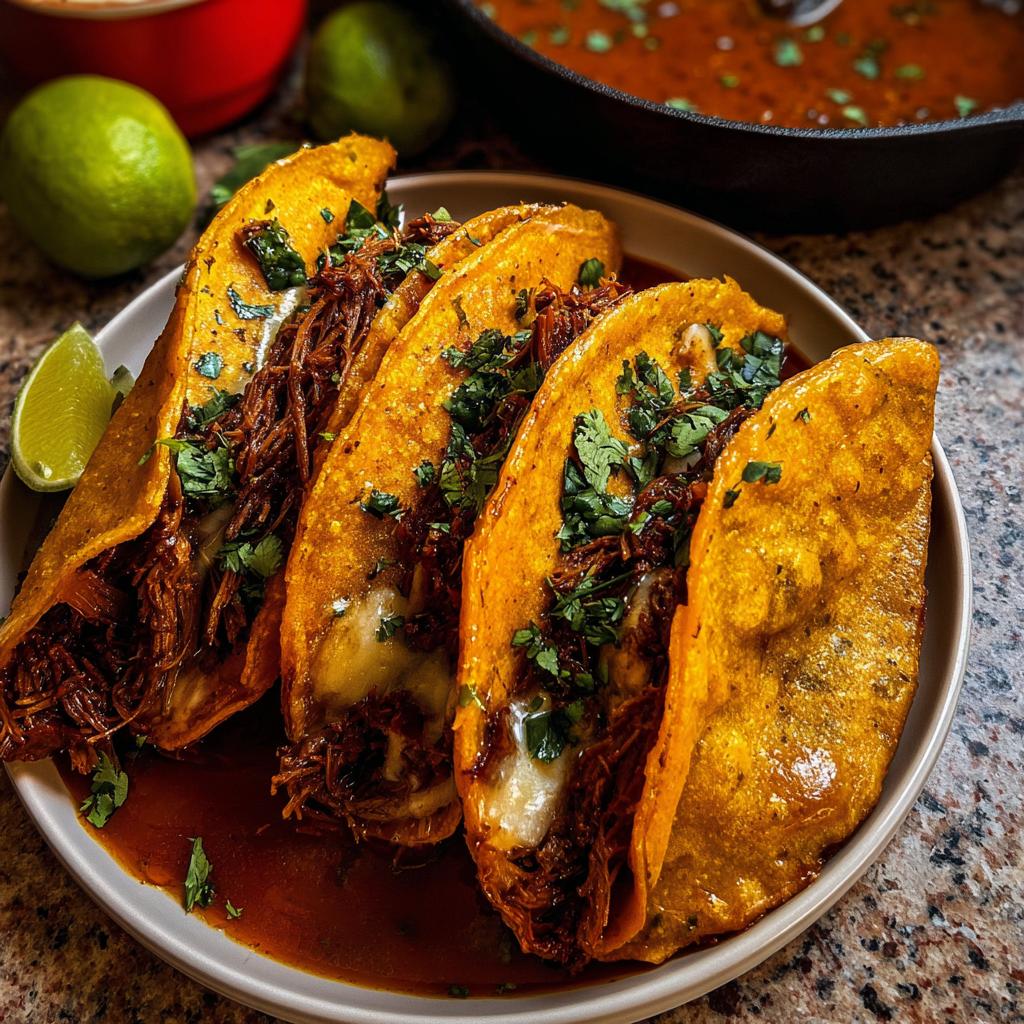
This isn’t just a taco; it’s a whole vibe. Grabbing those crispy edges of the quesabirria style tacos, dipping them right into that piping hot, spicy consommé? That’s the joy of it! It’s truly authentic Mexican comfort food, made easy at home.
Essential Equipment for Perfect My Fave Birria Tacos
Okay, real talk time. Making something this flavorful requires the right toolkit, but don’t panic—you probably have most of this stuff! Getting your gear lined up first is honestly half the battle won. If you’ve got these things ready, you’re set for the best birria tacos recipe.
You’ll start by rehydrating those beautiful dried peppers, so make sure you have a smaller pot ready for that. For the actual braising, you absolutely need a big, heavy-duty piece of cookware. I swear by my trusty Dutch oven for keeping that heat perfectly even during the long simmer.
Here is the short list of what you need to pull this off:
- You’ll need a medium pot for soaking those chiles until they soften up.
- A high-powered blender or a sturdy food processor is mandatory if you want that super smooth chili paste. If your blender struggles, give it breaks!
- Your Dutch oven is the star for the braising beef filling. Make sure it has a good heavy lid.
- And finally, don’t forget a medium skillet or even a non-stick fry pan for getting those tortillas perfectly crispy when you assemble the quesabirria style tacos.
Gathering Ingredients for My Fave Birria Tacos
Alright, let’s talk provisions! You can’t make magic without the right building blocks, and with this birria tacos recipe, the ingredients tell the whole story. This is where we create that amazing depth of color and flavor. Remember, you need three main groups of things: the paste that stains everything red, the glorious meat and broth, and the stuff to build the final quesabirria style tacos.
I’ve organized the list to make shopping easy, but pay close attention to the prep notes—they are super important for getting the best result!
Ingredients for the Flavorful Chili Paste
This paste is the soul of the dish, so let’s treat these chiles right. We are using dried ones here, which means we have to wake them up first before blending them into that wonderful sauce.
- Dried Chiles: You need four dried guajillo peppers and four dried ancho chiles. Don’t forget to snip off the stems and shake out all the seeds—we just want the skin and flesh for that vibrant color.
- Flavor Boosters: Grab four chipotle peppers that are already sitting in adobo sauce—you want that smoky little kick! You’ll also need one chopped onion and four garlic cloves.
- Liquids & Acidity: ½ cup of crushed tomatoes and ½ cup of organic beef stock (or just water, no stress). A tablespoon of apple cider vinegar helps brighten everything up!
- The Spice Blend: This is crucial! Toss in two bay leaves, 2 Tbsps of Mexican oregano, 1 teaspoon of dried thyme, ½ teaspoon of cumin, ½ teaspoon of ground cinnamon, ½ teaspoon of smoked paprika, and ½ teaspoon of ground allspice. If you’re curious about sourcing the best chiles, check out my guide on selecting great dried peppers!
Ingredients for the Braised Beef Filling and Consomme
This is where the “braised beef filling” gets its amazing texture. Use the best cut of beef you can find, but I also want you to know this works beautifully with other meats if you just swap it out!
- The Meat: Get about 3 lbs. of organic chuck roast beef, cut into chunks. Now, if you can’t find chuck roast, or just want to mix it up, you can totally swap this out for shank cut of beef, lamb, or even chicken chunks.
- Searing & Seasoning: You’ll need 1 Tbsp of olive oil for searing, plus salt, black pepper, and garlic powder for a quick rubdown.
- The Moat: For the braising liquid, we need one diced onion, and then about 4 cups of organic beef stock and 2 cups of water. Everything marries together here!
Ingredients for Assembling the Quesabirria Style Tacos
Time to build these beauties! We are definitely going for that melty cheese texture, so get the right cheese ready.
- Tortillas: Twelve organic corn tortillas are what we start with.
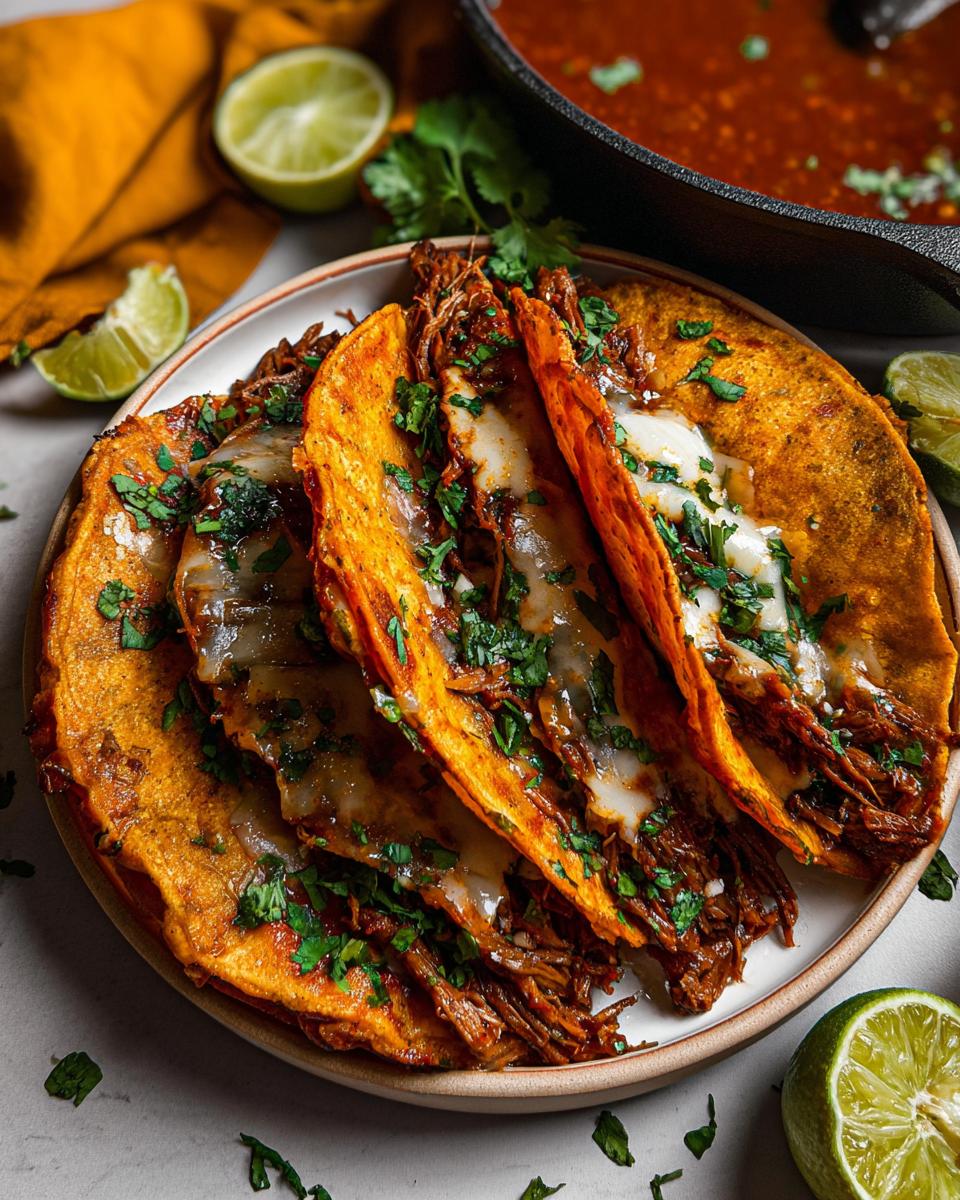
- Cheese Power: You absolutely need about 1 cup of shredded Oaxaca cheese. This melts like a dream and gives you that stretchy pull that everyone loves in their quesabirria style tacos.
Fresh Toppings: Don’t forget the fresh stuff! You’ll need 1 cup of chopped fresh cilantro for topping, plus some extra diced onion for garnishing the final plate.
Step-by-Step Instructions for My Fave Birria Tacos
This is where the magic happens, folks! I know this list looks long, but trust me, the oven does most of the heavy lifting once we get the meat in there. We need three main phases: getting that chili paste gorgeous, having a long, slow cook on the beef, and then the fun part—dipping and frying those tortillas!
Preparing the Rich Chili Paste Base
First things first, we need to soften those dried guajillo and ancho chiles. Take the stems and seeds out—otherwise, the paste will be bitter! Pop those peppers into a medium pot, cover them with beef stock, and bring it to a boil. Once it bubbles, kill the heat, cover it, and let them chill out for about 15 to 20 minutes. They need to get really soft for blending.
Now, dump those softened peppers right into your high-powered blender. Add all your remaining chili paste ingredients—the onions, garlic, spices, and tomatoes. Blend it up until it looks like thick, gorgeous velvet. If it’s too thick and your blender is complaining, just splash in a tiny bit more stock or water until it moves smoothly. That paste is the foundation of the best braised beef filling!
Braising the Beef for Tender Results
While that paste is chilling, let’s tackle the meat! Season those chuck roast chunks really well with salt, pepper, and garlic powder. Get your dutch oven hot over medium-high heat with the olive oil. We need to sear the beef on every side for about 3 or 4 minutes until it gets a beautiful golden crust. Don’t overcrowd the pot, do it in batches if you have to!
Once the meat is seared, pull it out and set it aside. Toss your diced onions into that flavorful fat in the pot and sauté them until they smell sweet. Then, pour in your amazing chili paste and let it bubble for a minute or two—this deepens the flavor! Add the rest of your liquids (the stock and water) and scrape up all those tasty brown bits from the bottom. Put the seared beef back in, give it a stir, and reduce the heat to low before you transfer it. Now, we are putting it in the oven, so make sure you double-check your oven temperature setting, which should be at 350 degrees Fahrenheit. You can always check my quick guide if you need a refresher on testing your oven’s internal heat! Let it braise low and slow for about 2 ½ hours. That’s the magic window for super tender meat!
Shredding the Meat and Saving the Consomme
When the meat is spoon-tender and pulls apart just looking at it, take the pot out of the oven. Using two forks—or even just your hands if you’re careful because it’s hot!—shred every bit of that beef until it looks like pulled perfection. Make sure you mix it right back into all that saucy goodness still in the pot. Don’t lose that liquid!
Here’s the most important part for dipping: scoop out exactly 1 cup of that flavorful broth/liquid and put it in a small bowl. Toss some fresh cilantro on top of that reserved cup. That is your consommé for dipping! Set it aside—this is what makes the quesabirria style tacos famous.
Assembling and Frying the Quesabirria Style Tacos
Time to melt some cheese! Wipe out the skillet you used to sear the onions (or grab a clean one) and put it over medium heat. Add just 1 tablespoon of olive oil, and use a paper towel to spread a thin, even layer across the pan. We want oiliness, not swimming pools!
Take a corn tortilla and quickly dip one side into your reserved consommé—don’t soak it, surfaces only! Lay that dipped tortilla flat in the hot pan. Immediately top that wet side with a pile of the shredded beef, sprinkle on some diced onion, a bit of cilantro, and a nice heap of that beautiful Oaxaca cheese. Fold the whole thing in half—you’ve made a quesabirria style taco!
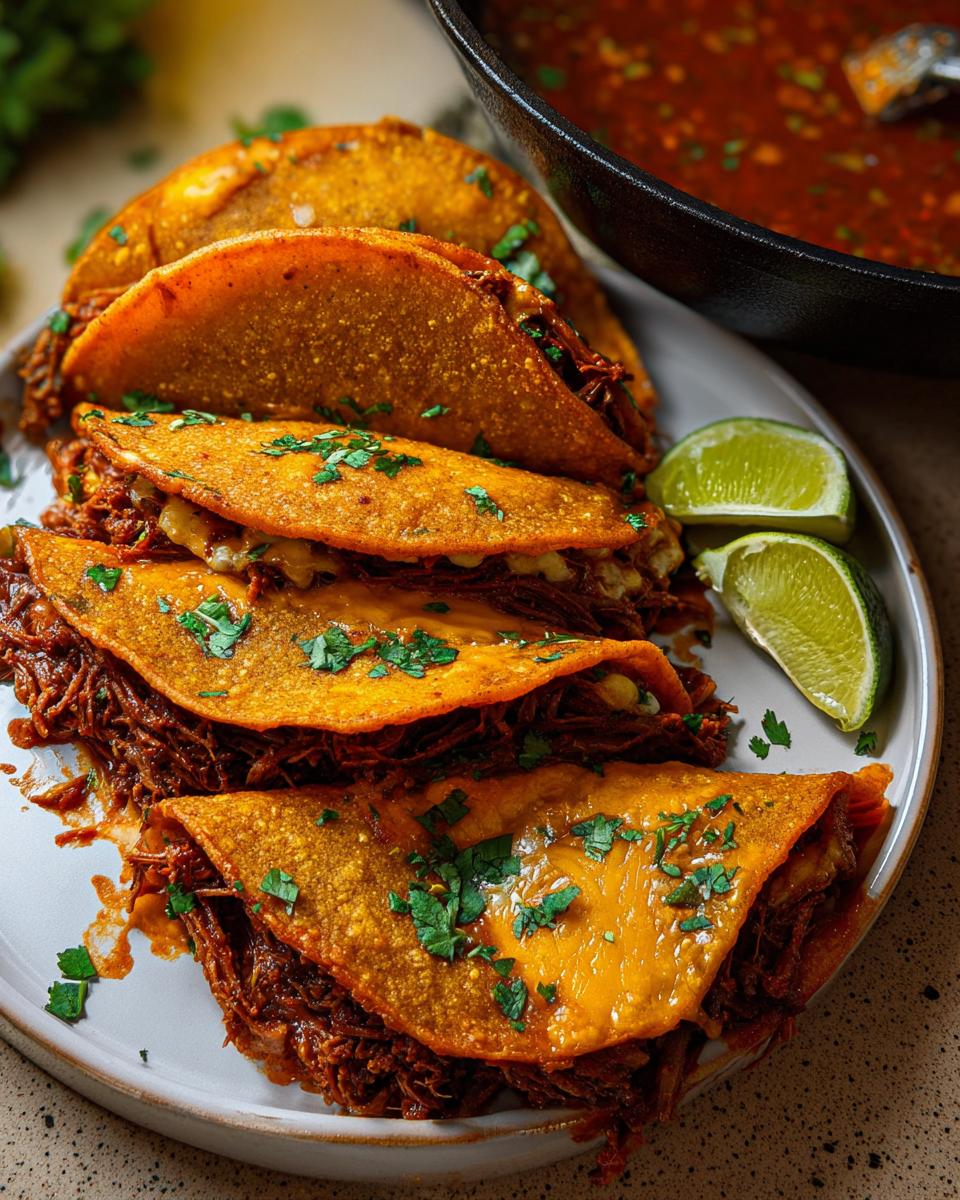
Cook it for a few minutes until the bottom is beautifully charred and golden. Then, carefully flip it over to toast the other side until the cheese is completely gooey. Once both sides are looking perfect and crispy, pull it out! Repeat, repeat, repeat until they’re all gone. Serve these beauties up right away with the dipping sauce and maybe some fresh pico de gallo!
Expert Tips for Perfect My Fave Birria Tacos
Look, I’ve made this birria tacos recipe more times than I can count, and a few tiny tricks make the difference between good and absolutely legendary. It’s all about tuning things to your own taste buds, especially when dealing with those chiles we used!
Adjusting Spice Levels in the Birria Tacos Recipe
If you are sensitive to heat or, conversely, want to turn up the fiery dial, it’s all in that chili paste we made. The chipotles bring the major heat. Want it milder? Just use two chipotles instead of four, or skip them entirely. Want fire? Add a small serrano pepper when you’re blending the paste! Also, if you want to save some of that flavor magic for later, you can store the leftover spice mix itself—check out my guide on proper spice storage so they stay vibrant.
Achieving the Ideal Tortilla Char
Everyone wants that perfect crispness without the tortilla tasting burnt or greasy, right? The secret to that signature quesabirria style tacos texture is temperature control. Get your skillet hot before you dip the tortilla, but keep the heat steady at medium once it’s frying. And here’s the game-changer: only use enough of that consommé to wet the surface, not soak it. A quick dip and flip into a pan with just a *thin* wipe of oil ensures you get that beautiful, uneven char and crispness when you bite in.

Storing and Reheating Your Delicious My Fave Birria Tacos
The best part about this birria tacos recipe is how perfectly it works for meal prep! You can make that amazing braised beef filling ahead of time, which is such a lifesaver.
Store any leftover shredded meat and the consommé (the dipping liquid) separately in airtight containers in the fridge. They should be good for about three or four days. Keep the tortillas and cheese separate until you are ready to eat, because nobody likes a soggy taco!
When you want to reheat the meat, just pop the container in a low oven until it’s warm through—don’t microwave it if you can help it! Then, you can assemble and fry your quesabirria style tacos fresh for the best texture!
Serving Suggestions for This Mexican Comfort Food
Okay, now that you’ve gone to all the trouble of making this unbelievably rich braised beef filling and perfect consommé, we have to serve it right! Birria tacos don’t need a ton of fuss because they are already so flavorful, but a few simple additions can take this whole Mexican comfort food experience over the top!
First and foremost, the dipping sauce is the star, but you need something to balance out all that richness, right? A little bit of acid wakes everything up!
The Mandatory Salsa Factor
You absolutely have to have something fresh and bright ready for dipping and drizzling! I always make sure I have a beautiful bowl of Pico de Gallo ready to go. The fresh tomato, onion, and lime juice cut through the richness of the cheese and beef perfectly. If you haven’t made my go-to recipe before, you should check out the easy steps for my favorite Pico de Gallo; it takes five minutes!
If you want even more heat than the chili paste provided, throw some sliced jalapeños or white onions marinated in lime juice on the side for people to pile onto their tacos.
Beyond the Dip: Classic Sides
While dipping those quesabirria style tacos is the main event, if you’re serving a crowd, having a couple of easy sides makes it a full meal. I usually keep it simple so the birria shines.
- Mexican Rice: A simple pot of red Mexican rice is always a crowd-pleaser. It soaks up any extra consommé you might have dripping onto your plate!
- Refried Beans: Honestly, nothing says comfort food like creamy refried beans topped with a sprinkle of cotija cheese.
- Cooling Crema: Sometimes, if the spice level accidentally got too high (happens to the best of us!), a drizzle of Mexican crema or even plain sour cream can offer a welcome, cooling contrast to the deep spice of the birria tacos recipe.
Seriously, whether you load up on sides or just devour those tacos dipped straight into the broth—it’s all delicious. Enjoy every bite of this amazing Mexican comfort food!
Frequently Asked Questions About My Fave Birria Tacos
Can I make the braised beef filling ahead of time?
Oh, absolutely! That’s one of my favorite things about making this recipe. You can totally prepare the entire braised beef filling and the consommé days in advance. It actually tastes even better the next day, as the flavors really have more time to marry together. Just remember to store the meat and the dipping liquid separately, keep them tightly covered in the fridge, and when you’re ready to eat, warm everything up gently on the stovetop or in a low oven before assembling your quesabirria style tacos. That makes dinner assembly super quick!
What is the best cheese substitute if I cannot find Oaxaca cheese?
Oaxaca cheese is the dream for that amazing stretch, I won’t lie! But if your local grocery store is playing hard to get, don’t stress. You need a cheese that melts really well. My next favorite suggestion for this birria tacos recipe would be a mix of Monterey Jack and Mozzarella. If you want something sharper, you could even add a little bit of white cheddar, but keep the ratio heavy on the melters! The most important part is that it melts beautifully when you fry up those quesabirria style tacos.
How authentic is this birria tacos recipe?
That’s a great question! I always want to be honest about my approach. The heart and soul of this recipe—the rich, earthy red color and deep spice—comes directly from using the traditional dried chiles like guajillo and ancho to create that homemade chili paste. That part is straight from tradition! I’m known for my global fusion style, so I’ve made sure the process is accessible for any home cook while keeping the flavor profile deeply rooted. It honors the spirit of true birria while fitting perfectly into a busy weeknight schedule. It’s authentic in flavor, but maybe slightly streamlined in technique!
Nutritional Estimates for My Fave Birria Tacos
Now, just a little heads-up before you dive into those delicious numbers! Since we are using a chuck roast and cheese, the final count will change depending on exactly how much consommé you dip your tortilla into and how much cheese you pile on. These estimates are based on the recipe components listed for one taco.
- Calories: Approximately 38 per taco (before considering dipping sauce!)
- Protein: About 2g
- Fat: Roughly 1g
- Carbohydrates: Around 5g
See? With those corn tortillas and all that delicious protein, this birria tacos recipe comes out looking fantastic, especially if you’re watching how much you eat in one sitting! Enjoy knowing you’re eating something deeply flavorful and richly traditional.
My Fave Birria Tacos
Ingredients
Equipment
Method
- Remove the stems and seeds from all dried ancho and guajillo chiles. Add them to a medium pot with the beef stock and bring to a boil. Turn off the heat, cover the pot, and let the chiles sit for 15 to 20 minutes until softened.
- Add the softened peppers to a high-powered blender or food processor along with the remaining chili paste ingredients. Blend until the mixture is smooth and thick. You can add up to ½ cup more beef stock or water if you need a thinner consistency.
- Preheat your oven to 350 degrees Fahrenheit.
- Season the beef chunks with salt, black pepper, and garlic powder. In a dutch oven over medium-high heat, add the olive oil. Sear the seasoned beef chunks on each side for 3 to 4 minutes until golden brown. Remove the seared meat and place it on a paper towel-lined plate.
- In the same pot, sauté the diced onions until they are fragrant and translucent, about 1 to 2 minutes. Add the chili paste and stir, allowing it to simmer for about 1 to 2 minutes. Add the beef stock and water, stirring to combine. Add the seared beef back into the pot, stir again, and reduce the heat to low. Let it simmer for about one minute.
- Carefully transfer the dutch oven into the preheated oven. Let everything cook and braise slowly for about 2 ½ hours, or until the beef is very tender and easily shreds with a fork.
- Remove the pot from the oven and shred all the meat until it has a pulled texture. Make sure you retain a good amount of the sauciness to serve over the tortillas and for dipping.
- Remove 1 cup of the broth/liquid from the cooked beef and place it in a small bowl. Add some fresh chopped cilantro to the top and set this aside as the dipping sauce (consomme).
- In a medium non-stick skillet over medium heat, add 1 tablespoon of olive oil. Use a paper towel to gently wipe the oil evenly across the base of the skillet.
- Dip one side of a corn tortilla into the consomme and place it in the heated skillet, frying for a few seconds. Top the dipped side with shredded beef, diced onions, cilantro, and shredded cheese. Fold the tortilla in half. Allow the cheese to melt before carefully flipping it to the opposite side to achieve a nice char. Remove the taco from the heat once both sides are golden brown. Repeat this process for all remaining tacos.
- Serve the tacos with the dipping sauce and Pico de Gallo.
Nutrition
Notes
Tried this recipe?
Let us know how it was!
Master of Global Fusion Innovation
My culinary adventure reflects my Lebanese-Italian heritage and a decade spent in the dynamic fusion restaurant scenes of Miami and Barcelona. I’ve made it my mission to prove that beloved global comfort foods can be successfully adapted for low-carb living without losing their soul, their cultural authenticity, or their ability to comfort.
With advanced training in molecular gastronomy and experience spanning Mediterranean, Middle Eastern, and Latin American traditions, I’ve developed what I call “respectful innovation” – culinary creativity that honors traditional cooking wisdom rather than replacing it. My alternative ingredient substitution systems are now taught in specialty diet cooking schools throughout the region.
Drawing from my trilingual upbringing, I understand how deeply food connects to identity and memory. That’s why my flavor-bridging techniques allow classic dishes from around the world to maintain their comforting, familiar qualities while meeting contemporary nutritional standards. I regularly share these techniques at international culinary symposiums and innovation events.
When I’m not experimenting in my Miami fusion kitchen laboratory, you’ll find me at local salsa dance venues – the rhythm and improvisation skills translate directly to my creative cooking process! My role as a foster parent to rescue rabbits has unexpectedly inspired some of my most creative plant-based low-carb innovations.
My personal low-carb journey began as a way to maintain energy for my active lifestyle, but it’s evolved into a professional mission of proving that healthy eating can be globally adventurous rather than restrictively limiting. Every recipe I create is a passport to culinary adventure, transforming kitchens into laboratories for exploring healthy versions of the world’s most beloved comfort foods.