
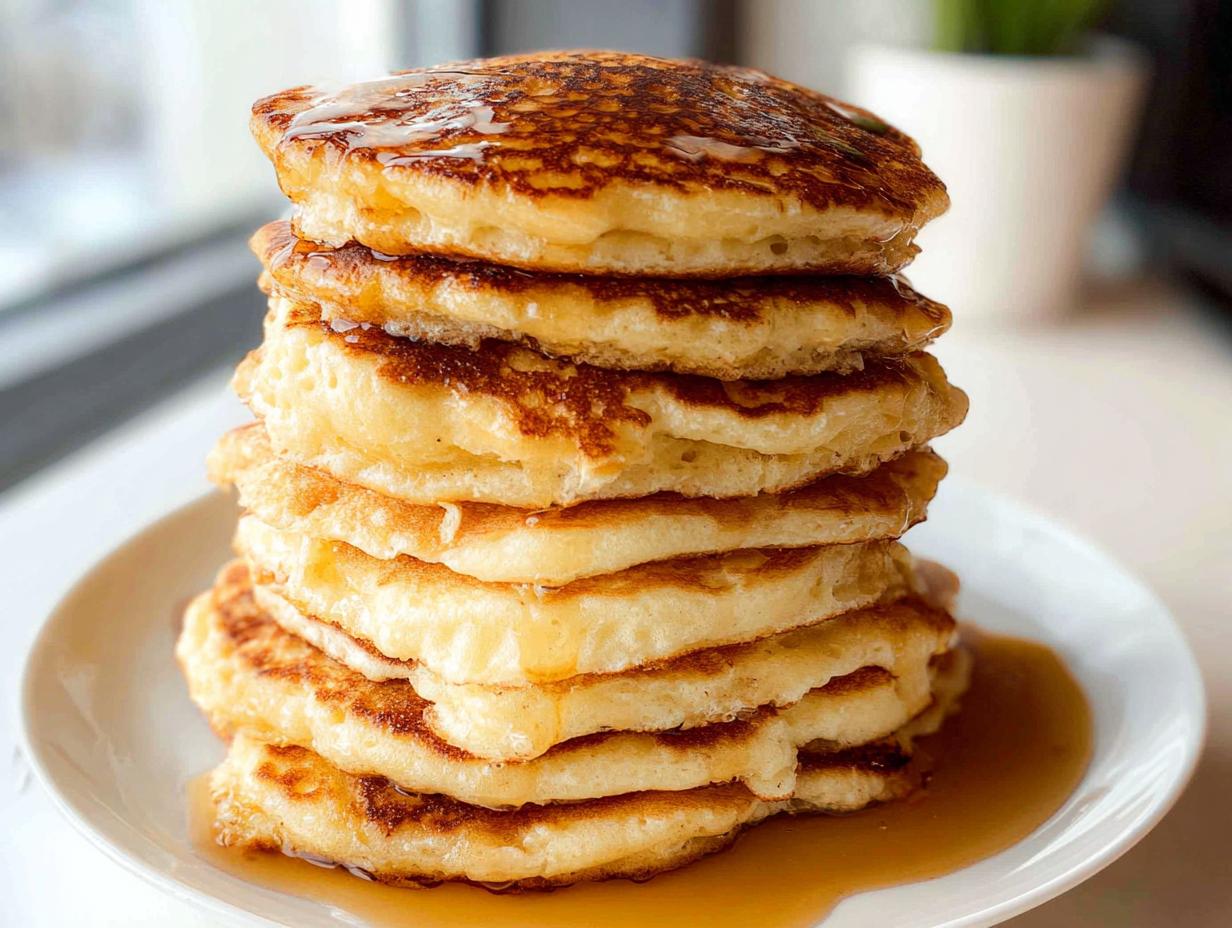
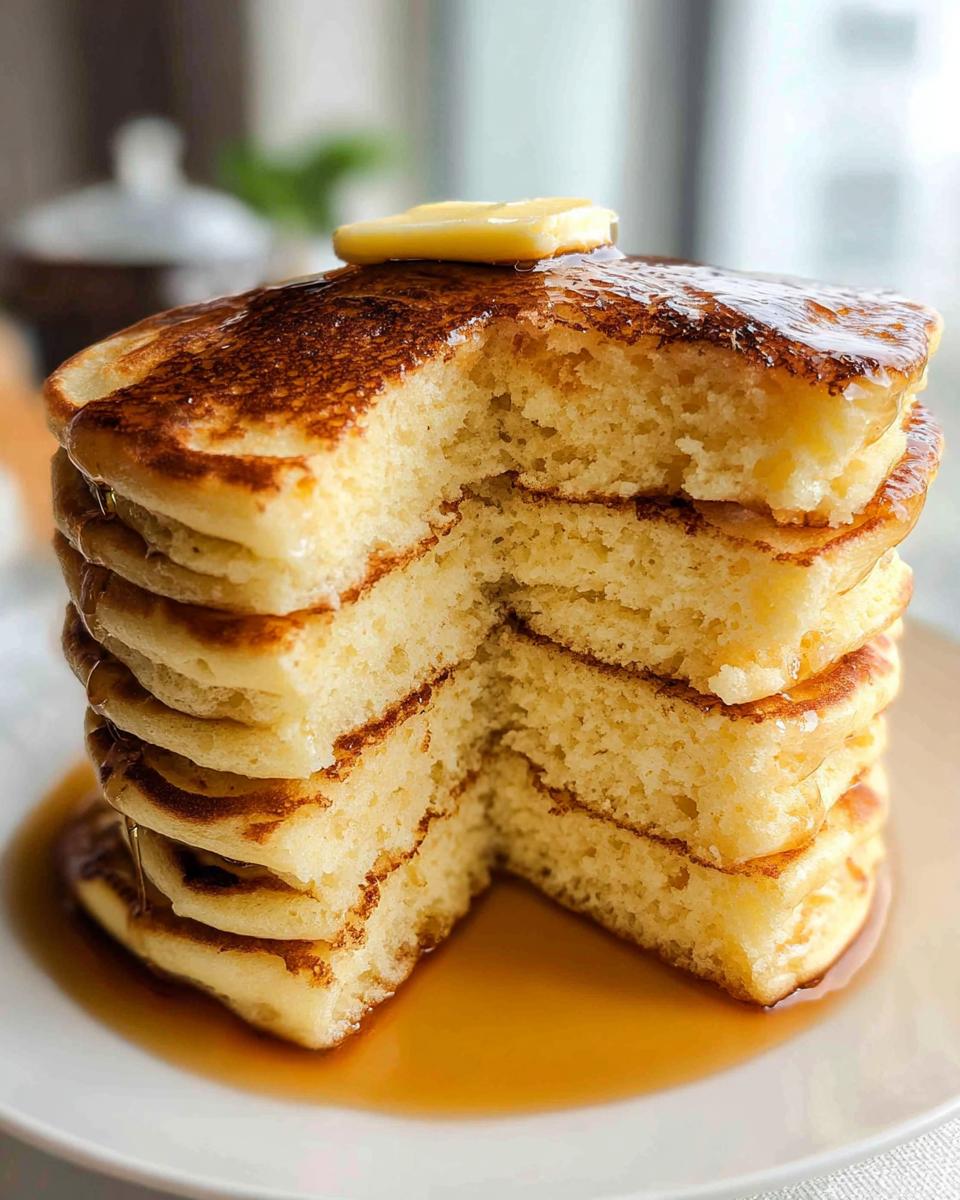
There’s just nothing like that Saturday morning ritual, is there? The smell of butter sizzling and the promise of a tall, fluffy stack waiting for syrup. Honestly, for me, pancakes were the gold standard of childhood weekends! When I first decided I needed to recreate that nostalgic comfort but keep things aligned with my active lifestyle—integrating some Lebanese-Italian flair along the way—it took a lot of experimenting.
I blew through bowls of batter trying to get that perfect, airy texture. But trust me, after all that trial and error, I cracked the code. This recipe delivers truly classic, fluffy pancakes. When I finally served this updated version to my friends, they couldn’t believe they weren’t traditional; they were an instant hit!
That moment really solidified my passion for respectful innovation in comfort foods. I’m SIMO MIMO, Master of Global Fusion Innovation, and I’m here to share exactly how you can master The Best Pancakes From Scratch without needing store-bought boxes ever again.
Why You Will Master The Best Pancakes From Scratch
Listen, you deserve a perfect morning, and this recipe guarantees it! We skip the odd additives and stick to basics you already have in your pantry. This isn’t just another recipe; it’s your ticket to the fluffiest pancake stack imaginable. It’s why I call this The Best Pancakes From Scratch—it’s foolproof, trust me.
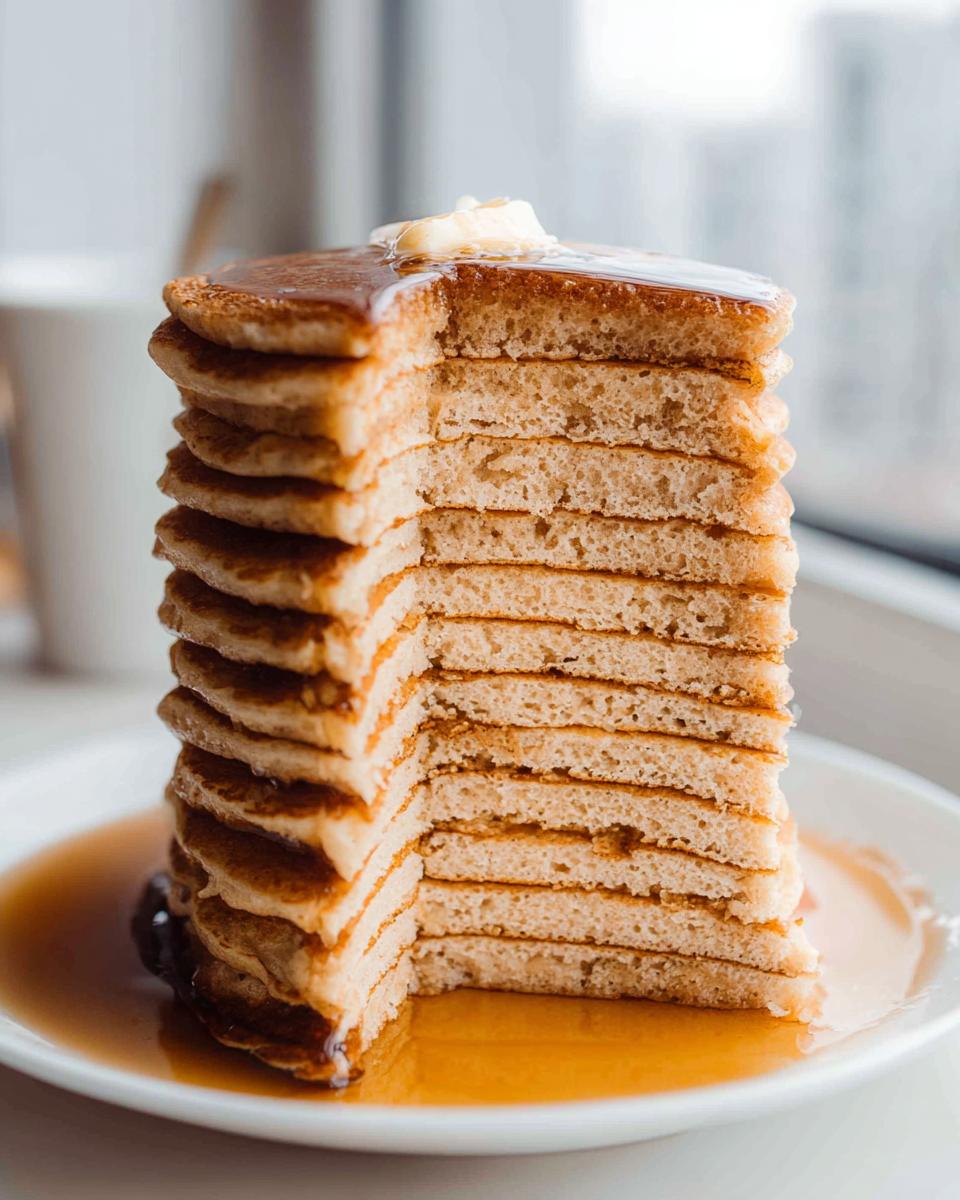
- Guaranteed lift and incredible fluffiness every single time.
- Uses simple pantry staples—no specialty store trips needed!
- Produces a classic breakfast idea that tastes exactly like comfort.
Quick Prep for Your Weekend Brunch Recipe
That’s the best part! We’re talking 10 minutes of prep time. Seriously! This means you can get that huge, beautiful batch ready for your weekend brunch recipe before anyone even pours their first cup of coffee. You’ll be sitting down to eat way faster than you think!
Essential Equipment for The Best Pancakes From Scratch
The good news here is that you probably have everything you need already sitting in your cupboards. No fancy, single-use gadgets required for these beautiful homemade pancakes from scratch. Keeping the equipment simple really helps speed up the process, especially when you’re eager to eat!
You’ll just need a few basic items to get that perfect batter and heat distribution:
- A standard Bowl for mixing everything up.
- A good Whisk—we don’t want lumps, so something sturdy is best.
- A reliable Non-stick skillet or griddle is your best friend here for easy flipping.
- A Paper towel—this might seem odd, but stay tuned, it’s my secret weapon against burnt first pancakes!
- An Ice cream scoop (optional): This just helps you portion out perfectly uniform pancakes, which is great for stacking!
Gathering Ingredients for Homemade Pancakes From Scratch
Okay, so before we even think about whisking, we need our building blocks. I love that this recipe relies on stuff I usually always have on hand. It’s the perfect way to decide on Sunday morning that you want an amazing breakfast without running to the store first. If you’ve got these bits, you are already halfway to the most delicious homemade pancakes from scratch you’ll ever make. Honestly, I think the quality of the flour and the sugar makes a noticeable difference, so pay attention to the notes!
If you’re doing some inventory and want to look up a few extra tips on different ways to approach the batter, maybe check out some other great pancake methods while you’re here. But for now, let’s sort out what goes into the bowl!
Dry Ingredients for Your Fluffy Pancake Stack
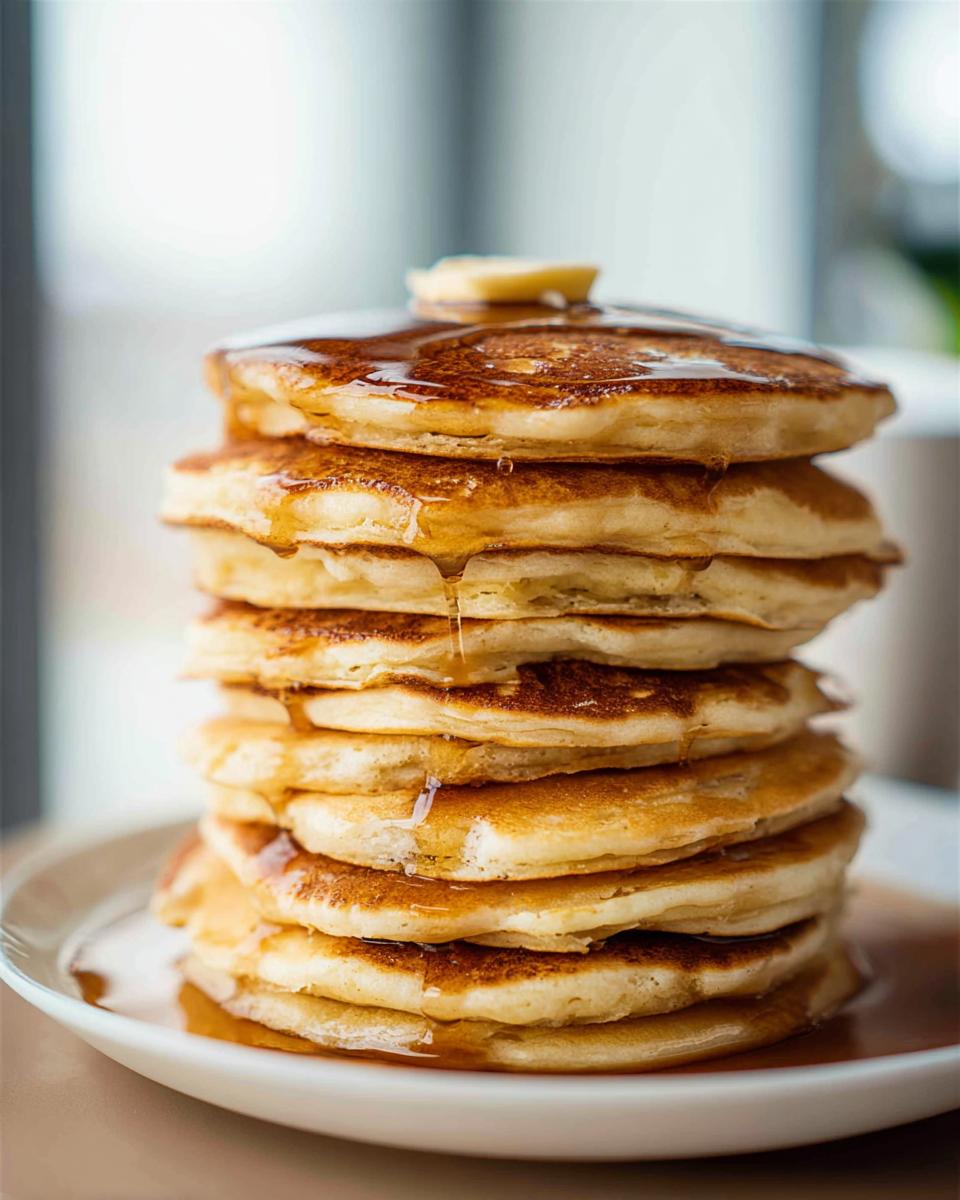
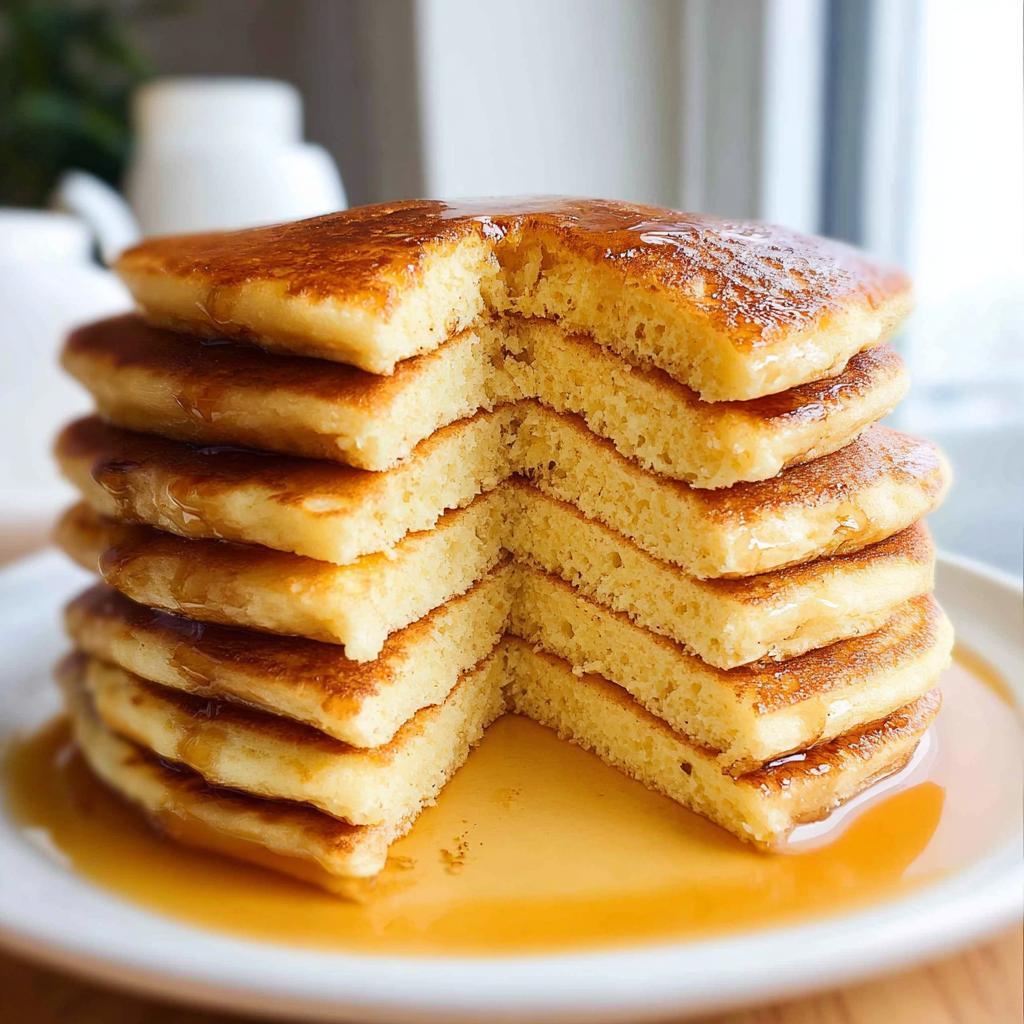
This is where we build the structure, and the baking powder is non-negotiable if you want that glorious rise! For the most stunning fluffy pancake stack, make sure your baking powder is fresh, otherwise, we get flat discs, and nobody wants that!
In one bowl, we combine:
- 2 cups of plain / all purpose flour—though you can use whole wheat, I stick to AP for maximum fluff.
- 4 teaspoons of baking powder—this is the lift agent!
- 1/4 cup of white sugar—I highly recommend using Caster or super fine sugar here; it dissolves instantly.
- A small pinch of salt to balance everything out.
Wet Ingredients for Perfect Batter Consistency
These ingredients bring the moisture and richness. Don’t even think about substituting the fat content here; the moisture balance is key to keeping these pancakes tender, not rubbery.
In a separate, smaller bowl, gently whisk together:
- One large egg.
- 1 and 3/4 cups of milk—use what you have, whole or skim, it all works.
- 1 teaspoon of vanilla extract or essence for that classic aroma.
Oh, and don’t forget the 4 teaspoons of butter waiting nearby—that’s strictly For Cooking and keeps our skillet happy!
Step-by-Step Guide For Pancake Preparation: Making The Best Pancakes From Scratch
Alright, we have our team of dry ingredients and our liquid contingent ready to mingle. This next part is where we separate the amateur stack from the superstar stack, so pay close attention to your whisking—we want perfection, not tough pancakes!
First things first, take your dry team assembled in that first bowl—the flour, powder, sugar, and salt. Give it a really good whisking. I mean, really get in there until it looks uniform. That step ensures the leavening agents are perfectly distributed, which means we get an even rise across the whole batch. No one likes a lopsided pancake, right?
Mixing Dry and Wet Components
Now we bring in the wet stuff. Make a little well in the center of your dry ingredients—like a tiny, floury swimming pool—and pour in your milk, egg, and vanilla. Here is the absolute, non-negotiable secret to getting **The Best Pancakes From Scratch**:
Add the wet into the dry and mix! But here’s the kicker: You need to whisk until the batter is lump-free, which should take absolutely no longer than 30 seconds. Seriously! If you keep going, you’re developing gluten, and gluten means rubbery. Those few small, residual lumps you see? They are fine! They are insurance against tough pancakes. Don’t worry about them; they disappear as the pancake cooks. Gentle handling from here on out is key!
Cooking Technique for a Classic Breakfast Idea
This is the moment of truth! We’ve mixed our batter perfectly gently, so we don’t want to sabotage it with bad heat management. Getting the pan right is the secret to serving up a gorgeous classic breakfast idea instead of a smoking mess.
First, heat your non-stick skillet over medium heat—but listen to your stove! If your stove runs really hot, you might need to stick closer to medium-high. The goal? You want that butter—about half a teaspoon per batch—to melt quickly and sizzle gently, not instantly brown and burn.
Here’s the trick my mom swore by, especially for the first pancake which always acts like a guinea pig: once the butter is melted and sizzling, take a clean paper towel and just *mostly* wipe all that melted butter right back out of the pan. You’re leaving just a whisper of fat behind. That little bit prevents the batter from seizing up instantly and gives you that beautiful, even coloring across the whole surface.
Achieving the Perfect Golden Brown on The Best Pancakes From Scratch
Now, dollop in your batter—I like using a slightly heaped ice cream scoop of batter for a perfect 4.5-inch circle. Don’t swirl it too much; just let it settle. You need patience here; resistance is key while waiting for those bubbles!
You cook this side until bubbles start popping up on the surface and honestly, staying there. They shouldn’t immediately burst and disappear; they need to linger for a second. Once you see a solid field of bubbles, it’s time for the flip! Don’t wait until the surface looks dry, or you’ll scorch the underside trying to wait for the top to fully set.
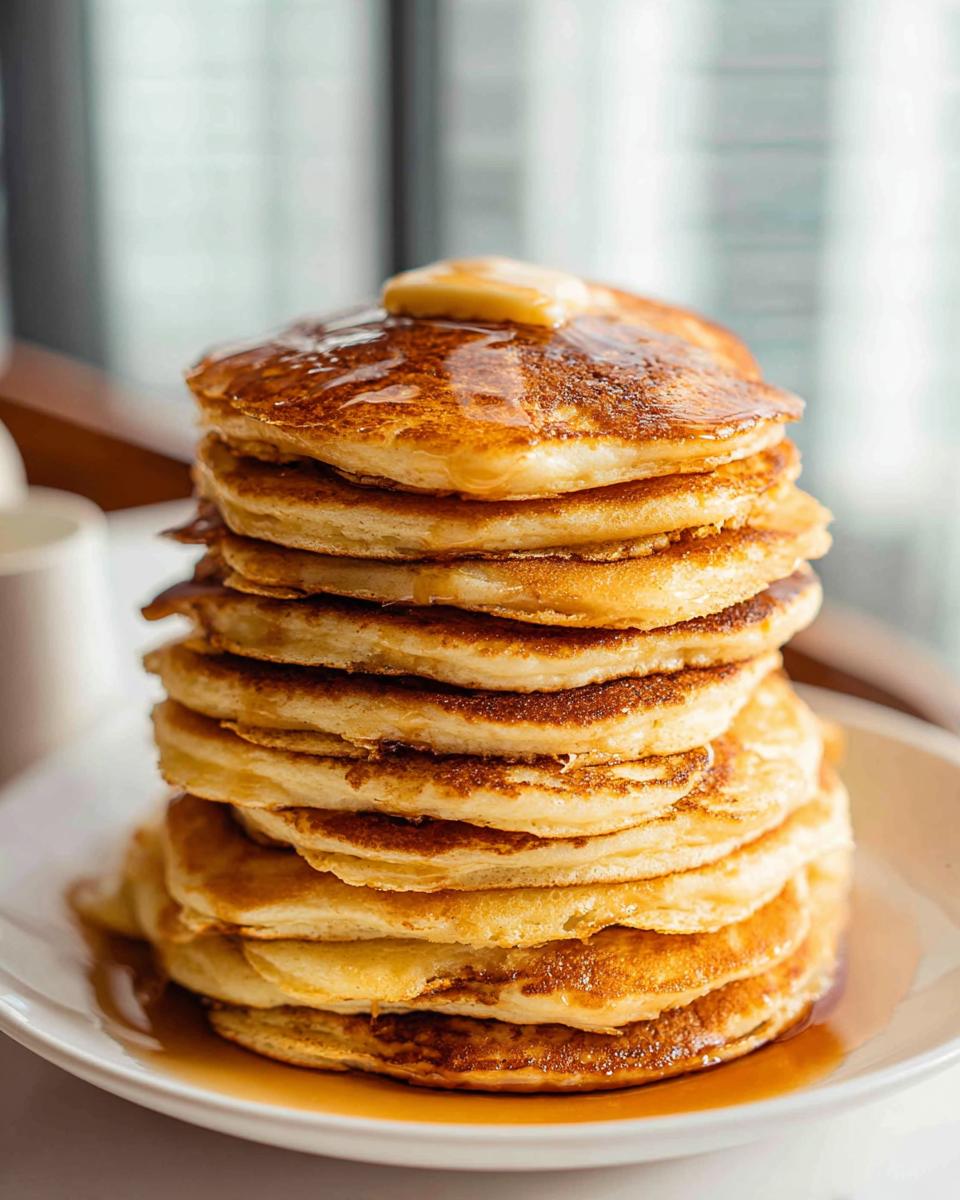
Flip it quickly! The second side cooks way faster, usually only 30 to 45 seconds until it’s that perfect shade of golden. Once it’s done, slide that pancake right out onto a plate. If you’re doing a big stack, keep the finished ones warm in a very low oven—like 200 degrees—while you churn out the rest. That little bit of butter between batches keeps them from sticking, too!
Expert Tips for Fluffy Pancakes
We’ve mixed gently, we’ve managed the pan temperature, and now we need to talk speed. If you want that truly impressive, cloud-like rise, remember this secret number: one minute total cooking time, give or take! I’m serious. That means maybe 30 to 45 seconds on Side One, and 30 to 45 seconds on Side Two.
When I was first learning, I used to get so nervous about the flip that I’d wait too long, and buddy, those pancakes turned into flat, gummy hockey pucks. I finally realized my heat was just too low! If it’s taking longer than 45 seconds on the first side for those bubbles to appear, crank that dial up just a notch. You want that sizzle, but not a deep, rolling boil, if that makes sense. High enough heat to activate that baking powder quickly but not so high that the outside burns before the middle puffs up.
Also, don’t be afraid to constantly check your pan. You might need to add that little smearing of butter after every two or three pancakes, especially if you’re running the heat higher to get that quick cook time. If your skillet starts looking dry, toss in a tiny pat of butter and give it a quick wipe with that paper towel again. It takes discipline, but once you hit that sweet spot where they puff up like little pillows in 60 seconds flat, you’ll never go back to the box mix again!
Ingredient Notes and Substitutions for The Best Pancakes From Scratch
Let’s talk ingredients because that’s what separates a good pancake from truly The Best Pancakes From Scratch. I want you to feel confident swapping things out if you need to, but know what you’re losing or hopefully gaining!
If you look at the list and realize you’re out of baking powder, don’t panic! You can use 2 cups plus 1 tablespoon of self-raising flour instead of the plain flour and baking powder combo. It works in a pinch, though I find my tried-and-true ratio gives a slightly better lift.
The primary job in the dry mix, honestly, goes to that baking powder. It’s the powerhouse that gives you those beautiful, airy pockets. If yours is old, your pancakes will be sad and flat, so always check that expiration date! A fresh teaspoon of vanilla essence also goes a long way to making these taste nostalgic, even if you’re eating them on a Tuesday morning!
Storing and Reheating Your Homemade Pancakes From Scratch
Listen, sometimes you make such a huge, dreamy stack that you just can’t conquer them all in one sitting. And honestly? I think day-two pancakes can still be absolutely glorious if you treat them right!
For storage, you need to let them cool completely first. Don’t trap steam in there, or you’ll get soggy discs. Once they’re totally cooled down, I layer mine. Put a square of wax paper or parchment paper between each pancake and then slip the whole stack into a sturdy, airtight container. They’ll stay good in the fridge for about three or four days. They freeze like a dream too—just wrap the stacks tightly in plastic wrap first, then toss them in a freezer bag.
Waking Up Flat Pancakes to Fluffy Life Again
Don’t even think about eating them cold, no matter how much maple syrup you drown them in! The microwave is fast, sure, but it can sometimes turn them a little chewy or tough, especially if you’re reheating more than two. I find it blows out the texture we worked so hard to achieve.
My preferred way to reheat a fluffy pancake stack is the oven. Lay the pancakes out in a single layer on a baking sheet—don’t stack them yet! Pop that sheet into a low oven, say 300°F (150°C). Let them warm through for about 5 to 8 minutes, depending on how many you have. They come out perfectly warm, not soggy, and they feel freshly made! If you’re desperate for speed, microwave them for about 15 seconds tops, but promise me you’ll try the oven method first!
Frequently Asked Questions About Making Pancakes
I get so many questions about pancake texture—which is totally fair, because flat pancakes are a tragedy! I’ve gathered a few of the ones I hear most often while people are trying to nail their first batch of homemade pancakes from scratch. Don’t worry if one or two things go wrong; we all start somewhere!
Can I make The Best Pancakes From Scratch ahead of time?
You absolutely can plan ahead, especially if you’re trying to pull off a huge weekend brunch recipe! You can mix the dry ingredients together the night before easily—just keep them tightly sealed away from moisture. For the actual batter, though, you want to use it right away for the best results. If you must, you can mix the full batter and refrigerate it for up to 24 hours, but the baking powder starts losing its oomph after about an hour sitting around. For the best outcome, look back up at the reheating section; freshly reheated pancakes are almost as good as fresh ones!
Why are my pancakes flat?
Ah, the dreaded flat pancake syndrome! This usually boils down to one of two culprits, and I’ve battled both myself. First, check your baking powder! If it’s old, it just won’t give you the lift you need for a proper fluffy pancake stack. Make sure it’s fresh and properly incorporated.
Second, and this is the most common mistake: you mixed too much! Remember I told you whisking for only 30 seconds is the magic number? If you keep mixing past that point, you develop gluten, which turns your beautiful batter into chewy, flat rubber. If you see a few lumps that won’t vanish after about half a minute of gentle whisking—leave them alone! Those lumps are your guarantee for a fluffy result.
Can I substitute the milk for a lower-fat version?
Yes, you definitely can! I mentioned that any milk works, and that holds true. Going from whole milk down to skim milk won’t ruin the recipe, but be aware that the fat content in the milk does contribute slightly to the final texture and richness. If you use skim milk, just make sure you are generous with that butter when cooking the pancakes on the skillet!
What if I don’t have white sugar? Can I use brown sugar?
You can swap it out in a pinch, but it will change the flavor profile of your classic breakfast idea slightly. White sugar is neutral, allowing that pure vanilla and buttermilk flavor to shine. Brown sugar has molasses, which adds a deeper caramel note and also contributes moisture. If you substitute it directly, your pancakes might be slightly denser and maybe even a little darker brown than you expect. Stick to white sugar if you want the truly traditional taste!
The Best Pancakes From Scratch
Ingredients
Equipment
Method
- Place flour, baking powder, sugar, and salt in a bowl. Whisk to combine the dry ingredients.
- Add the egg, milk, and vanilla to the dry ingredients. Whisk until the batter is lump-free, which should take no longer than 30 seconds.
- Heat a non-stick skillet over medium heat if your stove is strong, or medium-high if your stove is weak. Add about 1/2 tsp of butter and swirl to melt.
- Use a paper towel to mostly wipe the melted butter off the pan. This helps prevent the first pancake from failing.
- Pour 1/4 cup of batter into the middle of the hot pan. You can use a slightly heaped ice cream scoop.
- Swirl the pan lightly to spread the batter, or use the edge of the scoop to spread it into a circle about 4.5 inches wide.
- Cook until bubbles rise to the surface. Flip the pancake and cook the other side until it is golden brown.
- Remove the cooked pancake and keep it warm in a low oven.
- Add more butter every two to three pancakes, depending on the non-stick quality of your pan coating.
- Serve the pancakes immediately with your choice of toppings.
Nutrition
Notes
Tried this recipe?
Let us know how it was!
Master of Global Fusion Innovation
My culinary adventure reflects my Lebanese-Italian heritage and a decade spent in the dynamic fusion restaurant scenes of Miami and Barcelona. I’ve made it my mission to prove that beloved global comfort foods can be successfully adapted for low-carb living without losing their soul, their cultural authenticity, or their ability to comfort.
With advanced training in molecular gastronomy and experience spanning Mediterranean, Middle Eastern, and Latin American traditions, I’ve developed what I call “respectful innovation” – culinary creativity that honors traditional cooking wisdom rather than replacing it. My alternative ingredient substitution systems are now taught in specialty diet cooking schools throughout the region.
Drawing from my trilingual upbringing, I understand how deeply food connects to identity and memory. That’s why my flavor-bridging techniques allow classic dishes from around the world to maintain their comforting, familiar qualities while meeting contemporary nutritional standards. I regularly share these techniques at international culinary symposiums and innovation events.
When I’m not experimenting in my Miami fusion kitchen laboratory, you’ll find me at local salsa dance venues – the rhythm and improvisation skills translate directly to my creative cooking process! My role as a foster parent to rescue rabbits has unexpectedly inspired some of my most creative plant-based low-carb innovations.
My personal low-carb journey began as a way to maintain energy for my active lifestyle, but it’s evolved into a professional mission of proving that healthy eating can be globally adventurous rather than restrictively limiting. Every recipe I create is a passport to culinary adventure, transforming kitchens into laboratories for exploring healthy versions of the world’s most beloved comfort foods.