
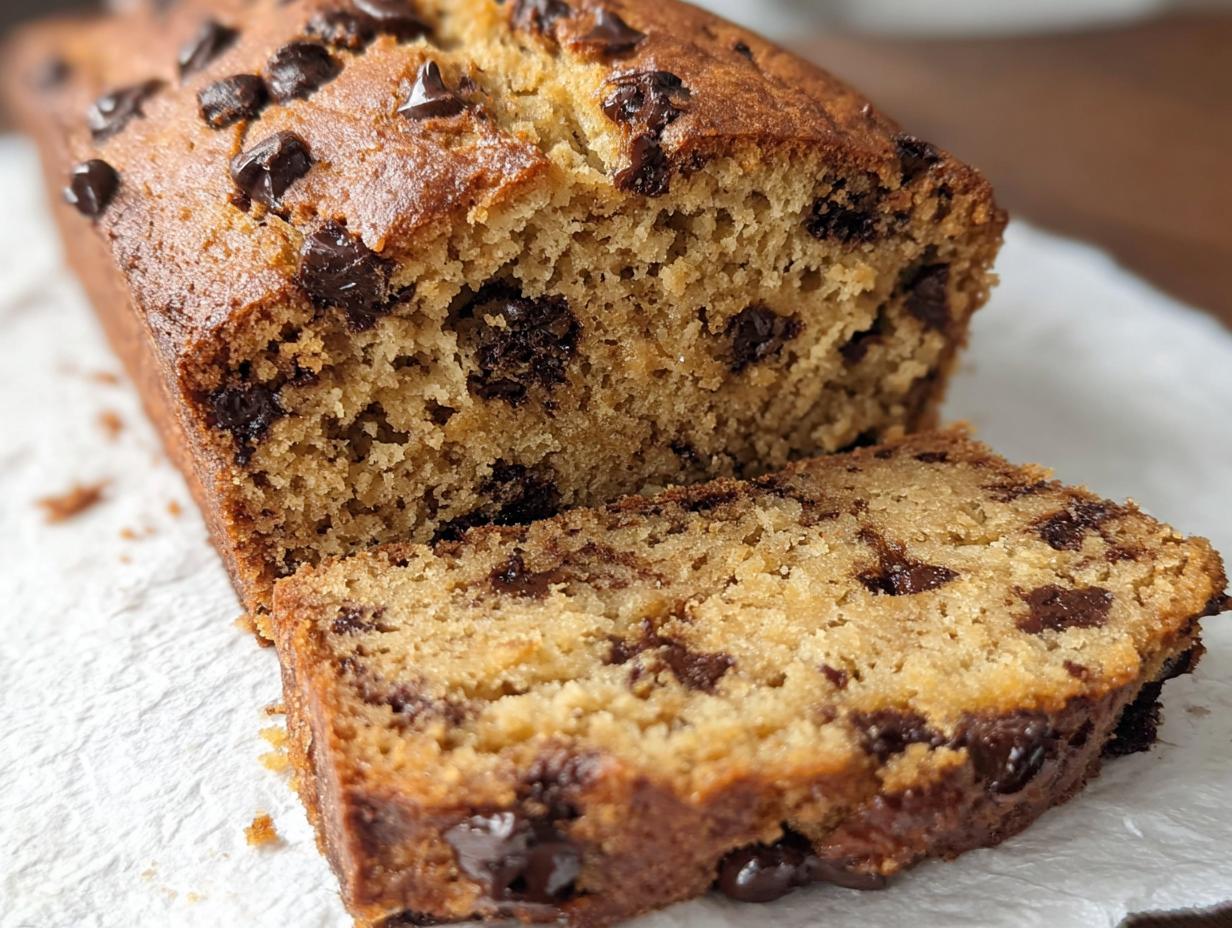
Are you staring at a counter full of bananas that have officially gone past their prime? Don’t toss them! Those brown, spotty beauties are the secret weapon for the very best baking, and that’s exactly what we’re turning them into today. Trust me, this comforting, kid-friendly recipe is packed with good stuff and it’s so simple, you’ll wonder why you didn’t make it sooner.
I remember the first time I baked Peanut Butter Banana Bread with my three kids. We had just gotten back from a family hike, and our kitchen was filled with giggles and the unmistakable scent of ripe bananas. As we smashed the bananas together and stirred in the peanut butter, I saw their excitement grow when they realized they were creating something delicious themselves. That loaf wasn’t just a snack; it became a symbol of our family time, and it’s now a beloved go-to recipe that we make on busy afternoons for everyone to enjoy!
Hello there! I’m Maria, and I promise this bread will become a staple in your home, too.
Why This Peanut Butter Banana Bread is a Family Favorite
Parents, I get it—life is a whirlwind! That’s why this recipe is totally geared toward making your life easier while still feeding your family well. It’s not fussy, it uses up those sad bananas sitting on the counter, and honestly, it tastes like a treat!
- It’s fast enough that you can whip it up right after school or dinner prep.
- It packs healthy fats right alongside a comforting, familiar flavor.
- Kids love helping to stir, which means less hovering over them later!
Quick Prep for Busy Schedules
We’re talking 15 minutes of active prep time, folks. That’s less time than it takes some people to find a matching set of kids’ shoes! Seriously, if you need stellar after school snacks that don’t require a complicated setup, this is your winner. You just mash, stir, and pour.
Boosting Nutrition with Peanut Butter Banana Bread
This isn’t just empty calories, which I love! Peanut butter brings those essential healthy fats that keep little tummies satisfied longer. Plus, bananas deliver that potassium boost. It truly ticks all my boxes for great protein snack ideas without feeling like you’re serving “health food.” It just tastes like sweet, nutty comfort.
Gathering Ingredients for Perfect Peanut Butter Banana Bread
Okay, time to get our ducks in a row! For this recipe to come out absolutely spot-on—that perfect moist crumb we’re aiming for—you really need to stick to the measurements we’ve laid out. Don’t eyeball the liquids, especially when dealing with the peanut butter and the yogurt!
You’ll need your three large bananas, but make sure they are properly mashed so they blend right into the batter. We are building layers of flavor here, so keep your ingredients handy. If you’re curious about the full list or need a peek before you shop, you can check out all the details right here: This Peanut Butter Banana Bread Recipe.
Ingredient Notes and Substitutions for Peanut Butter Banana Bread
One of the best parts about this recipe is how forgiving it is if you’re missing one small thing. Trust me, I’ve been there!
If you don’t have peanut butter, any other nut butter will work just fine—almond or cashew butter give lovely results. You can swap the chocolate chips for walnuts or pecans if your family prefers crunch. And about the flour? Any flour works! Grab that whole wheat or oat flour if you have it. If you need to make this vegan, it’s surprisingly simple: just use plant-based yogurt, dairy-free chocolate chips, and those handy flax ‘eggs’ we talk about often!
Expert Baking Tips for Your Peanut Butter Banana Bread
Baking this lovely loaf is simple, but getting that perfect airy, yet moist texture needs just a little know-how. You’ve already mashed those bananas, which is half the battle won. Now, we focus on mixing because that’s truly where most quick breads go wrong. We want tenderness, not toughness!
Don’t worry too much about weighing ingredients perfectly. This recipe is robust enough for a busy kitchen, but pay extra attention when combining the wet and the dry stuff.
Achieving the Right Texture in Your Banana Loaf Variations
When you bring the wet batter and the dry flour mixture together, use your spatula and fold! I mean really fold, gently, until you *just* stop seeing streaks of white flour. Overmixing is the enemy here—it develops the gluten too much, and instead of a moist cake, you end up with something more like, well, tough, dense bread.
The Greek yogurt we use for this Peanut Butter Banana Bread is also a texture hero! It adds unbelievable moisture without the heaviness of extra oil. If you’re experimenting with different flavorings or nuts, remember that yogurt helps keep all these wonderful banana loaf variations light and tender, even with additions.
Step-by-Step Instructions for Making Peanut Butter Banana Bread
Alright, let’s get baking! I’ve broken this down into easy steps because I want you to feel totally confident when you start stirring everything together. Remember that little bit of patience goes a long way here, especially when we get to the mixing part. Preheat the oven first, always! Get that 350°F temperature locked in and prepare your 9×5 loaf pan—I always use parchment paper that hangs slightly over the edges for insurance.
Preparing the Wet and Dry Components
First up, the wet stuff. Take those mashed bananas and whisk them up in a bowl with your sugar, yogurt, coconut oil, peanut butter, eggs, and vanilla extract. You want this mixture looking smooth and combined—this is where we bring in the flavor backbone!
Now for the dry team: flour, baking powder, baking soda, and salt. Gently pour these over your wet mixture. Use your spatula—not the whisk here—and just fold everything together. I mean it, just fold until you don’t see white flour anymore. If you keep mixing, you’re going to get a brick, and nobody wants that! Once it’s just combined, toss in those chocolate chips and give it one final gentle fold.
Baking and Cooling Your Peanut Butter Banana Bread
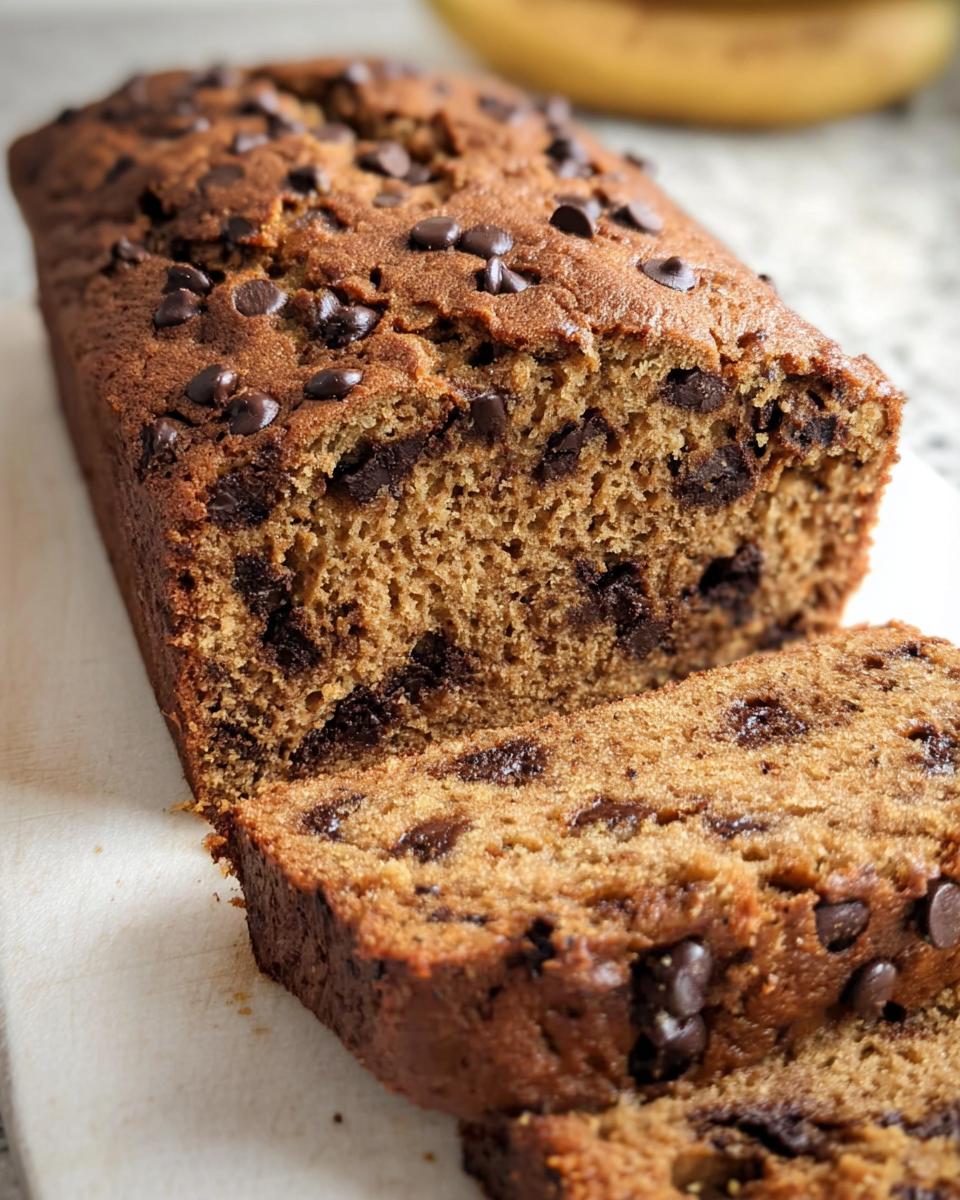
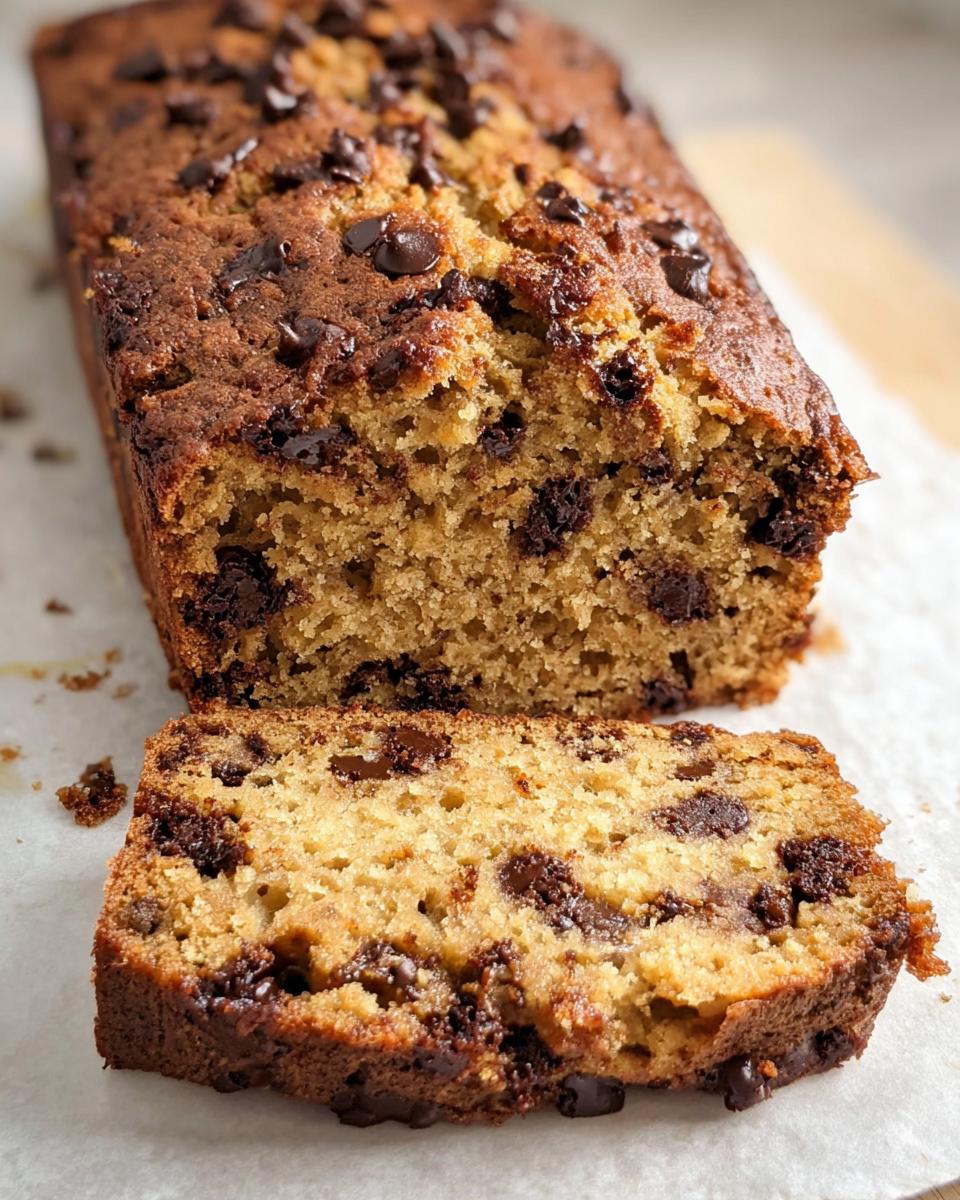
Pour that gorgeous batter right into your prepared pan. Sprinkle those extra two tablespoons of chocolate chips right on top so everyone sees what’s inside! Bake this baby for 50 to 55 minutes. You always test it with a toothpick right in the center to make sure it comes out clean—if there’s wet batter, give it five more minutes.
Don’t rush the cooling! Once it’s out of the oven, let it sit in that hot pan for a solid 20 minutes. This stops it from completely falling apart when you try to remove it. Then, transfer it carefully to a wire rack to cool for another 10 minutes before slicing. That little bit of waiting time makes a huge difference in the final texture of your amazing Peanut Butter Banana Bread!
Equipment Needed for This Peanut Butter Banana Bread Recipe
Before you even think about mashing those bananas, let’s make sure you have your tools ready to go! Having everything set up makes that 15-minute prep time fly by. You don’t need fancy gadgets, honestly, I use the same simple tools every time I whip up a batch of this Peanut Butter Banana Bread.
The most crucial piece is your vessel for baking. You absolutely need a standard 9×5 loaf pan. If you only have slightly different sizes, you might need to adjust your baking time, so stick to this size for the first time!
For mixing, you’ll want a sturdy bowl where you can whisk your liquid ingredients until they’re creamy and happy. A simple whisk is perfect for that first stage.
Once you add the flour, switch over to a good spatula. This is my reminder to you—put the whisk down! We are folding gently from here on out, and a spatula lets you scrape the sides and bottom of the bowl perfectly without crushing all that air we just built up.
And finally, after the magic happens in the oven, grab a simple wire rack. This lets the heat escape evenly from the bottom of the loaf, which prevents that dreaded soggy bottom crust. It’s a tiny step, but it keeps your loaf structure perfect!
Serving Suggestions for Peanut Butter Banana Bread
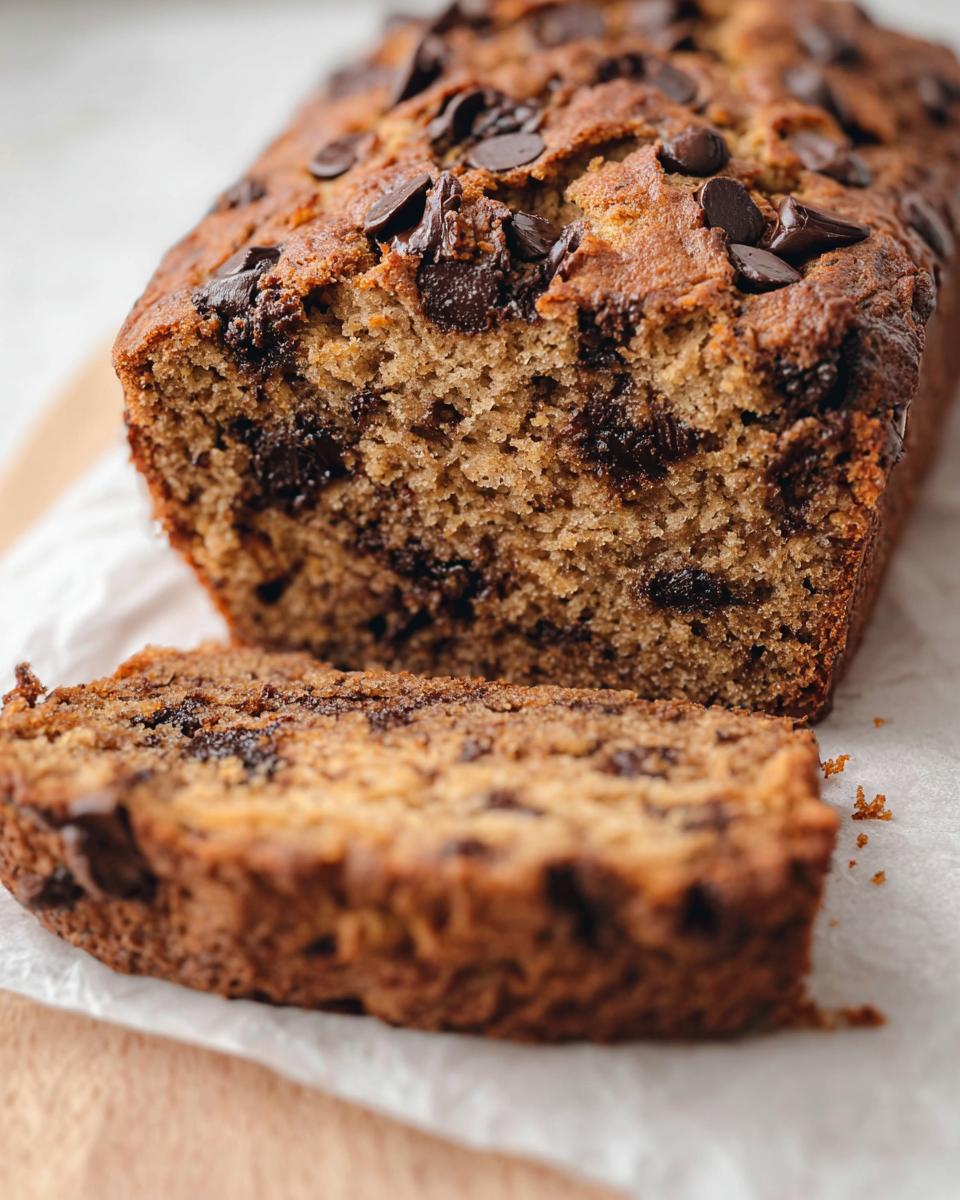
Now that you’ve pulled this gorgeous, fragrant loaf out of the oven, it’s time for the best part—figuring out how to eat it! Because this Peanut Butter Banana Bread is so robust and flavorful on its own, you don’t need a lot of fuss, which is perfect for those rushed mornings.
My kids often grab a slice straight from the cooling rack (after I tell them it’s *technically* cool enough!) for an instant post-school energy boost. It’s fantastic just as it is, especially when you want a quick dose of those good fats we talked about.
However, if you want to dress it up a bit, here are a few ways we love to serve it:
- Warm with Butter: Slice it thick and spread a thin layer of good quality salted butter on top. The warmth from the recent bake melts it perfectly.
- Breakfast Boost: Serve a warm slice alongside a cold glass of milk—that classic combination is unbeatable, especially since this recipe is healthier than most boxed cereals.
- The Dessert Route: If you’re feeling like turning this into one of those decadent peanut butter desserts, try adding a light drizzle of extra melted peanut butter or whipped cream cheese right before serving. It’s heavenly warm!
Honestly, whether you slice it for breakfast, pack it in a lunchbox, or serve it as a healthier evening treat, this bread disappears fast. Enjoy every bite!
Storage and Reheating Instructions for Leftover Peanut Butter Banana Bread
Now, if you’re like me, you probably baked this massive loaf assuming it would magically disappear in one day. Sometimes, we make a double batch because, well, why not? Luckily, this Peanut Butter Banana Bread stores beautifully! We want to keep that moisture locked in so every slice tastes as good as the very first one.
The trick here is making sure the loaf is completely cool before you wrap it up. If you wrap it while it’s even slightly warm, condensation builds up, and nobody wants a soggy banana bread scenario. Let it sit on that wire rack until it’s totally room temperature—patience, remember?
Keeping Your Loaf Fresh on the Counter
For everyday snacking, if you think you’ll eat the whole loaf within three or four days, the counter is just fine. You want to wrap that cooled bread tightly! I wrap mine twice—first in plastic wrap, squeezing out as much air as possible, and then I wrap that package again in aluminum foil. This double barrier keeps the air out, which is what makes bread go stale quickly.
Make sure you keep it out of direct sunlight or heat. A cool, dry pantry shelf is the *perfect* spot for these banana treats.
Refrigeration and Freezing for Later
If your kitchen is super warm, or if you know you need this bread to last longer than four days, pop it in the fridge. Follow the exact same tight wrapping technique (plastic wrap then foil!) before putting it in the chilly environment. The fridge can dry things out faster, so try to eat it within a week if you go this route.
For long-term storage, freezing individual slices is my favorite method for quick after school snacks. Slice the cooled bread first, wrap each slice individually in plastic wrap, and then toss those wrapped slices into a large zip-top freezer bag. You can keep them like this for up to three months!
The Best Way to Reheat Frozen or Chilled Slices
When you need a piece fast, reheating is simple! If it’s just a day or two in the fridge, a quick 10-second zap in the microwave usually softens it up perfectly. If you’re pulling a slice from the freezer, don’t thaw it in the microwave!
Instead, try this: let the slice sit on the counter for about 20 minutes while you do something else. Then, warm it up for about 20 seconds in the microwave. Better yet? Pop that slice into a toaster oven for just a couple of minutes. It gets those edges slightly crisp again, which is just heavenly with the warmed peanut butter.
Frequently Asked Questions About Peanut Butter Banana Bread
I know when I’m baking a new recipe, especially one I want to rely on for family treats, I always have a few random questions pop up. It’s smart to check in before you start mixing! We want to make sure this recipe fits right into your busy life, whether that means adapting it for dietary needs or just figuring out the best way to store those yummy leftovers.
Can I make this Peanut Butter Banana Bread vegan?
Oh yes, you absolutely can! I’ve made vegan batches plenty of times when friends come over who have different dietary needs. The great news is that the structure of this bread holds up really well to simple swaps. Just make sure you use a good quality plain, plant-based yogurt instead of the Greek yogurt, and swap the eggs for flax ‘eggs’—that means mixing two tablespoons of ground flaxseed with four tablespoons of water and letting it sit for a few minutes until it gets gooey.
Don’t forget your chocolate chips! You simply need to make sure you grab a dairy-free variety if you’re heading fully vegan. Doing this still results in one of the best peanut butter desserts that everyone can enjoy!
How ripe do the bananas need to be for the best flavor?
Okay, this is one of my non-negotiables for all banana bread! You want them to be *super* ripe. I mean, they should be almost entirely freckled or even black on the outside. Don’t even think about using a yellow banana here!
The riper the banana, the sweeter it is, and the more moisture it releases into the batter. This recipe relies heavily on those super-sweet, soft bananas for natural sugar and texture. If your bananas are borderline, just let them sit on the counter for one more day, I promise they will thank you for it!
Is this recipe suitable for freezing?
It is *perfectly* suitable for freezing! If you are batch baking for quick after school snacks throughout the week, freezing is your best friend. Once the loaf is completely cool, wrap it tightly—I like to use a layer of plastic wrap followed by foil—and freeze it whole. If you want more flexibility, slice the bread first, wrap each slice individually in plastic wrap, and then place all the wrapped slices into one large freezer bag.
They stay great for about three months! You can thaw the whole loaf on the counter for a few hours, or just pull out an individually wrapped slice and warm it up for 20 seconds in the microwave when you suddenly need a delicious snack!
Share Your Peanut Butter Banana Bread Creations
Whew! We made it through the whole process together, and I’m just so thrilled that you’re going to try this Peanut Butter Banana Bread in your own kitchen. Baking is so much better when we share our triumphs (and maybe the occasional banana-smash mishap!) with others, right?
I genuinely want to hear how it went! Did your kids love stirring in the chocolate chips? Did you try one of the whole wheat flour variations? Don’t be shy!
When you get a chance, please come back and leave a rating for the recipe—even just a quick star review helps other busy parents know this is a winner.
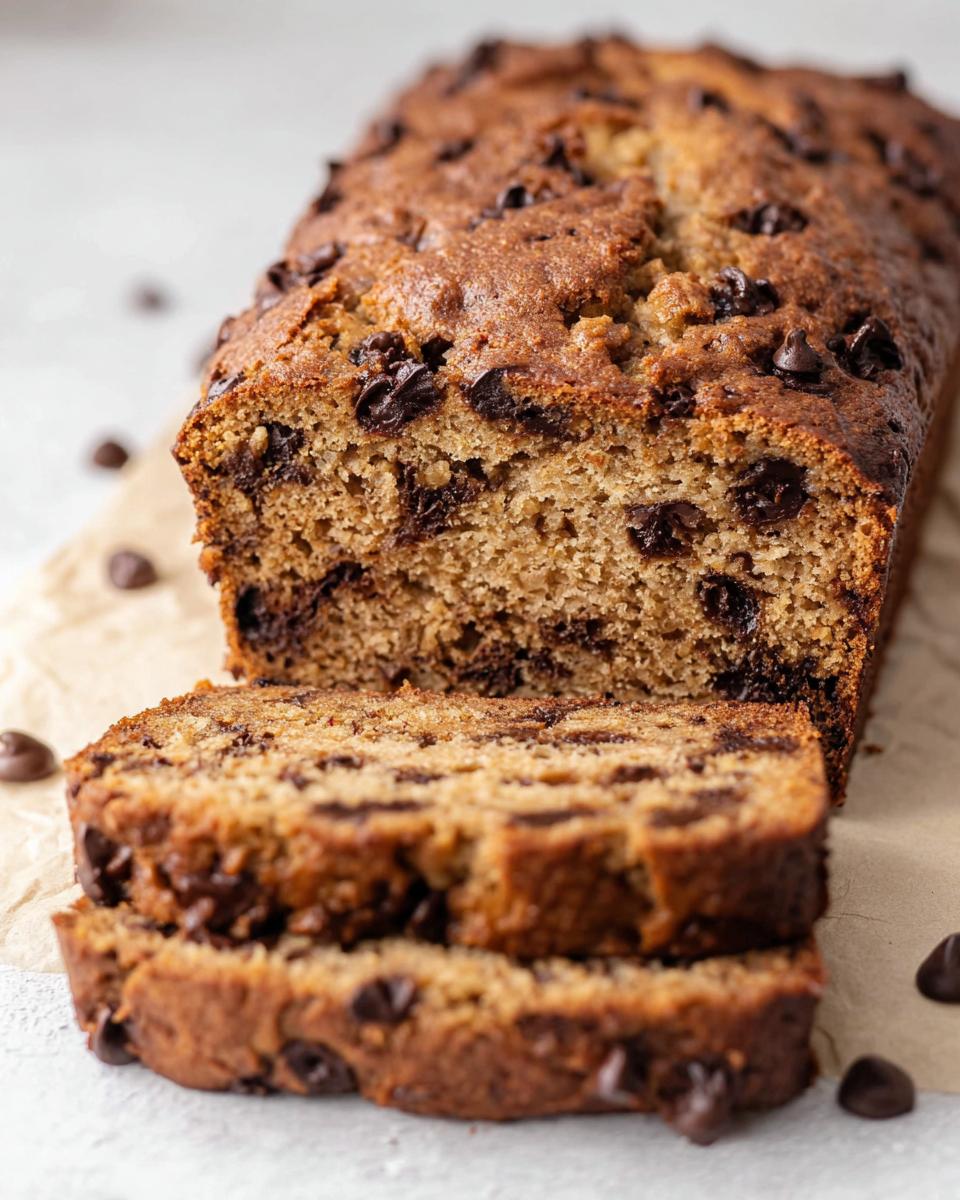
And if you snapped a picture of that beautiful, golden loaf cooling on the rack, please share it below in the comments or tag me on social media! Seeing your family enjoy this simple, nurturing treat is the absolute best part of sharing my family recipes with you. Happy baking, and enjoy that wonderful, nutty-sweet smell!
Peanut Butter Banana Bread
Ingredients
Equipment
Method
- Preheat the oven to 350°F and line a 9×5 loaf pan with parchment paper or baking oil spray.
- In a bowl, mash the 3 large ripe bananas. Add the 1/2 cup light brown sugar, 2 large eggs, ½ cup Plain Greek Yogurt, ⅓ cup Coconut oil, ½ Cup Creamy peanut butter, and 2 teaspoons Vanilla Extract. Use a whisk to combine all the ingredients thoroughly.
- Pour in the 1 ½ cups All-purpose flour, 1 teaspoon baking powder, 1 teaspoon baking soda, and ¼ teaspoon salt. Use a spatula to mix until incorporated. Do not overmix.
- Add in the ¾ cup dark chocolate chips and fold again.
- Pour the batter into the prepared pan, top with the remaining chocolate chips, and bake for 50 to 55 minutes or until a toothpick inserted into the center comes out clean.
- Allow the bread to cool for 20 minutes before removing it from the pan. Let it cool for another 10 minutes on a wire rack. Slice and serve.
Nutrition
Notes
Tried this recipe?
Let us know how it was!
Certified Family Nutrition Strategist
My path into family nutrition began working with Phoenix Area Family Services, where I saw how traditional nutrition advice often ignored real-world constraints like budget limitations, time crunches, and kids who refuse to eat anything green. That experience sparked my mission to develop meal planning systems that work with family realities, not against them.
Over eight years, I’ve helped hundreds of families reduce grocery spending by 25% while dramatically improving their nutrition. My meal planning frameworks have been adopted by local wellness centers because they actually work for busy parents juggling different ages, preferences, and dietary needs in one household.
As a bilingual first-generation Mexican-American and mother of three, I personally navigate the daily challenge of feeding a family nutritiously while honoring cultural traditions and managing a household budget. My “kid-friendly low-carb” protocols show families how to gradually introduce healthier options without triggering mealtime battles or abandoning beloved family recipes.
My “realistic wellness” philosophy is straightforward: health improvements must work within existing family dynamics and financial realities to be truly sustainable. When I’m not developing meal planning systems, I’m creating portable trail snacks for our weekend family hiking adventures – because healthy eating should fuel the life you want to live.
My personal low-carb journey started after pregnancy as a way to regain energy for active parenting, and that experience continues to inform my professional commitment to making healthy eating feel supportive rather than burdensome for busy families.