
Oh, the magic of truly *homemade* pasta! Seriously, is there anything more comforting or delicious? I remember one summer evening, my kids were practically wrestling in the kitchen, covered head-to-toe in flour, as I attempted my first pasta dough. It instantly took me back to my childhood, watching my abuela roll and cut dough with this incredible grace. Even with the absolute chaos and flour clouds erupting everywhere, the room was filled with so much laughter as my little ones battled it out over who got to sprinkle more flour. That wonderfully messy moment was just pure love and joy, and it really hammered home that cooking isn’t *just* about the final dish; it’s about building those precious family memories together. Ever since then, pasta night has become our most cherished tradition. We love exploring different shapes and flavors, and it truly fuels not just our bodies, but our family bond too. Ready to learn How to Make Pasta Recipes Like a Pro (2025) and create your own delicious traditions?
Why You’ll Love Making Pasta Recipes Like a Pro (2025)
Diving into making pasta from scratch is honestly one of the most rewarding things you can do in the kitchen, especially with your family! It’s not just about a killer plate of spaghetti; it’s about so much more. Think about it:
- Unbeatable Flavor & Texture: Fresh pasta just tastes worlds better than anything from a box. You get that perfect al dente bite and a flavor that really sings with your favorite sauce. Trust me, your taste buds will thank you!
- Family Fun Time: That messy, flour-covered kitchen I mentioned? That’s where the magic happens! Getting the kids involved, even if it’s just sprinkling flour or trying to help roll, creates such fantastic memories. It turns dinner prep into an adventure.
- Total Satisfaction: There’s a special kind of pride that comes from making something truly from scratch. You’ll be beaming when everyone raves about “your” pasta, knowing you made it all by hand (with a little help, maybe!).
- Endless Creativity: Once you nail the basic dough, the possibilities are literally endless. Different flours, different shapes, different sauces – you can experiment to your heart’s content and find your family’s new favorite dish again and again.
Essential Ingredients for Homemade Pasta
Alright, let’s talk about what you’ll need to get this pasta party started! Making pasta isn’t complicated, but having the right ingredients makes all the difference. You don’t need a crazy fancy setup, but these few things are key:
For the Pasta Dough:
- All-Purpose Flour: 2 cups. I usually go for a good quality all-purpose flour. Make sure it’s nice and fine; sifting it is a good idea, especially the first time you try!
- Large Eggs: 3, at room temperature. This is super important! Room temperature eggs incorporate into the flour much more smoothly, making your dough easier to work with.
- A Pinch of Salt: Just a little something to boost the flavor. You won’t really taste it, but it makes the pasta taste so much better.
For Drying and Dusting:
- Semolina Flour: About 1/2 cup, or as needed. This fine, gritty flour is your best friend for dusting. It helps keep the pasta from sticking together on your work surface and drying rack, and it gives the pasta a lovely texture.
See? Not too much! The beauty is in the simplicity. When you’ve got these waiting, you’re already halfway to pasta heaven.
Mastering the Art: How to Make Pasta Recipes Like a Pro (2025)
Okay, this is where the real fun begins! Making pasta is way more doable than you might think. It’s all about a few simple steps and getting a feel for the dough. Remember how chaotic it was with the kids around? Well, even with that happy mess, getting the dough just right is key. Once you get the hang of it, you’ll feel like a total pro, and trust me, your family will be begging for more! For more great tips on making restaurant-style pasta at home, check out this amazing guide.
Preparing the Pasta Dough
First things first, let’s make that gorgeous dough. So, grab your sifted flour and make a nice little well in the center of your clean counter. Crack those room-temperature eggs right into the well, add that pinch of salt, and then, using a fork, start gently whisking the eggs, gradually pulling in more and more flour from the edges. Keep going until it’s too thick to use the fork anymore. Then, it’s time to get your hands dirty! Start bringing it all together, kneading it like you mean it. You want to push, fold, and turn for a good 8-10 minutes until it’s smooth and elastic. It should feel firm but pliable – like a slightly stiff earlobe, if that makes sense!
Resting and Rolling Your Pasta
Now, this is super important: let your dough rest. Wrap it up tightly in plastic wrap or a damp cloth and let it chill for at least 30 minutes, or even up to a couple of hours at room temp. This little break lets the gluten relax, making it way easier to roll out without fighting it. When you’re ready, unwrap it and cut it into manageable portions. If you’re using a pasta machine, start on the widest setting and feed the dough through, folding and repeating a few times. Then, gradually decrease the setting, passing the dough through each stage until you get to your desired thickness. For spaghetti or fettuccine, I usually go for number 6 or 7 on my machine. If you’re going old-school with a rolling pin, just roll it out as thinly and evenly as you can; aim for almost see-through! If you’re struggling, this page has some fantastic visuals on technique.
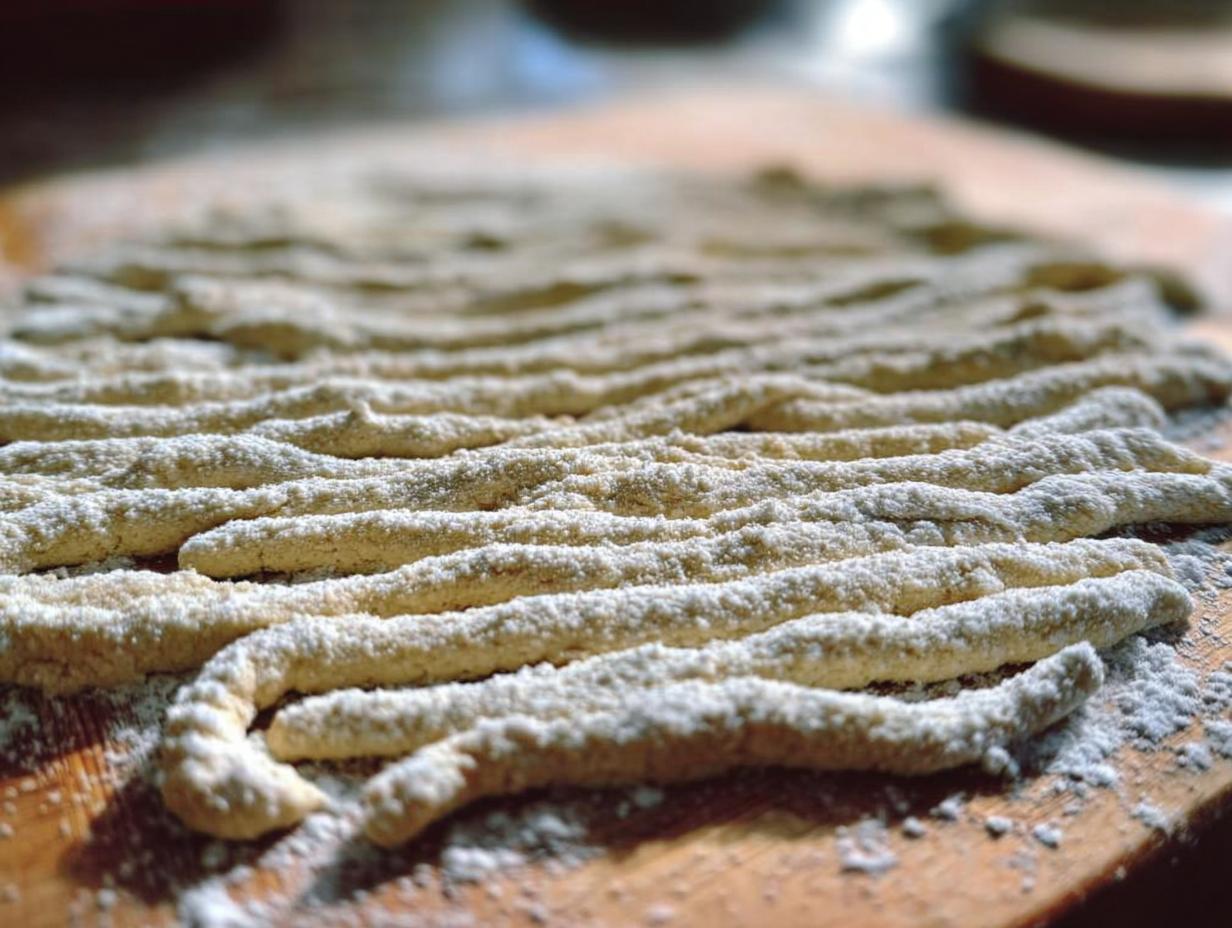
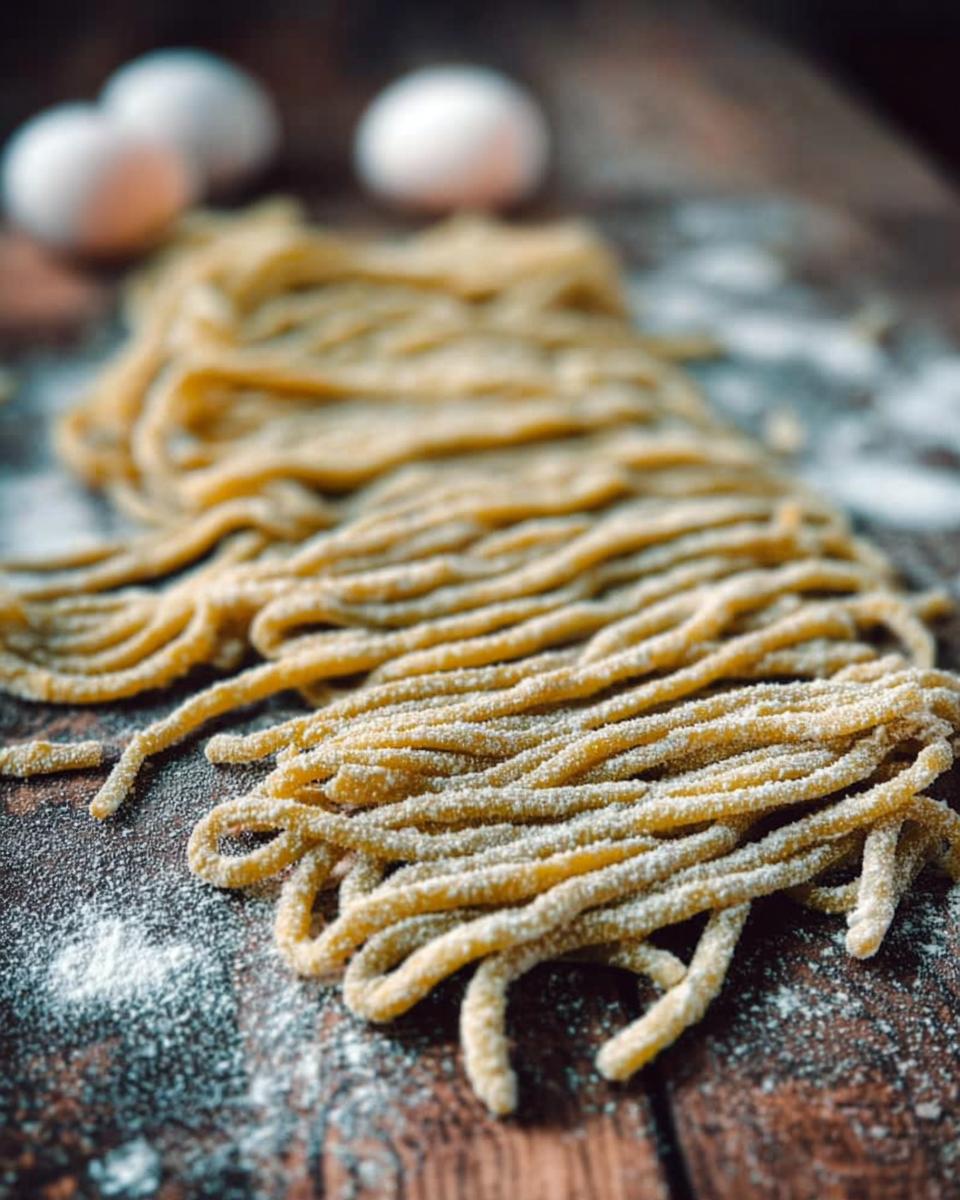
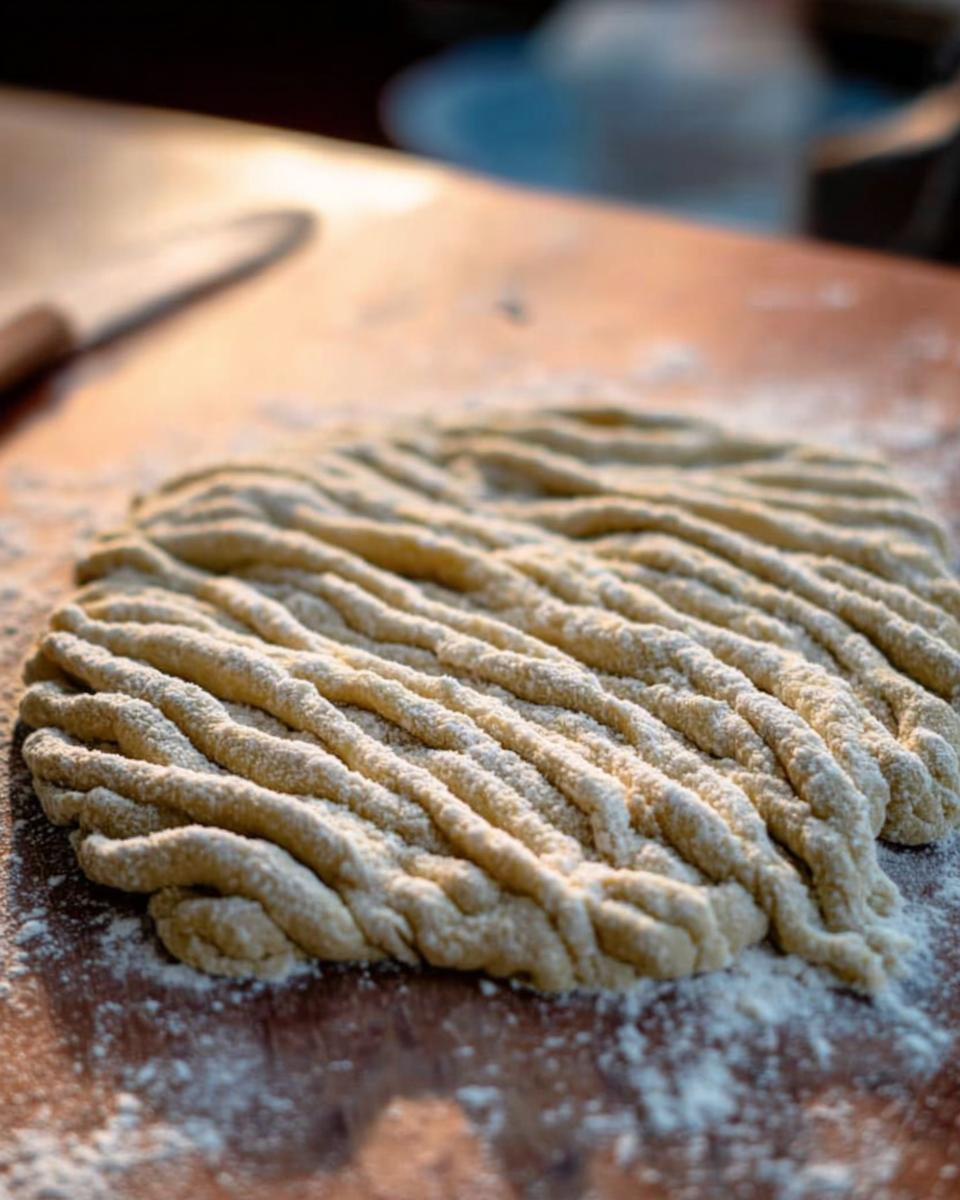
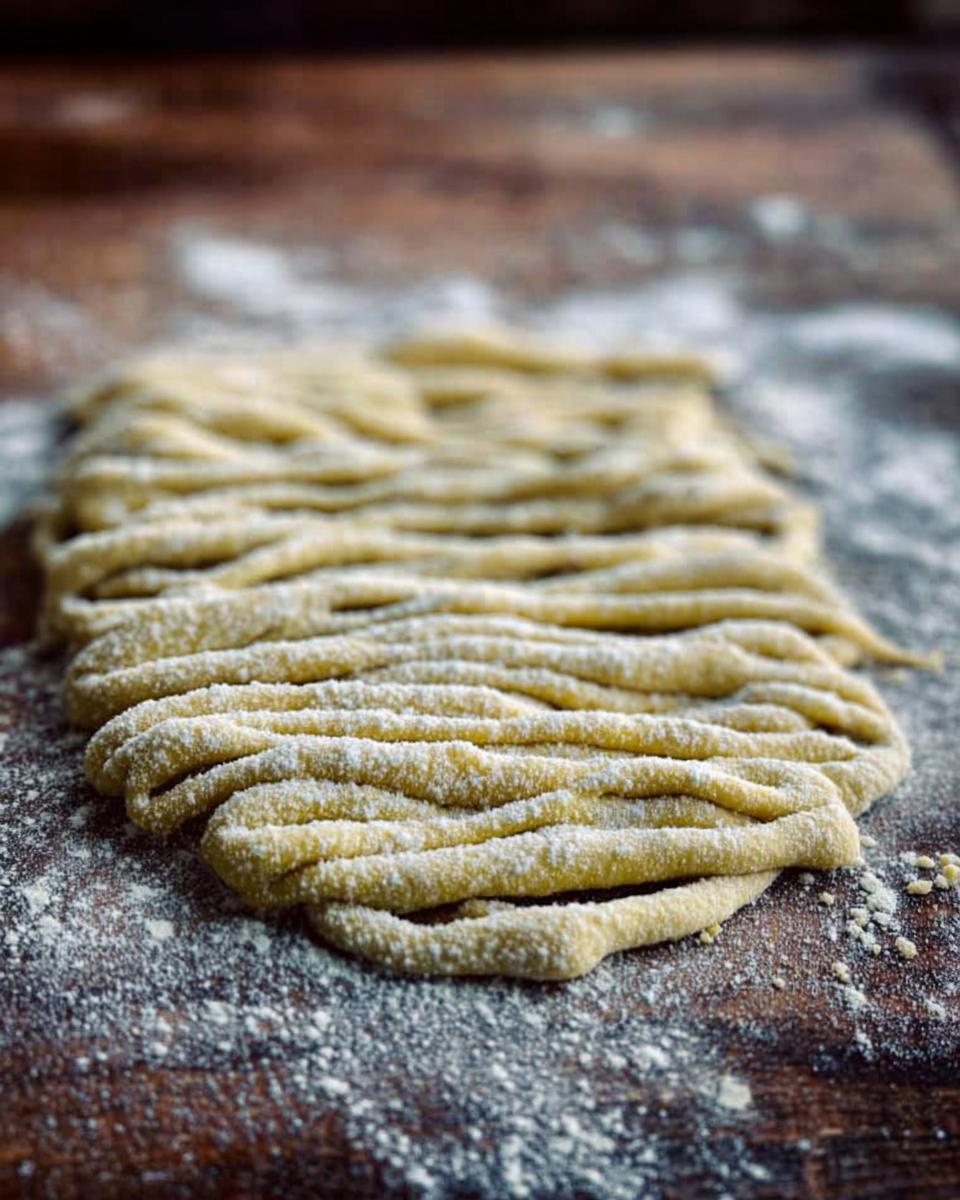
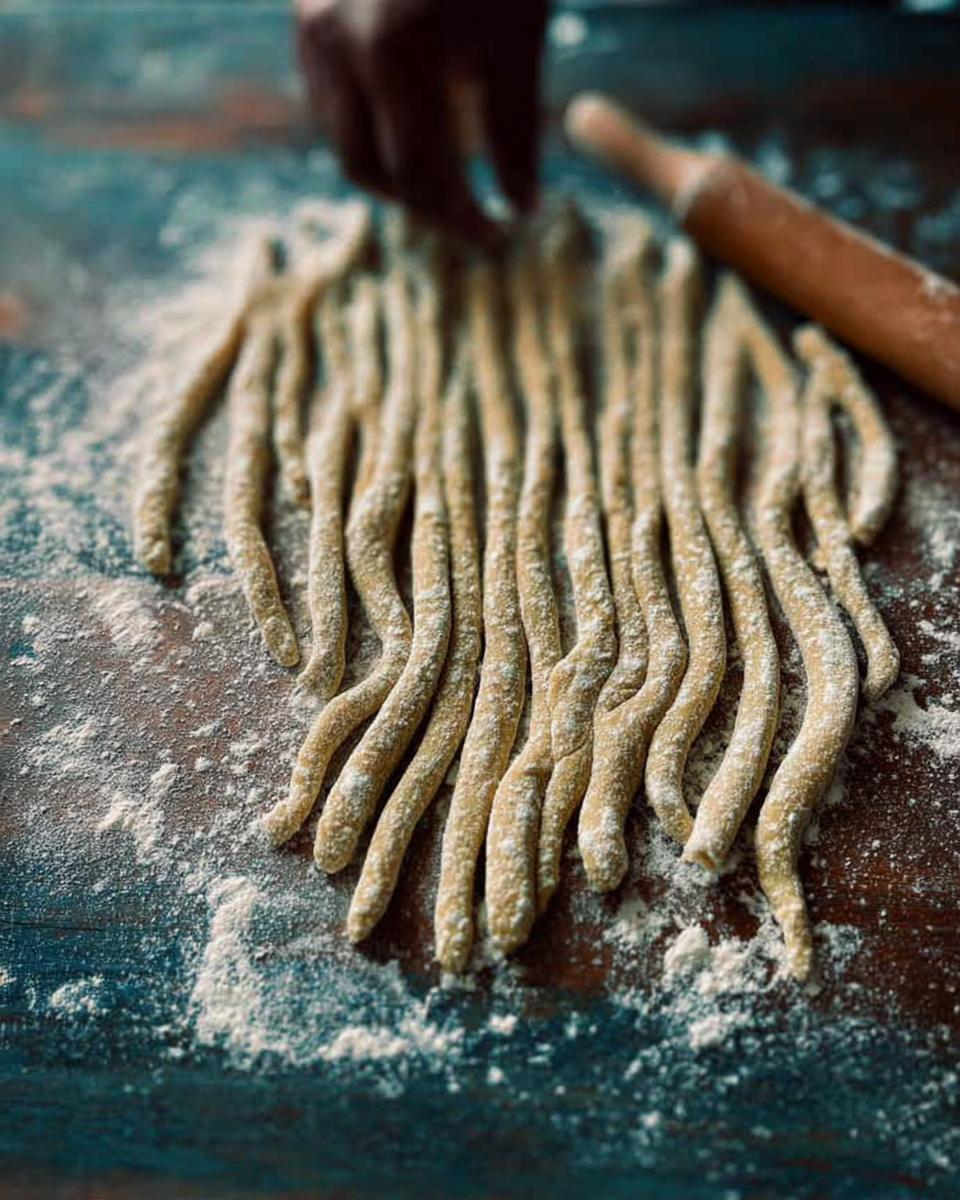
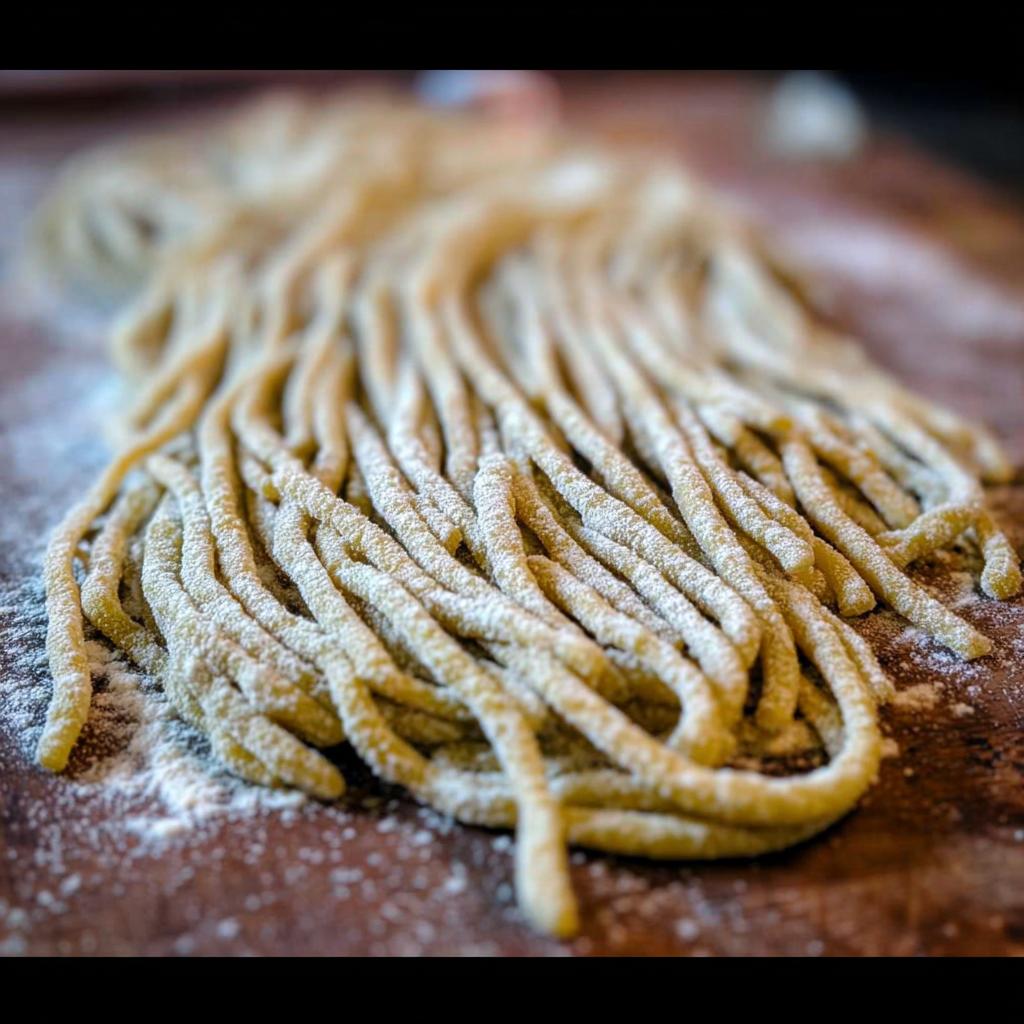
Shaping and Drying Your Pasta
This is where you get to play! For long shapes like fettuccine or tagliatelle, you can just lightly dust your rolled-out sheets with plenty of semolina flour (this is your sticky-prevention magic potion!), fold them loosely, and then cut them into strips. For shapes like rigatoni or penne with a pasta machine, it’s a breeze. Just follow your machine’s instructions. For hand-cut lasagna sheets, just cut them into rectangles. Once your pasta is shaped, lay it out on a clean, dry surface or better yet, a pasta drying rack. Give it a good dusting of semolina again to make sure nothing sticks together. Let it air dry for at least 30 minutes. If you’re planning to cook it right away, even 15-20 minutes helps. If you want to save it for another day, let it dry for a few hours, or even overnight, until it feels firm and slightly brittle.
Cooking Fresh Pasta to Perfection
Cooking fresh pasta is super quick, so don’t walk away! Get a big pot of water boiling and add a generous amount of salt – it should taste like the sea! Carefully drop your fresh pasta into the boiling water. It usually only takes 2 to 4 minutes, sometimes less! You’re looking for that perfect *al dente* bite – tender but with a slight chew. Fish it out with a slotted spoon or spider strainer and toss it straight into your sauce. The starch from the pasta helps the sauce cling beautifully. Easy peasy!
Tips for Pasta-Making Success
Alright, so you’re ready to dive into making pasta like a pro, right? Awesome! It *does* take a little practice, especially when you’re first getting the feel for the dough, but don’t stress. There are a few little tricks I’ve picked up that make a huge difference. First off, don’t be afraid of the flour! Dust your surface and your pasta generously with semolina flour as you work. It’s your shield against all things sticky and clumpy. Also, make sure your eggs are really at room temperature; it makes the dough so much smoother to handle. If your dough feels too dry while you’re kneading, just wet your hands a little and keep going. Conversely, if it’s too sticky, add a tiny bit more flour, but do it bit by bit! And remember, patience is your best friend here. Resting that dough is non-negotiable – it makes all the difference!
Frequently Asked Questions About Pasta Recipes
Okay, let’s clear up any lingering pasta questions you might have! I know getting started can bring up a few things, but don’t worry, I’ve got you covered. We’ll get you making pasta like a pro in no time! Thinking about how to incorporate some amazing chicken with your pasta? You might want to check out how to make the best Texas Roadhouse chicken – it pairs so well!
Can I make pasta dough ahead of time?
Absolutely! You can totally make your pasta dough a day ahead. Just wrap it up super tight in plastic wrap and keep it in the fridge. When you’re ready to use it, just let it sit on the counter for about 20 minutes to soften up a bit. It’s a lifesaver for busy families!
What’s the difference between semolina and all-purpose flour for pasta?
Great question! All-purpose flour is usually what I use for the dough itself because it gives you a nice tender result. Semolina flour, though, is coarser and has a slightly different texture. It’s perfect for dusting your pasta as you shape and dry it because it helps prevent sticking like a charm and adds a lovely chewiness.
How do I prevent my fresh pasta from sticking?
The biggest trick is using plenty of semolina flour! Dust your work surface, your pasta sheets, and your hands liberally. Also, don’t let cut pasta sit in a big pile for too long before drying; spread it out, maybe even hang it, so air can circulate. And remember that resting the dough? That really helps too, as it makes the dough less likely to get sticky.
Serving Suggestions for Your Homemade Pasta
Now that you’ve made this incredible pasta from scratch, what do you pair it with? Oh, the possibilities are endless and so exciting! For those nights when you want something quick but utterly delicious, you can’t go wrong with a classic marinara sauce, maybe with some fresh basil sprinkled on top. Or, if you’re feeling a bit more adventurous, a creamy pesto sauce is always a winner – check out this creamy pesto chicken pasta recipe; it’s divine! And for pure, unadulterated comfort? A rich, velvety Alfredo sauce is truly unbeatable. I often whip up my foolproof Alfredo for those special family nights. Honestly, whatever sauce you choose, your homemade pasta will be the star of the show!
Nutritional Information (Estimated)
Making pasta from scratch is so rewarding! Keep in mind that the nutritional details below are just estimates and can change quite a bit depending on the exact flour you use, how many eggs go into your dough, and of course, what delicious sauce you pair it with! This is a guideline, and the real magic is in the flavor and family fun!
How to Make Pasta Recipes Like a Pro (2025)
Ingredients
Equipment
Method
- Prepare your chosen pasta dough recipe. This typically involves mixing flour and eggs, then kneading until smooth.
- Allow the dough to rest for at least 30 minutes. This makes it easier to work with.
- Decide on your pasta shape and equipment. You can use a rolling pin and knife for shapes like lasagna or pappardelle, or a pasta machine for spaghetti, fettuccine, rigatoni, or bucatini.
- Roll out the dough. If using a machine, feed the dough through progressively thinner settings until you achieve the desired thickness. If rolling by hand, aim for an even sheet.
- Cut the dough into your desired shapes. Dust generously with semolina flour to prevent sticking.
- Dry the pasta. Lay the cut pasta on a clean surface, drying rack, or hang it. Allow it to dry for at least 30 minutes, or longer if preparing ahead for a later meal.
- Cook the fresh pasta in boiling salted water until al dente, usually just a few minutes.
Notes
Tried this recipe?
Let us know how it was!
Certified Family Nutrition Strategist
My path into family nutrition began working with Phoenix Area Family Services, where I saw how traditional nutrition advice often ignored real-world constraints like budget limitations, time crunches, and kids who refuse to eat anything green. That experience sparked my mission to develop meal planning systems that work with family realities, not against them.
Over eight years, I’ve helped hundreds of families reduce grocery spending by 25% while dramatically improving their nutrition. My meal planning frameworks have been adopted by local wellness centers because they actually work for busy parents juggling different ages, preferences, and dietary needs in one household.
As a bilingual first-generation Mexican-American and mother of three, I personally navigate the daily challenge of feeding a family nutritiously while honoring cultural traditions and managing a household budget. My “kid-friendly low-carb” protocols show families how to gradually introduce healthier options without triggering mealtime battles or abandoning beloved family recipes.
My “realistic wellness” philosophy is straightforward: health improvements must work within existing family dynamics and financial realities to be truly sustainable. When I’m not developing meal planning systems, I’m creating portable trail snacks for our weekend family hiking adventures – because healthy eating should fuel the life you want to live.
My personal low-carb journey started after pregnancy as a way to regain energy for active parenting, and that experience continues to inform my professional commitment to making healthy eating feel supportive rather than burdensome for busy families.