
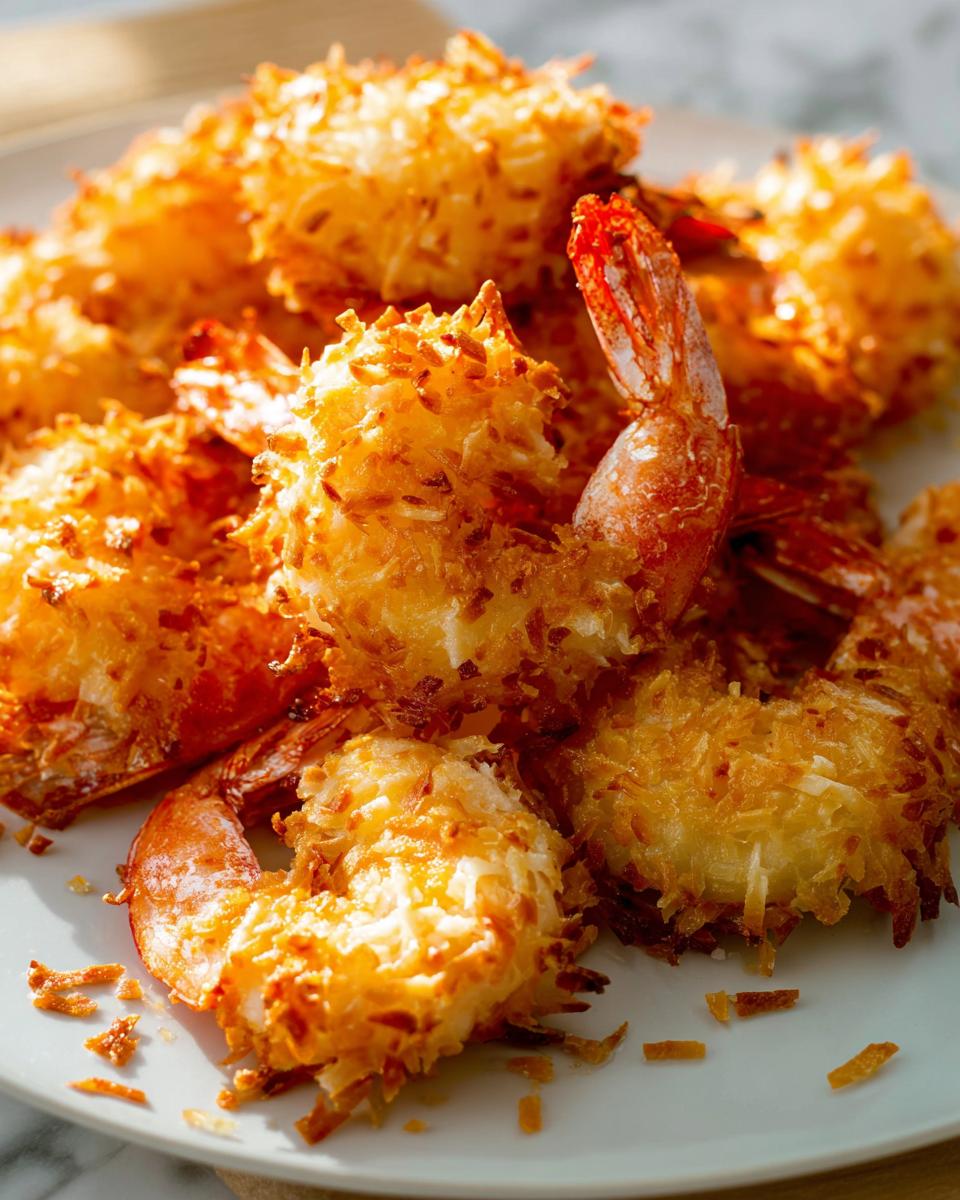
Alright, let’s talk shrimp! You know, sometimes you just stumble upon a recipe that just *clicks*, a recipe so good you want to make it your go-to for *everything*. Well, get ready, because I’ve got just the thing. This is **The Only Shrimp Recipes Recipe You’ll Need (2025)**, and trust me, it’s a game-changer. It’s this amazing mashup of international flavors, totally doable for us home cooks who love a little culinary adventure.
I still remember the first time I introduced my friends to a low-carb shrimp dish inspired by my Lebanese-Italian roots. I was nervous, hoping they would love it as much as I did. As the aromatic spices filled my Miami kitchen, I felt a rush of excitement, knowing I was blending my heritage with contemporary tastes. When they took their first bites, their smiles showed me I had created something special. That night, we didn’t just enjoy a meal; we celebrated the joy of cooking together and the thrill of merging cultures on a plate. As a Master of Global Fusion Innovation, I pour my heart into dishes like this, and I’m so excited to share it with you!
Why This Is The Only Shrimp Recipes Recipe You’ll Need (2025)
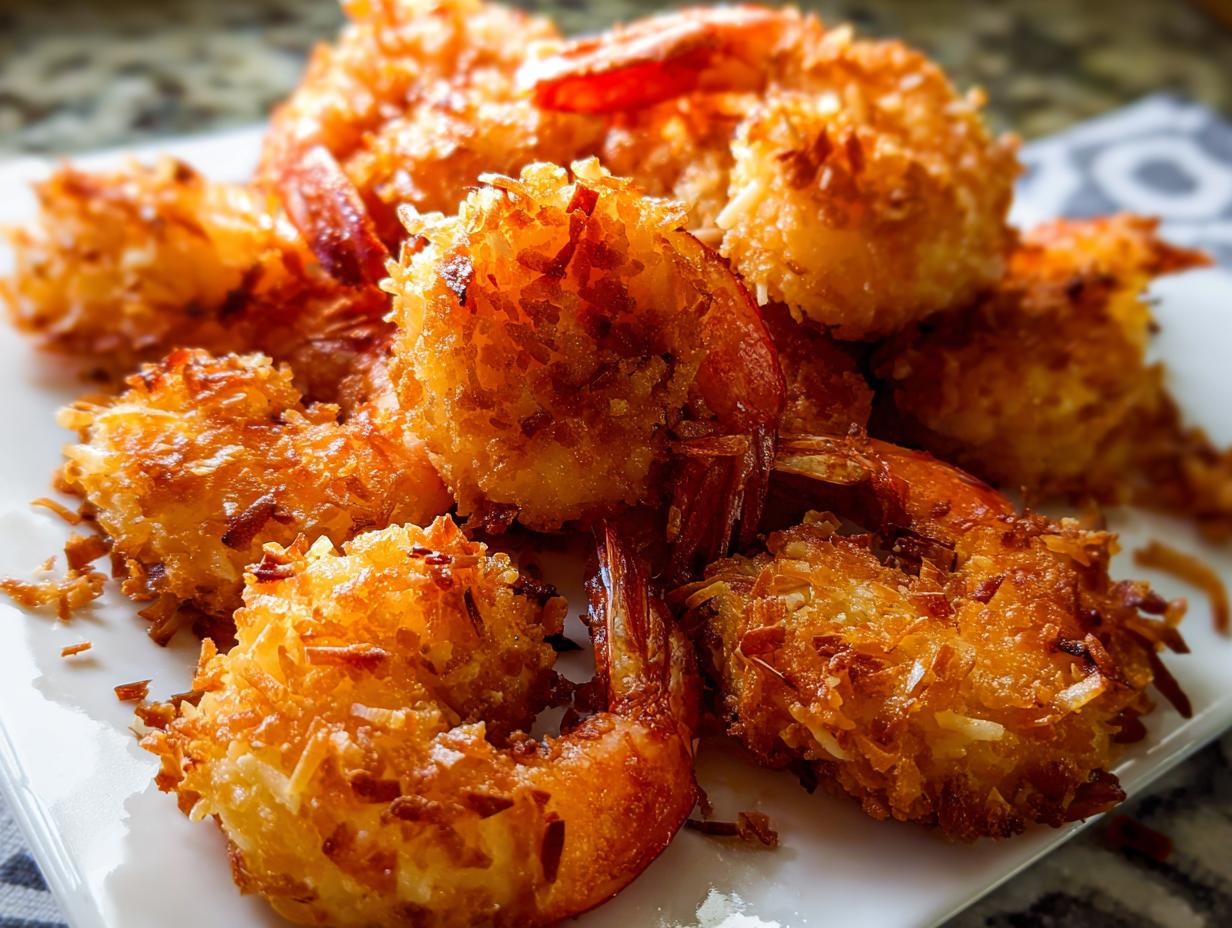
Okay, so why is this *the one* you’ll keep coming back to? Well, for starters, the flavor! It’s this incredible mix of sweet, savory, and just a hint of spice that’s miles away from your average fried shrimp. Plus, it’s surprisingly easy. You’re probably thinking, “Oh, coconut shrimp, that sounds complicated,” but trust me, it comes together super fast. What I love most is how adaptable it is. It’s perfect for a quick appetizer when friends drop by, or you can easily turn it into a light dinner. It’s for all you home cooks out there who want something exciting that’s also totally manageable. This truly is The Only Shrimp Recipes Recipe You’ll Need (2025)!
Gather Your Ingredients for The Only Shrimp Recipes Recipe You’ll Need (2025)
Alright, let’s get our ducks in a row – or should I say, our shrimp ready! To make this amazing dish that is truly The Only Shrimp Recipes Recipe You’ll Need (2025), you’ll want to gather these goodies. We’ve got two parts: the star, the coconut shrimp itself, and then an optional but oh-so-tasty dipping sauce.
For the Coconut Shrimp
For the shrimp part, you’ll need:
- 1/3 cup all-purpose flour (give it a gentle spoon and level off the top!) – whole wheat works too if that’s what you have.
- 1/2 teaspoon salt and 1/2 teaspoon black pepper – the classic flavor boosters.
- 2 large eggs, beaten smooth – these are our sticky glue!
- 3/4 cup Panko bread crumbs – for that super crispy crunch.
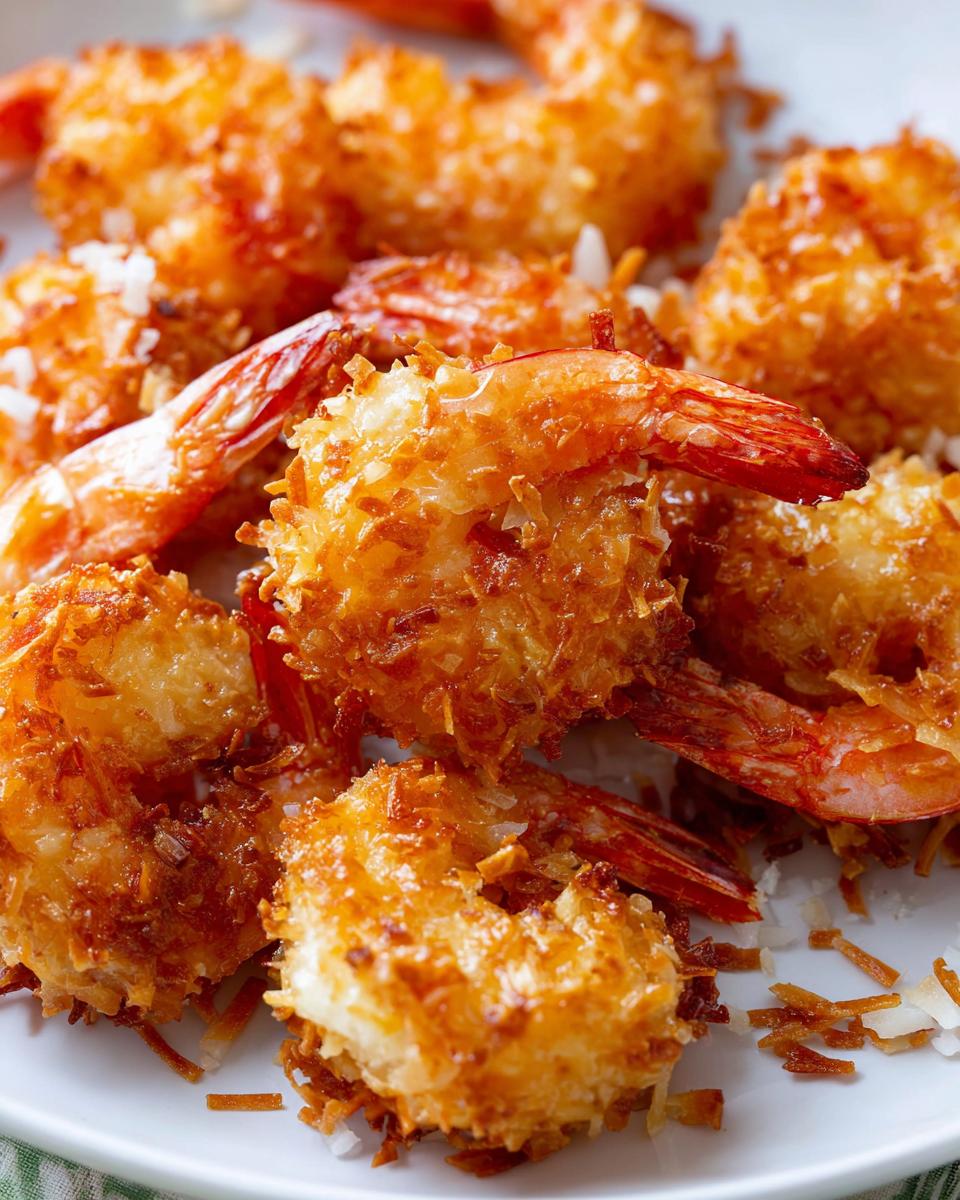
- 1 cup sweetened shredded coconut – don’t skimp here, this is the star!
- 1 pound raw large shrimp, peeled and deveined, tails still on (this makes them easy to handle!)
- 3–4 Tablespoons vegetable oil, coconut oil, or even olive oil – just enough to get a good fry going.
- 1 Tablespoon finely chopped cilantro (optional, but makes it pretty!)
A little tip from my kitchen to yours: Freshness really matters with shrimp. If you can, try to get the freshest raw shrimp you can find. If you’re using frozen, make sure they’re fully thawed before you start dipping!
Serving Sauce (Optional, but Recommended!)
And for a sauce that’ll make your taste buds sing:
- 3 Tablespoons Thai chili sauce – for a little kick.
- 6 Tablespoons of your favorite fruity jam, like orange, peach, or apricot. Preserves work great too!
This jammy sauce is such a delicious counterpoint to the crispy, sweet coconut shrimp. Trust me, you’ll want to whip this up!
Mastering The Only Shrimp Recipes Recipe You’ll Need (2025): Step-by-Step Instructions
Alright, it’s time to make some magic happen! Turning these beautiful shrimp into crispy, golden perfection is easier than you think. This is where The Only Shrimp Recipes Recipe You’ll Need (2025) really shines – it’s totally achievable! We’re going to get them coated and then fried up super quick.
First things first, let’s get our coating stations ready. You’ll need three medium bowls. In the first one, whisk together the flour, salt, and pepper. This is our base layer. In the second bowl, beat those two eggs until they’re nice and frothy – this helps everything stick. In the third bowl, mix that fluffy Panko bread crumb with the sweetened shredded coconut. Really get them mingled together; the more coconut, the merrier!
Now, for the fun part: breading the shrimp! Take your peeled and deveined shrimp (tails on, remember, they’re handles!). Dip each shrimp first into the flour mixture, making sure it’s lightly coated all over. Shake off any excess. Then, plunge it into the beaten eggs, letting any extra drip off. Finally, and this is the important bit, dredge it generously in the Panko and coconut mix. Press gently with your fingers to make sure that beautiful coconut coating really sticks. You want them to look like little tropical treasures! Set the coated shrimp aside on a plate as you go. I usually do about 7-8 at a time so I don’t run out of space.
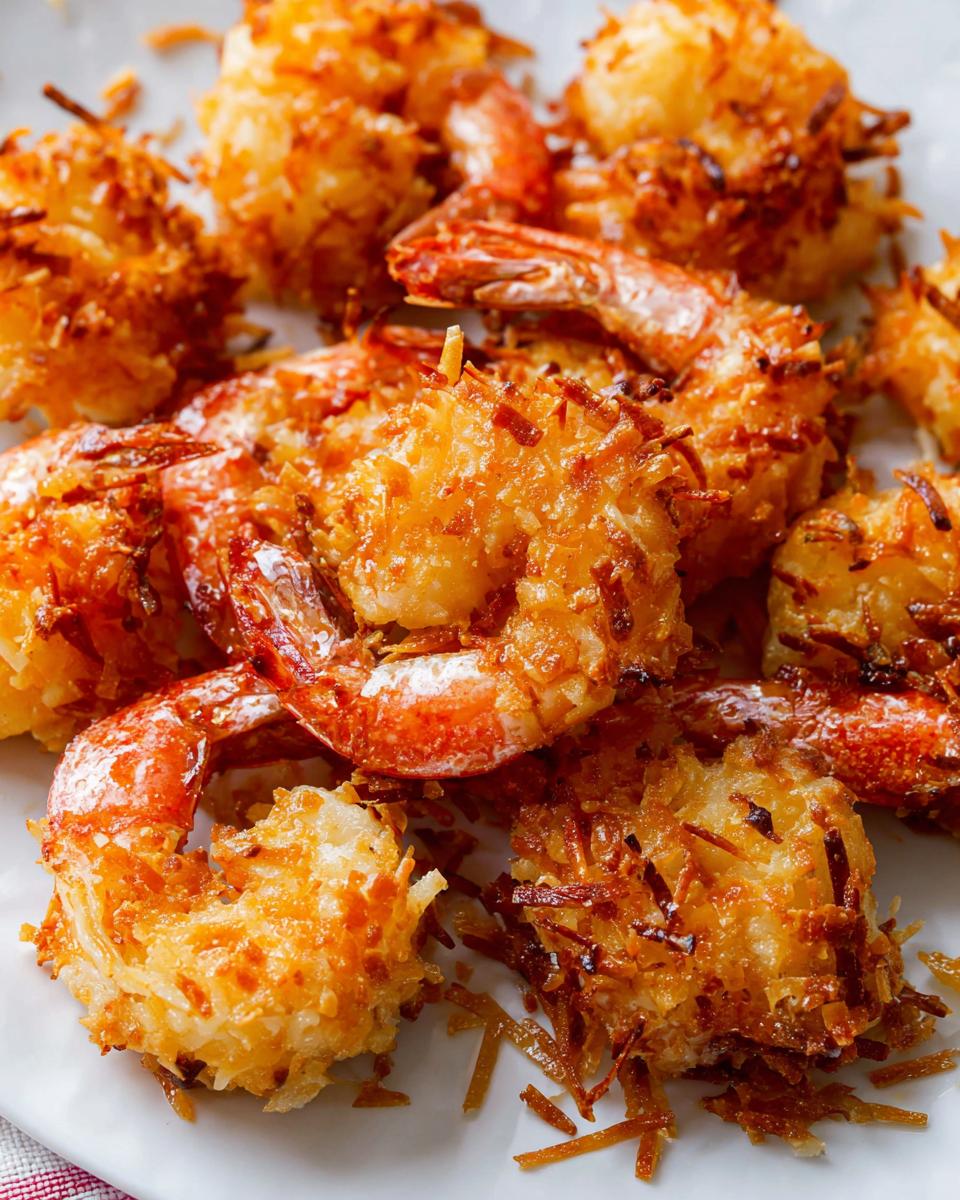
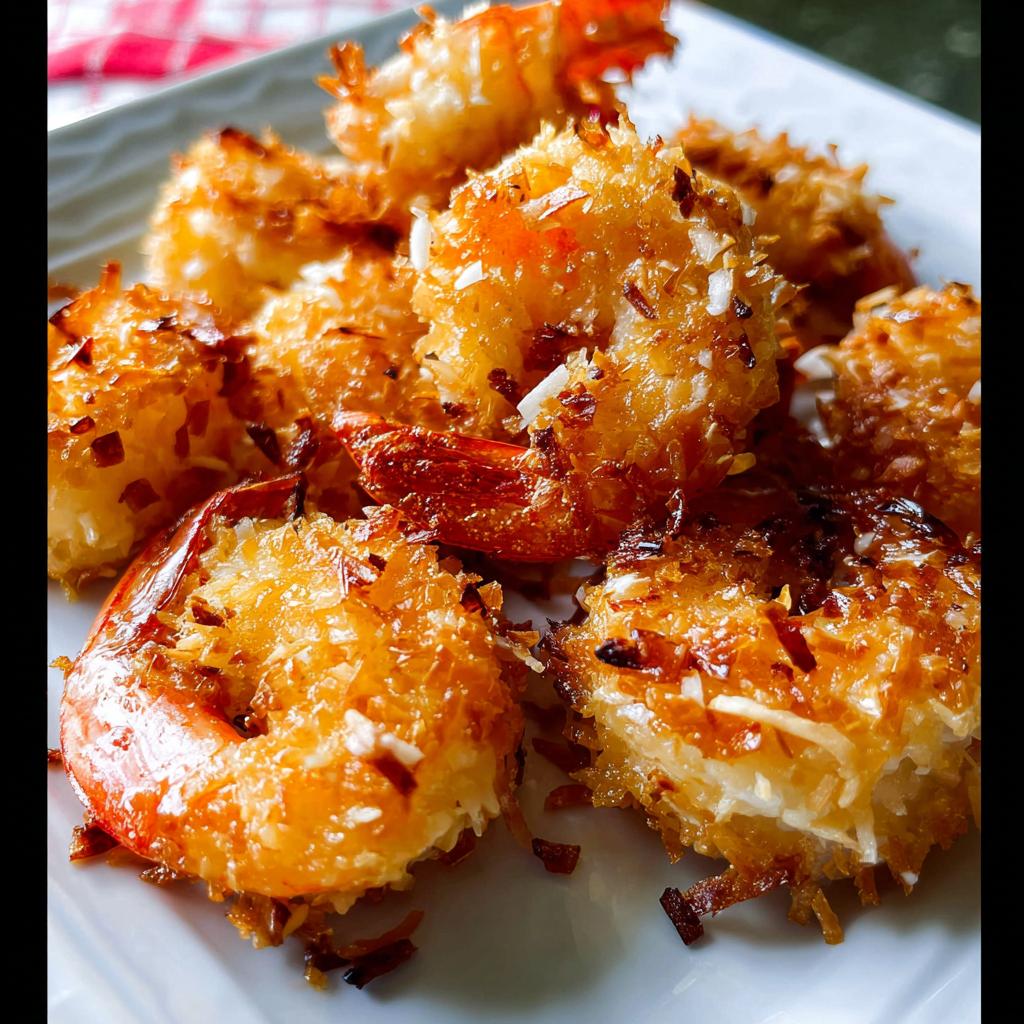
Time to fry! In a large skillet, heat up your oil – about 3 to 4 tablespoons is usually enough. You want it medium-hot; a good way to test is to drop a tiny bit of the coconut mixture in. If it sizzles immediately, you’re good to go! Carefully add your coated shrimp in batches. Seriously, don’t crowd the pan, or they’ll steam instead of fry, and we want CRISPY! Fry them for about 2 minutes per side, then carefully flip them over with tongs. Continue frying the other side for another 2 minutes, or maybe 2:30-3 minutes if you like them a bit darker and more toasted. The goal is a perfect golden brown. For more tips on achieving crispy perfection, check out Sally’s Baking Addiction!
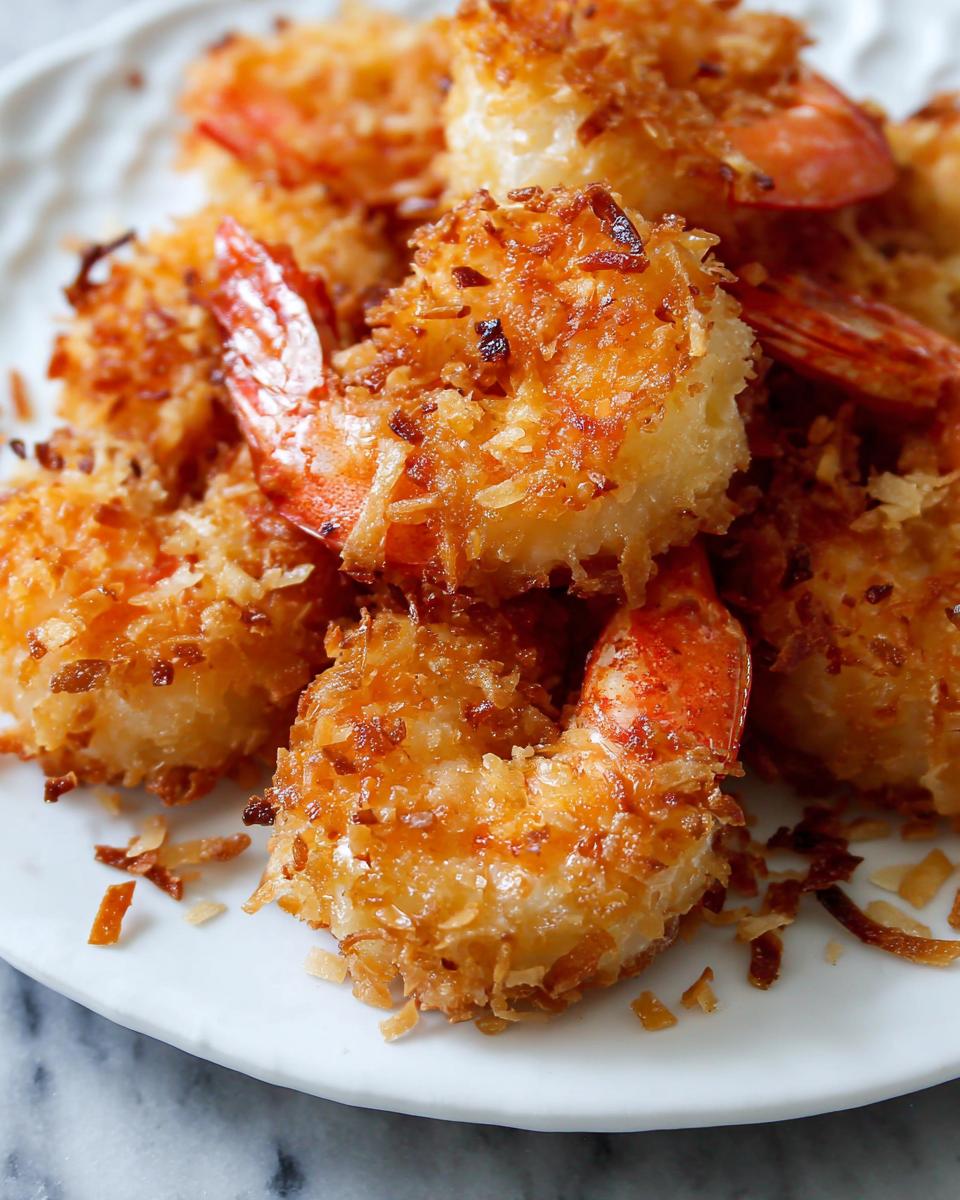
As each batch comes out looking amazing, place them on a plate lined with paper towels. This helps soak up any extra oil and keeps them wonderfully crisp. Once all the shrimp are fried, give them a sprinkle of that fresh cilantro, if you’re using it. And for the sauce, just whisk together the Thai chili sauce and your chosen jam. Easy peasy! This whole process is so quick, you’ll have these beauties ready in no time. For more easy seafood ideas, check out this Garlic Butter Shrimp Sheet Pan recipe!
Tips for Success with Your Shrimp Recipe
Okay, so you’ve got your shrimp all coated and ready to go. Now, to make sure they turn out absolutely perfect every single time, here are a few little tricks I learned along the way. These are the bread-and-butter tips that turn good shrimp into *great* shrimp!
First off, don’t crowd the pan. I know I said it before, but it’s *so* important! Frying in batches might take a minute longer, but it’s the only way to get that gorgeous, even golden-brown crispiness. If you overcrowd, the oil cools down too much, and you end up with soggy shrimp. Nobody wants that!
Next, get your oil temperature just right. Medium heat is key. You want it hot enough to sizzle immediately when the shrimp hits the pan, but not so hot that it smokes like crazy. If it’s too low, they’ll get greasy; too high, and they’ll burn before they’re cooked through. Keep an eye on it, adjust the heat as needed between batches.
And how do you know they’re done? It’s super quick! About 2 to 3 minutes per side is usually the sweet spot. They’ll turn bright pink and the coating will be a lovely golden brown. Trust your eyes and your nose – that wonderful toasty coconut smell is your cue!
Ingredient Notes and Substitutions
Okay, let’s chat a bit about these ingredients. Sometimes a specific ingredient can throw you off, or maybe you’re missing something. No worries, that’s what I’m here for! This recipe is super forgiving.
For the frying oil, the recipe says vegetable oil, but honestly, coconut oil is fantastic here if you want to really amplify that tropical flavor. Just make sure you use enough oil to generously coat the bottom of your pan – usually about 3-4 tablespoons. If you’re out of either of those, a neutral olive oil will work in a pinch, though it might add a slightly different taste.
And about that jam for the sauce? The orange, peach, or apricot jams are just suggestions because their fruity sweetness works so well with the coconut and shrimp. But honestly, get creative! Any berry jam, perhaps even a mango or pineapple preserves, would be divine. The key is a sweet, slightly tart fruit spread to balance the spice of the chili sauce. It’s all about making it yours!
Serving Suggestions for Your Shrimp Dish
So, you’ve got these amazing, crispy coconut shrimp ready to go. What do you serve them with? Honestly, they’re so versatile! For a light and healthy dinner, try serving them alongside a vibrant quinoa salad or some simple steamed jasmine rice. If you’re feeling more festive, they make a fantastic appetizer for a party – maybe alongside some other crowd-pleasers like these healthy stuffed mushrooms! The sweet and spicy sauce also makes them perfect for rolling into lettuce cups with some shredded veggies.
Make-Ahead and Storage Instructions
Got leftovers? Lucky you! These coconut shrimp are still fantastic the next day. Just let them cool completely, then pop them into an airtight container and stash them in the fridge. They’ll keep for up to 3 days. When you’re ready for round two, just reheat them in a 350°F (177°C) oven for about 10 minutes. This makes them nice and crispy again, not soggy!
And if you want to make a big batch for later, guess what? They freeze beautifully! Store them in a single layer on a baking sheet until frozen solid, then transfer to a freezer-safe bag or container. They can hang out in the freezer for up to 2 months. That’s what the ‘custom_time’ is all about – prepping for future deliciousness!
Frequently Asked Questions About The Only Shrimp Recipes Recipe You’ll Need (2025)
Got questions about making this amazing shrimp? I totally get it! It’s always good to have a little extra know-how. Here are some things folks often ask:
Can I bake this instead of frying?
You absolutely can! While frying gives you that unbeatable crispiness, baking is a great option if you want something a bit lighter. Just arrange the coated shrimp on a baking sheet lined with parchment paper and bake them in a preheated oven at 400°F (200°C) for about 12-15 minutes, flipping halfway through, until they’re golden. It won’t be *exactly* the same as fried, but it’s still super tasty!
What kind of shrimp should I use for this recipe?
For The Only Shrimp Recipes Recipe You’ll Need (2025), large raw shrimp with the tails still attached are perfect. The tails make them much easier to handle when you’re dipping and coating them. Make sure they’re peeled and deveined too, so you can just focus on getting that yummy coconut coating on there!
How spicy is the serving sauce?
The serving sauce gets its spice from the Thai chili sauce. The amount of sweetness from the jam balances it out, so it’s usually a pleasant and even mild heat for most people. If you like things really spicy, you can always add a pinch of red pepper flakes to the sauce or use a spicier chili sauce!
Can I make these ahead of time?
You can absolutely coat the shrimp ahead of time and store them on a plate (cover them loosely with plastic wrap) in the refrigerator for a few hours before frying. I wouldn’t let them sit coated for too long, though, as the coating can get a little soggy. For the best results, coat and fry them just before serving!
Nutritional Information (Estimated)
Alright, let’s talk numbers! Keep in mind this is just an estimate, because every kitchen makes things a little differently. Based on the ingredients and portions for around 4 servings, you’re looking at roughly 350-450 calories per serving. This includes fats from the frying oil and coconut, lots of protein from the shrimp, and carbs mainly from the coconut and jam sauce. Always feel free to adjust based on what you put in!
The Only Shrimp Recipes Recipe You’ll Need (2025)
Ingredients
Equipment
Method
- Start with 3 medium bowls. Combine flour, salt, and pepper in one. Beat the eggs in the second bowl. Combine Panko and coconut in the third bowl.
- Dip the shrimp into the flour, then the eggs, and then dredge the shrimp into the coconut mixture, pressing gently to adhere. You want a lot of coconut on each shrimp. Set the coated shrimp aside on a plate as you coat the remaining shrimp.
- Add enough oil to cover the bottom of a large skillet over medium heat. Fry the coconut shrimp in batches such as 7-8 shrimp at a time—do not crowd them in the pan. Flip after 2 minutes and fry the other side for 2 minutes or until golden brown. Fry each side for about 2:30-3 minutes for a darker color.
- Place the finished coconut shrimp on a plate lined with a paper towel as you fry the rest. Sprinkle with finely chopped cilantro. Mix dipping sauce ingredients together and serve with shrimp.
- Cover and store leftover shrimp in the refrigerator for up to 3 days.
Notes
Tried this recipe?
Let us know how it was!
Master of Global Fusion Innovation
My culinary adventure reflects my Lebanese-Italian heritage and a decade spent in the dynamic fusion restaurant scenes of Miami and Barcelona. I’ve made it my mission to prove that beloved global comfort foods can be successfully adapted for low-carb living without losing their soul, their cultural authenticity, or their ability to comfort.
With advanced training in molecular gastronomy and experience spanning Mediterranean, Middle Eastern, and Latin American traditions, I’ve developed what I call “respectful innovation” – culinary creativity that honors traditional cooking wisdom rather than replacing it. My alternative ingredient substitution systems are now taught in specialty diet cooking schools throughout the region.
Drawing from my trilingual upbringing, I understand how deeply food connects to identity and memory. That’s why my flavor-bridging techniques allow classic dishes from around the world to maintain their comforting, familiar qualities while meeting contemporary nutritional standards. I regularly share these techniques at international culinary symposiums and innovation events.
When I’m not experimenting in my Miami fusion kitchen laboratory, you’ll find me at local salsa dance venues – the rhythm and improvisation skills translate directly to my creative cooking process! My role as a foster parent to rescue rabbits has unexpectedly inspired some of my most creative plant-based low-carb innovations.
My personal low-carb journey began as a way to maintain energy for my active lifestyle, but it’s evolved into a professional mission of proving that healthy eating can be globally adventurous rather than restrictively limiting. Every recipe I create is a passport to culinary adventure, transforming kitchens into laboratories for exploring healthy versions of the world’s most beloved comfort foods.