
Okay, confession time: Thanksgiving used to give me major stress sweats. For years, I’d be frantically trying to get everything perfect, juggling a million things while my little ones zoomed around the kitchen. Then, I discovered a game-changer: making my stuffing ahead of time! These Stuffing Recipes Meal Prep That Actually Tastes Great aren’t just about saving time; they’re about making your holidays *more* enjoyable. I’m Maria Fernandez, a family nutrition strategist, and I learned firsthand that a little planning goes a long way. This recipe proves you can have that comforting, herb-filled stuffing everyone loves, even when life’s hectic. Trust me, your future self will thank you! If you’re looking for more ideas to simplify your busy weeknights, check out these dinner ideas.
Why You’ll Love These Stuffing Recipes Meal Prep
Seriously, this stuffing recipe is a lifesaver for busy families. It makes holiday cooking so much smoother without sacrificing that incredible homemade taste. Here’s why you’ll be making it again and again:
- Time-Saving Magic: You can prep most of it the day before, taking so much pressure off the big day.
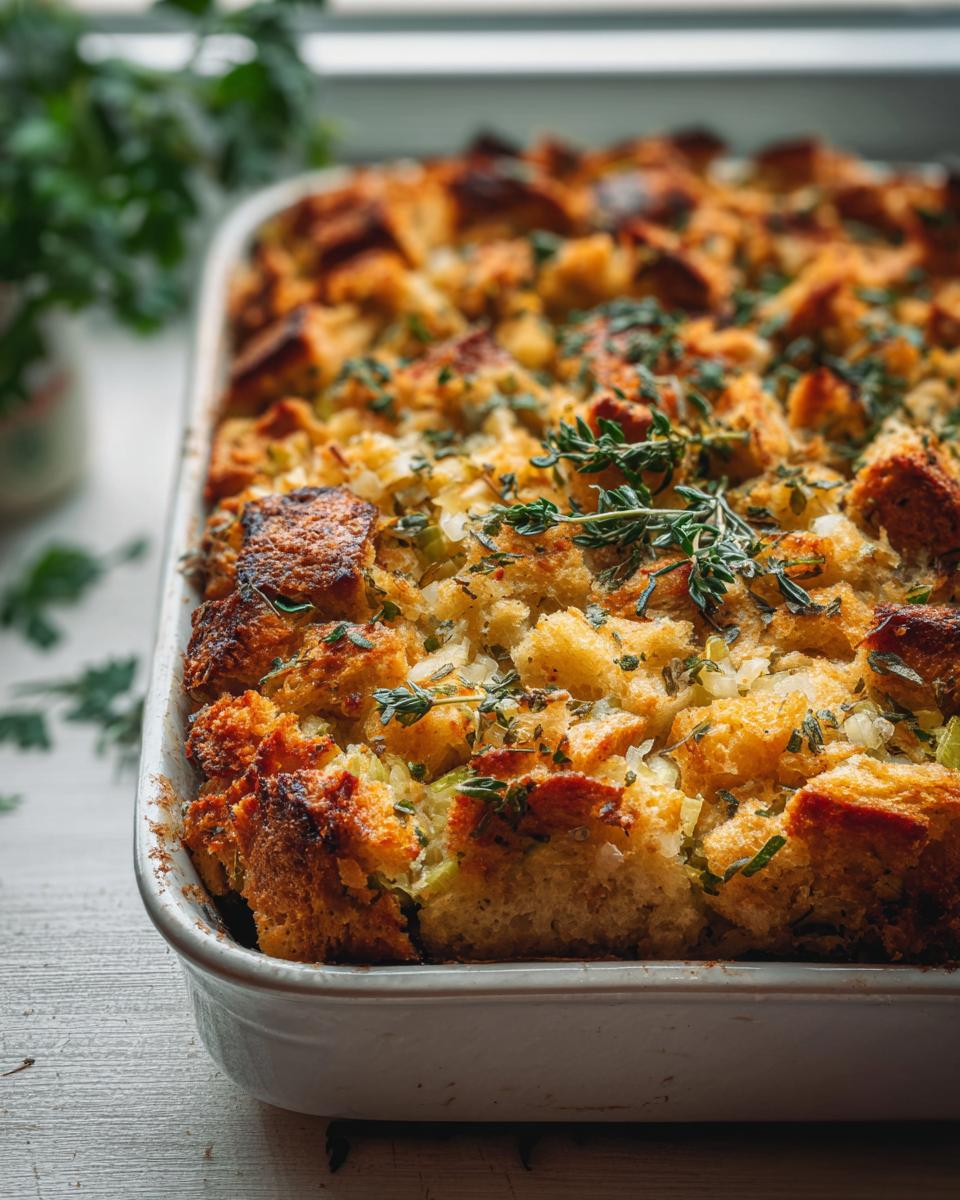
- Flavor Explosion: All those fresh herbs, savory veggies, and perfectly toasted bread really shine through. It’s the classic stuffing taste you crave!
- Foolproof & Easy: Even if you’re not a master chef, this recipe is straightforward. The steps are simple, so you’ll get delicious results every time.
- Crowd-Pleaser Guaranteed: It’s hearty, comforting, and just plain delicious. It’s the kind of side dish that disappears fast!
Gather Your Ingredients for Delicious Stuffing
Alright, let’s get our mise en place ready! Having everything prepped makes cooking so much easier, especially when you’re aiming for that perfect balance of convenience and flavor with your stuffing recipes meal prep. Here’s what you’ll need:
For the Bread Cubes
- 18 to 24 ounces bread cubes, preferably toasted or stale (this is about 1.5 loaves of bread, or roughly 12 to 14 cups if you’re measuring a bit loosely)
For the Vegetable Base
- 1 cup unsalted butter
- 3 cups diced sweet onion (that’s about 2 large onions, chopped up)
- 2 cups diced celery
- 6 cloves garlic, minced
- 1 to 1 teaspoon kosher salt
- 1 teaspoon pepper
- 3 tablespoons chopped fresh sage
- 3 tablespoons chopped fresh parsley
- 3 tablespoons chopped fresh rosemary
For the Binder and Liquid
- 2 ½ cups chicken or vegetable stock
- 2 large eggs
- 1 mixture fresh herbs, for sprinkling
Mastering Your Stuffing Recipes Meal Prep: Step-by-Step
Okay, let’s actually make this magic happen! Following these steps is key to nailing your Stuffing Recipes Meal Prep That Actually Tastes Great. It’s not complicated, I promise, and each little step gets us closer to that perfect, comforting stuffing you want on your table. We’re breaking it down so even on your busiest day, you can pull this off without a hitch. Remember those one-pan dinners that make clean-up a breeze? This is kind of like that, but for a side dish that truly shines! For more tips on easy cleanup meals, check out these one-pan dinner recipes.
Preparing the Bread Cubes
First things first, let’s get those bread cubes ready. You can totally toast them yourself in the oven at 350°F for about 15 minutes until they’re nice and golden, like little croutons. Or, if you’re like me and always have slightly stale bread lying around, perfect! You can also just buy pre-made toasted cubes if you’re in a super time crunch. Just cut them to whatever size feels right – I like a mix of small and rustic!
Sautéing the Vegetables
Now, grab a big skillet or a Dutch oven and melt that glorious butter over medium heat. Toss in your diced onion, celery, and all that minced garlic. Give it a good sprinkle of salt and pepper. Let them soften up nicely, this usually takes about 8 to 10 minutes. Once they’re tender, stir in your chopped sage, parsley, and rosemary. Let that cook for another minute until it smells amazing. Finally, pour in about 1 cup of your stock and give it a good stir to scrape up any tasty bits from the bottom.
Combining and Baking
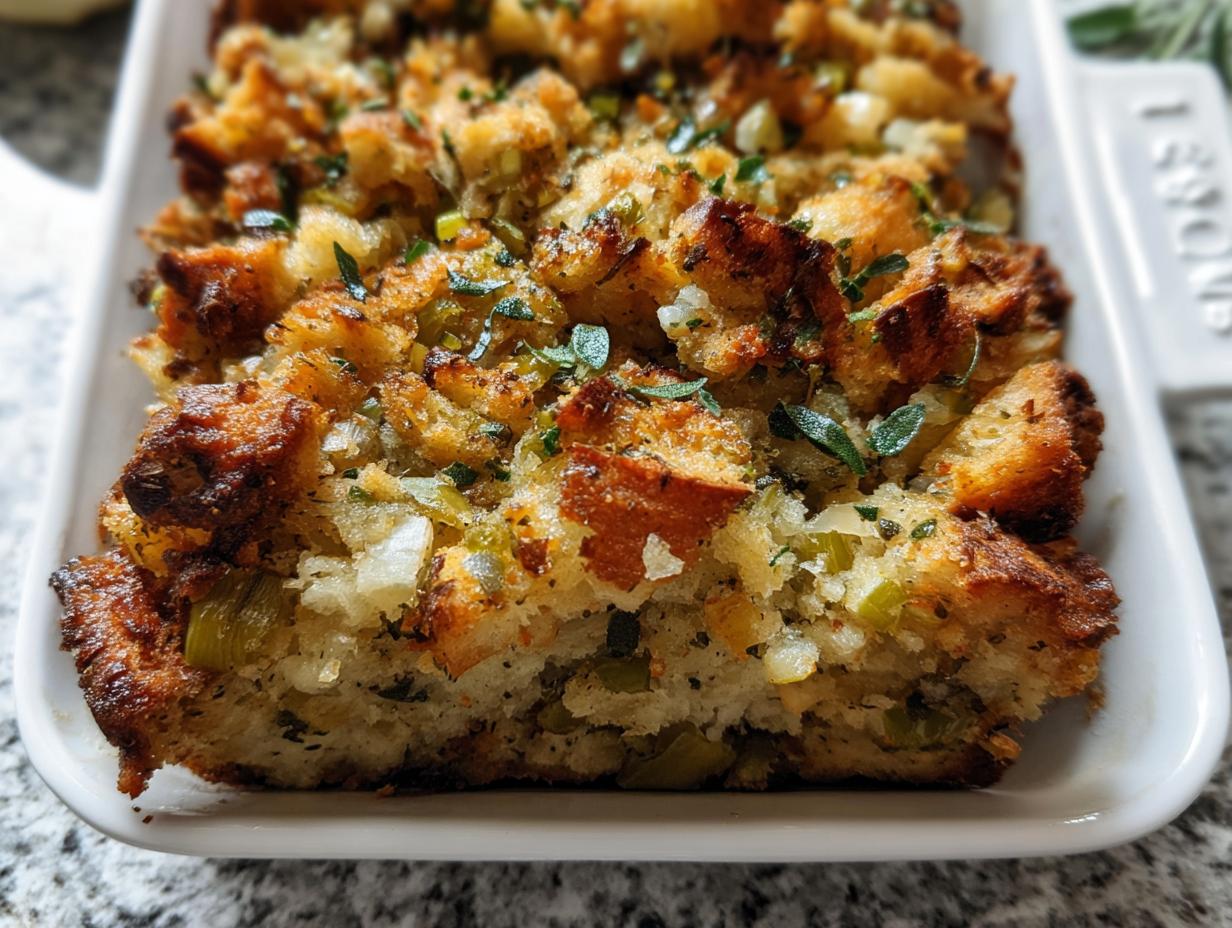
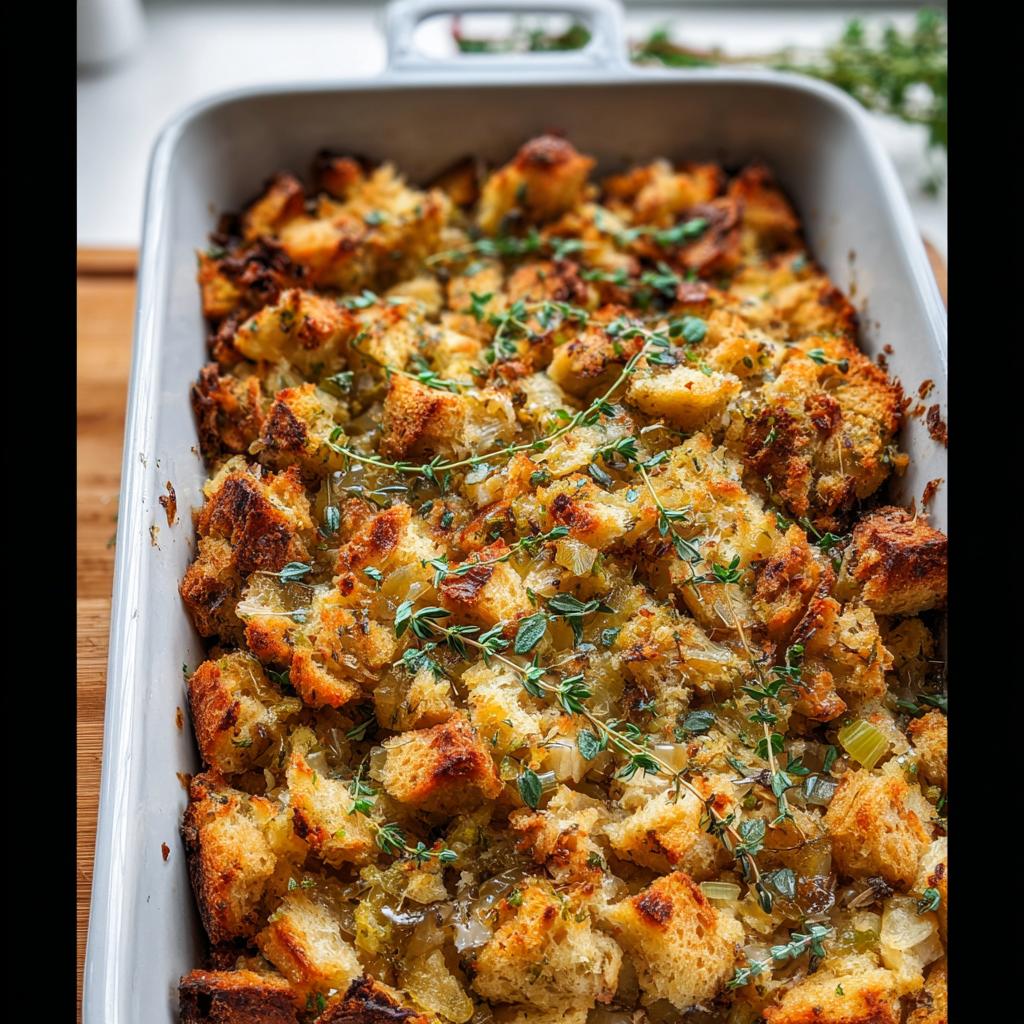
Time to bring it all together! Pour that delicious vegetable and stock mixture right over your bread cubes in a big mixing bowl or directly into your prepared baking dish. Toss everything gently until those cubes are coated. In a separate small bowl, whisk up the remaining 1 ½ cups of stock with your two eggs. Now, drizzle this liquid mixture all over the bread and veggies. Stir and fold it all together really well, making sure every last bread cube gets a good soaking. Spread it all out evenly in your 9×13 baking dish. Pop it into your preheated oven at 350°F and bake for about 45 to 50 minutes. You’ll know it’s ready when an instant-read thermometer tucked into the center reads 160°F. If it starts browning a little too fast on top, no worries – just loosely tent it with foil and keep baking!
Resting and Serving
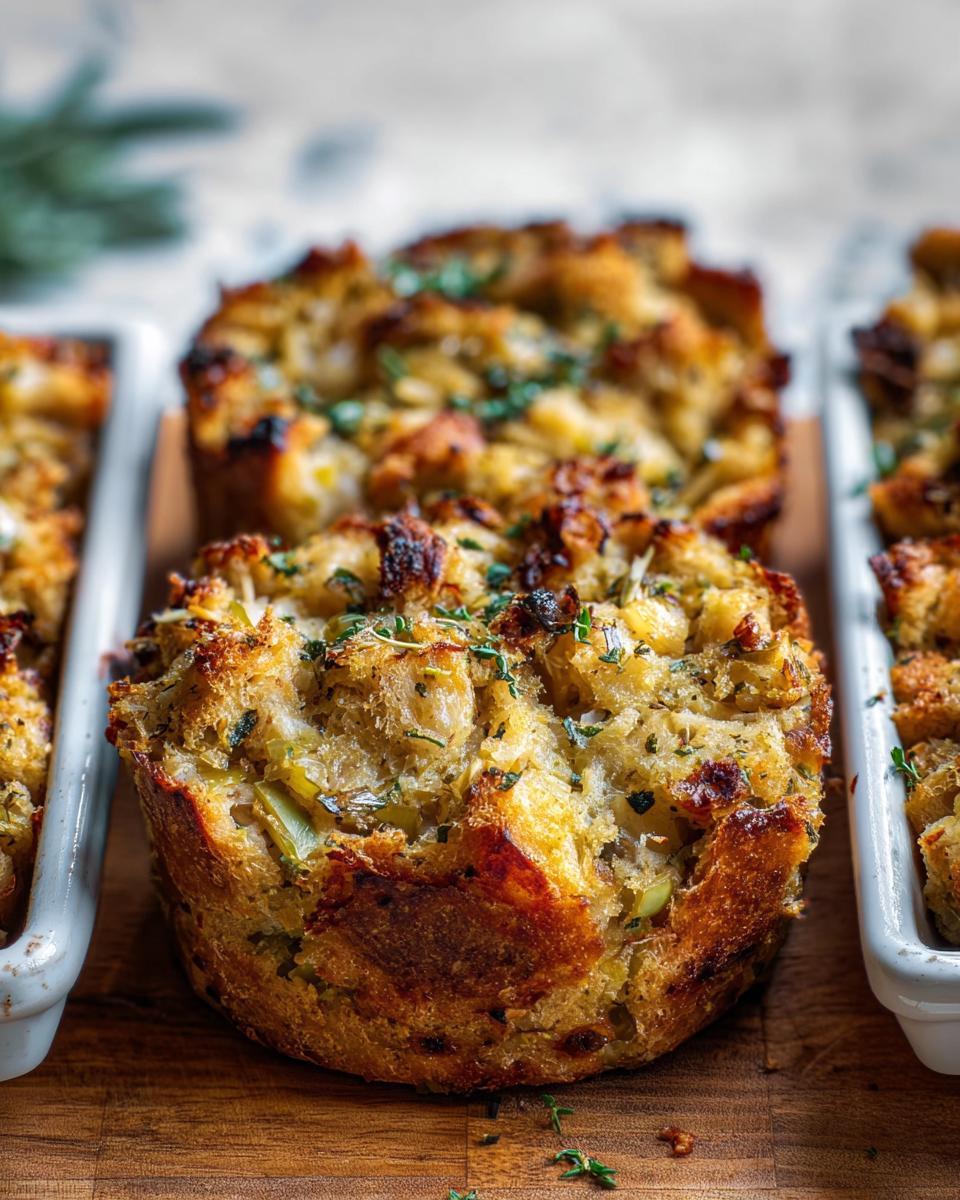
Once it’s out of the oven, give it a little time to rest. About 10 minutes is perfect. This lets all those flavors really meld together. You can totally serve it straight from the baking dish, or if you’re feeling a bit fancy, scoop it into a beautiful serving bowl. And here’s a little secret: any leftovers are amazing reheated!
Tips for Perfect Stuffing Recipes Meal Prep
Okay, let’s talk about taking these Stuffing Recipes Meal Prep That Actually Tastes Great from good to absolutely unforgettable! Since I’ve been doing this meal prep thing for ages, I’ve picked up a few tricks that make a world of difference. First off, seriously, don’t skimp on the bread! Using stale or toasted bread is key for that perfect texture; soggy bread makes for gummy stuffing, and nobody wants that. Also, those fresh herbs? They are non-negotiable. Dried herbs just don’t give you that vibrant, fresh flavor that really makes stuffing sing. If you can find them at the farmer’s market, even better!
When it comes to making it ahead, here’s my best advice: assemble everything *except* the egg mixture. Keep the bread, veggies, and liquid separate. Just before you’re ready to bake (or if you’re prepping it all the day before), whisk those eggs into the stock and then combine everything. This ensures the bread absorbs just the right amount of moisture. And remember, if your stuffing is browning too fast in the oven, just loosely tent it with foil. It’s an easy fix that saves your beautiful creation!
Ingredient Notes and Substitutions for Your Stuffing
Let’s dig into the details of why these ingredients work so well together and what you can do if you need to make a swap. Because a great stuffing recipe should be a little flexible, right?
Bread Cubes: The recipe calls for toasted or stale bread, and this is super important for texture. If your bread is too fresh, it’ll turn into mush. Sourdough, French bread, or even a good sturdy whole wheat works wonderfully. If you can’t find stale bread, just cube up a loaf and toast it in a 350°F oven for about 10-15 minutes until it’s dried out.
Stock: Chicken stock is classic and adds a lovely depth of flavor, but if you’re looking for a vegetarian option, just swap it out for a good quality vegetable stock. Make sure it’s low-sodium so you can control the saltiness yourself!
Herbs: Fresh herbs are truly the best here, giving that bright, aromatic flavor. If you absolutely have to use dried herbs, a general rule is to use about one-third the amount of fresh. So, for the 3 tablespoons each of sage, parsley, and rosemary, you’d use about 1 tablespoon each of dried.
Frequently Asked Questions About Stuffing Recipes Meal Prep
Got questions about whipping up this amazing stuffing, especially when you’re trying to get ahead of the game? I get it! Meal prep should make things easier, not harder. Here are some common things people ask:
Can I Make This Stuffing Ahead of Time?
Absolutely! That’s the beauty of these Stuffing Recipes Meal Prep That Actually Tastes Great. You can prepare the entire thing, from toasting the bread to sautéing the veggies and mixing everything together, then cover it and pop it in the fridge for up to 24 hours before baking. Just let it sit out for about 30-60 minutes to come closer to room temp before baking.
How Do I Store Leftover Stuffing?
Leftovers are the best, right?! Once your stuffing has cooled down, transfer any extra goodness into an airtight container. It should keep well in the refrigerator for about 3 to 4 days. To reheat, just pop it back into a baking dish (you might want to add a splash of broth or water to prevent it from drying out) and warm it up in a 350°F oven until it’s heated through.
What Kind of Bread is Best for Stuffing?
The best bread for stuffing is usually a day-old or slightly stale loaf. Think crusty varieties like French bread, sourdough, or even a good Italian loaf. The key is that the bread should be dry enough to absorb the liquid without turning into total mush. Toasting it yourself is a fantastic way to ensure it has the right texture, giving you that perfect balance of soft and slightly chewy when it’s baked.
Can I Make This Stuffing Vegetarian?
You bet! Making this stuffing vegetarian is super easy. Just swap out the chicken stock for a flavorful vegetable stock. That’s pretty much it! Everything else stays the same, and you’ll still have all those wonderful herbs and savory veggies shining through. It’s just as delicious and comforting!
Serving Suggestions for Your Delicious Stuffing
This stuffing is pretty much the star of the show, but it also plays beautifully with other dishes! For a truly spectacular holiday spread or even just a cozy family dinner, I love pairing it with:
- A perfectly roasted chicken or turkey (of course!).
- Pecan-crusted pork tenderloin for a touch of sweetness.
- Creamy mashed potatoes and gravy – a classic combo!
- Roasted Brussels sprouts with a balsamic glaze.
For even more ideas to round out your menu, check out these other fantastic side dish recipes!
Nutritional Information
Just a heads-up, the nutritional info for this stuffing is an estimate, because we all know brands and exact measurements can vary a bit! But generally, a serving of this stuffing is around 300-350 calories, with about 15-20g of fat, 5-7g of protein, and 30-40g of carbohydrates. It’s hearty and delicious, perfect for those special occasions!
Stuffing Recipes Meal Prep That Actually Tastes Great
Ingredients
Equipment
Method
- Prepare your bread cubes. You can toast them in the oven at 350 degrees F for about 15 minutes until they resemble croutons, or use stale bread cubes. You can also buy pre-made toasted bread cubes. Cut the cubes to your desired size, small or rustic.
- Preheat your oven to 350 degrees F. Prepare a 9×13 baking dish by brushing it with butter or spraying it with nonstick spray. Place the bread cubes in a large mixing bowl or the baking dish.
- Melt the butter in a large skillet or Dutch oven over medium heat. Add the diced onion, celery, and minced garlic. Season with salt and pepper. Cook until the vegetables soften, about 8 to 10 minutes. Stir in the chopped sage, parsley, and rosemary, and cook for another minute. Add 1 cup of stock and stir.
- Pour the vegetable and stock mixture over the bread cubes and toss to coat evenly.
- In a small bowl, whisk together the remaining 1 ½ cups of stock and the 2 eggs.
- Pour the egg and stock mixture over the bread cubes. Stir and fold until all the bread cubes are thoroughly combined.
- Bake for 45 to 50 minutes, or until the internal temperature reaches 160 degrees F. If the stuffing begins to brown too quickly, you can loosely tent it with foil.
- This stuffing can be made a day ahead and reheated. Remove the pan from the refrigerator 60 minutes before reheating. You can also use this mixture to stuff a bird.
Notes
Tried this recipe?
Let us know how it was!
Certified Family Nutrition Strategist
My path into family nutrition began working with Phoenix Area Family Services, where I saw how traditional nutrition advice often ignored real-world constraints like budget limitations, time crunches, and kids who refuse to eat anything green. That experience sparked my mission to develop meal planning systems that work with family realities, not against them.
Over eight years, I’ve helped hundreds of families reduce grocery spending by 25% while dramatically improving their nutrition. My meal planning frameworks have been adopted by local wellness centers because they actually work for busy parents juggling different ages, preferences, and dietary needs in one household.
As a bilingual first-generation Mexican-American and mother of three, I personally navigate the daily challenge of feeding a family nutritiously while honoring cultural traditions and managing a household budget. My “kid-friendly low-carb” protocols show families how to gradually introduce healthier options without triggering mealtime battles or abandoning beloved family recipes.
My “realistic wellness” philosophy is straightforward: health improvements must work within existing family dynamics and financial realities to be truly sustainable. When I’m not developing meal planning systems, I’m creating portable trail snacks for our weekend family hiking adventures – because healthy eating should fuel the life you want to live.
My personal low-carb journey started after pregnancy as a way to regain energy for active parenting, and that experience continues to inform my professional commitment to making healthy eating feel supportive rather than burdensome for busy families.