
Oh, grilled cheese. Just saying the words brings back so many cozy memories, doesn’t it? For so many of us, it’s that ultimate comfort food, simple, quick, and always satisfying. But what if I told you that this humble sandwich can be so much more? Today, we’re diving deep into How to Make Grilled Cheese Recipes Like a Pro (2025) and showing you how to transform it from a weeknight staple into something truly special. As a Certified Family Nutrition Strategist, and let me tell you, as a mom who’s juggled chaotic weekdays, I’ve learned that this classic can absolutely be a healthy, delicious meal. I remember one particularly crazy afternoon when I decided to get creative with my kids’ grilled cheese, adding all sorts of goodies, and they absolutely raved about it! It’s proof that with a few clever tricks, you can make lunch not just easy, but a little bit gourmet and way more nutritious. Let’s get started!
Why You’ll Love How to Make Grilled Cheese Recipes Like a Pro (2025)
Okay, so why bother with “pro” tips for grilled cheese? Trust me on this, it’s a total game-changer! Here’s what makes this recipe so fantastic:
- It’s Seriously Fast: We’re talking about an 11-minute total time, start to finish! Perfect for those crazy afternoons when you need a good meal *now*.
- Super Easy, Even for Beginners: No fancy techniques here! If you can spread butter and flip bread, you’ve got this. It’s so forgiving.
- Flavor Explosion: Forget bland! The combination of cheeses and perfectly toasted bread brings out amazing taste and texture.
- Incredibly Versatile: This is just the starting point. You can add so many things to make it your own – veggies, different meats, spices… the sky’s the limit!
- Kid (and Adult!) Approved: This isn’t just for picky eaters. It’s a classic for a reason, and when you make it this well, *everyone* will be asking for seconds.
- It’s a Healthier Twist: By using good quality ingredients and adding some smart extras (which we’ll get to!), you can feel really good about serving this.
Essential Ingredients for Your Perfect Grilled Cheese
Alright, let’s talk about what you’ll need to make this grilled cheese truly sing. It’s all about using good stuff and treating it right. Here’s the lineup:
For the Sandwich:
- Sourdough Bread: Two slices, about 1.3–1.5cm thick. I love sourdough because it gets this amazing crusty edge and a lovely tangy flavor.
- Salted Butter: About 30g, or enough to generously slather both sides of the bread. This is what gives us that gorgeous golden-brown and crispy exterior.
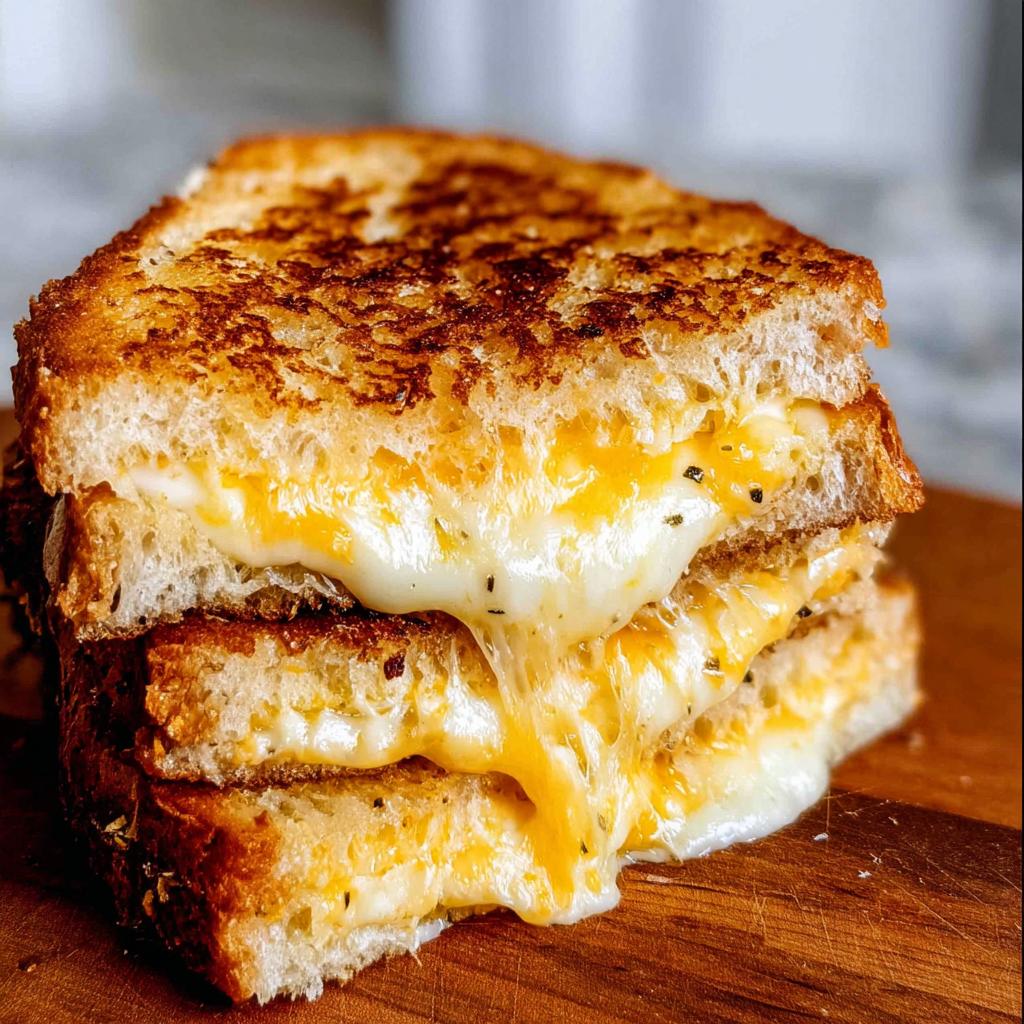
- Vintage Cheddar or Gruyere: Around 1/3 cup, freshly grated. The sharper cheddar or nutty gruyere gives it that grown-up flavor kick!
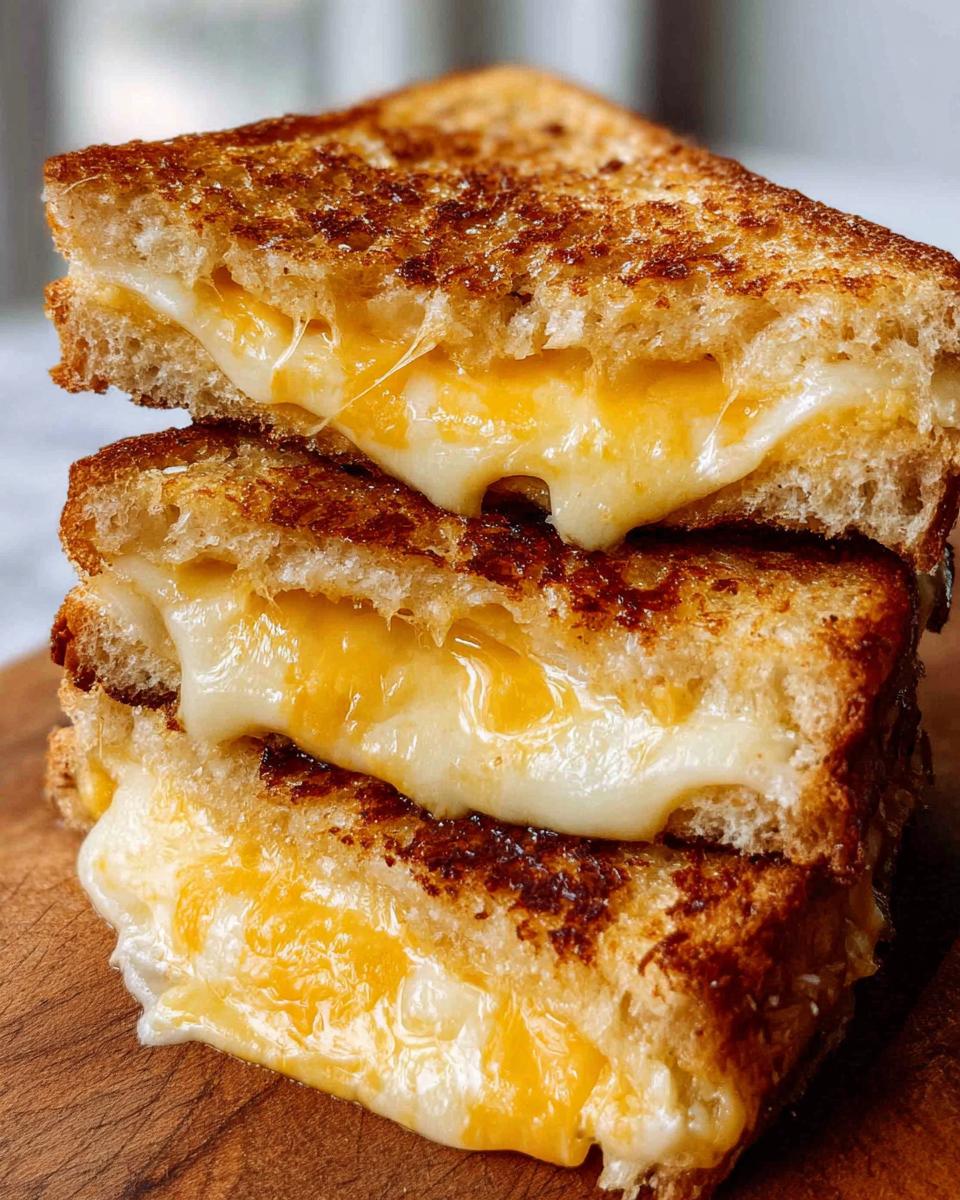
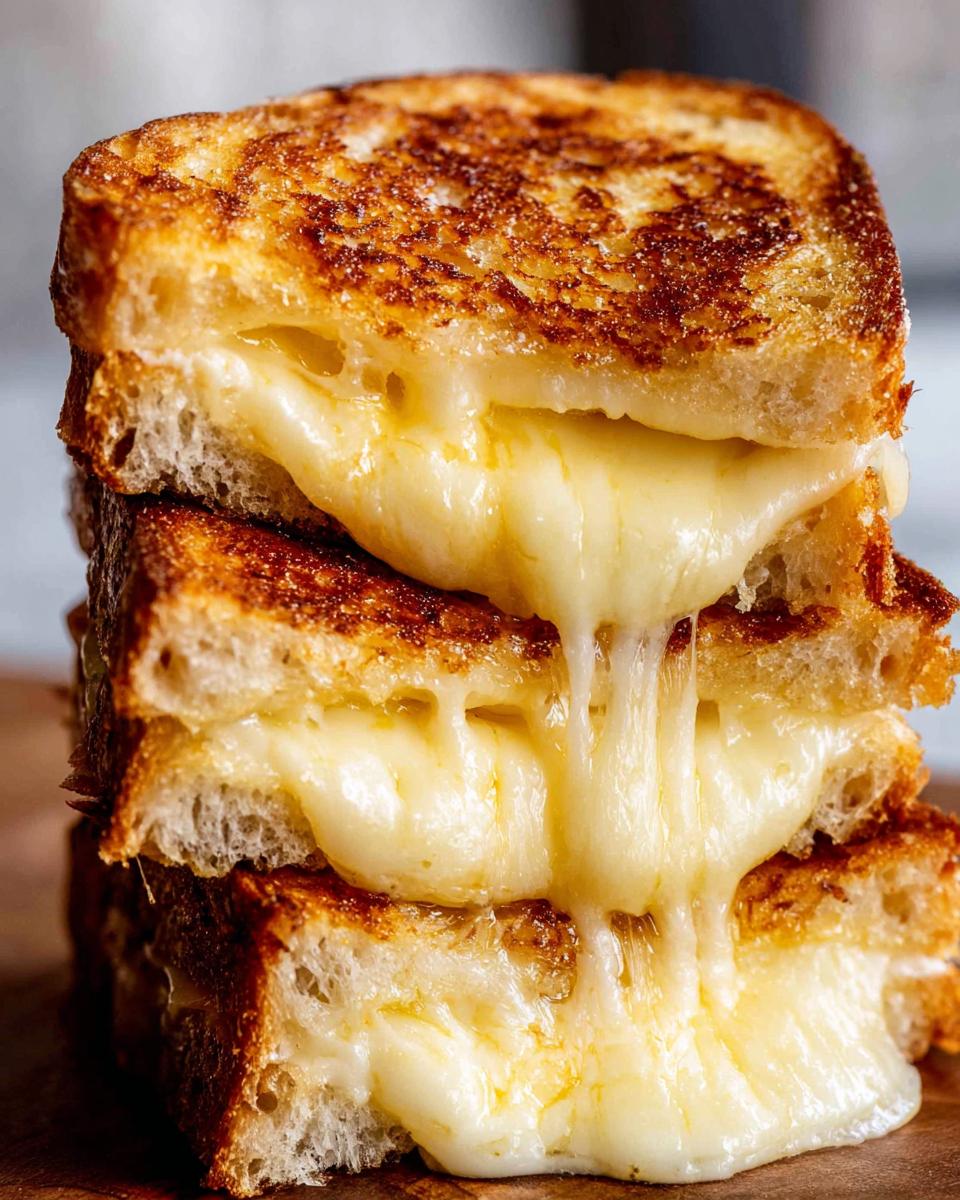
- Mozzarella: About 30g, also freshly grated. Mozzarella is key here for that incredible, stretchy cheese pull we all dream about.
Don’t be shy with the butter and cheese – it’s what makes a grilled cheese truly magnificent!
Mastering the Art: How to Make Grilled Cheese Recipes Like a Pro (2025)
Alright, buckle up buttercups, because we’re about to make the MOST epic grilled cheese you’ve ever had. This is where the magic really happens for How to Make Grilled Cheese Recipes Like a Pro (2025). It’s all about patience and heat control, seriously! For more inspiration on mastering the grilled cheese, you can check out this handy guide too.
Step 1: Buttering the Bread
First things first, grab your bread slices. Use a knife or a small offset spatula to spread that salted butter all over one side of each slice. Don’t be shy! You want a nice, even coating from edge to edge. This butter is our secret weapon for that perfect golden-brown crust.
Step 2: Toasting the First Side
Now, pop your skillet on the stove over medium-low heat. Yes, medium-low! We’re not trying to rush this. Once it’s warm, place both buttered bread slices into the pan, butter-side down. Let them get toasty for about a minute. You want a nice light crust forming, not dark and burnt!
Step 3: Adding the Cheese
Time for the gooey center! Flip one of those bread slices over so the untoasted side is now down in the pan. Pile on your grated cheddar or gruyere first, then the mozzarella. Piling them on this warmed slice helps them start melting before they even hit the heat.
Step 4: Cooking the Second Side
Now, place the second slice of bread on top, butter-side up. Let the sandwich cook for about 3 minutes. See how it’s getting golden? Give it a gentle press with your spatula every now and then. If you notice it browning too fast, don’t panic! Just slide the pan off the heat for a second and lower the burner temperature. We’re aiming for even golden goodness.
Step 5: Finishing and Serving
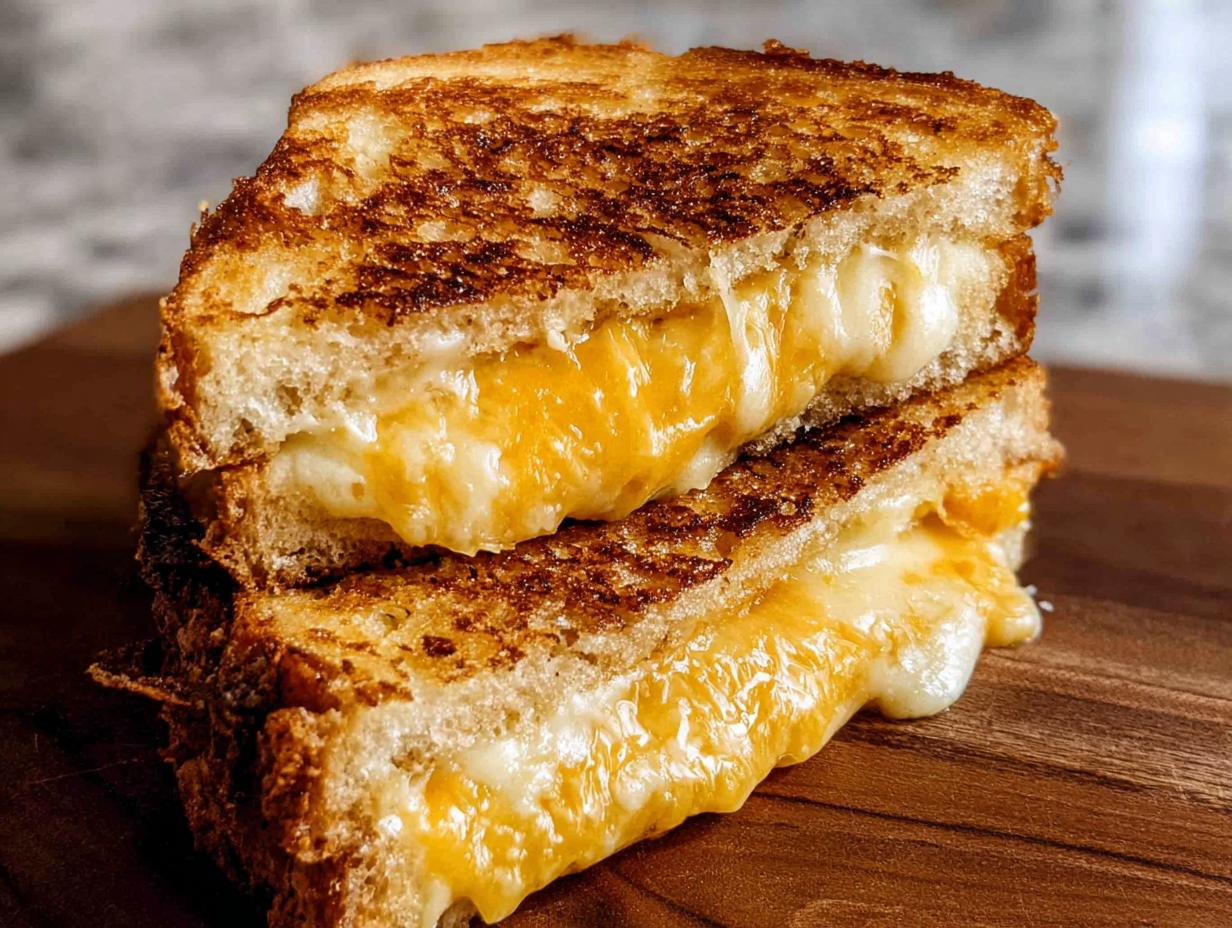
Carefully flip the whole sandwich over and let it cook for another 3 minutes, until the other side is just as golden and crispy, and that cheese is gloriously melted and oozing. Slide it onto your cutting board, cut it in half in one smooth motion, admire that gorgeous cheese pull, and dive in!
Expert Tips for the Ultimate Grilled Cheese
Okay, so you’ve got the basics down, but we can totally level up this grilled cheese game! Seriously, a few little tricks can take it from good to ridiculously amazing. Here are my top secrets:
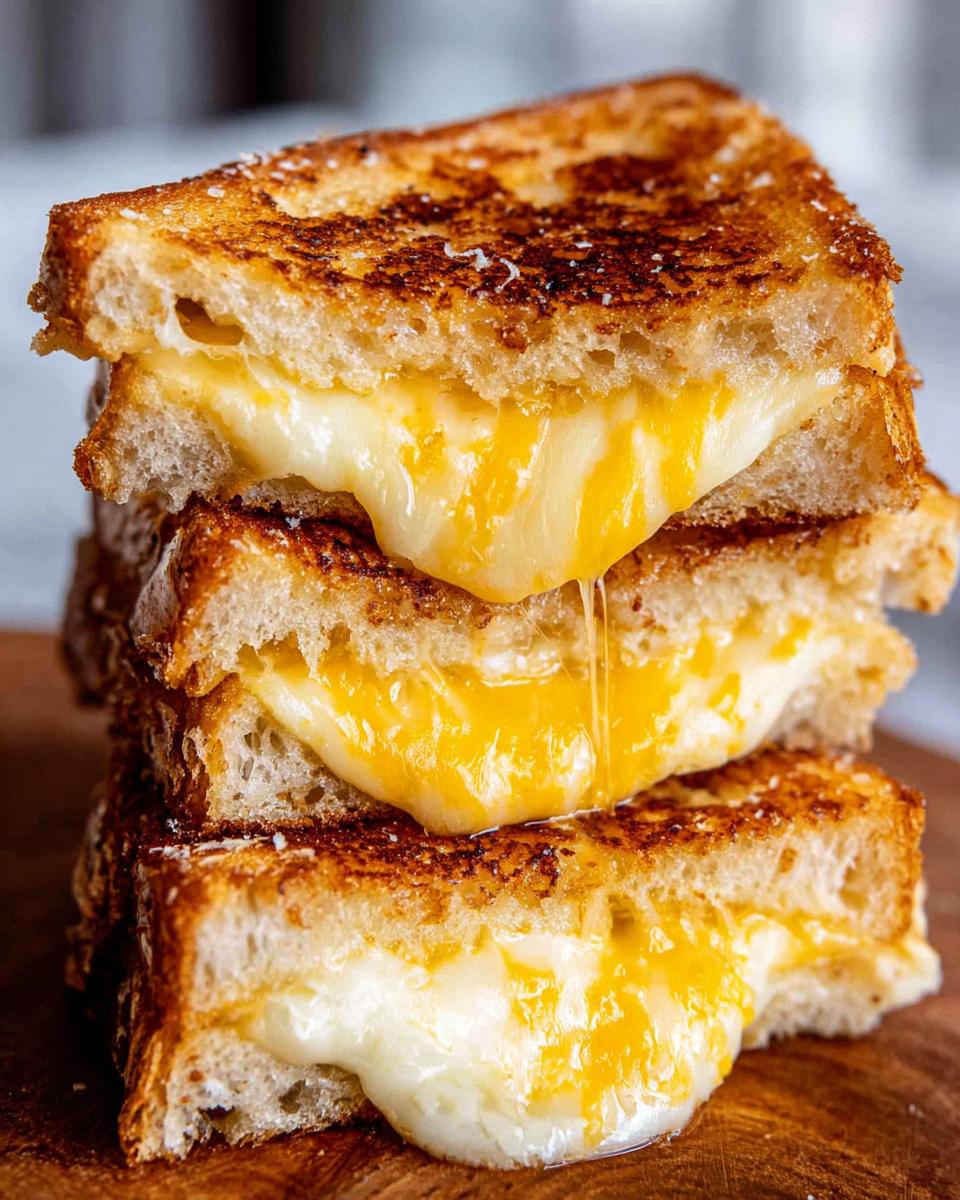
Cheese is King (and Queen!): Don’t just stick to one cheese. Mixing is where it’s at! I love a good sharp cheddar for flavor and then adding something super melty like mozzarella or even a bit of Monterey Jack. It gives you that best of both worlds: amazing taste *and* that insane cheese pull. For a fancier touch, try a little Gruyere – it’s nutty and just melts like a dream. Experimentation is key here, just like when I’m whipping up something new like this amazing banana bread when I have extra ripe bananas!
Butter, Butter, Everywhere: And I mean *everywhere* on the outside of the bread. Don’t just butter the pan; butter the bread itself. It ensures this beautiful, even golden-brown crust that’s just pure perfection. Some people even mix a tiny bit of mayonnaise into their butter for an extra crispy, flavorful exterior. I haven’t tried it myself yet, but it’s on my list!
Low and Slow Wins the Race: I cannot stress this enough – medium-low heat is your friend. Patience is crucial here! If your pan is too hot, the bread will burn before the cheese melts. We want that gooey, decadent, melted cheese center, and that takes a little time. Keep an eye on it, give it a gentle press with your spatula now and then to help it all meld together, and you’ll be rewarded.
Ingredient Notes and Delicious Substitutions
Let’s chat ingredients for a sec! The bread and cheese you pick really make a difference. For the bread, I almost always go for sourdough because that slight tang is just *chef’s kiss* with the cheese. But honestly, a good hearty white or even a whole wheat will work just fine. Just make sure it’s sliced a decent thickness – too thin and it just falls apart!
Now, the cheese! The beauty of a grilled cheese is you can go wild. I love that mix of sharp cheddar (or Gruyere, oh my word, Gruyere is amazing!) for the flavor punch, and then mozzarella for that unbelievable stretch. If you’re feeling adventurous, try adding some provolone for a smoky note, or even a little bit of gouda for a nutty sweetness. For dairy-free friends, there are some fantastic vegan cheeses out there now that melt surprisingly well, you just might need to play around with which brands melt best. And always, always try to use freshly grated cheese; it melts SO much smoother than the pre-shredded stuff which can sometimes be a bit chalky. And hey, if you’re looking for more awesome dinner ideas, you should totally check out these chicken thigh recipes – they’re lifesavers on busy nights!
Serving Suggestions: What Pairs Well with Grilled Cheese
Okay, so you’ve mastered the perfect grilled cheese – yum! But what do you serve with it to make it a full-on meal? I’ve got a few ideas that just sing alongside that gooey, golden goodness. For that classic cozy vibe, a warm bowl of soup is unbeatable. My creamy broccoli cheddar soup is an absolute dream with grilled cheese – the flavors just hug each other! If you’re feeling something a little lighter, a crisp side salad can be just the ticket. And for a fun, casual spin, try pairing it with these amazing sheet pan nachos. It’s a little unexpected, but oh-so-delicious!
Frequently Asked Questions About How to Make Grilled Cheese Recipes Like a Pro (2025)
Got questions? I’ve got answers! Grilled cheese is so versatile, and I get asked about it all the time. Let’s clear up a few things:
Can I add an egg to my grilled cheese?
Oh, absolutely! An egg can totally elevate your grilled cheese. Some people like to fry an egg separately and slide it into the sandwich right before you close it up. Others love to crack an egg into the skillet *after* you flip the sandwich the first time, and then lay the sandwich back on top of the still-cooking egg. It gets all yummy and runny! It’s a great way to boost that protein factor, especially if you’re looking for something hearty for breakfast.
Is grilled cheese a good breakfast option?
You bet it is! Seriously, why not? It’s fast, it’s cheesy, and if you add some ingredients like spinach or tomatoes, it can be a pretty well-rounded meal. For a super protein-packed breakfast that will keep you full, try adding some scrambled eggs right into the sandwich along with your cheese. Or, you could serve it alongside some scrambled eggs for a breakfast feast. If you’re looking for more protein-packed breakfast ideas, you should totally peek at my protein-packed breakfast burritos – they’re amazing for meal prep!
How can I make my grilled cheese more protein-rich?
That’s a fantastic question, especially if you’re looking for a more filling meal! Besides adding that egg I mentioned, you can also sneak in some lean protein. Thinly sliced ham, turkey, or even some cooked shredded chicken can be layered in with your cheese. Some people even add cooked bacon bits! And don’t forget about the cheese itself – a good amount of cheddar or Gruyere already packs a decent protein punch. It makes the sandwich so much more substantial and satisfying.
Nutritional Information
Here’s a look at the estimated nutritional info for this delicious grilled cheese recipe. Keep in mind these numbers can change a bit depending on the exact brand of ingredients you use!
Per serving (1 sandwich):
- Calories: 807
- Protein: 33g
- Carbohydrates: 67g
- Fat: 46g
How to Make Grilled Cheese Recipes Like a Pro
Ingredients
Equipment
Method
- Slather both sides of each piece of bread with the butter.
- Heat a heavy-based skillet or frying pan over medium-low heat. Place both pieces of bread in the skillet and lightly toast for 1 minute to warm it through and create a light crust.
- Flip one slice of bread, then pile on the cheddar cheese followed by the mozzarella. Place the other slice of bread on top, with the hot toasted side in contact with the cheese.
- Cook for 3 minutes or until the bread is evenly golden and crisp, pressing down lightly with a spatula every now and then. If it’s browning too quickly, remove from the stove to cool down a bit and lower heat.
- Turn the sandwich over, and cook the other side for 3 minutes or until the bread is golden and the cheese is melted.
- Transfer to a cutting board. Cut in half in one swift motion. Admire cheese pull. Devour.
Nutrition
Notes
Tried this recipe?
Let us know how it was!
Certified Family Nutrition Strategist
My path into family nutrition began working with Phoenix Area Family Services, where I saw how traditional nutrition advice often ignored real-world constraints like budget limitations, time crunches, and kids who refuse to eat anything green. That experience sparked my mission to develop meal planning systems that work with family realities, not against them.
Over eight years, I’ve helped hundreds of families reduce grocery spending by 25% while dramatically improving their nutrition. My meal planning frameworks have been adopted by local wellness centers because they actually work for busy parents juggling different ages, preferences, and dietary needs in one household.
As a bilingual first-generation Mexican-American and mother of three, I personally navigate the daily challenge of feeding a family nutritiously while honoring cultural traditions and managing a household budget. My “kid-friendly low-carb” protocols show families how to gradually introduce healthier options without triggering mealtime battles or abandoning beloved family recipes.
My “realistic wellness” philosophy is straightforward: health improvements must work within existing family dynamics and financial realities to be truly sustainable. When I’m not developing meal planning systems, I’m creating portable trail snacks for our weekend family hiking adventures – because healthy eating should fuel the life you want to live.
My personal low-carb journey started after pregnancy as a way to regain energy for active parenting, and that experience continues to inform my professional commitment to making healthy eating feel supportive rather than burdensome for busy families.