
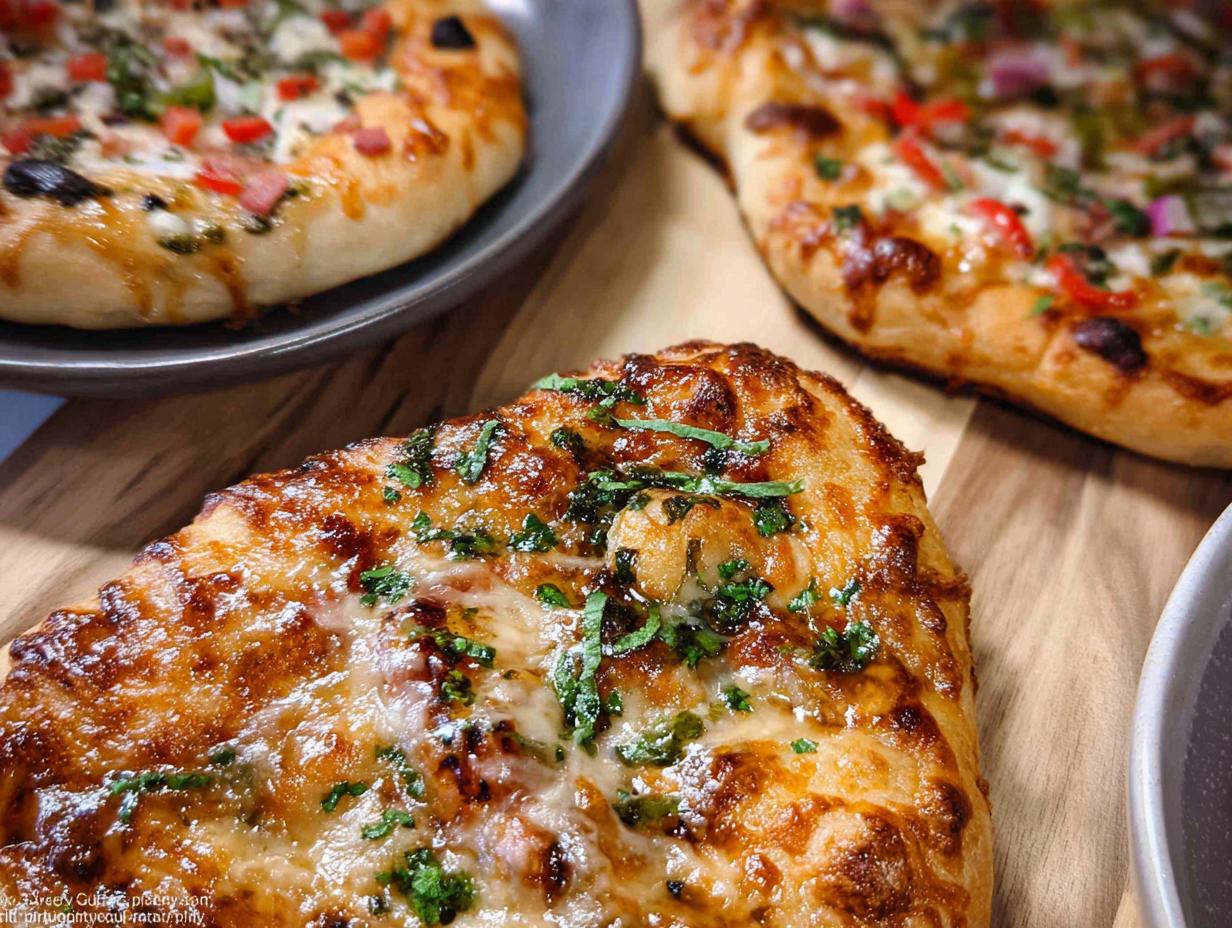
There’s something truly magical about a Friday night pizza tradition, isn’t there? I still remember the excitement in my house when we’d turn the kitchen into our very own mini pizzeria. With three kids ready to sprinkle cheese and pick their own toppings, Pizza Night quickly became a cherished family ritual. One night, we even attempted our first homemade dough together – flour was flying everywhere, and we couldn’t stop laughing at the mess! The pizzas might have been a little lopsided, but they were packed with love and creativity. That night really sparked my passion for finding simple, kid-friendly recipes that actually fit into our busy family life and satisfied everyone’s tastes. Now, as a Certified Family Nutrition Strategist, I’m thrilled to share that same joy with you through The Ultimate Pizza Night Recipes Guide for Beginners. It’s all about making fun, delicious pizza nights super easy and totally doable, even if you’ve never made pizza before!
Why You’ll Love The Ultimate Pizza Night Recipes Guide for Beginners
Honestly, this guide is a game-changer for anyone looking to spice up their weeknights! Here’s why it’s going to be your new go-to:
- Super Beginner-Friendly: We break everything down so simply, you’ll feel like a pizza pro in no time. No fancy kitchen skills needed, I promise!
- Family Fun Guaranteed: It’s all about getting everyone involved. Kids love choosing toppings, and making memories in the kitchen is the best part.
- Endless Variety: Tired of the same old pepperoni? We’ve got tons of sauce, cheese, and topping ideas to try. You can mix and match to your heart’s content!
- Budget-Friendly: Making pizza at home is way cheaper than ordering out, and you get to control exactly what goes on it.
- Perfect for All Tastes: Whether you’re a picky eater or an adventurous foodie, there’s something for everyone.
Gathering Your Pizza Night Ingredients
Okay, so before we dive into the fun of actually making the pizzas, let’s talk about what you’ll need. Think of this as gathering your art supplies for edible masterpieces! Having everything prepped and ready makes the whole pizza-making process so much smoother, especially with little chefs around.
For The Perfect Pizza Crust
First up, the foundation! You’ll need about 1 pound of pizza dough for every two pizzas. A little olive oil and some kosher salt are also essential. Oh, and grab some semolina flour (or cornmeal if you can’t find semolina) – it’s a lifesaver for helping your pizza slide around!
Delicious Sauce Ideas for Your Pizza
Now for the flavor base! For each pizza, think about 1/4 cup of sauce. The classic is definitely pizza sauce, but wow, there are so many fun options! You can go simple with just minced garlic and olive oil, or get fancy with pesto, creamy alfredo, or even a bit of a kick with buffalo sauce (Frank’s RedHot is my go-to here!). And don’t forget about cheese sauce; it’s a hit with the kids!
Cheese Please: Topping Your Pizza
You can’t have pizza without cheese, right? For each pizza, I usually figure about 1 cup of shredded mozzarella. But don’t stop there! Fresh mozzarella slices are amazing, and if you’re feeling bold, a little blue cheese or dollops of ricotta can add some serious yum factor.
Meat Topping Options
Time for the meaty goodness! Pepperoni is always a winner, but turkey pepperoni is a great lighter option. Crumbled Italian sausage (make sure to brown it first!), ham or Canadian bacon, and crispy, crumbled bacon are fantastic choices. Diced cooked chicken, sliced chicken apple sausage (Aidell’s makes a good one!), sliced cooked meatballs, or even some steak work wonderfully too!
Fresh Ingredient Topping Ideas
Let’s load up on the veggies and herbs! Think colorful sliced bell peppers (red or green!), julienned onions (red or white), fresh sliced mushrooms, and juicy Roma tomatoes. You can also add healthy greens like spinach or kale (just remove those tough stems!). Thinly sliced fennel bulb adds a lovely subtle anise flavor, and yes, even pineapple can be a fun addition – don’t let anyone tell you otherwise! And don’t forget fresh basil for that perfect finishing touch.
Pantry Staples: Canned and Jarred Toppings
Don’t forget those handy jarred and canned goodies! Black olives, green olives (the ones without the pimentos, please!), or briny kalamata olives are always a hit. Drained and patted dry roasted red pepper strips add a sweet smokiness, and sliced jalapeño peppers bring a nice bit of heat if anyone in the family likes it spicy!
Step-by-Step: Making Pizza Night Fun
Alright, let’s get this pizza party started! It’s really not as tricky as it sounds, and honestly, the fun is in the making. We’re going to do a little pre-cooking of the crust first – this totally makes a difference and you can even do it a day ahead if you want to save time when everyone’s hungry.
Preparing Your Pizza Dough
First off, let’s get those crusts ready. You’ll want to parcook them a bit. If you’re using a pizza stone, pop it into your oven or on the grill and preheat everything to 450℉ (or high heat for the grill). Take your pound of dough, divide it into two balls, and then either roll or press them out into about 10-inch circles. Let them sit for about 5 minutes – this helps them relax so they don’t shrink back when you stretch them again. Now, here’s a trick from my kitchen: if you’re baking on a sheet pan, dust it with semolina flour, pop the crust on, and bake for 2-3 minutes until it’s not all raw and doughy looking. If you’re using a pizza stone, dust your pizza peel with that semolina flour (so it slides!), put the crust on, give it a little shake to make sure it moves freely, and then slide it onto the hot stone. Close the grill or oven door for just a minute or two until the crust looks a bit set. Once they’re parcooked, stack them with parchment paper in between and pop them in the fridge. Easy peasy!
Getting Your Toppings Ready
This is where the real fun begins, and it’s the perfect spot to get the kids involved! While the crusts are chilling, get all your toppings prepped. Cook any raw meats you’re using, slice up those veggies, and drain anything that’s from a jar. I love using little bowls or even those handy snackle boxes to keep everything organized and accessible. It makes building the pizzas so much faster and way less chaotic when everyone’s ready to go!
Setting Up Your Pizza Assembly Line
Before you even think about firing up the oven again, set up an “assembly line” on your counter. You’ll want your plates, those parcooked crusts, a little bowl of olive oil with a pastry brush (this is for lightly brushing the edges of the crust – it makes them golden and delicious!), your sauces, your cheeses, and then all those yummy toppings. It’s just like a craft station, but way tastier! This way, everyone can grab what they need without rummaging around.
Baking Your Perfect Pizza
Okay, final stretch! Preheat that pizza stone or baking sheet again. Start by assembling any pizzas for the kids or pizzas that are meant to be shared. Then, let everyone else build their own masterpiece. Carefully transfer your creation onto the hot stone or baking sheet – watch that steam! Bake it for about 7-10 minutes on the grill or 12-14 minutes in the oven. You’re looking for that bubbly, melted cheese and a beautifully golden-brown crust. Time to slice and eat!
Tips for a Successful Pizza Night
Making pizza at home is seriously fun, but sometimes things can get a little… *chaotic*, especially with the kids! Over the years, I’ve picked up a few tricks that make pizza night go from “wow, we made pizza!” to “wow, that was actually SO easy and delicious!” My biggest tip? Don’t be afraid of the dough! It might seem intimidating, but a little olive oil and patience go a long way. I always tell my kids to think of it like play-doh – you can shape it however you like. Also, preheating everything super hot is key for that crispy crust we all love. And definitely get everyone involved in choosing toppings; it makes them feel invested, and honestly, their weird combinations are sometimes the best! Remember those busy weeknights? Having a plan, like setting up that assembly line, makes all the difference. You can even prep most of the toppings and sauce the day before, which I learned the hard way after one particularly frantic pizza-making session! Check out my tips for managing hectic weeknights – they apply here too!
Frequently Asked Questions About Pizza Night
Alright, let’s tackle some common questions that pop up when you’re planning your ultimate family pizza night! It’s all about making things as fun and stress-free as possible.
Can I make the pizza dough ahead of time?
You bet! Making pizza dough ahead of time is a lifesaver. You can mix it up a day or two before and keep it covered in the fridge. The cold helps it develop even more flavor. Just let it sit on the counter for about 30 minutes to an hour before you plan to shape it for your pizza night.
What are some fun topping combinations for kids?
Oh, kids have the best imaginations! For a super fun family pizza night, try a “build-your-own” station. Some kid-friendly faves include classic pepperoni, ham and pineapple (Hawaiian!), or even smiley faces made from olives and bell peppers! Making it personalized is half the fun!
How do I prevent my pizza from getting soggy?
Soggy pizza is a bummer, right? A few tricks help! First, make sure you parcook your crust really well, like we talked about. Also, don’t overload on the sauce – a little goes a long way! And patting down any wet toppings (like mushrooms or pineapple) before they go on can make a big difference. Higher oven heat also helps crisp things up!
Serving Suggestions for Your Pizza Feast
While the pizza itself is the star of our pizza night show, I love to have a few simple sides that make the meal feel extra special and complete. A big, fresh salad is always a winner. It cuts through the richness of the pizza perfectly! I’m a huge fan of easy one-pan salads because let’s be real, nobody wants a sink full of dishes after a fun pizza night. On cooler evenings, a warm bowl of soup is also fantastic. My family adores a creamy broccoli cheddar soup – it’s so comforting! And for drinks? Simple is best. Sparkling water with lemon or lime, or even just some good old iced tea really hits the spot.
Storing and Reheating Leftover Pizza
So, you’ve got some leftover pizza? Lucky you! To keep it tasting its best, wrap those slices tightly in plastic wrap or foil, or pop them into an airtight container. For that glorious crisp crust, I find reheating in a skillet over medium heat for a few minutes works magic – it mimics that fresh-from-the-oven texture so well! You can also use an oven or toaster oven at around 350°F. Just avoid the microwave if you want to keep that crunch!
Estimated Nutritional Information
Because everyone customizes their pizza with different sauces, cheeses, and toppings, it’s tough to give exact numbers! But as a general idea, a typical slice from this guide, made with standard ingredients, might come in around 300-400 calories, with about 15-25g of fat, 15-20g of protein, and 25-35g of carbohydrates. These are just estimates, of course – your delicious creation could be more or less!

The Ultimate Pizza Night Recipes Guide for Beginners
Ingredients
Equipment
Method
- Shape and parcook the pizza crusts. You can do this up to one day in advance, and before guests arrive.
- If using a pizza stone, place it on your grill or in your oven. Preheat the grill on high or the oven to 450℉.
- Cut each pound of dough into two equal pieces and shape each into a ball. Roll or press each ball into a circle using a rolling pin or your hands. Let the dough rest for 5 minutes and roll again. You can also stretch the dough using your fists until you have 10″ rounds that do not shrink back.
- If baking on a sheet pan or pizza pan: Sprinkle the pan with semolina flour and place the crust on top. Bake for 2-3 minutes, until the exterior of the crust no longer looks raw and doughy.
- If baking on a pizza stone: Sprinkle a pizza peel generously with semolina flour and place the crust on top. Shake the peel to ensure the crust slides smoothly. Add more semolina flour underneath if any parts stick.
- Slide each crust onto your pizza stone. Close the grill lid or oven door and cook for 1-2 minutes, until the exterior of the crust no longer feels doughy.
- Stack the parcooked crusts on a plate with parchment paper in between each layer. Cover with plastic wrap and store in the refrigerator.
- Prepare the toppings. Pick your family’s and guests’ favorite toppings. Cook any raw meats in advance, slice or dice fresh toppings, and drain jarred toppings. Store them in baggies, small bowls, or in snackle boxes in the refrigerator.
- Set up an assembly line before pizza time. Arrange ingredients in the order they will be needed: plates, parcooked crusts, olive oil and salt (with a pastry brush), sauces, cheeses, and toppings. Remind everyone to brush the edges of their crust with olive oil and sprinkle with salt before adding toppings.
- Preheat the pizza stone on the grill on high heat or your oven to 450 degrees again.
- Start by assembling kids’ pizzas and any shareable pizzas. Then, let other diners assemble their own.
- Transfer each pizza onto the pizza stone (or onto a baking sheet for the oven). Close the grill cover or oven door and bake for 7-10 minutes on the grill or 12-14 minutes in the oven. The cheese should be melted and the crust golden brown.
- Cut pizzas into slices and enjoy!
Notes
Tried this recipe?
Let us know how it was!
Certified Family Nutrition Strategist
My path into family nutrition began working with Phoenix Area Family Services, where I saw how traditional nutrition advice often ignored real-world constraints like budget limitations, time crunches, and kids who refuse to eat anything green. That experience sparked my mission to develop meal planning systems that work with family realities, not against them.
Over eight years, I’ve helped hundreds of families reduce grocery spending by 25% while dramatically improving their nutrition. My meal planning frameworks have been adopted by local wellness centers because they actually work for busy parents juggling different ages, preferences, and dietary needs in one household.
As a bilingual first-generation Mexican-American and mother of three, I personally navigate the daily challenge of feeding a family nutritiously while honoring cultural traditions and managing a household budget. My “kid-friendly low-carb” protocols show families how to gradually introduce healthier options without triggering mealtime battles or abandoning beloved family recipes.
My “realistic wellness” philosophy is straightforward: health improvements must work within existing family dynamics and financial realities to be truly sustainable. When I’m not developing meal planning systems, I’m creating portable trail snacks for our weekend family hiking adventures – because healthy eating should fuel the life you want to live.
My personal low-carb journey started after pregnancy as a way to regain energy for active parenting, and that experience continues to inform my professional commitment to making healthy eating feel supportive rather than burdensome for busy families.