
Oh, Thanksgiving! It’s that magical time of year when the air practically hums with the promise of cozy gatherings and, of course, the most incredible desserts. I’ve always believed that the grand finale of any Thanksgiving feast should be something truly special, something that wraps everyone up in warmth and joy. That’s exactly why I’ve put together this Ultimate Thanksgiving Desserts Guide: Ingredients, Temps, Tips. My goal here is to take all those intimidating dessert recipes and break them down so *you*, my fellow home cook, can create show-stoppers without breaking a sweat – think of it as a little slice of culinary sunshine. I still remember my own Thanksgiving baking jitters, trying to live up to my grandmother’s legendary pies. It wasn’t until I learned to combine heart with a few key techniques that my desserts truly started to shine. As a Master of Culinary Visual Arts, with years spent in buzzing restaurant kitchens, I’m all about making sophisticated cooking feel totally doable.
Why You’ll Love This Ultimate Thanksgiving Desserts Guide
Seriously, this guide is a game-changer for your holiday baking! You’ll get:
- Recipes that are surprisingly quick and totally doable, even if you’re swamped.
- Foolproof tips that take the guesswork out of tricky techniques.
- Delicious results that will have everyone asking for seconds!
- The perfect desserts to make your holiday gatherings extra special.
Essential Ingredients for Your Ultimate Thanksgiving Desserts Guide
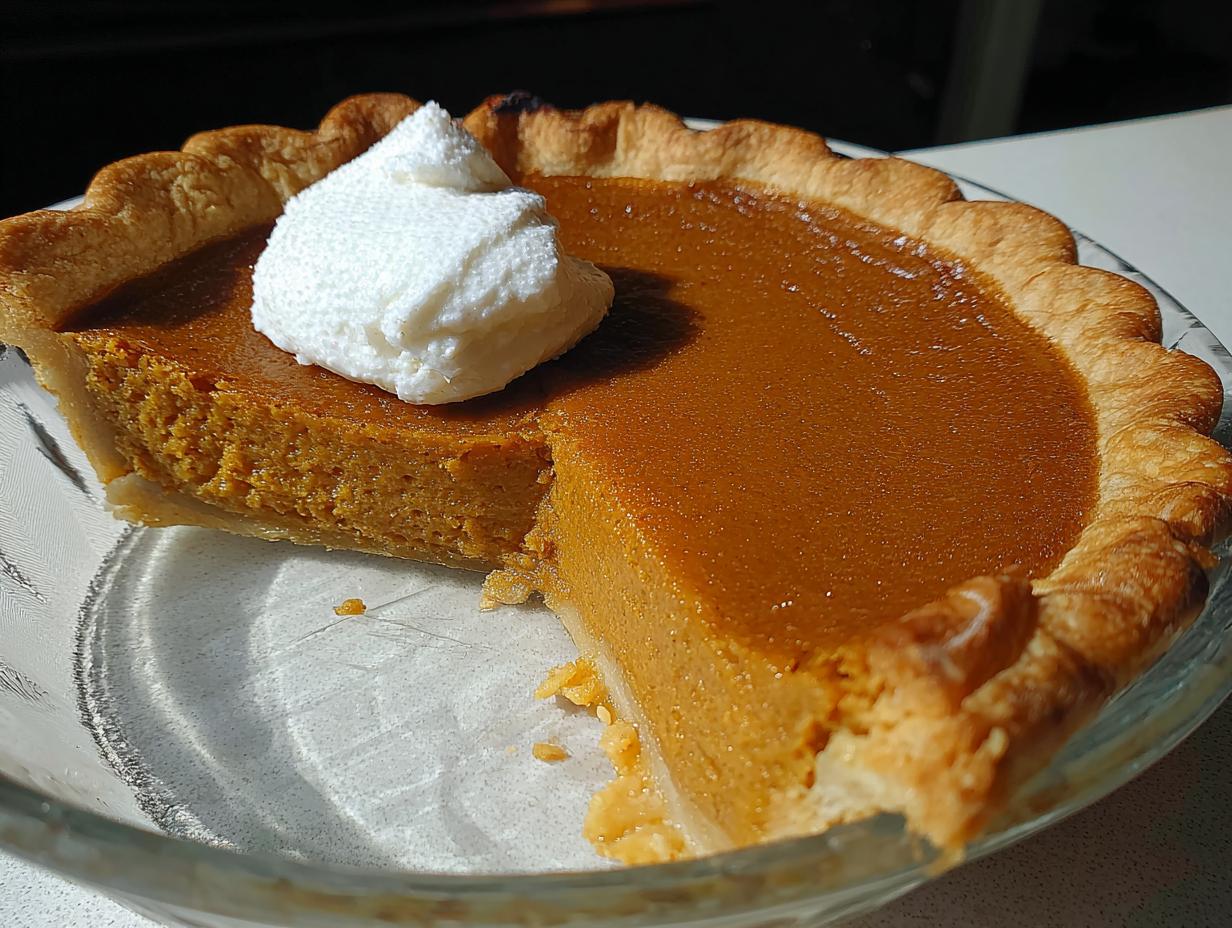
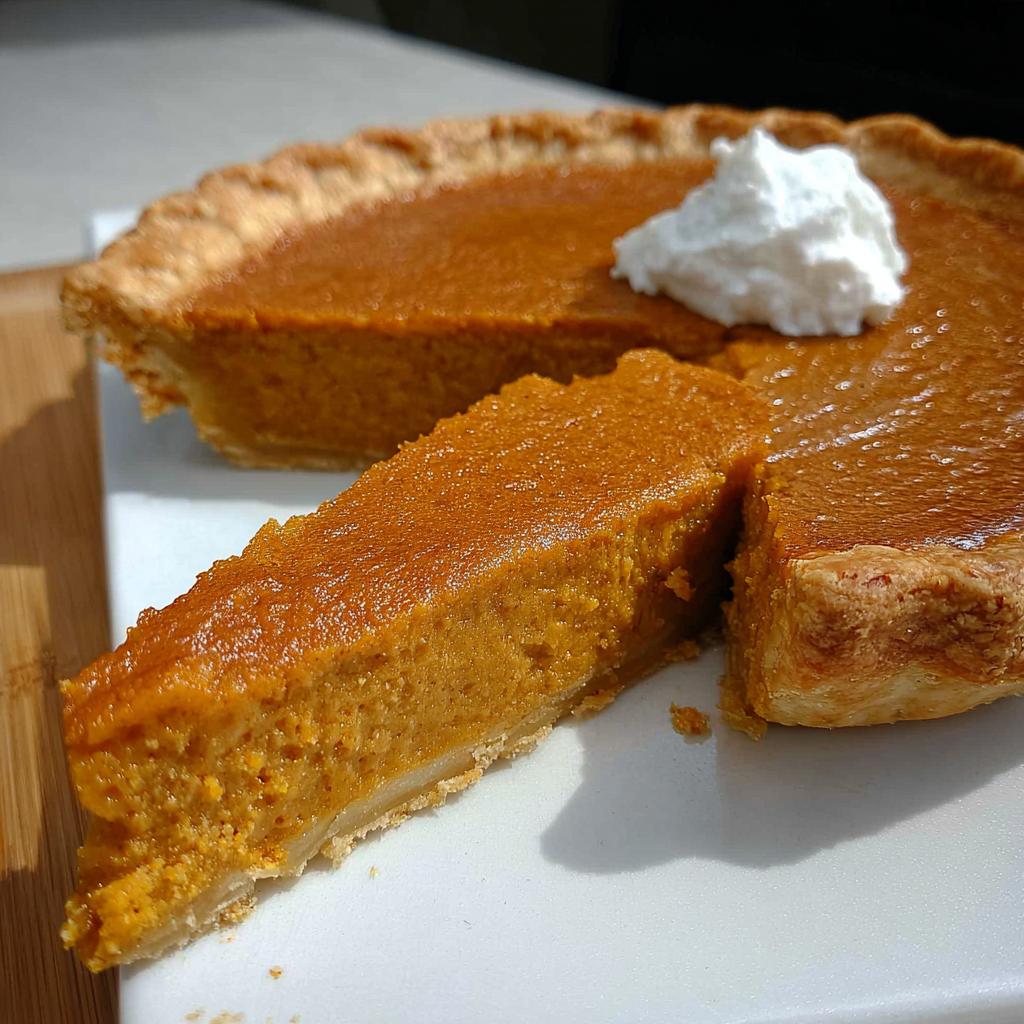
Okay, friends, let’s talk about what makes a pumpkin pie truly sing. It’s not just about throwing stuff together; it’s about using the right ingredients in the right way. I’ve poured over countless recipe cards – including my own family’s secrets – to bring you the absolute essentials for this classic. Trust me, these aren’t just random items; they’re the building blocks for that perfect, warm, spiced goodness that screams Thanksgiving. We’re going for pure comfort and flavor here, folks!
For the Pie
For the heart of our pie, here’s what you’ll need to gather:
- 1 whole sugar pumpkin (these are the small, sweet ones, not the giant carving kind!)
- 1 recipe’s worth of pastry for a 9-inch single crust pie (homemade or a good quality store-bought is fine!)
- 2 large eggs
- 1 cup packed light brown sugar (this is key for that deep, caramel flavor!)
- 1 tablespoon all-purpose flour
- ½ teaspoon salt
- 2 ½ teaspoons pumpkin pie spice (or make your own blend – see tips below!)
- 1 12 fluid ounce can evaporated milk (don’t use condensed milk, it’s a whole different story!)
Mastering the Temps: Baking Your Pumpkin Pie
Alright, buckle up, because this is where the real magic happens! Turning those simple ingredients into a glorious pumpkin pie is all about timing and temperature. Don’t worry, I’ll walk you through every single step, like we’re standing right here in my kitchen. When we’re done, you’ll have a pie that’s not just good, but absolutely unforgettable. For more inspiration, check out this classic recipe.

Preparing the Pumpkin Base
First things first, let’s get that beautiful pumpkin ready. Cut your sugar pumpkin in half and scoop out all those stringy seeds – save ’em if you want to toast them later! Place the cut sides down on a baking sheet that you’ve lined with a little oiled aluminum foil. Pop it into a 325°F (165°C) oven. We want it to get nice and tender, so aim for about 30 to 40 minutes. You’ll know it’s ready when it’s easily poked with a fork. Let it cool down *just* enough so you can handle it, then scrape all that lovely flesh out of the peel. A quick spin in your blender makes a super smooth puree – way better than trying to mash it all. Now, crank your oven up to 450°F (230°C) because we’re about to bake!
Mixing the Pie Filling
This part is a breeze! Grab a big bowl and give your eggs a gentle little beat. Then, stir in your packed light brown sugar, flour, salt, and that gorgeous pumpkin puree you just made. Make sure you stir well after each addition – we’re building a silky-smooth filling here! Finally, pour in the evaporated milk and give it one last good stir. That’s it! Your filling is ready to go.
Assembling and Baking Your Pumpkin Pie
Carefully pour that luscious filling into your unbaked pie crust. Now, here’s a little trick to keep your crust edges from getting too dark: wrap a strip of aluminum foil around the edge. Pop it into that hot 450°F (230°C) oven for just 10 minutes. Then, here’s the important part: reduce the oven temperature *down* to 350°F (175°C). Let it bake for another 40 to 50 minutes. You want a toothpick inserted near the center to come out clean. About 20 minutes before it’s done, you can carefully remove that foil strip so the crust gets a nice, golden-brown color.
The Importance of Overnight Chilling
Okay, one last crucial step! Once your pie is out of the oven and has cooled down, please, please, *please* refrigerate it overnight. This isn’t just a suggestion; it’s key to the Ultimate Thanksgiving Desserts Guide success. Chilling allows all those wonderful flavors to meld together and the texture to set perfectly. Trust me, it’s worth the wait!
Expert Tips for Your Ultimate Thanksgiving Desserts Guide
Alright, let’s dive into some of those little secrets that make all the difference for your Thanksgiving pies. You want that “wow” factor, right? It’s all about the details!
Choosing the Right Pumpkin
Okay, so this is a big one! Please, please don’t grab those giant carving pumpkins. They’re watery and stringy and just don’t have the flavor. You wanna look for sugar pumpkins, sometimes called pie pumpkins. They’re smaller, denser, and way sweeter. They make a huge difference in the taste and texture, trust me!
Preventing a Soggy Bottom Crust
Ugh, nobody likes a soggy pie bottom, right? It’s such a bummer! A little trick my grandma taught me is to blind bake the crust for about 10-15 minutes before you even add the filling. Just poke it with a fork, line it with parchment paper and pie weights (or dried beans!), and give it a head start. It makes a world of difference!
Achieving the Perfect Spice Blend
Store-bought pumpkin pie spice is great, but sometimes it can be a little much or not enough of something. I like to mix my own! It’s usually cinnamon, ginger, nutmeg, and a pinch of cloves. You can totally adjust it to your liking. If you’re using store-bought, just give it a sniff and see if it smells right to you. A little extra cinnamon never hurt anyone!
Frequently Asked Questions for Your Ultimate Thanksgiving Desserts Guide
Got questions about making the best pumpkin pie for your Thanksgiving spread? I totally get it! It’s one of those classic holiday desserts that everyone loves, but sometimes you just need a little reassurance. Lucky for you, I’ve got some answers to the most common things people ask.
Can I use canned pumpkin puree instead of fresh for this Ultimate Thanksgiving Desserts Guide recipe?
Oh, absolutely! While I adore using fresh sugar pumpkins for that custom flavor, canned pumpkin puree is a fantastic shortcut. Just make sure you grab 100% pure pumpkin puree, NOT pumpkin pie filling, which already has spices and sugar. The texture might be a *tad* smoother, but the taste is usually spot-on! It’s a total lifesaver when you’re in a pinch.
How do I know when my pumpkin pie is perfectly baked?
This is such a good question! You want that pie to be set but not overdone. A little wobble in the very center when you gently nudge the pan is actually good – it means it’ll finish cooking as it cools. The edges should look set, and a toothpick inserted about an inch from the center should come out clean. No liquid batter, just maybe a few moist crumbs!
What are other popular Thanksgiving desserts to consider?
Besides this amazing pumpkin pie, Thanksgiving is all about options! You absolutely cannot go wrong with a classic pecan pie – all sticky, nutty goodness. And if you’re looking for something easier or make-ahead, no-bake desserts are brilliant. Think creamy cheesecakes or layered trifles! There are so many delicious ways to finish off that big meal!
Nutritional Information for Pumpkin Pie
Now, let’s talk numbers. Keep in mind these are just estimates for one slice of our delicious pumpkin pie, folks! Things like the exact size of your pumpkin or the brand of evaporated milk can make a little difference. But for the most part, this gives you a good idea of what’s in that slice of holiday heaven!
- Calories: Around 423
- Fat: About 13g
- Protein: Approximately 11g
- Carbohydrates: Roughly 73g
- Sugar: About 38g
- Sodium: Around 342mg
It’s a treat, for sure, but oh-so-worth-it during Thanksgiving!
Share Your Ultimate Thanksgiving Desserts Creations!
Okay, bakers, I’ve shared all my secrets for this incredible pumpkin pie, and I am just buzzing to hear about YOUR Thanksgiving dessert adventures! Did you try this recipe? Did it turn out just like you dreamed? Please, leave a comment below and let me know how it went! Or better yet, snap a pic and tag me on social media – I absolutely love seeing your creations. Your feedback helps me and other cooks create the best holiday treats possible!
Pumpkin Pie
Ingredients
Equipment
Method
- Cut pumpkin in half and remove seeds. Place cut side down on a cookie sheet lined with lightly oiled aluminum foil. Bake at 325 degrees F (165 degrees C) for 30 to 40 minutes, or until the flesh is tender when poked with a fork. Cool until just warm. Scrape the pumpkin flesh from the peel. Mash or puree in small batches in a blender. Increase oven temperature to 450 degrees F (230 degrees C).
- In a large bowl, slightly beat eggs. Add brown sugar, flour, salt, 2 cups of the pumpkin puree, pumpkin pie spice, and evaporated milk. Stir well after each addition.
- Pour mixture into the unbaked pastry shell. Place a strip of aluminum foil around the edge of the crust to prevent over browning.
- Bake 10 minutes at 450 degrees F (230 degrees C), then reduce the oven temperature to 350 degrees F (175 degrees C). Bake an additional 40 to 50 minutes, or until a toothpick inserted near the center comes out clean. Remove the strip of foil about 20 minutes before the pie is done so that the edge of the crust will be a light golden brown.
- Cool pie, and refrigerate overnight for best flavor.
Nutrition
Notes
Tried this recipe?
Let us know how it was!
Master of Culinary Visual Arts
My culinary journey started in the fast-paced kitchens of boutique coastal restaurants throughout Southern California, where I learned that beautiful food doesn’t have to be complicated. After nine years of professional cooking, I’ve made it my mission to prove that sophisticated, nutritionally sound meals can be accessible to busy home cooks who refuse to compromise on flavor or visual appeal.
What changed everything for me was watching talented home cooks feel intimidated by healthy cooking. That’s when I transitioned to private instruction, teaching busy professionals and families how to create restaurant-quality meals using simple techniques and ingredients they can actually find at their local grocery store. My “15-minute meal” frameworks are now used by several regional cooking schools!
As a third-generation Mexican-American, I love weaving vibrant Latin flavors into low-carb creations – proving that healthy eating can be both culturally authentic and visually spectacular. My “effortless elegance” philosophy is simple: nutritious food should look as stunning as it tastes, without requiring professional chef skills or expensive equipment.
When I’m not developing recipes in my San Diego coastal kitchen, you’ll find me surfing the local breaks with my Golden Retriever mix, Mango, who’s both my kitchen companion and unofficial taste-testing assistant. My personal low-carb lifestyle started as a way to maintain energy for my active coastal life, and it’s become the foundation for proving that healthy eating enhances rather than restricts life’s pleasures.