
Oh, don’t even get me started on the panic that sets in when you realize you have to bake for fifty people by tomorrow morning! You know that feeling? You want to bring something amazing, something homemade, but you also somehow also need to finish the laundry and remember which parent you promised to bring cookies to. It feels impossible!
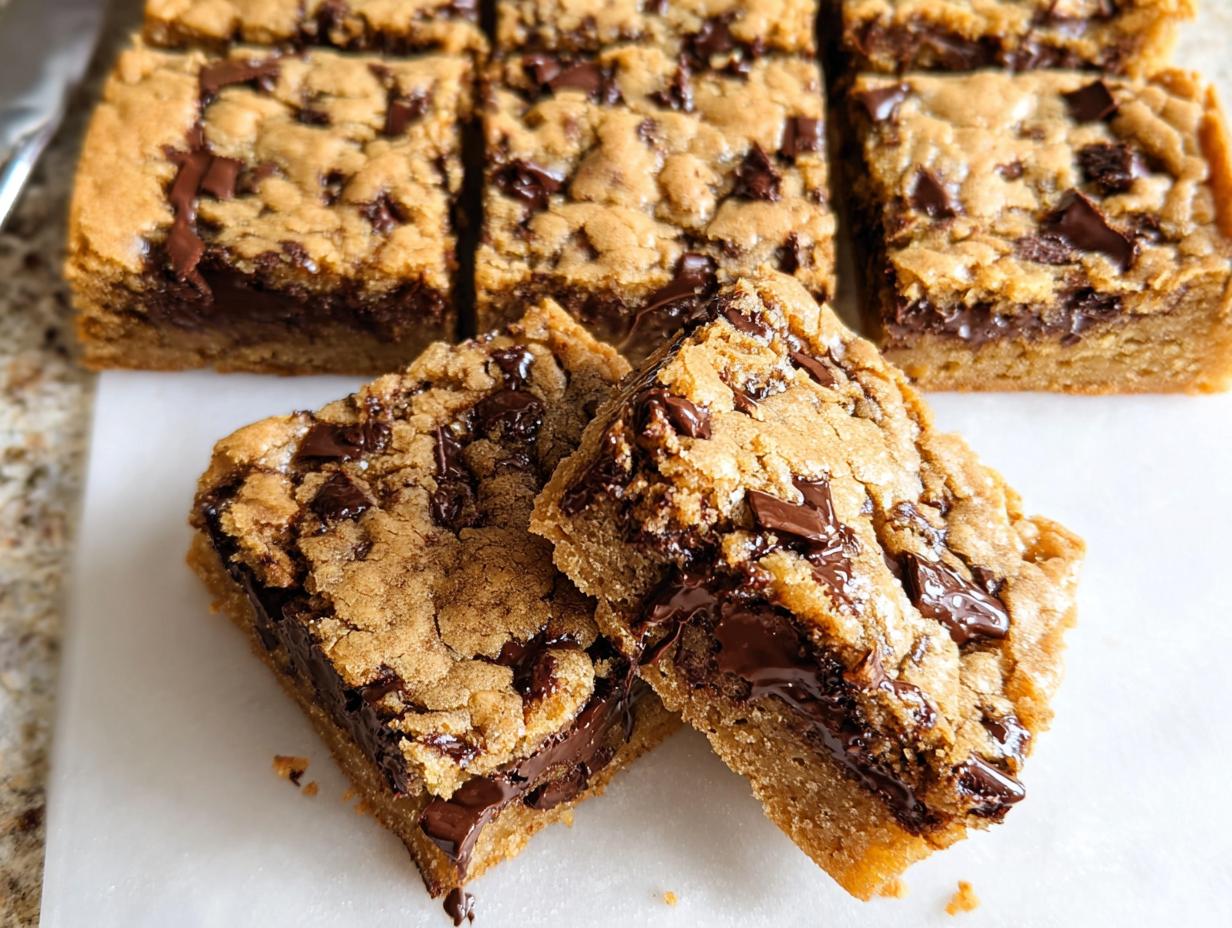
That’s why I live and breathe for this recipe for Bar Cookies for a Crowd. We’re talking easy, minimal hands-on time, and you get two dozen incredible, chocolatey squares out of one pan. Seriously, this is my secret weapon for school fundraisers.
I still remember the excitement of my first bake sale at my kids’ school. I wanted to contribute something special, yet I found myself short on time and options. That’s when I discovered the magic of bar cookies. With one batch easily yielding dozens, I could create a variety of flavors that appealed to all the kids—chocolate chip for the sweet tooths, oatmeal raisin for the more health-conscious. As I watched parents return for seconds, I felt a deeper connection to the community. Those simple bar cookies became a favorite not just for the kids, but for me too—each bake reminded me that delicious moments are best when shared.
I’m Maria Fernandez, by the way—a Certified Family Nutrition Strategist—and I promise you, this recipe is the definition of smart baking. Keep reading!
Why Making Bar Cookies for a Crowd is Your Best Baking Decision
Listen, if you’re trying to feed a whole classroom or an entire picnic crowd, ditch the individual drop cookies. It’s just too much fuss! These Bar Cookies for a Crowd mean you spend maybe twenty minutes prepping, and boom—you have instant portions. They are the ultimate Easy Dessert because you mix everything right in the pan, pretty much.
Plus, they travel like champions. No sliding around in Tupperware! They are so Crowd Friendly because they stay put. We are aiming for maximum reward with minimum effort here, and bar cookies deliver every single time.
Tips for Large Batch Baking Instructions
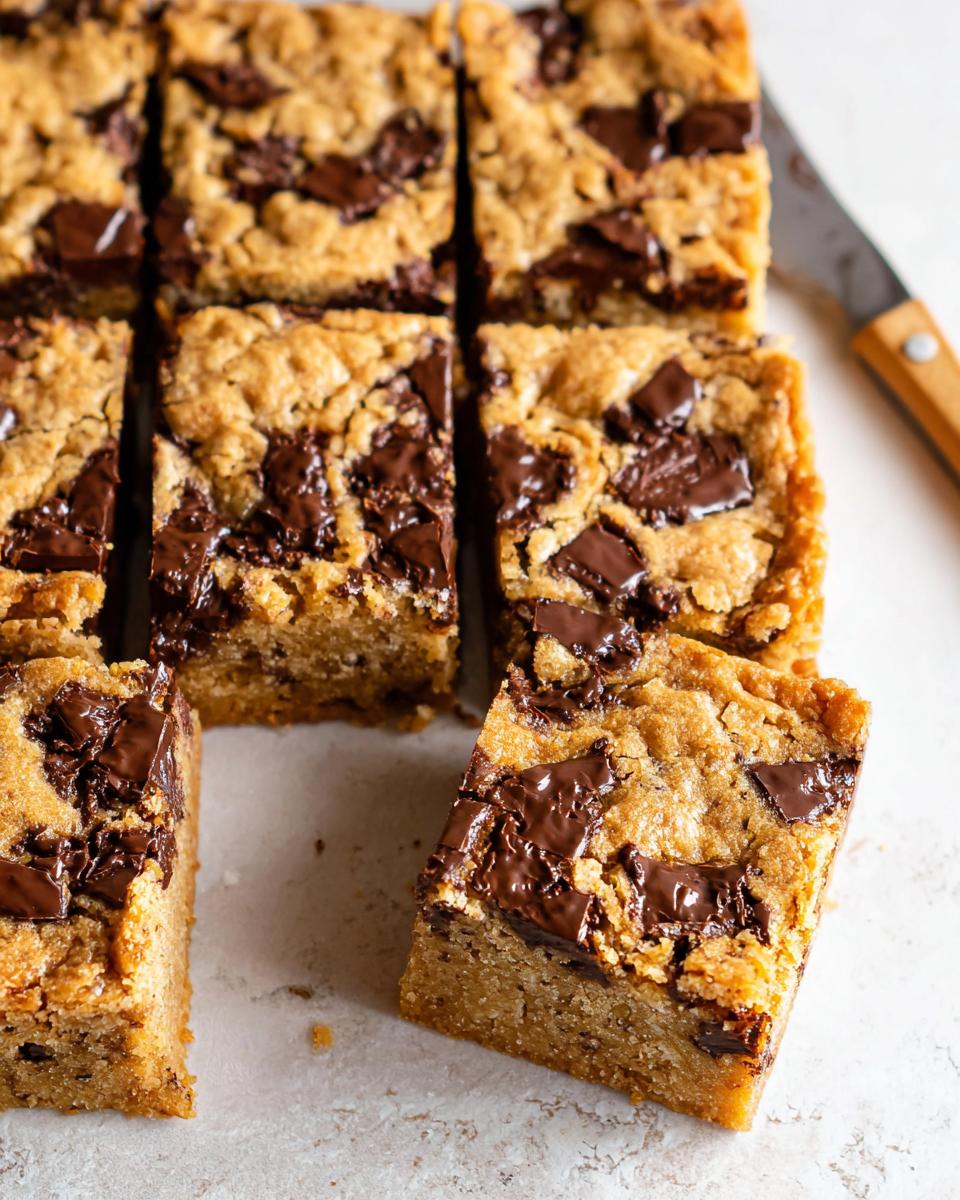
The real genius comes from using one pan, which turns this into a proper Sheet Pan Cookie situation. You get that wonderful contrast: chewy centers and those slightly crisp edges, all without having to scoop even one tiny ball of dough. My best tip for pan prep? Don’t just grease it.
Always line your pan with parchment paper, making sure those paper edges stick way up over the sides. When they are cool—and this is key, don’t rush it—you just grab the paper handles and lift the whole beautiful slab right out. It makes cleanup a breeze and guarantees perfect squares!
Essential Bar Cookies for a Crowd Ingredients
When you’re making something like this for a big group, detail matters. I’m not just throwing things in a bowl; I’m trusting the science behind why this recipe works so well for Bar Cookies for a Crowd. Since we are dealing with brown butter, which loses some water content during cooking, the ingredient amounts have to be exact—that’s where the magic comes from! Trust me on this one; you want that nutty, incredible depth of flavor that only comes from properly browned butter.
I’ve linked to another fantastic bar cookie recipe—you might love their chewiness—but this one below is purely engineered for batch size and amazing texture right out of the pan.
Bar Cookie Ingredients For Large Groups Component List
Here is everything you need for the base dough. Make sure your butter is cold, and your chocolate is chopped—don’t use chips if you can help it; the chunks melt better!
- For the Cookie Bars
- 150 g Unsalted butter (must be cold)
- 100 g Light or dark brown sugar
- 60 g Granulated sugar
- 1 large Egg (about 50g total weight)
- 1/2 tsp Vanilla bean paste or vanilla extract
- 150 g All-purpose flour
- 1/4 tsp Baking powder
- 1 tsp Salt (about 3g)
- 220 g Dark chocolate (chopped)
Step-by-Step Guide to Perfect Bar Cookies for a Crowd
Okay, this is where the magic happens! Even though this is an Easy Dessert, the brown butter technique is what takes these from good to absolutely unforgettable. Preheat your oven to 350°F (180°C) and get that 8-inch pan lined before you even look at the stove. We’re aiming for about 20 minutes of prep time, so efficiency is key!
Preparing the Brown Butter Base
First up, you need to melt that cold butter in a saucepan over medium heat. Keep a close eye on it, swirling the pan constantly. After about 3 or 4 minutes, it’ll foam up, then you’ll see those little brown specks forming, and it will smell wonderfully nutty! That’s exactly what we want. Measure out 110g of that glorious brown butter and let it sit for a good 15 to 20 minutes.
Seriously, don’t skip the cooling time! If it’s too hot, it will scramble your egg, and then we’re in trouble. Once it’s cooled a bit, whisk in both the brown and white sugars. Then, pour in the egg and the vanilla and whisk like crazy for a solid minute or two until it looks lighter and kind of thick. That aeration is important for texture!
Mixing and Pressing the Cookie Bars
Now for the dry stuff. Whisk your flour, baking powder, and salt together first. Add them into the butter mixture, and here’s my expert move: mix everything with a rubber spatula until you can *still see a few streaks of flour*. Stop right there!
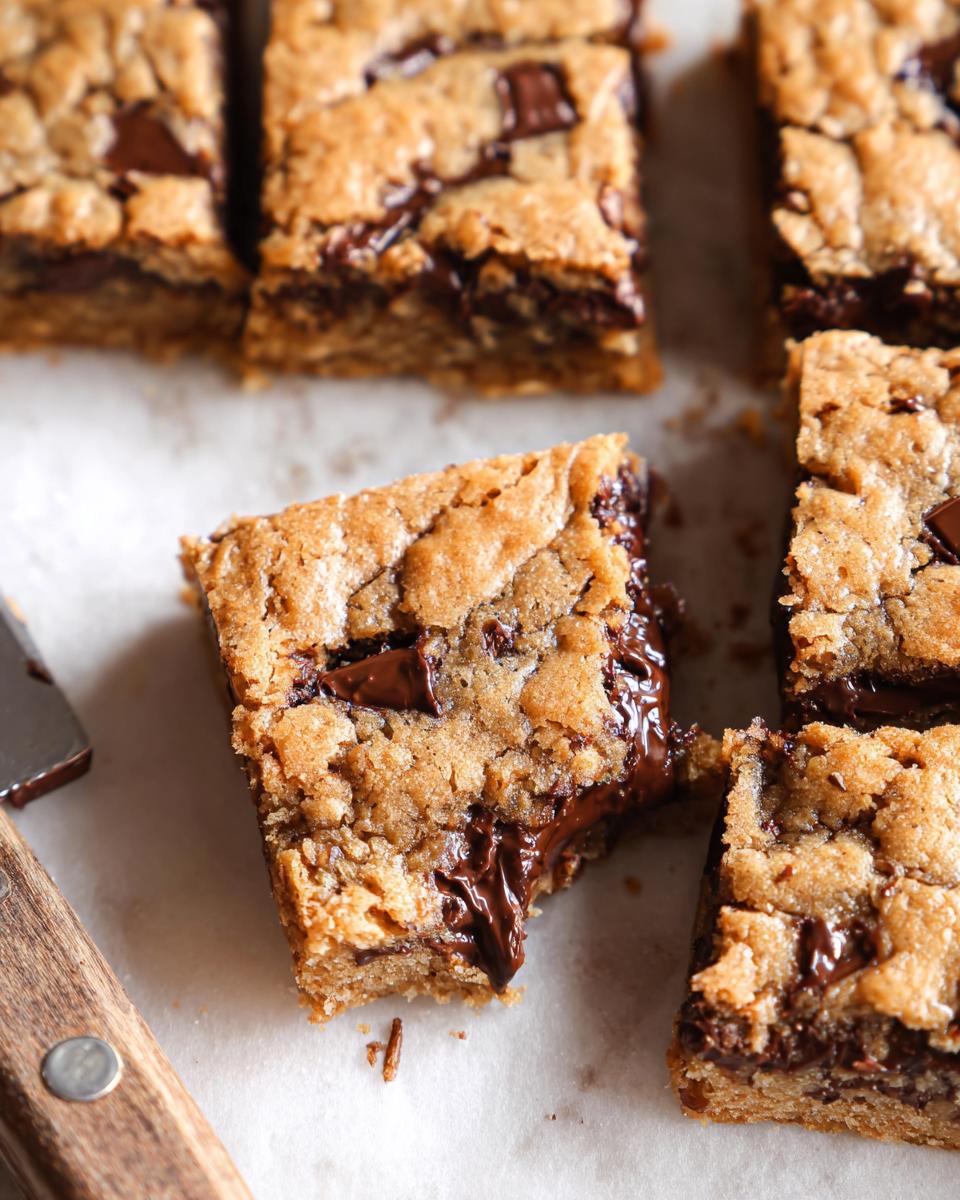
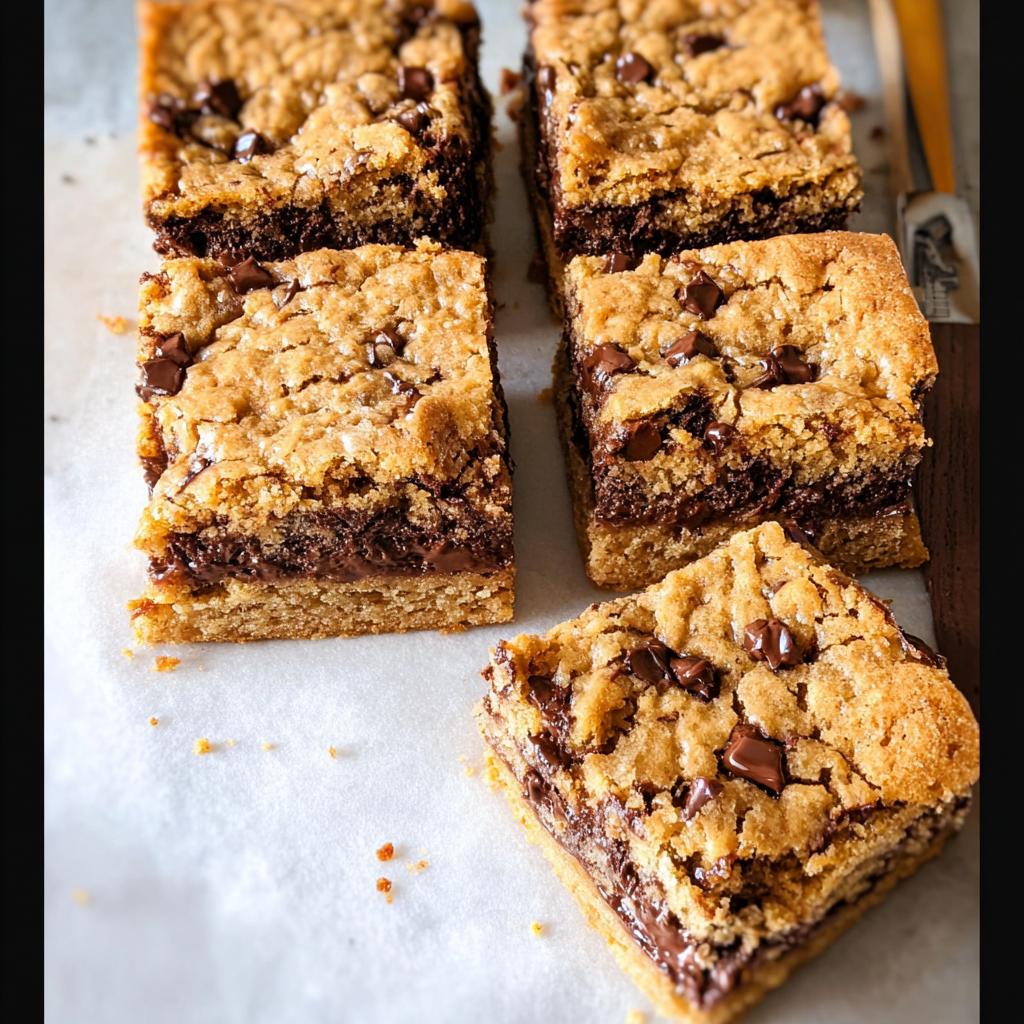
If you mix until it’s all uniform, you’re going to overwork the gluten and end up with tough Cookie Bars. Nobody wants tough bars! Fold in those gorgeous chopped dark chocolate chunks. Then, press that thick dough evenly into your prepared pan. I use an offset spatula here because it smooths the top out perfectly for baking.
Baking and Cooling for Easy Dessert Slices
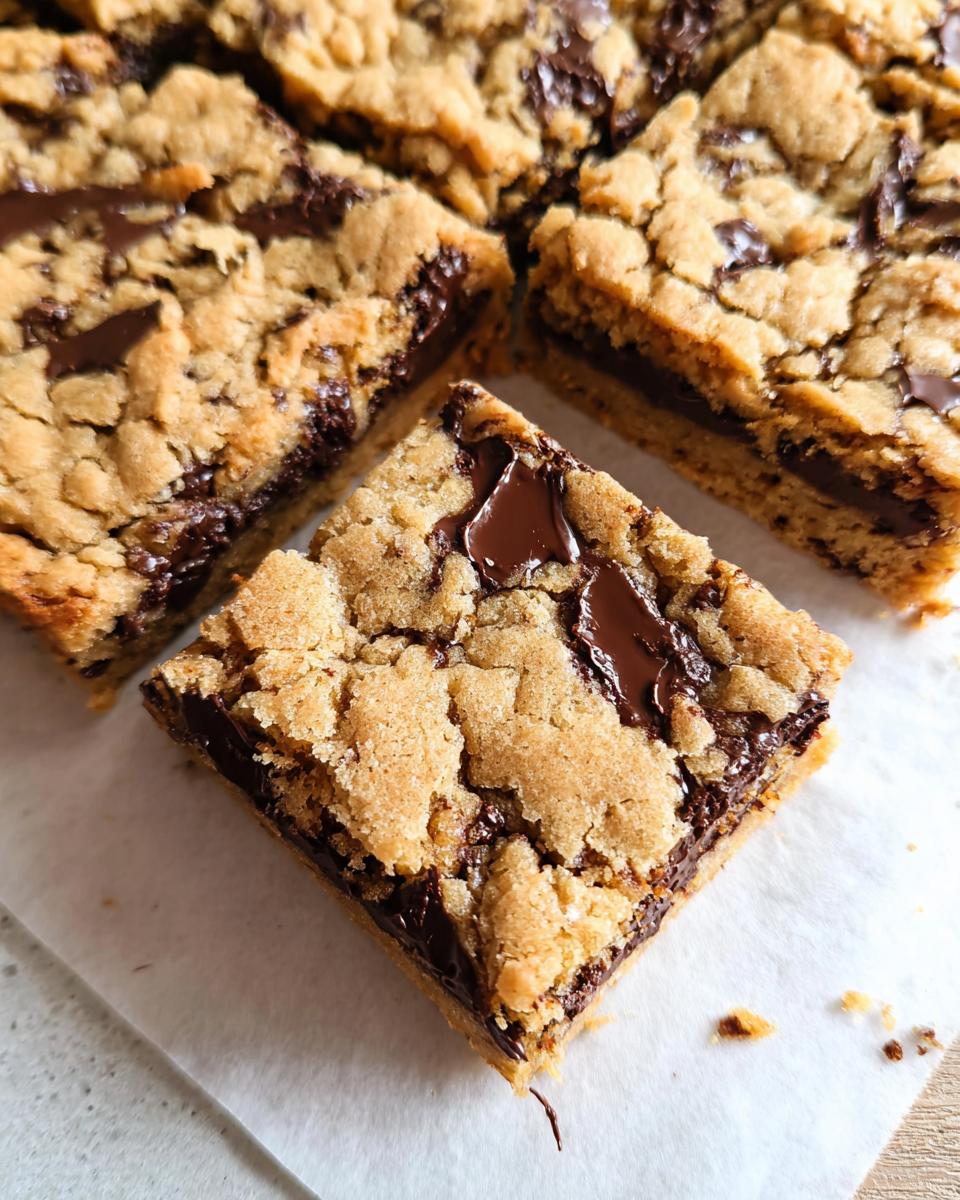
Pop that pan into the preheated oven for 20 to 22 minutes. You’re looking for a top that’s set and golden around the edges. If you want that slightly chewier center that holds up well when you Frost And Cut later, pull them out right when the edges start firming up.
Leave them in the pan on a wire rack to cool completely—this is part of the crucial 20-minute cooling time. Once they aren’t hot in the center anymore, grab those parchment paper handles and lift the entire block out. Then, you can slice them into perfect squares. That lift-out method makes cutting them so much cleaner than trying to slice them while they’re stuck in the pan!
Ingredient Notes and Substitutions for Your Bar Cookies for a Crowd
I know you might be looking at that brown butter step and thinking, “Can’t I just melt regular butter?” Please, please don’t skip it! Browning the butter first is non-negotiable for these Bar Cookies for a Crowd. That nutty, toasty flavor is what makes these bars taste like they took hours, not minutes, to make.
If you absolutely must substitute, I get it; sometimes we run out of ingredients between grocery trips. For the flour, you can try using a good quality 1:1 gluten-free blend, but honestly, the texture might change a little bit—it won’t have the same chewy pull. For those with allergies, you can swap out the dark chocolate for chopped toffee bits or dried cranberries, but make sure whatever you add is added in that last fold, just like the chocolate!
Making Bar Cookies for a Crowd Ahead of Time
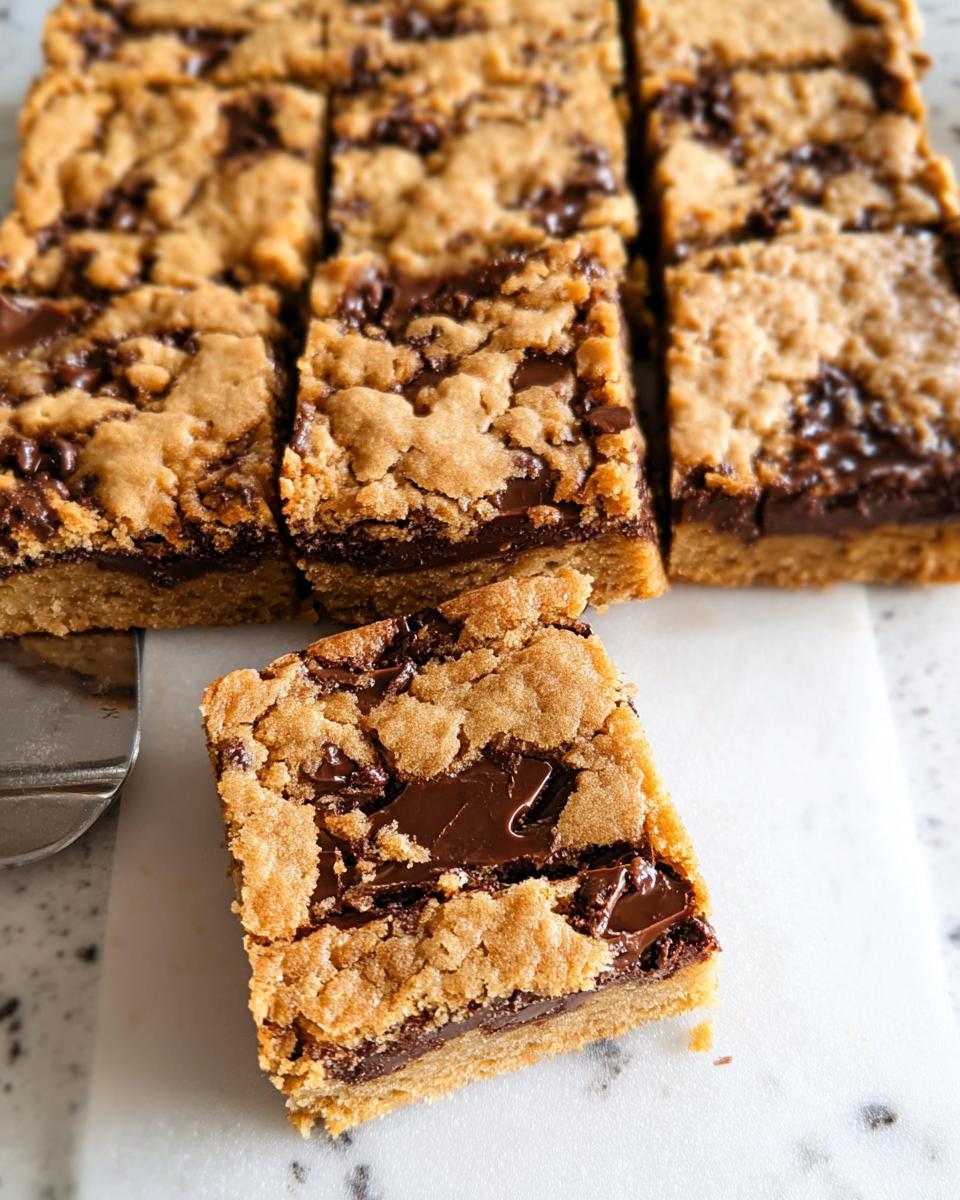
This is my favorite part for people who plan ahead, like savvy PTA organizers! The absolute best thing about these Bar Cookies for a Crowd is that you absolutely do not have to bake them the night before the event. They honestly taste even better the next day once all those chocolate streaks have settled down with the brown butter base.
Once they are completely cool—and I mean stone cold—use that parchment sling to lift them out of the pan and slice them up. Then, stack them gently in a large, rigid container. The recipe note says they last about three days in an airtight container at room temperature, and that’s true! I find the texture holds up beautifully.
But here is my ultimate time-saver tip for when things get truly crazy: freeze the unbaked dough! After you press the dough into the prepared pan but *before* you bake, just wrap that whole pan tightly in plastic wrap, twice. Pop it in the freezer for up to a month.
When you need them, pull the whole thing out of the freezer, unwrap it, and let it sit on the counter for maybe an hour while the oven preheats. You might need to add 5 minutes to the baking time, but having that ready-to-bake base is a lifesaver when you realize you forgot about that last-minute event!
Frequently Asked Questions About Crowd Friendly Cookie Bars
Can I use a larger pan for these Bar Cookies for a Crowd?
That’s a tough one, and it’s all about thickness! These ingredients are perfectly calibrated for that 8-inch square pan to get that dense, chewy texture crowd loves. If you move up to a 9×13 inch pan, they will spread way too thin.
If you absolutely must use a bigger pan, you have to double the entire recipe! And even then, the baking time changes dramatically because the heat has to travel farther into the center. You’ll probably need closer to 30 minutes, and you risk having thinner, crunchier edges than the chewy centers we are aiming for.
How do I prevent my Cookie Bars from drying out?
This comes down to two main secrets we talked about, and neither involves adding extra liquid, which would ruin the whole structure. First, don’t overbake! Pull them when the center is *just* set. If you wait until a toothpick comes out totally clean, you’ve baked them too long.
Second, thank the brown butter. That nutty, cooked fat is far more flavorful and stable than regular butter, which helps keep these Cookie Bars moist for days. Store them honestly and tightly sealed, and they won’t dry out on you!
What are the best additions to these Sheet Pan Cookie bars?
Honestly, the dark chocolate is perfect on its own, but I love giving people options! Since this is a big batch, you can easily split the dough after you mix in the flour and before you fold in the chocolate. Do half the recipe with the dark chocolate, and then for the other half, try folding in toasted walnuts or pecans for crunch.
You could also mix in some white chocolate chunks, or maybe even layer some peanut butter swirls on top before baking. No matter what you add, make sure whatever you’re folding in isn’t too wet, or it can mess with the bake time on these Sheet Pan Cookie wonders.
Sharing Your Bar Cookies for a Crowd Experience
Alright, now that you have mastered the art of the easy, large-batch bake, I really want to hear about it!
Did you bring these Bar Cookies for a Crowd to a soccer tournament? A birthday party? Did they disappear instantly at the office potluck? That’s the best part about baking for a group—seeing everyone enjoy something you made with just a little elbow grease and some brown butter magic.
Don’t be shy! Head down to the comments and leave me a star rating—did you give that brown butter a perfect five stars? Tell me how many batches you ended up making because they vanished so fast. I love hearing about where our recipes end up traveling!
If you snap a picture of your perfectly sliced, crowd-pleasing squares, tag me on social media! Seeing my recipe in your busy, wonderful kitchen always makes my day. Happy baking, friends!
Bar Cookies for a Crowd
Ingredients
Equipment
Method
- Preheat your oven to 350°f (180°c). Grease and line an 8-inch (20cm) non-stick baking pan. Leave the parchment extending over the sides to create a sling. You can secure it with binder clips if you wish.
- Place the butter in a medium saucepan over medium heat. Cook until melted, then continue cooking, swirling the pan and whisking often, until the butter foams, turns golden brown, and has a nutty aroma. This should take 3-4 minutes.
- Measure out 110g of the brown butter into a medium bowl. Let it cool for 15-20 minutes so it doesn’t scramble the eggs.
- Add the brown sugar and granulated sugar to the bowl with the brown butter and mix to combine.
- Add the egg and whisk well for 1-2 minutes, or use an electric mixer, until the mixture lightens in color and thickens.
- Add the vanilla and mix well.
- Add the flour, baking powder, and salt. Mix with a rubber spatula until some flour streaks remain. This prevents overworking the dough.
- Add the chocolate and mix with a rubber spatula to incorporate.
- Press the dough into the prepared pan, smoothing the top with an offset spatula. You can add a few extra chocolate chunks to the top if desired.
- Bake for 20 to 22 minutes, until the top is golden brown and set, and the edges begin to firm up. For crispier edges, bake a little longer.
- Remove the bars from the oven and let them cool in the pan on a wire rack. Use the parchment paper sling to lift the bars out of the pan. Cut into pieces with a sharp knife.
- Store the cookie bars in an airtight container at room temperature for up to 3 days.
Notes
Tried this recipe?
Let us know how it was!
Certified Family Nutrition Strategist
My path into family nutrition began working with Phoenix Area Family Services, where I saw how traditional nutrition advice often ignored real-world constraints like budget limitations, time crunches, and kids who refuse to eat anything green. That experience sparked my mission to develop meal planning systems that work with family realities, not against them.
Over eight years, I’ve helped hundreds of families reduce grocery spending by 25% while dramatically improving their nutrition. My meal planning frameworks have been adopted by local wellness centers because they actually work for busy parents juggling different ages, preferences, and dietary needs in one household.
As a bilingual first-generation Mexican-American and mother of three, I personally navigate the daily challenge of feeding a family nutritiously while honoring cultural traditions and managing a household budget. My “kid-friendly low-carb” protocols show families how to gradually introduce healthier options without triggering mealtime battles or abandoning beloved family recipes.
My “realistic wellness” philosophy is straightforward: health improvements must work within existing family dynamics and financial realities to be truly sustainable. When I’m not developing meal planning systems, I’m creating portable trail snacks for our weekend family hiking adventures – because healthy eating should fuel the life you want to live.
My personal low-carb journey started after pregnancy as a way to regain energy for active parenting, and that experience continues to inform my professional commitment to making healthy eating feel supportive rather than burdensome for busy families.