
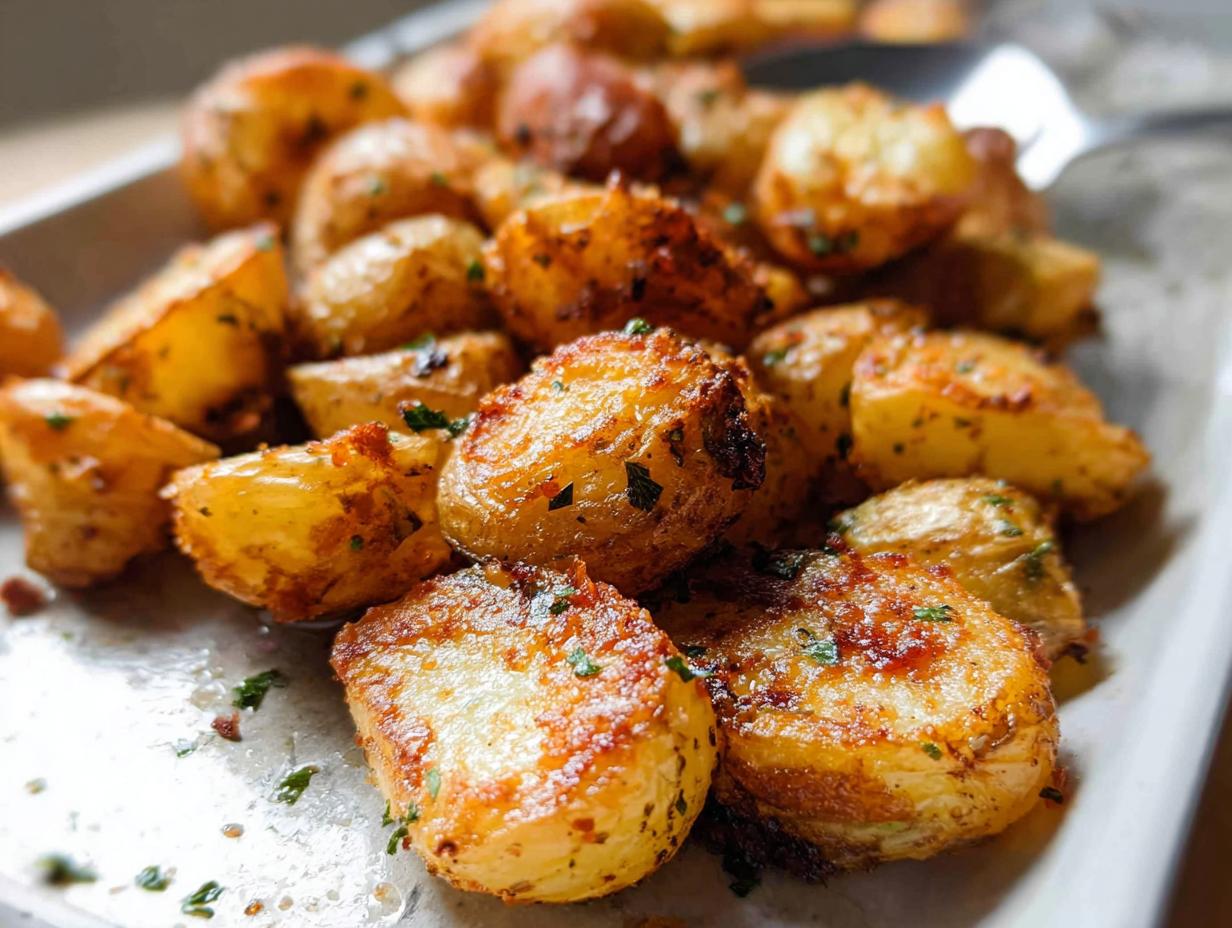
Oh, I know those nights. You’re staring down the barrel of dinner after working all day, and the energy is just gone, right? You want something comforting, something delicious, but you absolutely do not want an hour of babysitting a skillet. That’s why I live and breathe our recipe for Crispy Roasted Potatoes (Perfect Every Time). This isn’t just another sheet pan side; this is the method that actually works! I remember one frantic evening when I finally whipped these up, and honestly, the smell of the roasting garlic pulled my kids right into the kitchen. Watching them devour those crunchy, golden potatoes instantly made the long day disappear. It’s moments like that, built around simple, amazing food, that make home cooking worthwhile.
Why You Will Make Crispy Roasted Potatoes (Perfect Every Time)
We all need reliable recipes that deliver big payoff without eating up our evening. These potatoes are my secret weapon for busy families. Forget soggy sides!
- Quick Preparation for Busy Weeknights: Seriously, you only need about 15 minutes of hands-on time before they go into that hot oven. Dinner stress, gone!
- The Secret to Truly Crispy Roasted Potatoes (Perfect Every Time): We’re cheating a little bit by par-boiling them with baking soda. Trust me, this one step makes the outside shatteringly crisp and keeps the inside fluffy.
Gathering Your Ingredients for Crispy Roasted Potatoes (Perfect Every Time)
Okay, getting these perfect potatoes ready is half the battle, but honestly, the ingredient list is super simple! We don’t need fancy stuff here, just the right core components and some great aromatics. If you’re thinking about swapping out the fat, check out my guide on which fats hold up best in high heat roasting—it really matters for that golden brown finish! Learn how different oils perform when they get screaming hot.
Essential Components for the Potatoes
For the main event, you’ll need:
- Russet potatoes: Grab about 3 pounds. Make sure they are peeled and cut into nice, uniform 1-inch pieces. Consistency is key!
- Baking soda: Just half a teaspoon. This is our little secret!
- Kosher salt: Measure out 1.5 tablespoons, or if you’re like me, just use a generous fistful.
- Melted ghee or olive oil: You’ll need 5 tablespoons total, melted. Remember to divide this up for the different steps.
Simple Spices and Aromatics
This is where the incredible smell comes from! Don’t skip fresh garlic for this part.
- Garlic: Use 2 to 4 cloves, grated or minced—as much as your family loves!
- Minced parsley: Just 1 tablespoon for freshness.
- Dried thyme: A quarter teaspoon if you like savory herbs; it’s totally optional but adds depth.
Expert Tips for Perfect Crispy Roasted Potatoes (Perfect Every Time)
Listen, achieving that shatteringly crisp outside while keeping the inside soft is an art, but honestly, it’s not hard magic—it’s science! I learned this trick that changed my entire roasting game forever, and it involves our little friend, baking soda. If you want to dive deeper into why high-heat roasting changes everything, check out my full guide on the science of roasting.
The Importance of Par-Boiling
This is non-negotiable for truly amazing results! We boil those cut-up potatoes in salted water—here’s the kicker—with half a teaspoon of baking soda added in. That baking soda helps break down the exterior starches just enough. You’re only boiling them for about 8 to 10 minutes, until a knife meets just a little resistance. When you drain them, give them a good shake in the empty pot! That roughing up creates a starchy exterior that grabs onto the oil and turns into that amazing crunchy crust we are dreaming about.
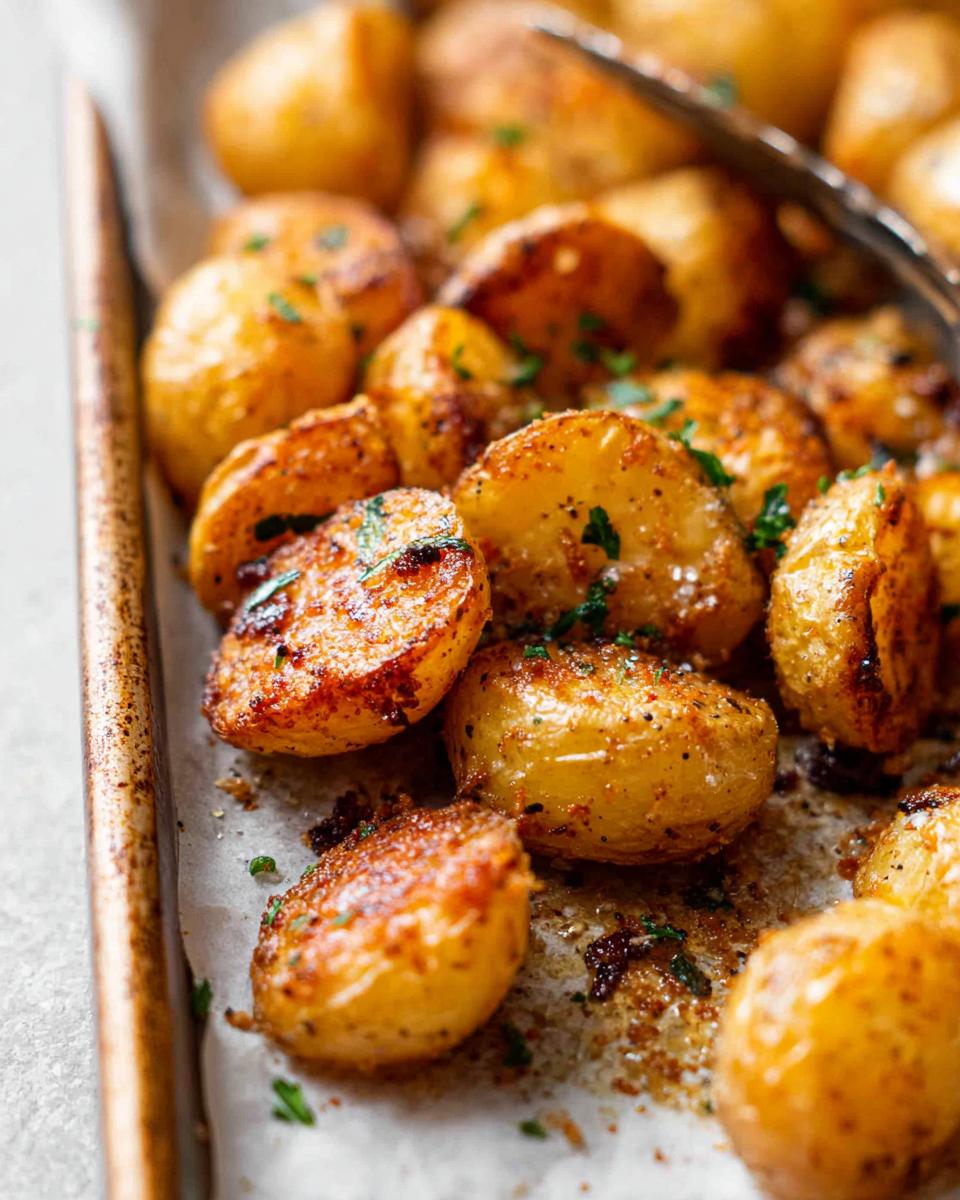
Achieving Golden Brown Perfection
Once the potatoes are nice and textured, they need serious heat to crisp up. Set your oven high—we’re talking 425ºF. Another huge tip: do not overcrowd the sheet pan! If the potatoes are touching too much, they steam instead of roast, and steam is the enemy of crispiness. You want space for the hot air to circulate so every side gets that gorgeous golden brown color. Remember to use that spatula halfway through to flip them over so they brown evenly all around!
Step-by-Step Instructions for Crispy Roasted Potatoes (Perfect Every Time)
Okay, let’s get these amazing, crunchy potatoes into the oven! Making sure you follow these steps in order is how you guarantee that perfect texture your family will rave about. Pay close attention to the boil time—we need them tender inside, but not falling apart!
Preparation and Initial Boil
First things first: you absolutely must preheat your oven to 425ºF. Put a rack right in the center so the heat is even. Next, take your 3 pounds of cut russet potatoes and toss them straight into a large pot. Add your kosher salt and that crucial baking soda. Cover everything with water, and then bring that pot right up to a rolling boil. You want these cooking for about 8 to 10 minutes only. How do you know they are done boiling? Stick a small knife in—it should meet some resistance but not be rock hard. Once that’s done, drain those potatoes really well and pop them right back into the empty, hot pot. Give the pot a good few shakes to rough up those edges!
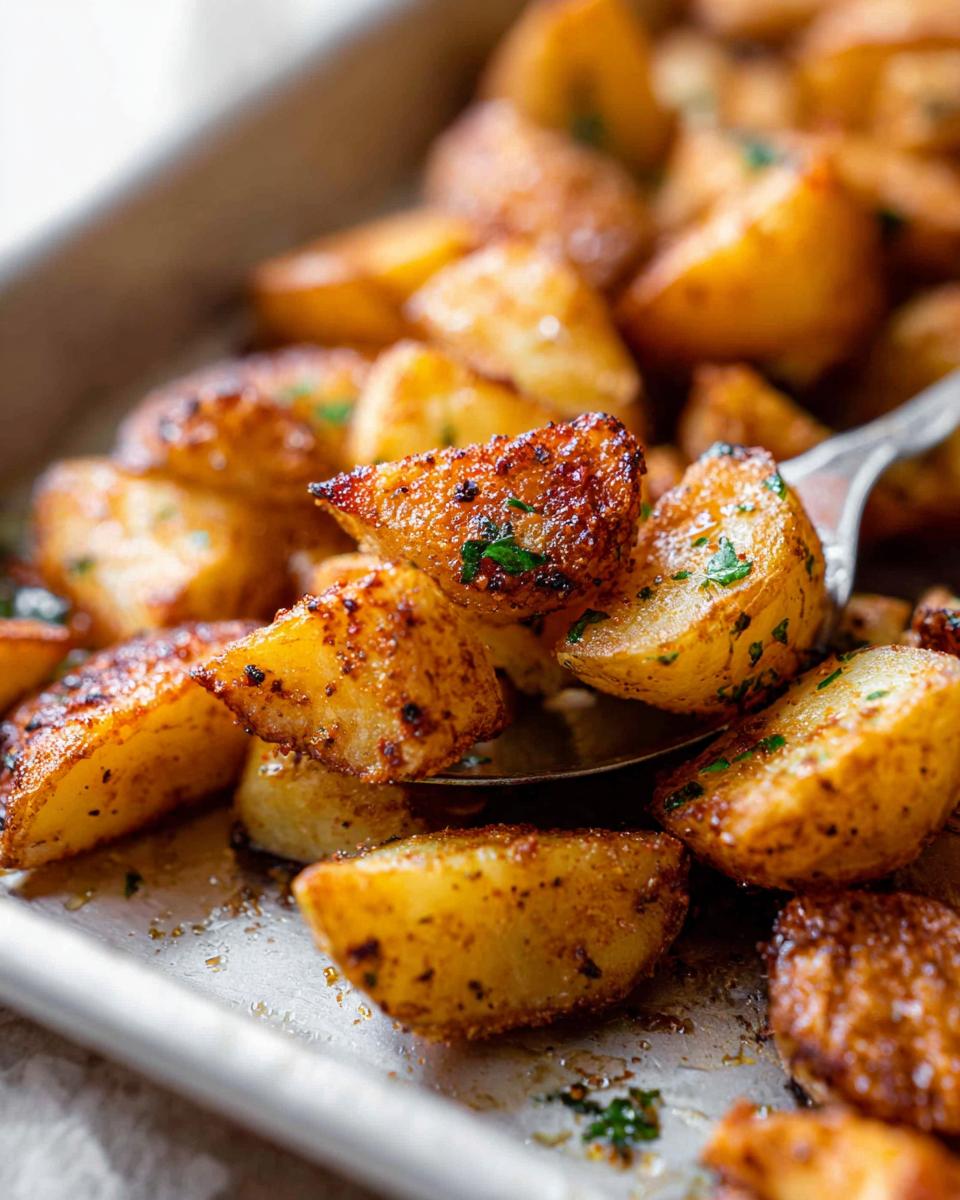
Flavoring and Final Roast
While your potatoes are draining, quickly mix up your garlic seasoning. Grate or mince your garlic, and dump it into a little bowl along with 2 tablespoons of your reserved oil, the parsley, and the optional thyme. Now, here’s a little trick: pop that bowl in the microwave for just 30 seconds. Warming the oil up really helps release all those beautiful garlic aromas! Drizzle that warm garlic mixture over your rough-textured potatoes in the pot and toss everything gently so those edges get coated. Spread them out onto your preheated baking sheet—don’t pile them up! Roast them for another 10 to 15 minutes until they achieve that incredible golden brown crispiness we want. When they come out, let them chill for just a few minutes before serving, otherwise, you risk burning your little spoons!
Essential Equipment for Making Crispy Roasted Potatoes
You don’t need a drawer full of fancy gadgets for these crispy potatoes, which is another reason I love them for busy weeknights! But having the right tools makes the process much smoother and guarantees that crunchy exterior. When I first started making these, I messed up by using a regular saucepan that didn’t hold the heat well. Trust me, using the right pot for the boil makes a difference!
Here is what you absolutely need on hand before you start:
- Dutch oven or stock pot: You need a big enough pot to boil all those potatoes at once, and it needs to hold heat well when you drain them and shake them up.
- Oven: Obviously! This recipe thrives on high, dry heat, so make sure your oven is calibrated correctly. You might want to check your oven temp against a separate thermometer if you’re unsure!
- Small bowl: Just a little guy to mix up our amazing garlic and herb infusion while everything else is happening.
- Fish spatula: This sounds specific, I know, but hear me out! A fish spatula is thin and flexible, which makes scraping under the potatoes to flip them without smashing that crisp crust so much easier than using a regular flipper.
Ingredient Notes and Simple Substitutions
Sometimes we run out of things, right? Don’t stress if you don’t have ghee on hand! Olive oil works beautifully, but if you’re looking for the absolute best potato texture, I really encourage you to check out my definitive guide on which potato variety is best for roasting. It explains why russets are my go-to here—their high starch content turns into that gorgeous, fluffy interior.
If you’re out of ghee, use an equal amount of good quality olive oil for the fat. You can even use avocado oil if you have it! The most important thing is that potato itself. While Yukon Golds are delicious, they are waxier and won’t create that same light, starchy exterior that the baking soda needs to cling to for maximum crispiness.
Serving Suggestions for Your Crispy Roasted Potatoes (Perfect Every Time)
These potatoes are such a winner, they basically beg to be served with almost anything! Since we’re aiming for ease for our busy family dinners, I always try to pair them with main dishes that can either cook at the same 425ºF temperature or that come together super fast. That way, your entire meal is ready around the same time, and you aren’t juggling multiple heat settings!
Because these are the ultimate sheet pan side, I try to keep the main course simple. Think of them as the perfect companion to any roasted chicken breast—toss some quick asparagus on your tray with the chicken, and you’re practically done. They are also fantastic underneath something saucy, like glazed meatballs, because they soak up just a little bit of that extra flavor without losing their crunch entirely.
For a fun family night when we aren’t rushing, I’ll bring out chili or sloppy joes, and these crispy roasted potatoes just become the star side dish that everyone actually eats. Sometimes you just need that comforting potato component, and honestly, these are so good, they work even better than fries!
Storing and Reheating Crispy Potatoes
One of the best things about mastering the art of the perfect roast potato is knowing you can make a huge batch and still have leftovers that taste almost as good the next day. Who has time to make these from scratch every single night? Not me!
When it comes to storage, the enemy is moisture, so you have to trap that crispiness in right away. Once they’ve cooled down completely—and I mean totally cool, otherwise, you invite steam—pack them into an airtight container. Don’t try to cram too many in there; let them breathe a little, or they’ll start sweating against each other. They should be good in the fridge for about three days.
Restoring the Crunch
Now, here’s the crucial part: Reheating. Please, for the love of all that is crispy, do not put these in the microwave! The microwave turns perfectly cooked potatoes into sad, mushy sponges, and we worked too hard for that!
Your best bet is putting them back in a hot oven or, if you have one, using your air fryer. You want that heat to hit the exterior quickly to dry it out again.
- Oven Method: Spread the cooled potatoes in a single layer on a baking sheet. Pop them into a 375ºF oven for about 8 to 10 minutes. They’ll be hot, crispy, and ready to go.
- Air Fryer Method: If you’re in a hurry, toss them in the air fryer basket and cook at 375ºF for about 5 minutes. Shake them halfway through. This is lightning fast and gives you that ‘just made’ texture.
Trust me, taking the extra five minutes to reheat them correctly makes all the difference between a decent leftover and a totally satisfying second meal!

Frequently Asked Questions About Crispy Roasted Potatoes (Perfect Every Time)
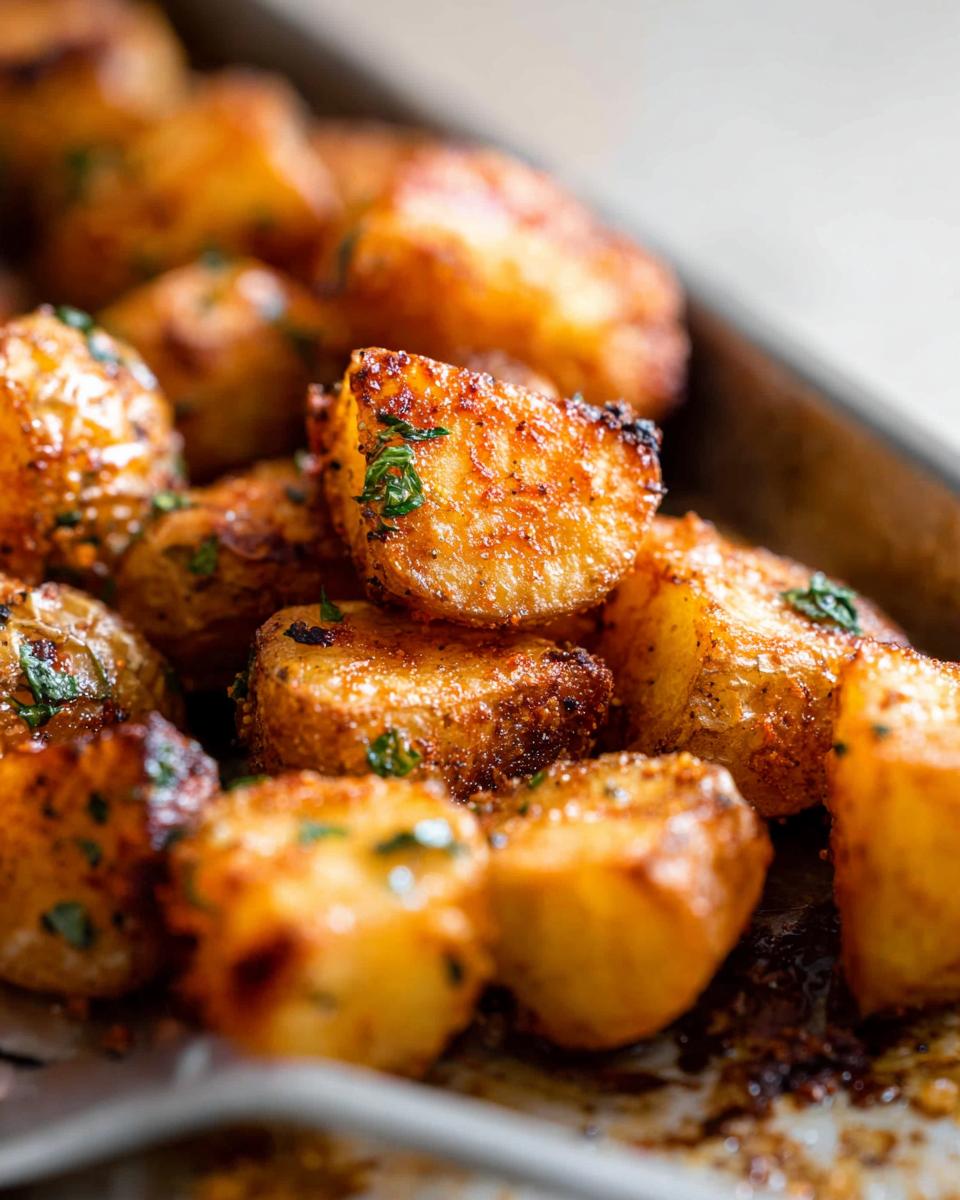
I get so many great questions about these potatoes, usually right after someone takes their first bite and realizes how amazing they are! It all usually boils down to texture. Getting truly crispy potatoes every time can feel like a mystery, but once you know the rules, it’s easy to make sure your roasted potatoes always come out perfectly golden brown.
Can I use Yukon Gold or red potatoes instead?
Yes, you absolutely can, but the texture changes! Russets are my favorite because they are high in starch, which lets that baking soda work its magic and creates that fluffy interior and rough exterior perfect for crisping. Yukon Golds and Red Potatoes are much waxier. They still taste great roasted, but they generally won’t get that same light, shatteringly crisp crust we’re looking for with this specific recipe.
Why aren’t my Roasted Potatoes crispy?
Nine times out of ten, it comes down to two things we talked about! First, did you skip the par-boiling and shaking step? That ruins the texture foundation. Second, did you overcrowd the pan? If the potatoes are touching, they trap steam and never dry out enough to brown. Make sure your oven is screaming hot—425ºF is the sweet spot—and give them space on that sheet pan!
Can I make these ahead of time?
You totally can prep ahead, which is great for busy families! I highly recommend doing the first step—the par-boiling and draining—up to a day in advance. Just boil them for 8 minutes, shake them dry, let them cool, and store them in the fridge. When you’re ready to eat, toss them with the oil and garlic and roast as directed. Don’t assemble them with the oil until you are ready to bake, though!
Share Your Experience Making This Recipe
Seriously, that’s all there is to it! You now have the keys to making the absolute best Crispy Roasted Potatoes (Perfect Every Time) whenever you need a ridiculously satisfying side dish. I work so hard to get these family favorites just right, and it means the world to me when they work for you too!
Did these become an instant hit at your dinner table? Were your kids fighting over the last crispy bits? I really want to hear about it!
Please take a moment to leave a star rating right below this post so other busy parents know this recipe is the real deal. And if you snapped a picture of those gorgeous golden brown potatoes next to your main course, tag me on social media! Showing off your family’s dinner spread is my favorite part of this whole process.
Happy roasting!
Crispy Roasted Potatoes (Perfect Every Time)
Ingredients
Equipment
Method
- Preheat your oven to 425ºF with a rack in the center.
- Place the cut potatoes in a large pot. Add kosher salt and baking soda. Stir to combine. Cover with water and bring to a boil. Cook for 8-10 minutes, until the potatoes are halfway cooked (a knife should meet some resistance). Drain the potatoes and return them to the pot.
- While the potatoes are roasting, combine the grated garlic, 2 tablespoons of oil, parsley, and thyme in a small bowl. Microwave for 30 seconds until warm.
- Remove the potatoes from the oven. Shake the pan to loosen them, then use a fish spatula to turn them over. Drizzle the garlic mixture over the potatoes and toss to coat evenly. Return to the oven for 10-15 minutes, or until golden brown and crispy.
- Let the potatoes cool for a few minutes before serving.
Notes
Tried this recipe?
Let us know how it was!
Certified Family Nutrition Strategist
My path into family nutrition began working with Phoenix Area Family Services, where I saw how traditional nutrition advice often ignored real-world constraints like budget limitations, time crunches, and kids who refuse to eat anything green. That experience sparked my mission to develop meal planning systems that work with family realities, not against them.
Over eight years, I’ve helped hundreds of families reduce grocery spending by 25% while dramatically improving their nutrition. My meal planning frameworks have been adopted by local wellness centers because they actually work for busy parents juggling different ages, preferences, and dietary needs in one household.
As a bilingual first-generation Mexican-American and mother of three, I personally navigate the daily challenge of feeding a family nutritiously while honoring cultural traditions and managing a household budget. My “kid-friendly low-carb” protocols show families how to gradually introduce healthier options without triggering mealtime battles or abandoning beloved family recipes.
My “realistic wellness” philosophy is straightforward: health improvements must work within existing family dynamics and financial realities to be truly sustainable. When I’m not developing meal planning systems, I’m creating portable trail snacks for our weekend family hiking adventures – because healthy eating should fuel the life you want to live.
My personal low-carb journey started after pregnancy as a way to regain energy for active parenting, and that experience continues to inform my professional commitment to making healthy eating feel supportive rather than burdensome for busy families.