
Weekends should be slow, right? But between soccer practice starting early and needing a real meal that isn’t cereal, it feels like the mornings rush us instead! I totally get the pressure to serve up something delicious that pleases everyone, especially the little ones who suddenly decide they only eat beige food. That’s why I perfected my recipe for Hash Browns (Crispy Skillet). Seriously, you don’t need fancy equipment or hours of fiddling; you just need the right technique to get that perfect, audible crunch.
I still remember the first time I made these for my kids on a weekend morning. After a long week of juggling work and school schedules, I wanted to create something special yet simple. As the potatoes sizzled in the skillet, my kitchen filled with that unmistakable aroma of breakfast delight. The smiles on my children’s faces when they took their first crunchy bites made the effort all worth it. Even my pickiest eater couldn’t resist! Now, these crispy hash browns have become a beloved weekend tradition in our home, reminding me that even the simplest dishes can bring families together over good food and laughter.
By following these simple steps, you’re going to nail that golden, crispy exterior with a fluffy interior every single time. You can trust me on this one—I’m Maria Fernandez, a Certified Family Nutrition Strategist, and these easy breakfast potatoes are a staple in my own busy house!
Why These Hash Browns (Crispy Skillet) Are Your New Breakfast Staple
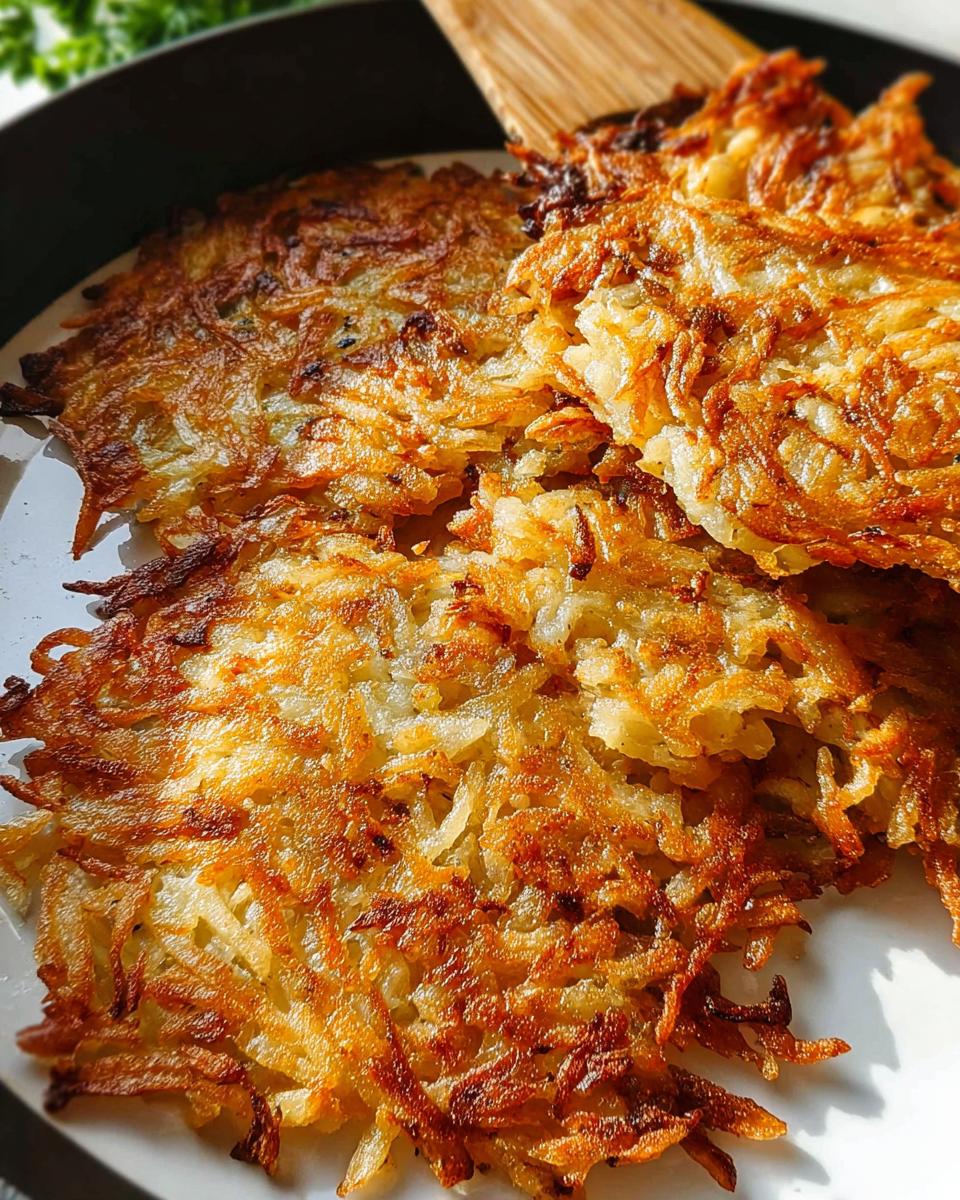
Let’s be real: when the weekend rolls around, you want great food without the fuss. That’s why I’m sticking to this recipe, and you should too! These aren’t those sad, floppy potatoes you sometimes get at diners. Nope. We are aiming for pure, audible crunch.
- Quick Prep for Busy Mornings: You grab your grater and are done prepping in about 15 minutes. Then, it’s just 20 minutes on the stove, and boom—breakfast centerpiece! So simple, right?
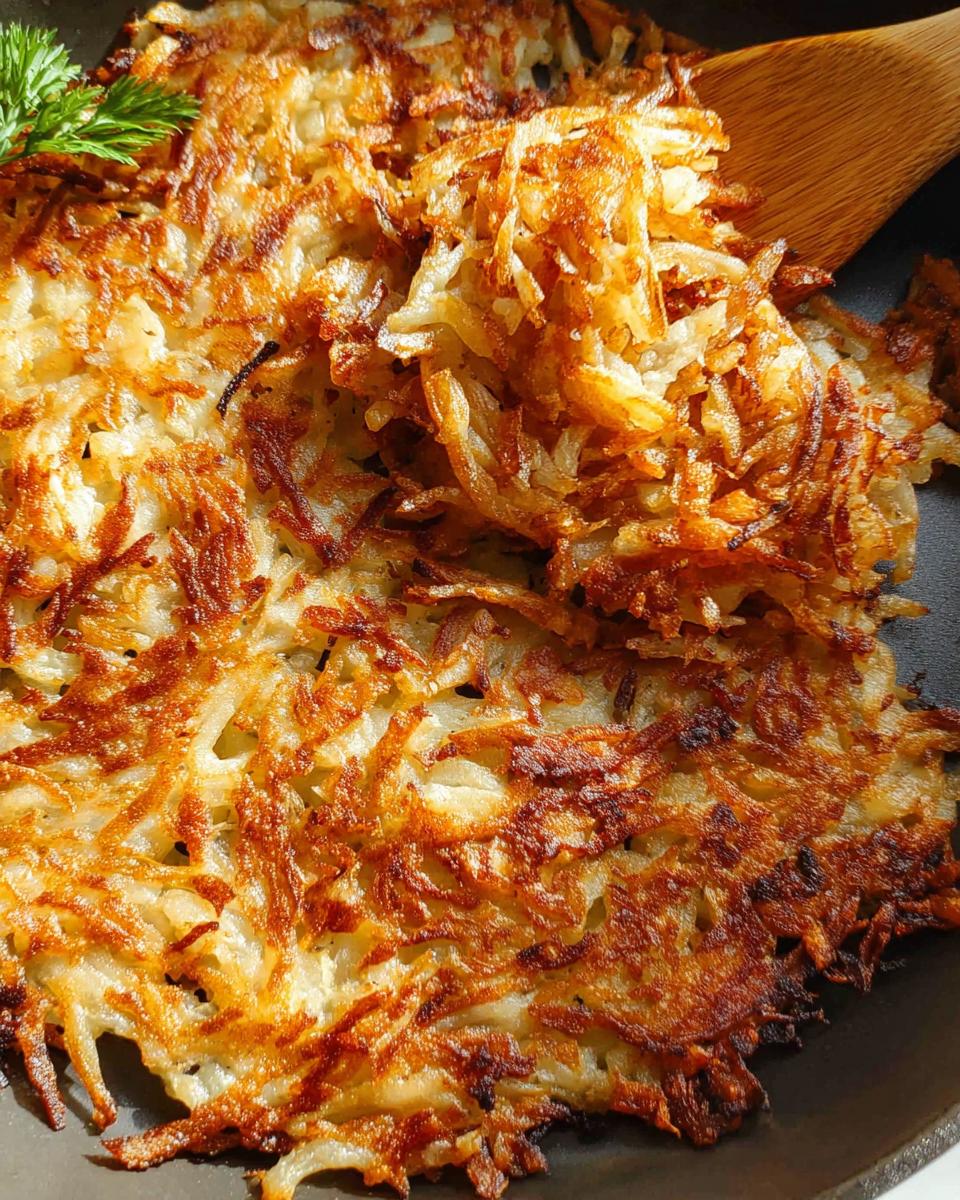
- Guaranteed Crispy Texture Every Time: The secret isn’t just the fat we use; it’s getting every bit of water out of those potatoes first. When you squeeze them hard, you are locking in the crispiness for your incredible Hash Browns (Crispy Skillet).
Gathering Ingredients for Perfect Hash Browns (Crispy Skillet)
Okay, ingredients! This list is super short, which I love because it means fewer things to buy and less clutter. Trust me, you don’t need a hundred spices when the potato flavor can shine through. Everything we use here is designed to maximize flavor and, more importantly, maximize that crispy crust we are after in our skillet.
We only need about two medium-large Russets. Don’t skimp on the fat, either! While I use olive oil, if you’ve got bacon grease handy, use that instead—it ramps up the flavor instantly. We need salt and pepper, of course, and a little onion powder just gives it that savory backbone that kids really seem to like.
Potato Preparation Details
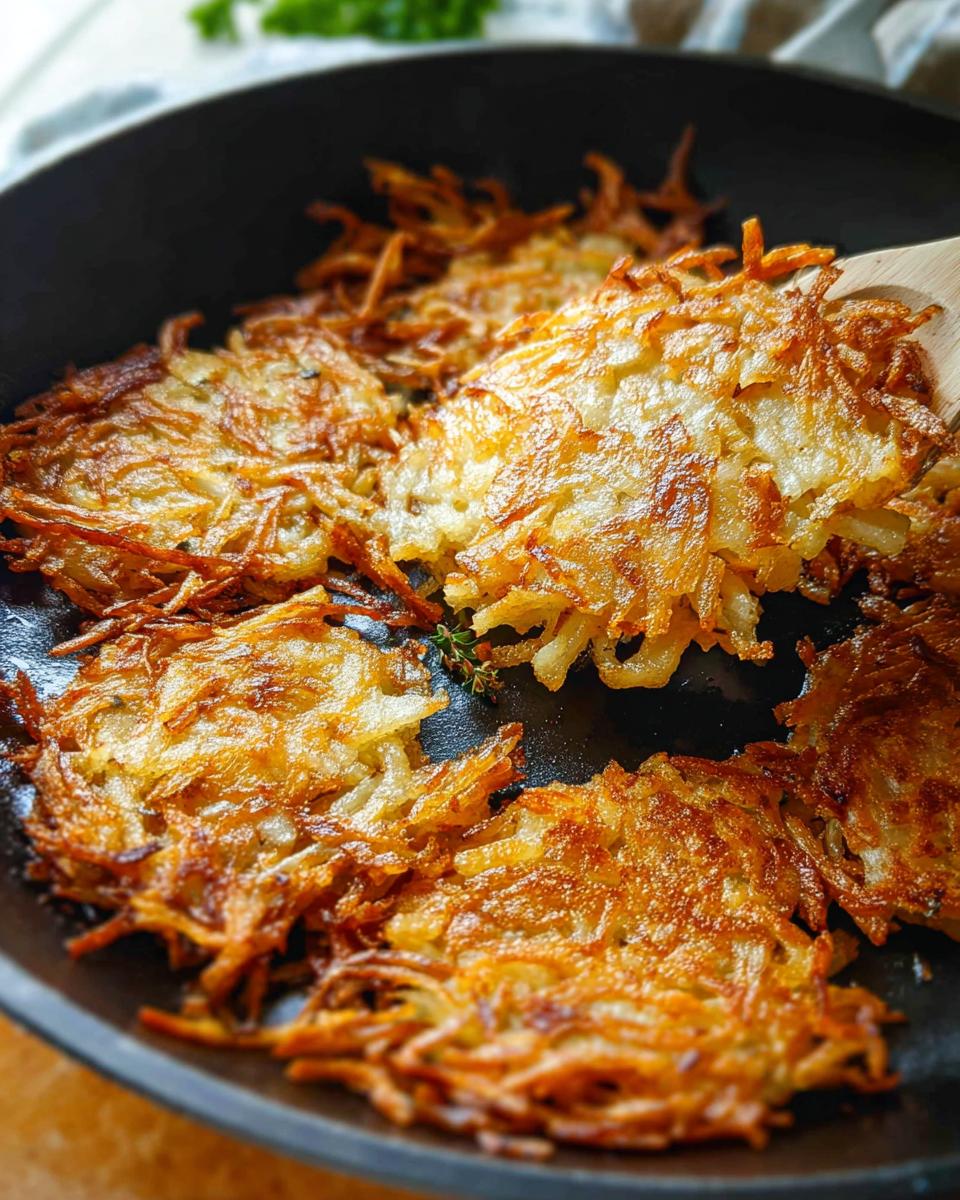
When selecting your Russets, go for the medium-large ones, usually two should do the trick for four servings. The most vital technique here is how you grate them. You need the big holes on your box grater—the ones that make those long, satisfying shreds. If they are too fine, they steam instead of crisping up, and we definitely don’t want steaming Hash Browns (Crispy Skillet)!
- 1.25 lb russet potatoes (about 2 medium-large)
- 1/2 tsp onion powder
- 1 Tbsp light olive oil or bacon grease (divided)
- 1 Tbsp butter (divided)
- Fine sea salt (to taste)
- Freshly ground black pepper (to taste)
- 1 Tbsp chives (optional to garnish)
The Process: Making Hash Browns (Crispy Skillet) Step-by-Step
This is where the magic happens! Making crispy hash browns is totally easy once you respect the potato’s structure. Everything moves fast once we hit the heat, so have your seasoning ready to go. I always tell people that the way you treat your shredded potatoes before they meet the hot pan determines 90% of the final crunch. For extra inspiration on getting that perfect crisp, I often look at great cooks online, like this excellent hash brown recipe guide.
Crucial Step: Removing Potato Moisture
Listen, you absolutely, positively must squeeze the water out. I can’t stress this enough! Take those freshly grated potatoes and dump them right into a clean kitchen towel or even cheesecloth. Now, grab the ends and twist. Squeeze until you think you physically cannot get another drop out. You want them dry—seriously dry! If you skip this, you’ll end up with steamed, mushy potato pancakes, and we are aiming for pure crunchiness here. For a deeper dive into this technique, check out my favorite potato squeezing tips right here.
Once squeezed beyond belief, toss those dry shreds in a bowl with your onion powder, salt, and pepper. Get them coated evenly.
Achieving the Golden Crust on Your Hash Browns (Crispy Skillet)
Next, heat up that 10-inch skillet over medium-high heat. You need a good sizzle! Add one tablespoon of that oil (or the yummy bacon grease if you went that route!) along with one tablespoon of butter. Let that fat melt and shimmer—that’s your cue. Dump the seasoned potato mixture in all at once and immediately press it down nice and firm with your spatula. Make sure it’s an even layer across the bottom.
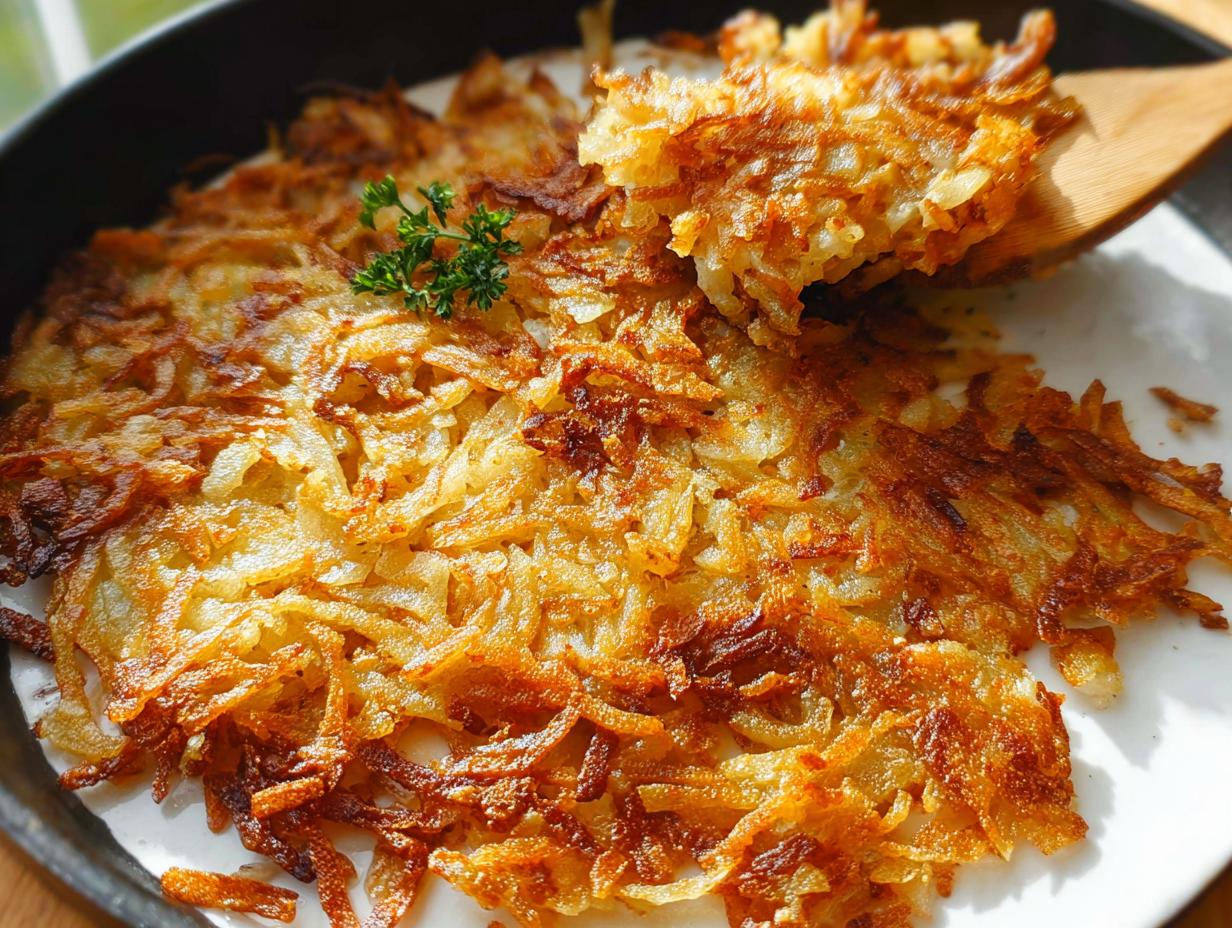
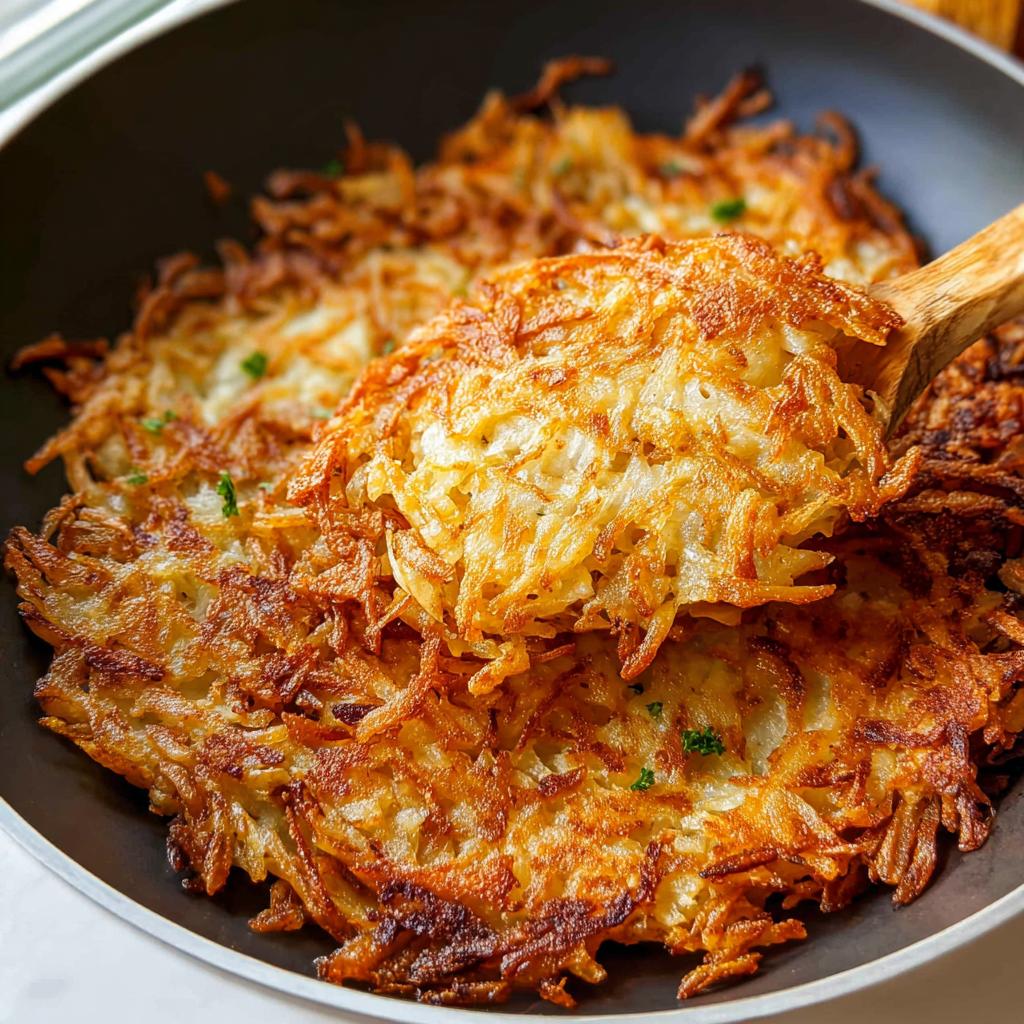
Now—and this is the hardest part—you have to leave it alone for about 8 to 10 minutes. Don’t poke it! Don’t lift it! Let that bottom crisp up into a unified, golden sheet. Once you can see the edges looking deep brown, carefully use a big spatula to flip the whole thing over. When you flip it, add the remaining tablespoon of oil and butter around the edges of the potatoes. Let the second side cook for another 8 to 10 minutes until it’s just as crunchy. If you want extra security, you can gently press down on the top one last time. Slide those beautiful Hash Browns (Crispy Skillet) onto a cutting board and let them rest for about 5 minutes before you slice into them—that 5-minute rest really helps them set up perfectly before serving!

Expert Tips for Next-Level Hash Browns (Crispy Skillet)
Now that you’ve mastered the basic flipping technique, let’s talk about how to make these potatoes truly stellar. Because we aren’t just making breakfast; we are making *the* weekend breakfast. Having the right equipment makes a huge difference in getting that edge-to-edge crispiness you dream about when craving Hash Browns (Crispy Skillet).
The recipe calls for a 10-inch skillet, and I stuck to that for years. But honestly, if you have a heavy 12-inch cast iron skillet, use it! Cast iron holds heat so consistently, which means fewer hot spots and a more uniform golden crust all around. If you want to deep-dive into the best pans for breakfast—seriously, it matters!—you should check out my guide on the best skillets for home cooks.
Ingredient Substitutions for Hash Browns
If you’re cooking for serious flavor fiends, you absolutely must swap the olive oil for bacon grease if you have it. Even just using half oil and half grease adds this amazing smoky background note that makes people ask what your secret is. Don’t worry, it’s our little secret!
What about sweet potatoes? You *can* use them, but I highly caution you against mixing them with Russets unless you are experienced. Sweet potatoes have way more sugar and water content, so frankly, they burn before they crisp when cooked this way. If you want to try sweet potato, stick to 100% sweet potato and slice the heat down to low-medium right away plus add that 5-minute rest time too.
Keep the seasoning simple, stick to what we discussed, dry those potatoes well, and watch your family devour those beautiful Hash Browns (Crispy Skillet)!
Serving Suggestions for Your Breakfast Potatoes
So, you have this perfect, crunchy side dish—what do you serve with it? Honestly, these potatoes are so versatile, they become the star of the plate, no matter what you add next to them. They complement everything, which is why they slide right into any brunch lineup!
For a classic family breakfast, you can’t beat piling them next to perfectly fried or soft-scrambled eggs. Seriously, dip the edge of that crispy potato right into the runny yolk—it’s heaven. And if you’re feeling ambitious, get some bacon sizzling alongside them. The smoky flavor mixes perfectly with that savory onion powder we added.
If you’re trying to lean into a healthier, trendier brunch, these work unbelievably well next to avocado toast. I love grabbing a slice of good sourdough, smashing on some avocado, and then topping it with a sprinkle of flaky salt, using the potatoes to scoop up any extra topping.
And for the kids? Honestly, they are fantastic just piled on a plate with a side of ketchup for dipping. We keep it simple around here most days, and those crispy breakfast potatoes disappear first, every single time. They truly make the whole meal feel special!
Storing and Reheating Your Hash Browns (Crispy Skillet)
Sometimes you just can’t eat all four servings at once! If you have leftovers of these amazing Hash Browns (Crispy Skillet), don’t chuck them out. You can absolutely keep them in the fridge for a couple of days. Just make sure they are totally cooled down first and store them in an airtight container so they don’t get mushy from condensation.
Now, for reheating? Please, please do not reach for the microwave! That’s how you turn crunchy into sad and soggy. For the best results, pop them in a toaster oven or a regular oven set to about 375°F (190°C) for about 8 to 10 minutes until they are hot throughout and crispy again. If you have an air fryer, even better! A quick 4 minutes in there should bring back that glorious crunch!
Frequently Asked Questions About Crispy Skillet Hash Browns
I get so many emails asking about little tweaks to this recipe, especially around keeping that crunch lasting past the first flip! It’s all about technique, but I promise these questions are super common. Here are the things people ask me most when they are trying to master their breakfast potatoes.
Can I use pre-shredded potatoes for this recipe?
Oh, honey, please don’t! I know it’s tempting when you’re racing out the door, but pre-shredded potatoes are almost always damp. They’ve often been treated with preservatives to keep them from browning in the bag, and that moisture is the absolute enemy of crispiness.
When you grate fresh Russets yourself—and I mean the big, satisfying shreds—you get that starchy surface that fries up beautifully. Then, when you squeeze them dry, you’re locking in the structure. If you try the bagged ones, they steam, and you just won’t get that satisfying, golden crust we’ve worked so hard for in our skillet recipe.
What is the best way to avoid soggy hash browns?
Soggy is the saddest word in the breakfast vocabulary! The whole point of this dish is the crunch, so we have two non-negotiable steps to avoid mush. First—and I taught my kids this trick—is the squeezing step. You have to squeeze every drop of water out with a strong kitchen towel until your hands hurt a little! If you leave moisture in there, it boils instead of fries.
Second is your fat temperature. You need that tablespoon of oil and butter shimmering hot before the potatoes even hit the pan. If the pan is lukewarm, the fat soaks into the potato shreds instead of immediately frying them. So, powerful squeeze, super hot pan. That’s your secret handshake for no-soggy breakfast potatoes!
Nutritional Estimate for Hash Browns (Crispy Skillet)
Because we are busy families, seeing the numbers helps plan the rest of the meal! Keep in mind these figures are just estimates based on the ingredients listed for four servings. I always suggest checking labels if you have very specific dietary needs, but these give you a great baseline for these wonderful breakfast potatoes.
For one serving of these delicious Hash Browns (Crispy Skillet), here’s what we are looking at:
- Calories: 180
- Carbohydrates: 26g
- Protein: 3g
- Fat: 7g
You see? Not heavy at all, especially considering how satisfying and filling these crispy hash browns are. They make a great start to any busy morning!
Share Your Weekend Brunch Success
Phew! We made it to the end, and now you have the skills to conquer weekend mornings with the most amazing batch of crispy breakfast potatoes! I truly hope these Hash Browns (Crispy Skillet) become as much of a beloved tradition in your home as they are in mine. Remember that joy I felt watching my picky eater devour the first bite? I hope you get to experience that exact moment with your own family!
If you gave this recipe a whirl, please let me know how it went! Drop a star rating right down below—it helps other busy parents see that this recipe is worth the 40 minutes investment. And if you snapped a picture of that glorious golden crust, I would absolutely love to see it! Tag me on social media so I can share your breakfast success stories.
If you’re already planning your next family favorite, I’ve got loads of other simple, kid-approved recipes waiting for you. You can check out my collection of tried-and-true family favorites right over here. Happy cooking, and enjoy those amazing weekend brunches!
Hash Browns (Crispy Skillet)
Ingredients
Equipment
Method
- Grate the potatoes using the large holes of a box grater. Place the shredded potatoes in a clean kitchen towel or cheesecloth and squeeze out as much moisture as possible. This step is crucial for crispy hash browns.
- In a bowl, combine the squeezed shredded potatoes with onion powder, salt, and pepper. Mix well.
- Heat 1 tablespoon of olive oil or bacon grease and 1 tablespoon of butter in a 10-inch skillet over medium-high heat until shimmering.
- Add the potato mixture to the skillet, pressing it down into an even layer. Cook for 8-10 minutes without disturbing, until the bottom is golden brown and crispy.
- Carefully flip the hash browns using a spatula. Add the remaining 1 tablespoon of olive oil or bacon grease and 1 tablespoon of butter to the skillet around the edges of the hash browns.
- Cook for another 8-10 minutes, until the second side is golden brown and crispy. You can gently press down on the hash browns to ensure even cooking.
- Slide the hash browns onto a cutting board. Let them rest for about 5 minutes before slicing and serving. Garnish with chives, if desired.
Nutrition
Notes
Tried this recipe?
Let us know how it was!
Certified Family Nutrition Strategist
My path into family nutrition began working with Phoenix Area Family Services, where I saw how traditional nutrition advice often ignored real-world constraints like budget limitations, time crunches, and kids who refuse to eat anything green. That experience sparked my mission to develop meal planning systems that work with family realities, not against them.
Over eight years, I’ve helped hundreds of families reduce grocery spending by 25% while dramatically improving their nutrition. My meal planning frameworks have been adopted by local wellness centers because they actually work for busy parents juggling different ages, preferences, and dietary needs in one household.
As a bilingual first-generation Mexican-American and mother of three, I personally navigate the daily challenge of feeding a family nutritiously while honoring cultural traditions and managing a household budget. My “kid-friendly low-carb” protocols show families how to gradually introduce healthier options without triggering mealtime battles or abandoning beloved family recipes.
My “realistic wellness” philosophy is straightforward: health improvements must work within existing family dynamics and financial realities to be truly sustainable. When I’m not developing meal planning systems, I’m creating portable trail snacks for our weekend family hiking adventures – because healthy eating should fuel the life you want to live.
My personal low-carb journey started after pregnancy as a way to regain energy for active parenting, and that experience continues to inform my professional commitment to making healthy eating feel supportive rather than burdensome for busy families.