
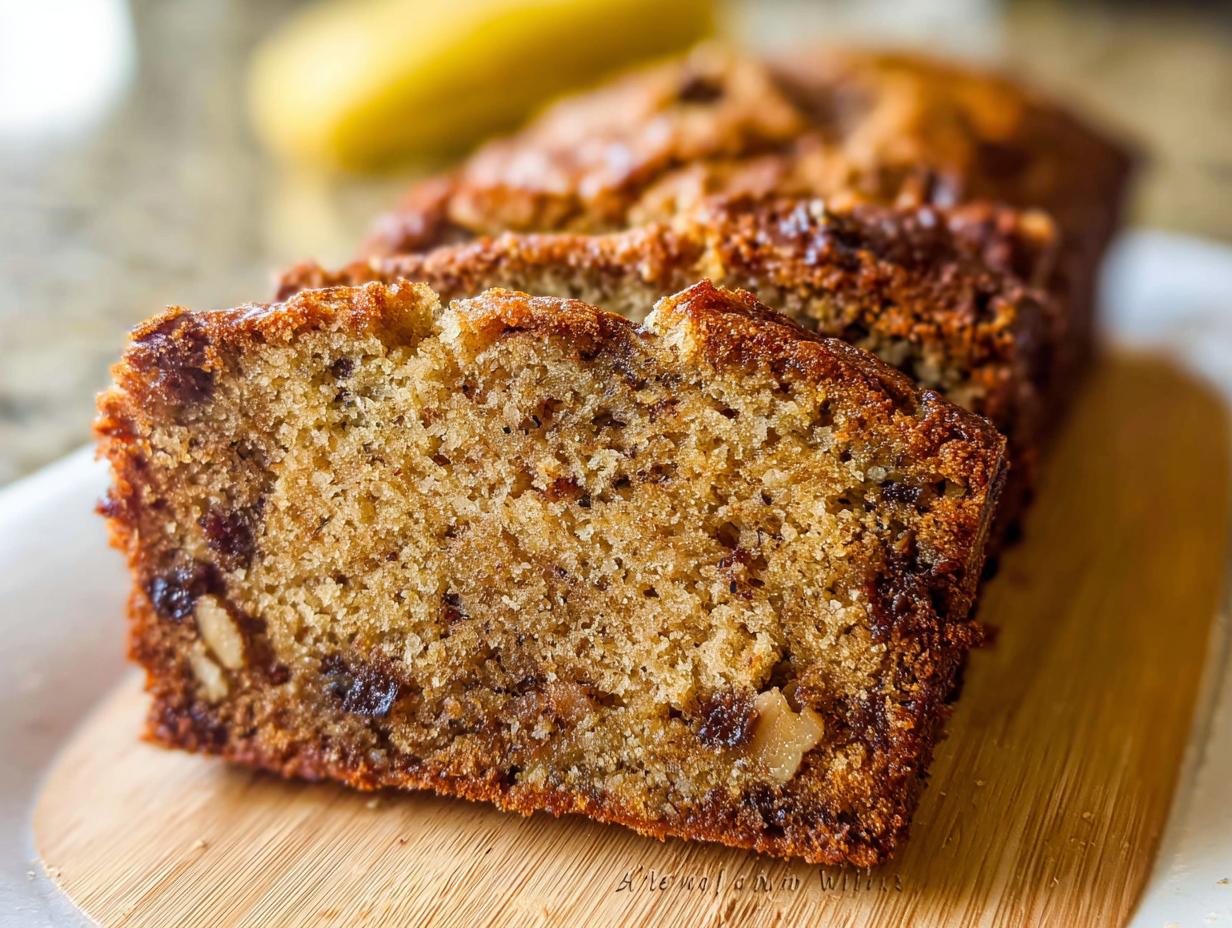
There is just something truly cozy about using up those sad, black-skinned bananas sitting on the counter, isn’t there? It feels like I’m saving them from the compost bin and turning them into pure magic! I promise you, after years of experimenting, I finally cracked the code to the ultimate quick bread. I’m talking about the one that everyone begs for at brunches: the Best Ever Banana Bread (Moist & Easy).
I first perfected this recipe in my tiny apartment kitchen way back when I was living in Barcelona. I had a massive bowl of overripe bananas and that deep, comforting craving for something sweet that smelled like home. As I mixed in the butter and simple pantry ingredients, the air filled up with vanilla and spices—it instantly transformed my small place into a cozy haven, drawing on that warmth I remember from my Lebanese-Italian heritage. That first loaf was shockingly moist and tender, a perfect little fusion of comfort. Every time I bake it now, that bread reminds me that the simplest recipes carry the greatest joy and connection. Trust me, this will be your go-to recipe for using up those overripe treasures!
Why This Is The Best Ever Banana Bread (Moist & Easy)
What makes this recipe the one you’ll stick with forever? It’s all about zero fuss and maximum flavor payoff. Forget dry, crumbly loaves; we are aiming for pure lift and tenderness here. You’re going to see why this is called the Best Ever Banana Bread (Moist & Easy).
- It delivers incredible flavor using ingredients you already have on hand.
- The texture is unbelievably Moist And Tender—it practically melts!
- It’s super fast to mix up, fulfilling that Easy Bake requirement.
Achieving That Perfect Moist And Tender Texture
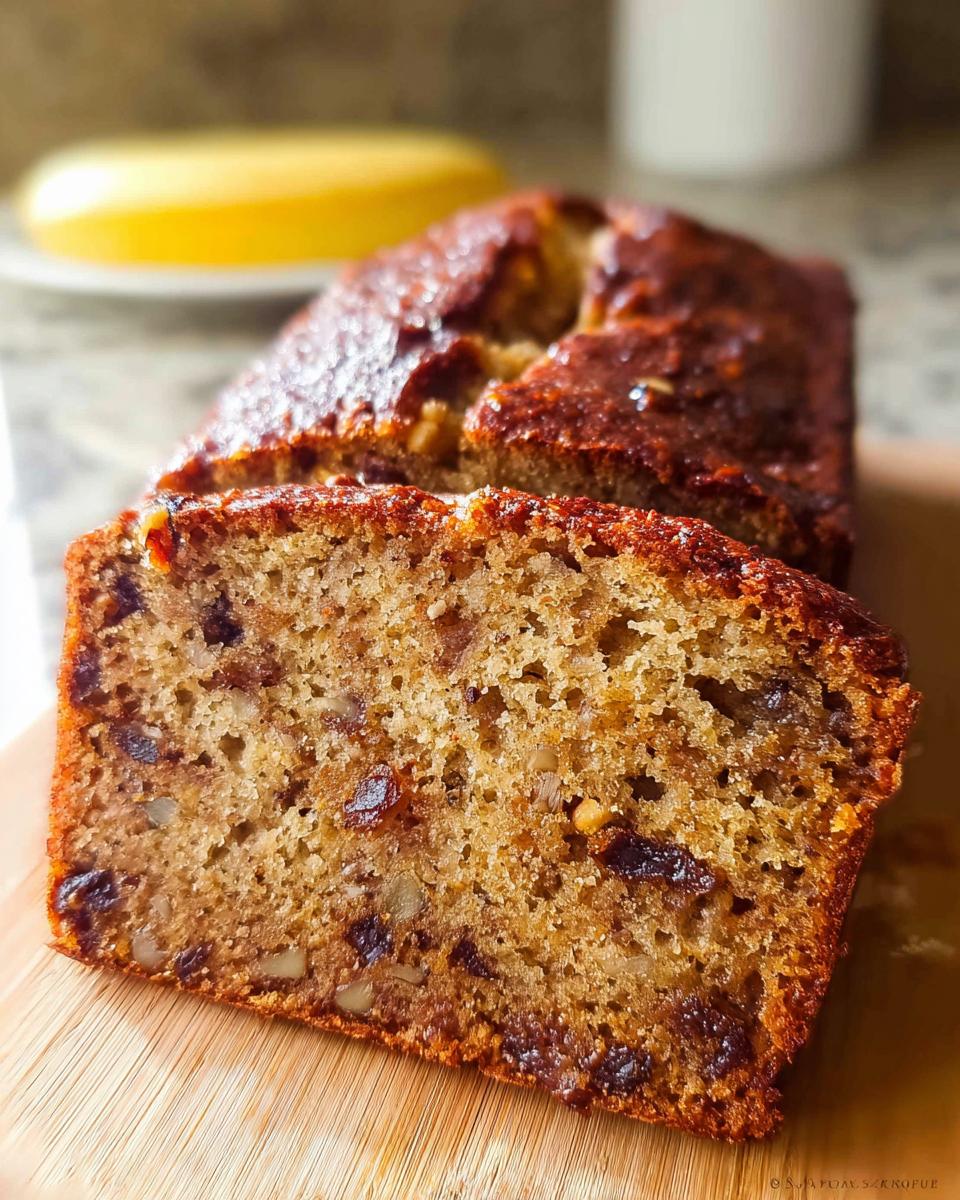
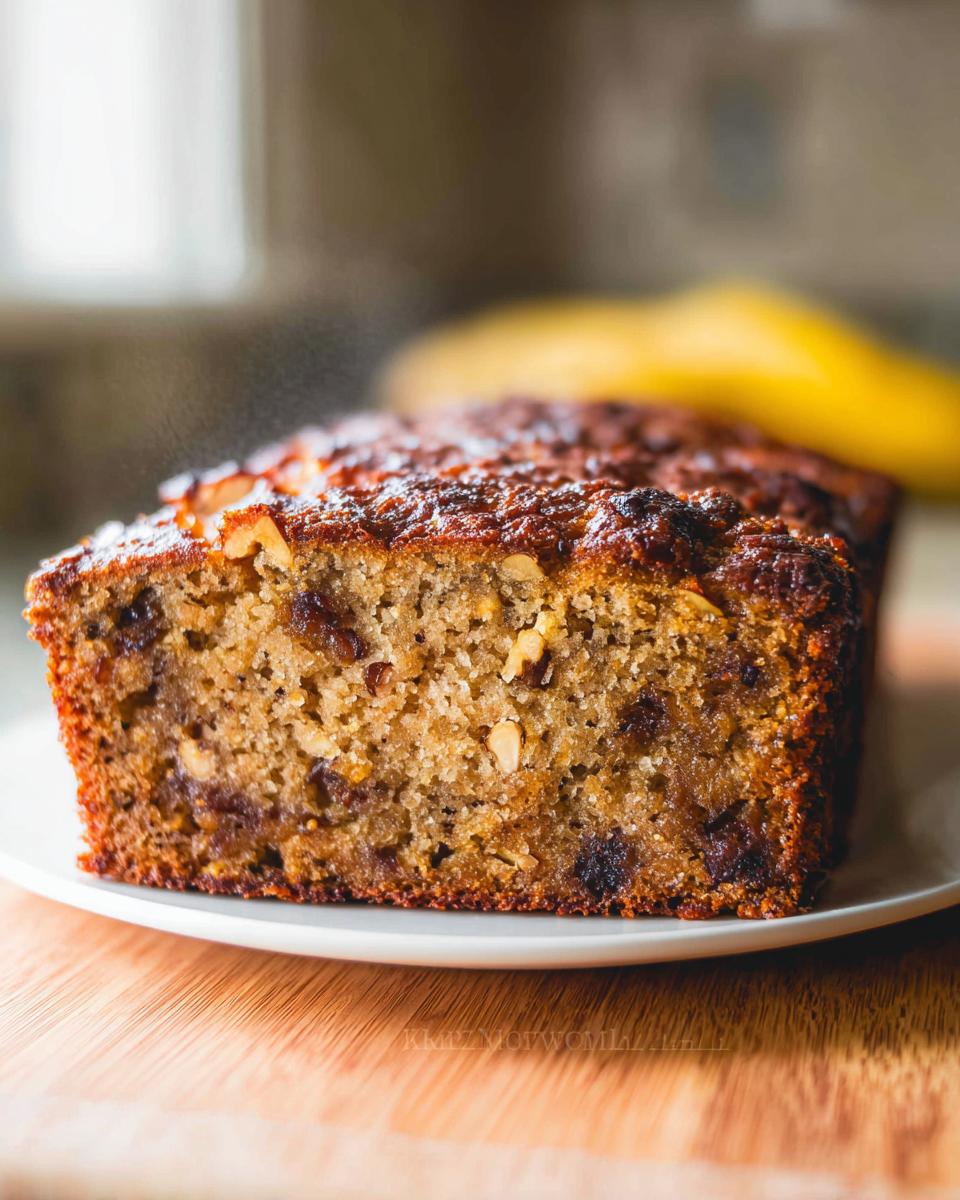
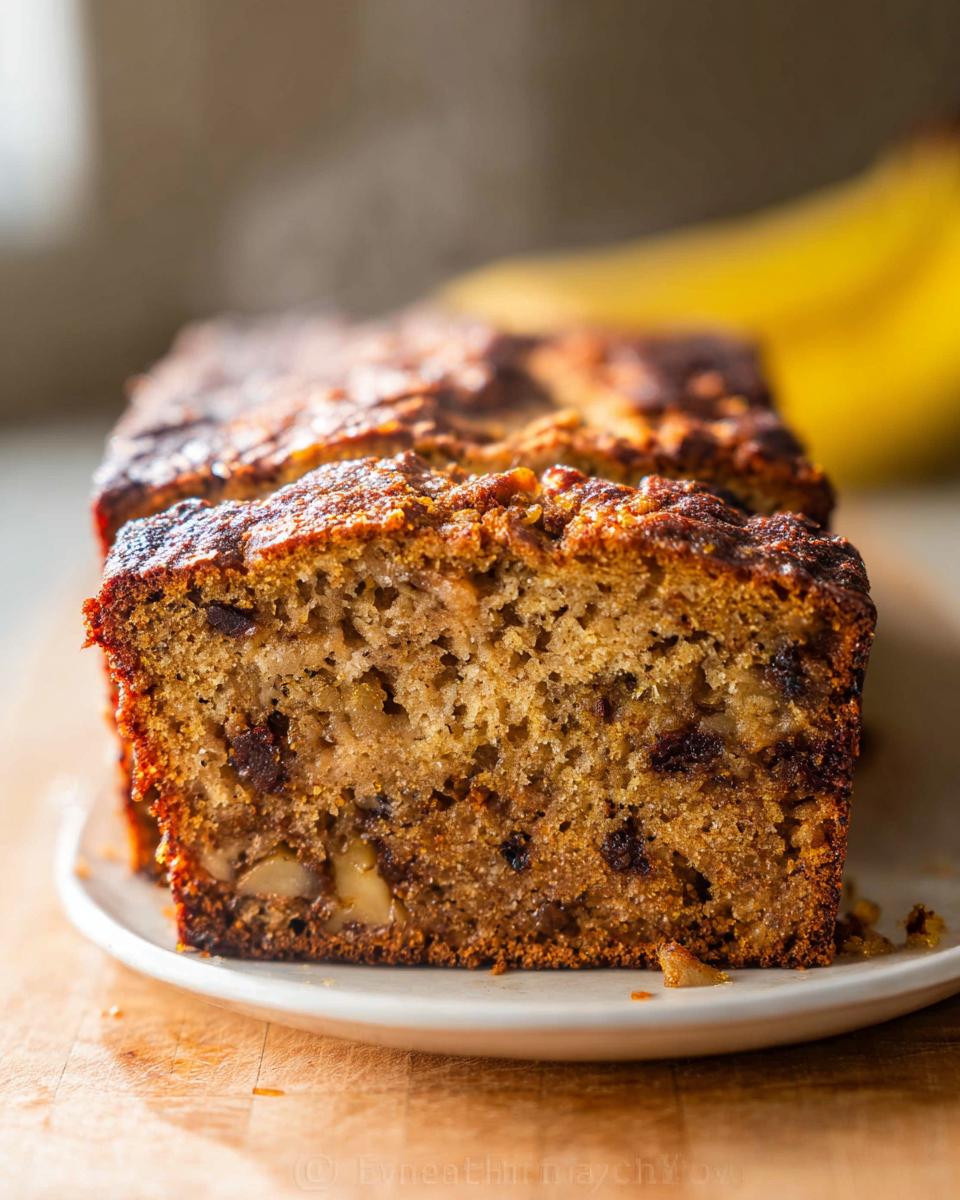
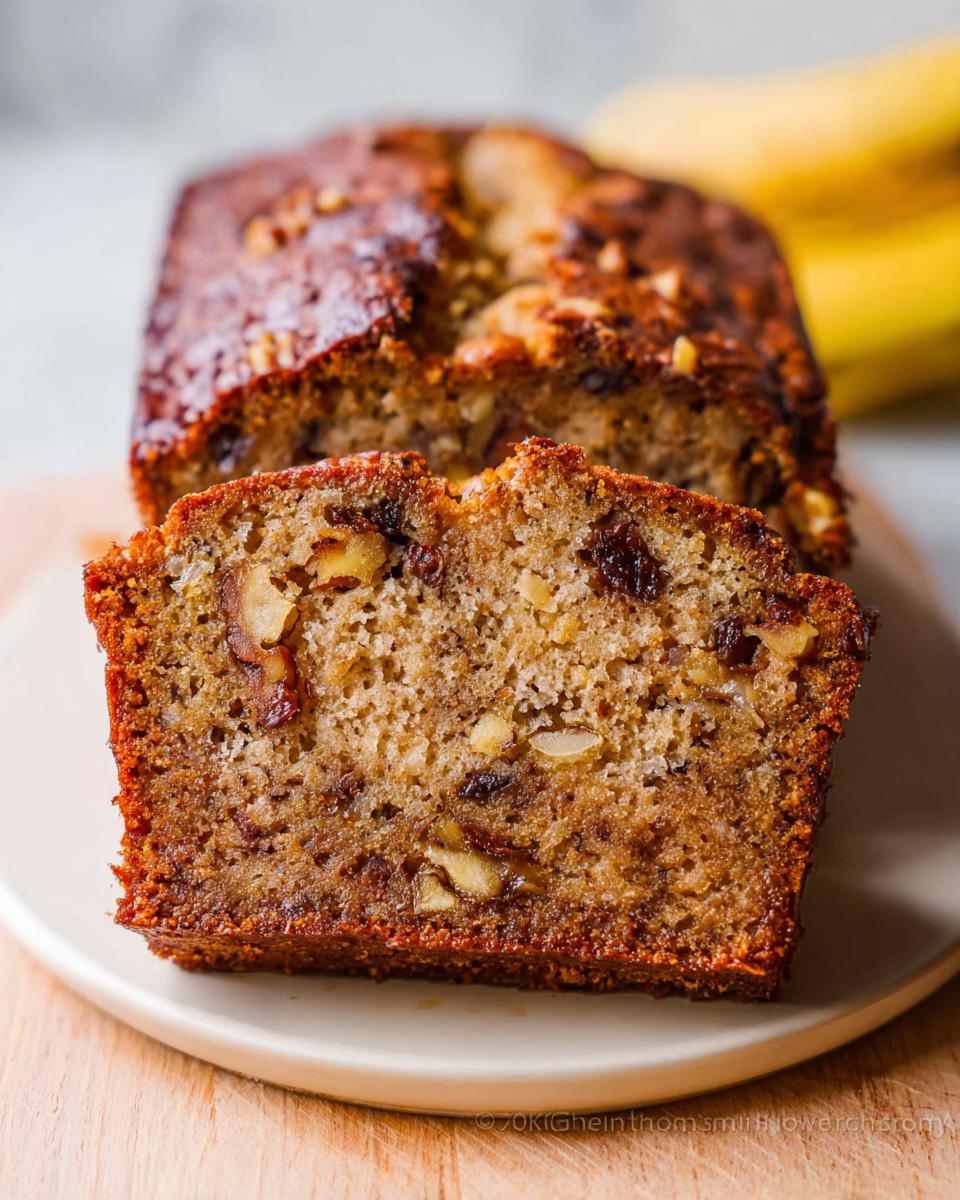
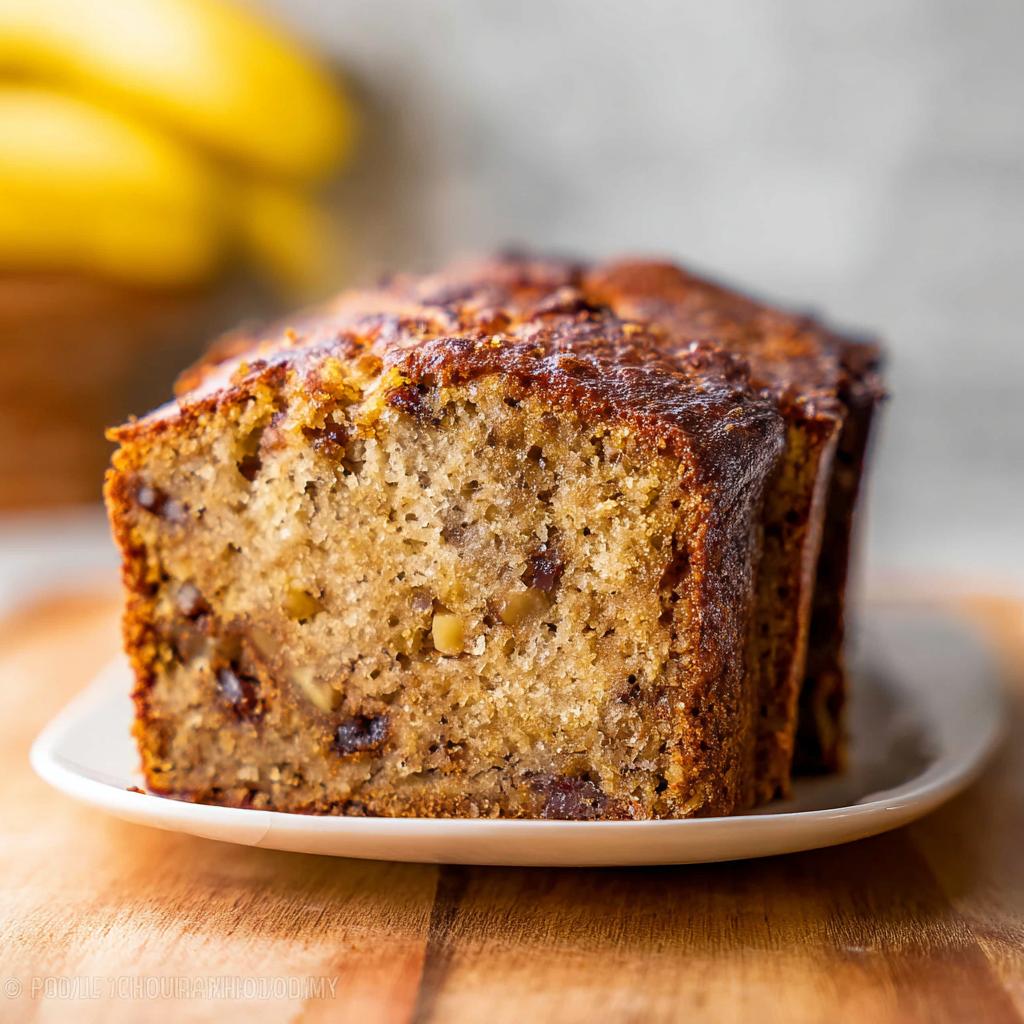
The secret sauce for the moistness? We use a high ratio of mashed banana to dry ingredients. Plus, creaming that softened butter properly acts like tiny pockets, trapping moisture inside while it bakes. It keeps wonderfully, too—though I doubt you’ll have any left!
Simple One Bowl Mixing Method
While technically we mix the dry stuff separately for best results, the principle holds: this is a super straightforward process. You’re pouring stuff into one big bowl and stirring gently. It really is a simple One Bowl wonder that cuts down on dishes and frustration. You stir, you pour, you bake. That’s it!
Essential Pantry Ingredients For The Best Ever Banana Bread (Moist & Easy)
The beauty of making the Best Ever Banana Bread (Moist & Easy) is that you likely have everything you need right now! No last-minute trips to the store required—that’s the beauty of easy baking. We rely on simple pantry staples to create this incredible texture.
For the loaf itself, here’s what you’ll need:
- We need 3 very ripe bananas—and I mean really ripe, almost entirely black on the skin!
- You’ll need 8 Tbsp of unsalted butter, and make sure it’s softened up, not melted.
- For sweetness, grab 3/4 cup of granulated sugar.
- Two large eggs, just lightly beaten before they go in.
- Next up, the dry stuff: 1 1/2 cups of all-purpose flour, 1 tsp of baking soda, and 1/2 tsp of salt.
- A splash of 1/2 tsp of vanilla extract pulls everything together.
- For texture and crunch, we stir in 1 cup of chopped walnuts and 1/2 cup of raisins.
Ingredient Notes and Substitutions
Let’s talk about those bananas. When I say “very ripe,” I mean those beauties that look borderline tragic. The browner they are, the sweeter and more moisture they carry, which is essential for that Moist And Tender crumb. Don’t even think about using yellow ones!
Also, if you’re out of granulated sugar, don’t panic! You can swap that 3/4 cup right out for 3/4 cup of liquid sweetener like honey or maple syrup. If you use honey, your bread might brown just a touch faster, so keep an eye on the oven around the 45-minute mark. This recipe is built for flexibility, as long as you respect the bananas!
Step-by-Step Guide To The Best Ever Banana Bread (Moist & Easy)
Ready to see why this is the Best Ever Banana Bread (Moist & Easy)? Baking the best quick bread is all about setting yourself up for success upfront. Don’t rush these initial moves; they matter! I promise that following these steps leads straight to that beautiful, tender slice we all dream about. If you want a peek at another fantastic method for speedy baking, check out some tried-and-true quick bread techniques, but stick with my method below for the absolute best results.
Preparing The Pan and Nuts
First things first: we need heat! Preheat your oven to 350°F (175°C). While that warms up, get your 9×5 inch loaf pan ready by greasing it well and giving it a light dusting of flour. Don’t skip this greasing step, or you’ll tear your beautiful loaf later!
Now for a flavor booster: the walnuts. Pour them into a dry skillet—no oil needed—and toast them over medium heat, stirring every few seconds until they smell amazing and fragrant. This step is key! Once toasted, let them cool down completely before you chop them coarsely. You can also see how other amazing bakers handle their prep work by watching this useful banana bread video guide.
Mixing Wet and Dry Components
Grab your big mixing bowl. Cream together that softened butter and the sugar until they look smooth and happy together. Then, mash those three black bananas fiercely with a fork until they look like chunky applesauce—we want texture! Add the mashed bananas and your two lightly beaten eggs to the butter mix and stir until everything looks nicely combined.
In a separate, smaller bowl, quickly whisk your flour, baking soda, and salt together. This keeps the leavening agents evenly distributed. Now, add this dry blend into the wet ingredients. Mix just until you see the flour streaks disappear. Seriously, stop mixing! Overmixing is the number one killer of moist banana bread. Finally, fold in the vanilla, the cooled chopped walnuts, and those raisins. Pour the whole glorious batter into your prepared pan and spread it flat. Bake for 55 to 60 minutes, or until a wooden skewer comes out clean. Remember to let it rest in the pan for 10 minutes before moving it to a wire rack to cool completely. That resting time is non-negotiable!
Tips For Success When Making Your Banana Bread
Okay, so you’ve got your batter mixed up, but let’s talk about taking this from just ‘good’ banana bread to something truly spectacular. Even with an Easy Bake recipe like this one, a couple of small tricks can make a huge difference in the final texture and taste. Don’t worry if your bananas aren’t perfectly spotty yet; I have tips for that too!
Baking can sometimes feel a bit like chemistry, but once you know the little secrets, it becomes intuition. If you run into any unexpected issues while trying out new recipes, I’ve gathered some favorite ideas on basic baking troubleshooting that have saved me more than once!
How To Get The Best Banana Flavor
If I could scream one thing from the rooftops about banana bread, it would be this: flavor comes from ripeness, period. You want bananas that look like they’ve had a rough day—all brown spots, maybe even totally black skin. That deep brown color means the starches have converted to sugar, which concentrates that unmistakable banana flavor. If your bananas are only yellow with a few spots, they won’t give you that deep, comforting sweetness we are looking for in a truly Moist And Tender loaf.
If you forgot to let them sit out, or you are totally impatient (I get it!), here’s a little cheat I use sometimes. Pop those slightly yellow bananas, skin and all, onto a baking sheet and bake them at 300°F (150°C) for about 15 to 20 minutes. The skins will turn black, and the inside will become soft and sweet. Let them cool down just slightly before peeling and mashing them into the batter. It’s a total game-changer for those impromptu baking days!
Also, a little word against over-baking! That 55 to 60-minute window is important for this loaf. Once the toothpick comes out clean, take it out immediately. If you leave it in one extra minute, the top starts to dry out while the middle overcooks. We want that perfect carry-over cooking on the wire rack, not drying out in the hot oven!
Storage And Reheating For Your Best Ever Banana Bread (Moist & Easy)
It’s a real joy when you have leftover banana bread, although let’s be honest, with how tender this loaf is, it rarely lasts more than a day around my house! But if you manage to save a slice or two of the Best Ever Banana Bread (Moist & Easy), you want to make sure it stays just as moist and perfect as the moment it came out of the oven.
Keeping it Fresh at Room Temperature
Once the bread is completely cool—and I mean cooled all the way down on that wire rack, otherwise you create steam which makes it soggy—wrap it up tightly. I prefer using plastic wrap, wrapping it firmly from end to end. Then, I often tuck that wrapped loaf into a large zip-top bag, pushing out most of the air. Stored this way, it stays wonderfully moist on the counter for about three to four days. It’s perfect for grabbing a quick slice for breakfast!
The Secret to Freezing Banana Bread
If you know you won’t get to it within four days, freezing is your absolute best friend. This bread freezes like a dream! Before you wrap it, I highly recommend slicing it first. That way, you can thaw individual slices instead of having to defrost the whole loaf when a craving hits.
Wrap each slice tightly in plastic wrap first, then give it a second layer of protection with aluminum foil or place the wrapped slices into a freezer-safe container. It keeps beautifully for up to three months! When you want to eat it, just unwrap the slice and let it thaw on the counter for about an hour, or zap it in the microwave for about 15-20 seconds. It comes back to life incredibly well!
Frequently Asked Questions About This Easy Bake Banana Bread
It happens every time—you bake something amazing and suddenly everyone has questions! I totally get it. It’s a sign that this Easy Bake recipe is a winner. Here are the things folks ask me most often about getting the texture and flavor just right.
Can I make this recipe without nuts or raisins?
Absolutely! Don’t feel pressured to keep those mix-ins if they aren’t your favorite. If you skip the nuts and raisins entirely, you simply end up with a beautiful, pure banana loaf. Be aware that the overall batter volume will be slightly less, so the loaf might bake just a smidge faster—test it around 50 minutes if you leave them out.
If you want to keep that lovely textural element but skip nuts or raisins, try adding half a cup of mini chocolate chips instead! They melt right into the batter and give you that little burst of gooey goodness. That’s a great swap for kids who turn their noses up at fruit in their bread.
How do I know when my Best Ever Banana Bread (Moist & Easy) is fully baked?
This is probably the most important question for achieving that perfect Moist And Tender result! Honestly, the toothpick test is your best friend here. Insert a thin wooden skewer or toothpick right into the center of the loaf.
If it comes out with wet batter clinging to it, it needs more time, maybe another five minutes. If it comes out bone dry, oops, you might have overbaked it just a tad! What we are looking for on the Best Ever Banana Bread (Moist & Easy) is moist, sticky crumbs clinging to that toothpick. That means it’s cooked through but still loaded with that amazing banana moisture. Resist the urge to poke it too many times, as all those holes let steam escape and can dry it out!
Estimated Nutrition For The Best Ever Banana Bread (Moist & Easy)
We all dream of that perfect slice of banana bread, right? But sometimes we wonder what exactly we are diving into nutritionally. Since this is the Best Ever Banana Bread (Moist & Easy), it is rich with banana, butter, and those lovely nuts, so it is a treat, not a diet food!
Based on the ingredients list we used to whip up this loaf, here are the estimated figures per serving. Remember, this recipe makes about 10 generous slices, and these numbers are just averages!
- Calories: Around 350
- Carbohydrates: About 45 grams
- Protein: Roughly 5 grams
- Fat: Approximately 18 grams
Now, I have to tell you, these are just estimates—it’s how most good home recipes compile this info! Your final numbers can change tons depending on the size of your bananas, whether you used sugar or honey, and if you opted for walnuts or maybe tossed in pecans instead. If you’re watching your diet closely, definitely factor in that richness from the butter and nuts. But honestly? Every single calorie in this moist and tender treat is worth it!
Share Your Baking Experience
Now that you’ve baked up what I truly hope becomes your go-to loaf, I am dying to hear all about it! Did you use the walnuts, or did you try adding chocolate chips like I mentioned? Baking should always be a shared joy, not a solo mission.
If you loved how incredibly moist and easy this recipe was, please come back and leave a rating for me! Five stars means the world, and every comment helps other bakers feel confident trying my secret technique. I really hope this Easy Bake banana bread brings the same warmth and comfort to your kitchen that it brought to mine, even when I was baking so far away from home.
Don’t forget, if you snap a picture of your beautiful, tender loaf, tag me on social media! I always love seeing your creations. Or, if you want to join the wider baking family where we discuss all sorts of new ideas and techniques, feel free to check out my favorite spot for swapping tips over at my baking community forum. Happy baking, friends!
Best Ever Banana Bread (Moist & Easy)
Ingredients
Equipment
Method
- Preheat your oven to 350°F (175°C). Grease and flour a 9×5 inch loaf pan.
- Lightly toast the walnuts in a dry skillet over medium heat, stirring constantly, until fragrant. Be careful not to burn them. Let them cool, then chop coarsely.
- In a large mixing bowl, cream together the softened butter and sugar until smooth.
- Mash the ripe bananas with a fork until they have a chunky applesauce consistency. Add the mashed bananas and the lightly beaten eggs to the butter and sugar mixture. Mix until well combined.
- In a separate bowl, whisk together the flour, baking soda, and salt. Add this dry mixture to the wet ingredients and mix until just combined. Do not overmix.
- Stir in the vanilla extract, chopped walnuts, and raisins.
- Pour the batter into the prepared loaf pan and spread evenly.
- Bake for 55-60 minutes, or until a toothpick inserted into the center of the bread comes out clean.
- Let the banana bread rest in the pan for 10 minutes before carefully transferring it to a wire rack to cool completely.
Nutrition
Notes
Tried this recipe?
Let us know how it was!
Master of Global Fusion Innovation
My culinary adventure reflects my Lebanese-Italian heritage and a decade spent in the dynamic fusion restaurant scenes of Miami and Barcelona. I’ve made it my mission to prove that beloved global comfort foods can be successfully adapted for low-carb living without losing their soul, their cultural authenticity, or their ability to comfort.
With advanced training in molecular gastronomy and experience spanning Mediterranean, Middle Eastern, and Latin American traditions, I’ve developed what I call “respectful innovation” – culinary creativity that honors traditional cooking wisdom rather than replacing it. My alternative ingredient substitution systems are now taught in specialty diet cooking schools throughout the region.
Drawing from my trilingual upbringing, I understand how deeply food connects to identity and memory. That’s why my flavor-bridging techniques allow classic dishes from around the world to maintain their comforting, familiar qualities while meeting contemporary nutritional standards. I regularly share these techniques at international culinary symposiums and innovation events.
When I’m not experimenting in my Miami fusion kitchen laboratory, you’ll find me at local salsa dance venues – the rhythm and improvisation skills translate directly to my creative cooking process! My role as a foster parent to rescue rabbits has unexpectedly inspired some of my most creative plant-based low-carb innovations.
My personal low-carb journey began as a way to maintain energy for my active lifestyle, but it’s evolved into a professional mission of proving that healthy eating can be globally adventurous rather than restrictively limiting. Every recipe I create is a passport to culinary adventure, transforming kitchens into laboratories for exploring healthy versions of the world’s most beloved comfort foods.