
Okay, so picture this: you’re juggling work, life, maybe a furry little taste tester like my Mango enthusiastically supervising from the kitchen floor, and you’re thinking, “How can I possibly get a delicious AND healthy meal on the table tonight?” I get it! After years in fancy kitchens, I found myself back in my own San Diego kitchen, totally overwhelmed by the same struggle. That’s why I’m SO excited to share what I truly believe is The Only Healthy Meals Recipes Recipe You’ll Need (2025). My mission, born from a passion for vibrant, culturally rich food, is to show you that healthy eating doesn’t have to be complicated or boring. Even for us busy folks, delicious, nutritious meals are totally within reach, and trust me, they’ll taste amazing!
Why This is The Only Healthy Meals Recipes Recipe You’ll Need (2025)
So, why do I say this is The Only Healthy Meals Recipes Recipe You’ll Need (2025)? Because it cuts through all the noise and gets straight to what matters: delicious, nutritious food that fits into *your* life. We’re talking about meals that are:
- Seriously Easy to Make: No fancy techniques or endless hours required. You can whip these up even on your busiest weeknights.
- Packed with Flavor: Healthy doesn’t mean bland! We’re bringing in vibrant spices and fresh ingredients to make every bite exciting.
- Culturally Authentic: My culinary roots mean we’re exploring diverse flavors that make healthy eating feel like a global adventure.
- Super Adaptable: Whether you need a quick dinner (perfect for busy cooks!) or a base for something more elaborate, these recipes flex to your needs.
These aren’t just recipes; they’re solutions for a healthier, tastier you in 2025 and beyond.
Key Ingredients for Healthy Meals Recipes
Alright, let’s talk the good stuff – the building blocks for The Only Healthy Meals Recipes Recipe You’ll Need (2025). When you focus on quality, accessible ingredients, healthy cooking just clicks. Think vibrant veggies, lean proteins, and whole grains. I *love* starting with fresh produce like spinach and chickpeas – they’re so versatile, as you can see in my Chickpea and Spinach Coconut Curry. They bring color, nutrients, and flavor without needing a ton of fuss. It’s all about picking those nourishing staples that make creating delicious, balanced meals a breeze, every single time.
Mastering The Only Healthy Meals Recipes Recipe You’ll Need (2025): A Step-by-Step Guide
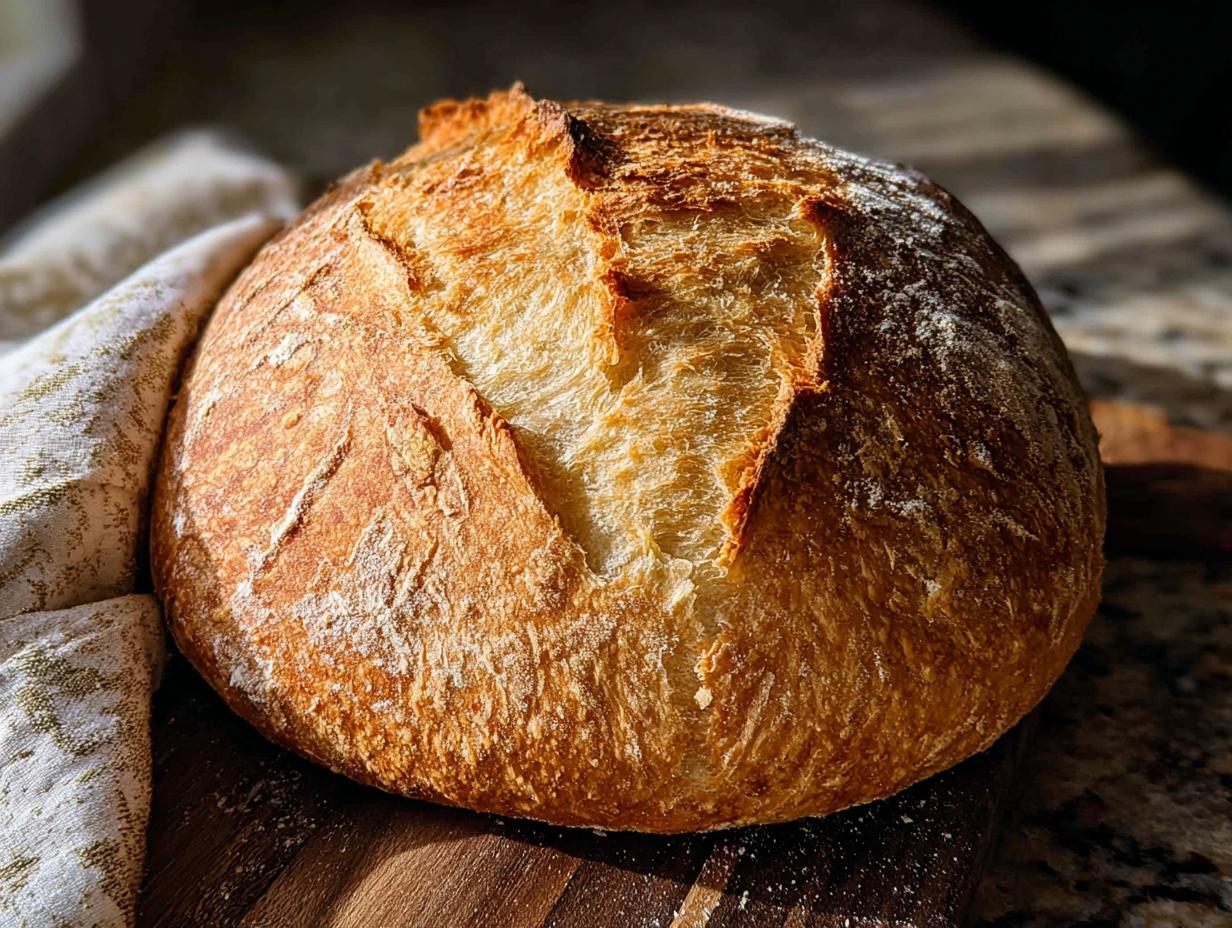
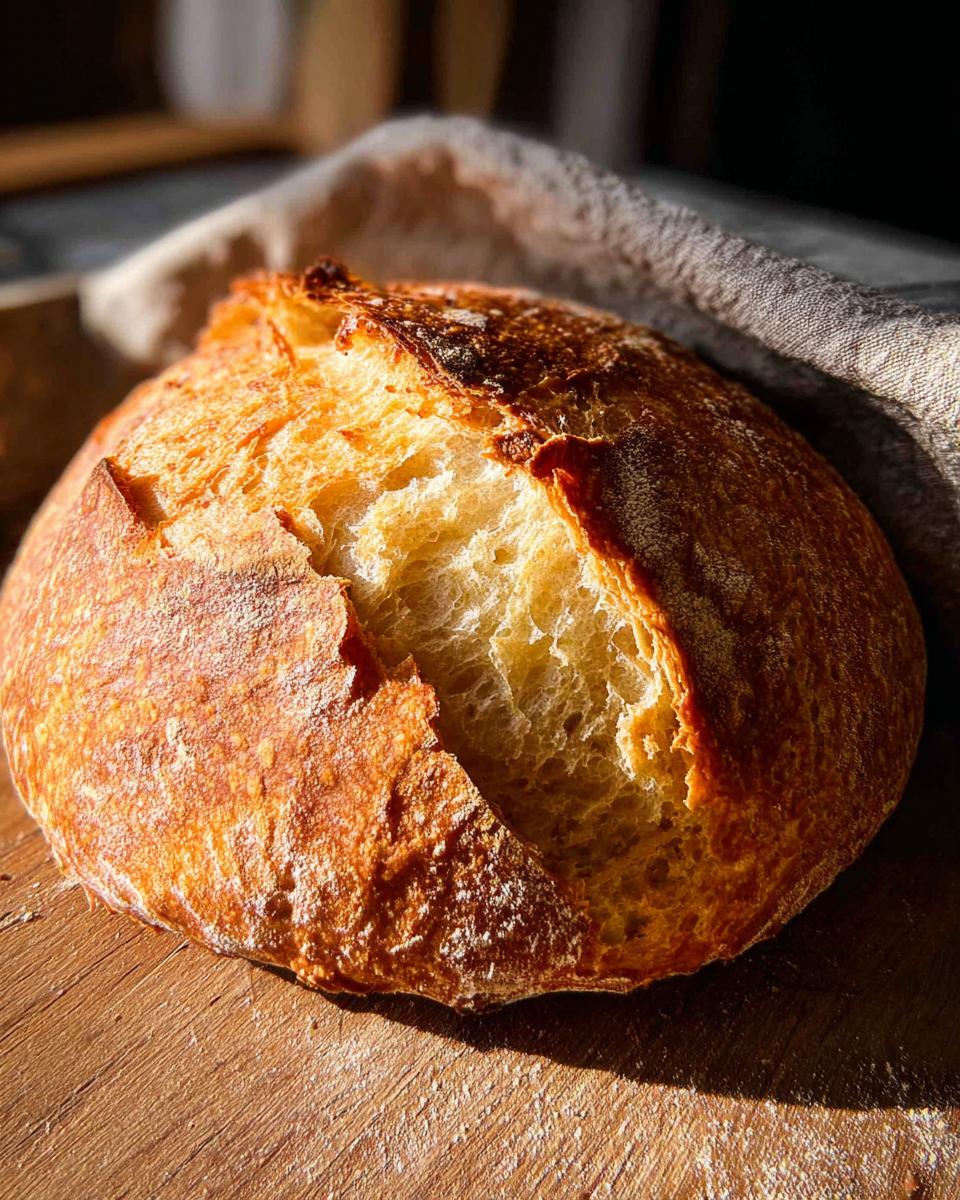
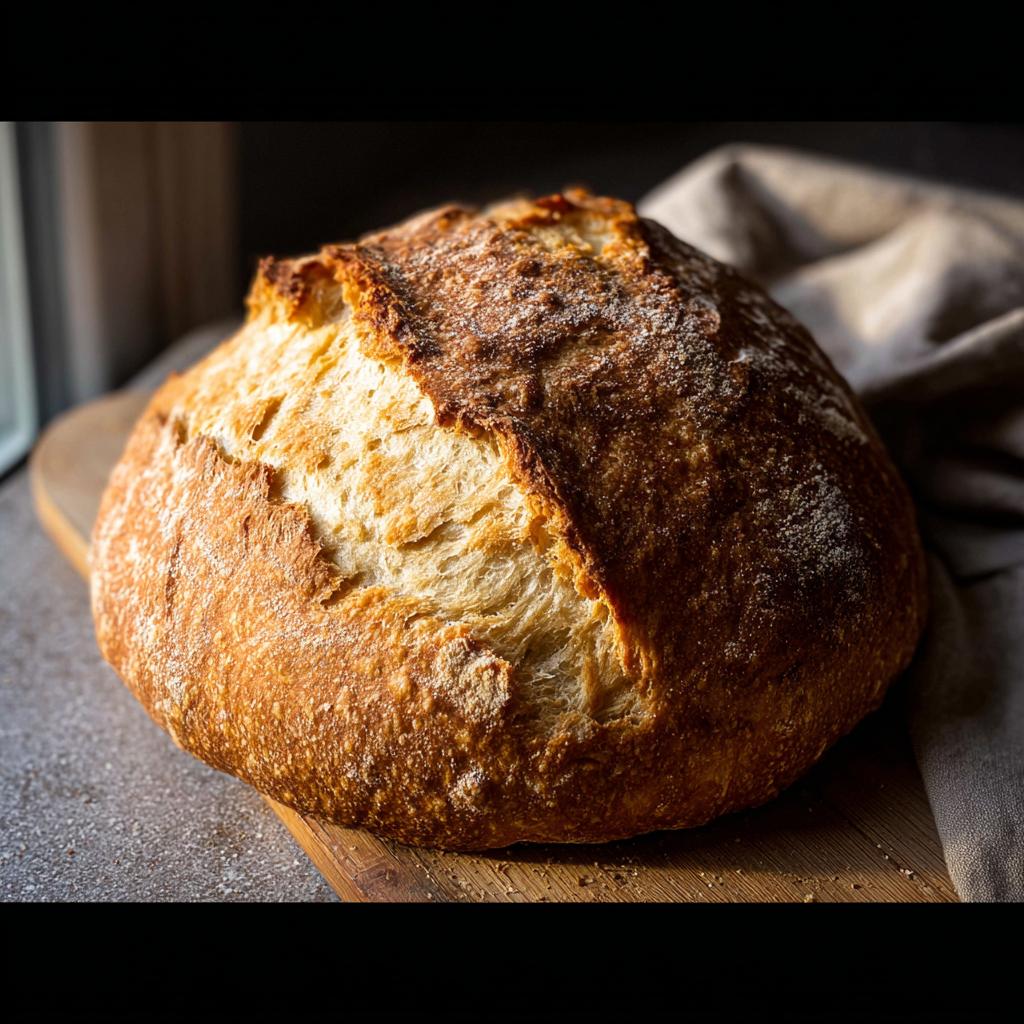
Now, let’s dive into the heart of why this whole approach works so well. We’re talking about real food, made simple, and honestly, a little bit magical. This recipe for No-Knead Beer Bread is a perfect example of how effortless healthy can be. It’s the kind of bread that makes your kitchen smell incredible and is surprisingly adaptable – just like my banana bread, it’s a crowd-pleaser that doesn’t ask for much. You’ll find it’s the perfect sidekick to so many healthy meals, or just amazing on its own with a little butter. It really lives up to being part of The Only Healthy Meals Recipes Recipe You’ll Need (2025) because it’s foolproof and so satisfying. You can check out the original inspiration over at Half Baked Harvest too!
Ingredients for Your No-Knead Beer Bread
Here’s what you’ll need to gather for this wonderfully easy bread:
For the Dough
- 3 cups all-purpose flour
- 2 teaspoons instant yeast (make sure it’s the rapid rise kind!)
- 1-2 tablespoons chopped fresh rosemary (this is optional, but oh-so-good!)
- 2 teaspoons kosher salt
- 1 (12 ounce) can or bottle beer, at room temperature (seriously, room temp is key!)
- 1 1/2 cups warm water (if you’re not a beer fan, this is your alternative!)
Preparing Your No-Knead Beer Bread
Okay, let’s get baking! It’s surprisingly simple:
- Start by grabbing a nice big bowl. Stir together your flour, the instant yeast, that fresh rosemary if you’re using it, and the kosher salt. Give it a good whisk to combine everything.
- Next, pour in your room-temperature beer (or warm water if that’s your choice) and mix it all up with a spatula. You just want to combine it until there are no dry bits of flour left. Yep, it’s going to look pretty sticky and shaggy – that’s exactly what you want!
- Now, cover that bowl up and let it hang out on your counter for at least 12 hours. Honestly, letting it go overnight is even better. This long, slow rise is where all the flavor develops.
- When you’re ready to bake, preheat your oven to a nice hot 450°F. Here’s a little trick: put a big Dutch oven (lid on!) into the oven while it preheats. Let it get screaming hot for about 30 minutes.
- Get a clean countertop or a large cutting board ready and dust it generously with flour. Gently scrape your dough out of the bowl onto the floured surface. It’ll be loose and sticky, so don’t worry if it doesn’t hold a perfect shape.
- Carefully form the dough into a loose ball – again, it doesn’t need to be perfect! Place the ball onto a piece of parchment paper. Cover it loosely and let it rest for about 1 hour. It should puff up and roughly double in size.
- Once it’s firmed up and risen, carefully lift the dough and parchment paper and gently place it into that super hot Dutch oven.
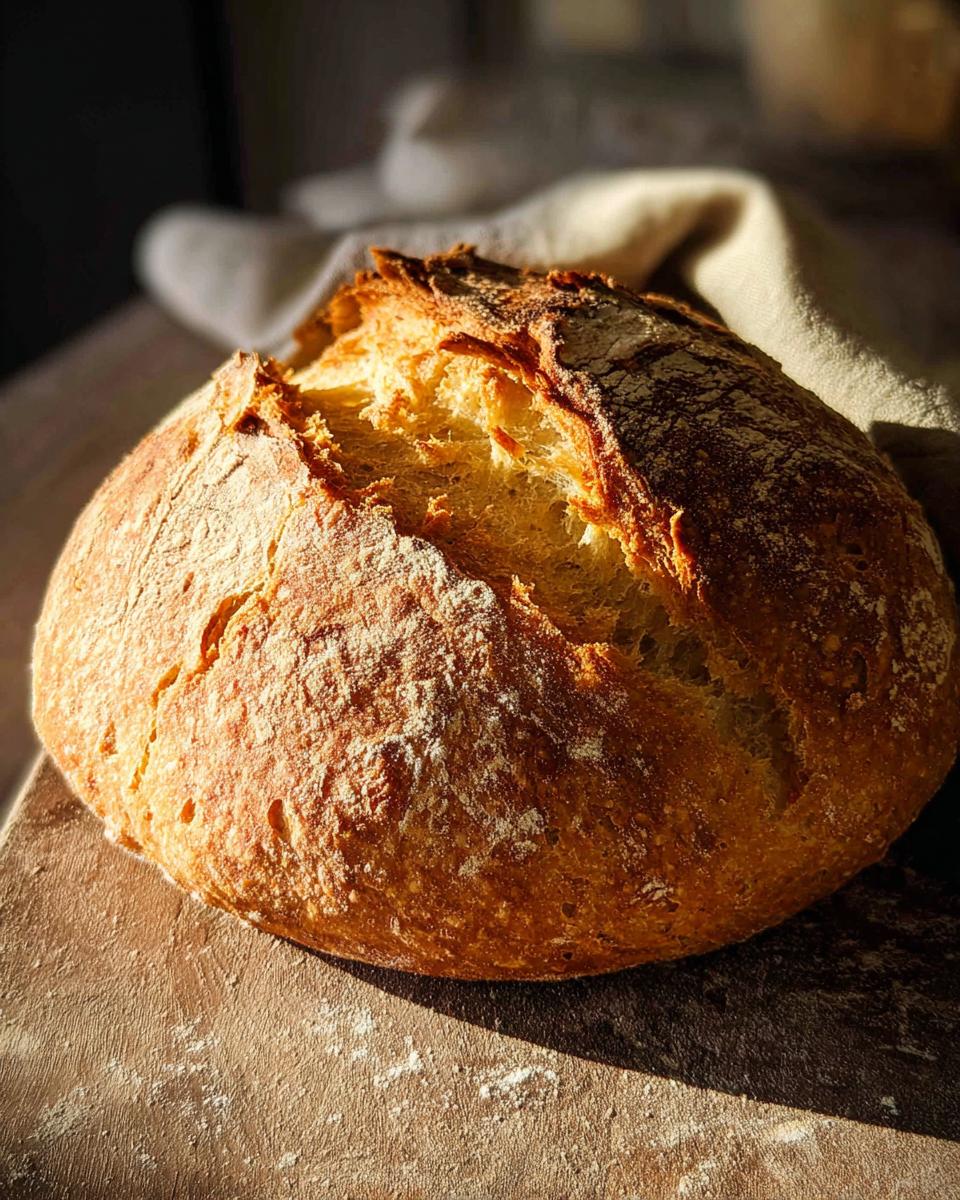
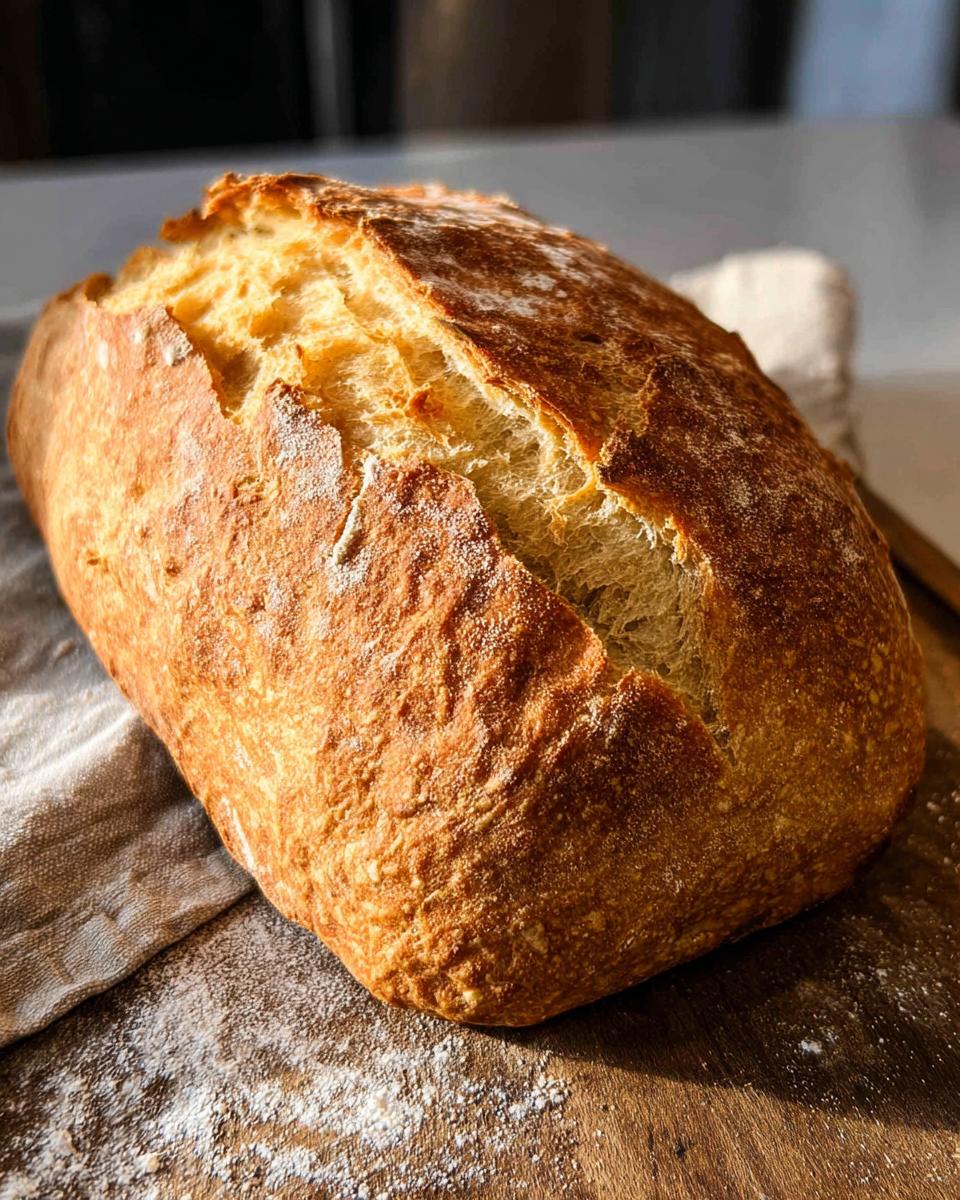
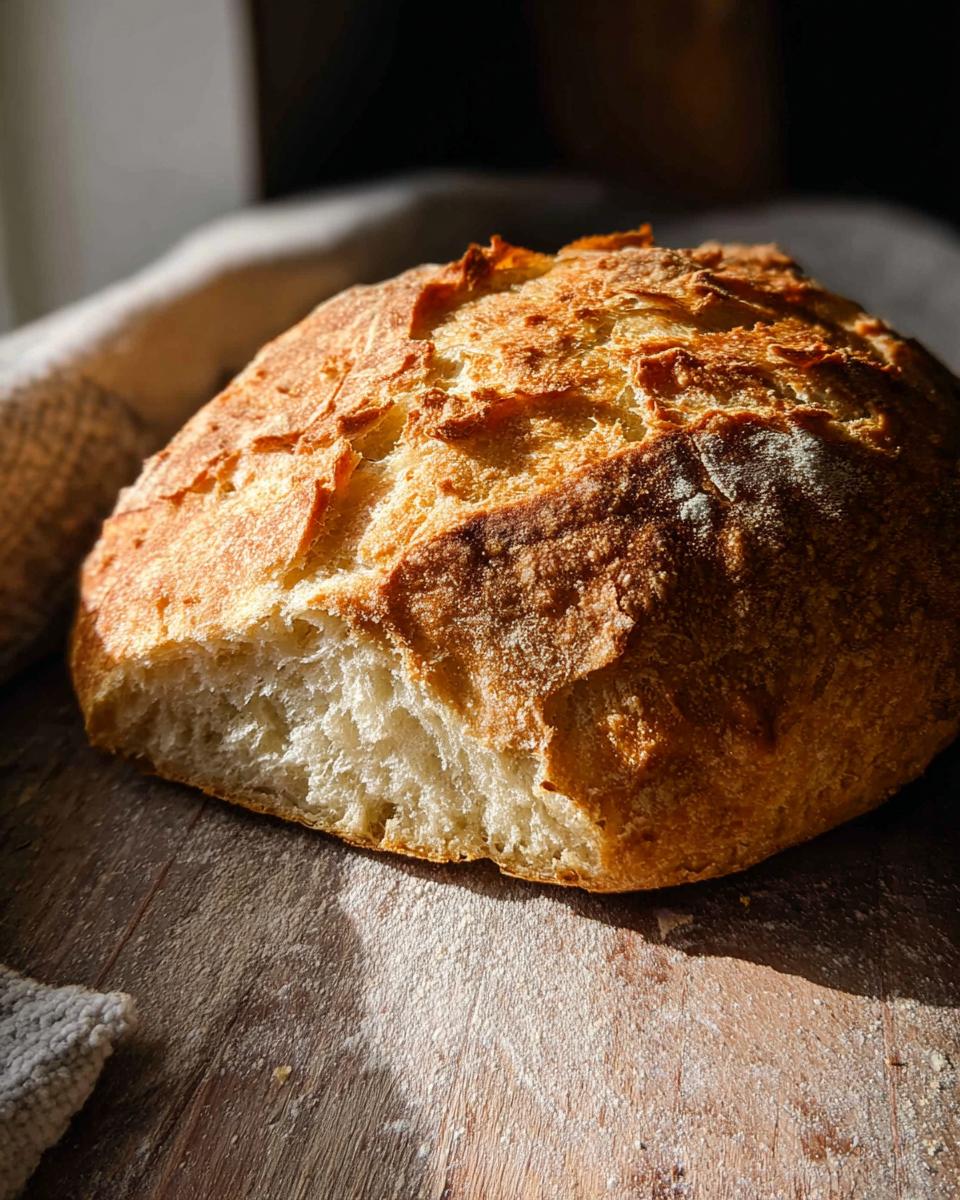
- Pop the lid back on and bake for 30 minutes. After that, carefully remove the lid. Keep baking for another 15-20 minutes, or until that crust is a deep, gorgeous golden brown. You’ll know it’s ready!
- Carefully take the bread out of the Dutch oven. Let it cool slightly on a wire rack before slicing. It’s seriously awesome served warm with some softened butter and a sprinkle of sea salt. Enjoy the amazing smell!
Tips for Perfecting Your Healthy Meals Recipes
You know, getting those healthy meals just right often comes down to a few little tricks I’ve picked up over the years. It’s not just about the ingredients, though quality matters, right? It’s also about *how* you handle them. For example, when I’m making chicken thighs, I always make sure they’re patted completely dry before searing – it makes such a difference for that crispy skin! You can find more foolproof tips for chicken here: How to Make Chicken Thigh Recipes Foolproof.
For this beer bread, a couple of things really elevate it. First, don’t shy away from that long rest time; it’s crucial for developing that amazing flavor and texture. And if your dough seems way too sticky when you turn it out? Resist the urge to add a ton more flour! That sticky dough is what gives you that beautiful, open crumb inside. For more general tips on making any weeknight dinner a breeze, check out my guide: How to Make Easy Dinner Recipes Foolproof. It’s all about working smart, not hard!
Serving and Storing Your Healthy Meals
This no-knead beer bread is pure magic served warm, straight from the oven! I absolutely love it with a generous smear of softened butter and maybe a tiny pinch of sea salt – simple perfection. It’s also fantastic alongside a hearty healthy side dish or a big salad. If you happen to have any leftovers (which is rare in my house!), just wrap it up tightly in plastic wrap or pop it into an airtight container. It’s best enjoyed within a day or two, but trust me, it rarely lasts that long!
Frequently Asked Questions About Healthy Meals Recipes
Got questions? I’ve got answers! Cooking healthy and tasting amazing is all about knowing a few tricks. Here’s what people often ask:
Can I make this bread ahead of time?
Absolutely! The beauty of this no-knead recipe is that the dough *needs* that long rest. You can mix it up 12-24 hours in advance and leave it on the counter. It actually gets even better with a longer rest. Just shape it and let it do its final rise when you’re ready to bake.
What if I don’t like beer, or don’t have any?
No problem at all! You can easily substitute the beer with warm water. The beer does add a unique depth of flavor and helps with browning, but the bread will still be delicious with warm water. It just becomes a super simple, quick water bread!
How can I make this recipe even quicker for a weeknight, like a real quick dinner?
Honestly, this recipe is already pretty fast on baking day! The magic happens during the long rest. If you’re in a pinch, you can try a speedier rise, but it won’t develop the same flavor. For a true quick dinner, perhaps pairing this bread with something like my Garlic Shrimp and Asparagus Skillet would be perfect. That’s a fantastic weeknight meal that comes together in minutes!
What are some other healthy meal ideas for busy nights?
Oh, I have tons of ideas! Think sheet pan dinners, quick stir-fries, or even simple pasta dishes with loads of veggies. My 15 Healthy Dinner Ideas for fast and flavorful meals has some of my go-to favorites that are perfect when you’re short on time but still want something nourishing and tasty.
Nutritional Information
Just a heads-up, the nutritional info for this amazing bread is an estimate, you know? It can totally change depending on the brand of beer you use, exactly how much flour sticks to your hands, or if you go wild with the rosemary. But generally, one slice will run you around 150-180 calories, with about 30-35g of carbs and a few grams of protein. It’s pretty straightforward, and honestly, worth every bite!
No-Knead Beer Bread
Ingredients
Equipment
Method
- In a bowl, stir together the flour, yeast, rosemary (if using), and salt. Add the beer and mix with a spatula until combined. Cover the bowl and let sit at room temperature for at least 12 hours, but ideally overnight.
- Preheat your oven to 450° F. Place a large Dutch oven in the oven to preheat for 30 minutes.
- Generously dust a work surface with flour. Scrape the dough out of the bowl. It should be loose and sticky. Form the dough into a ball and place on a piece of parchment. Cover and allow to rise for 1 hour, until doubled in size.
- When ready, carefully lift the dough and the parchment and place in the Dutch oven. Bake, covered, for 30 minutes. Remove the lid and continue baking until the bread is a deep, golden brown, about 15-20 minutes more. Remove from the oven. Enjoy with softened butter and sea salt.
Notes
Tried this recipe?
Let us know how it was!
Master of Culinary Visual Arts
My culinary journey started in the fast-paced kitchens of boutique coastal restaurants throughout Southern California, where I learned that beautiful food doesn’t have to be complicated. After nine years of professional cooking, I’ve made it my mission to prove that sophisticated, nutritionally sound meals can be accessible to busy home cooks who refuse to compromise on flavor or visual appeal.
What changed everything for me was watching talented home cooks feel intimidated by healthy cooking. That’s when I transitioned to private instruction, teaching busy professionals and families how to create restaurant-quality meals using simple techniques and ingredients they can actually find at their local grocery store. My “15-minute meal” frameworks are now used by several regional cooking schools!
As a third-generation Mexican-American, I love weaving vibrant Latin flavors into low-carb creations – proving that healthy eating can be both culturally authentic and visually spectacular. My “effortless elegance” philosophy is simple: nutritious food should look as stunning as it tastes, without requiring professional chef skills or expensive equipment.
When I’m not developing recipes in my San Diego coastal kitchen, you’ll find me surfing the local breaks with my Golden Retriever mix, Mango, who’s both my kitchen companion and unofficial taste-testing assistant. My personal low-carb lifestyle started as a way to maintain energy for my active coastal life, and it’s become the foundation for proving that healthy eating enhances rather than restricts life’s pleasures.