
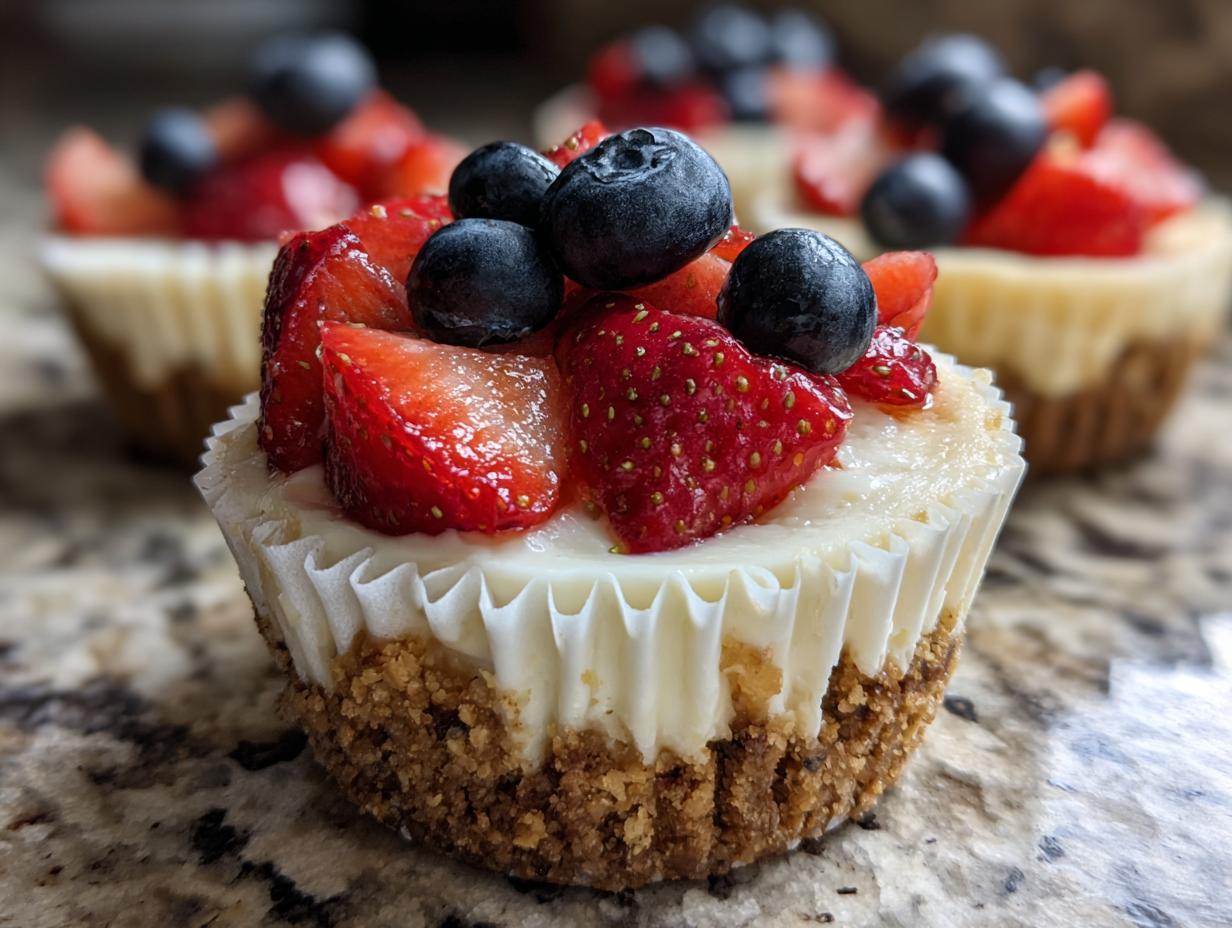
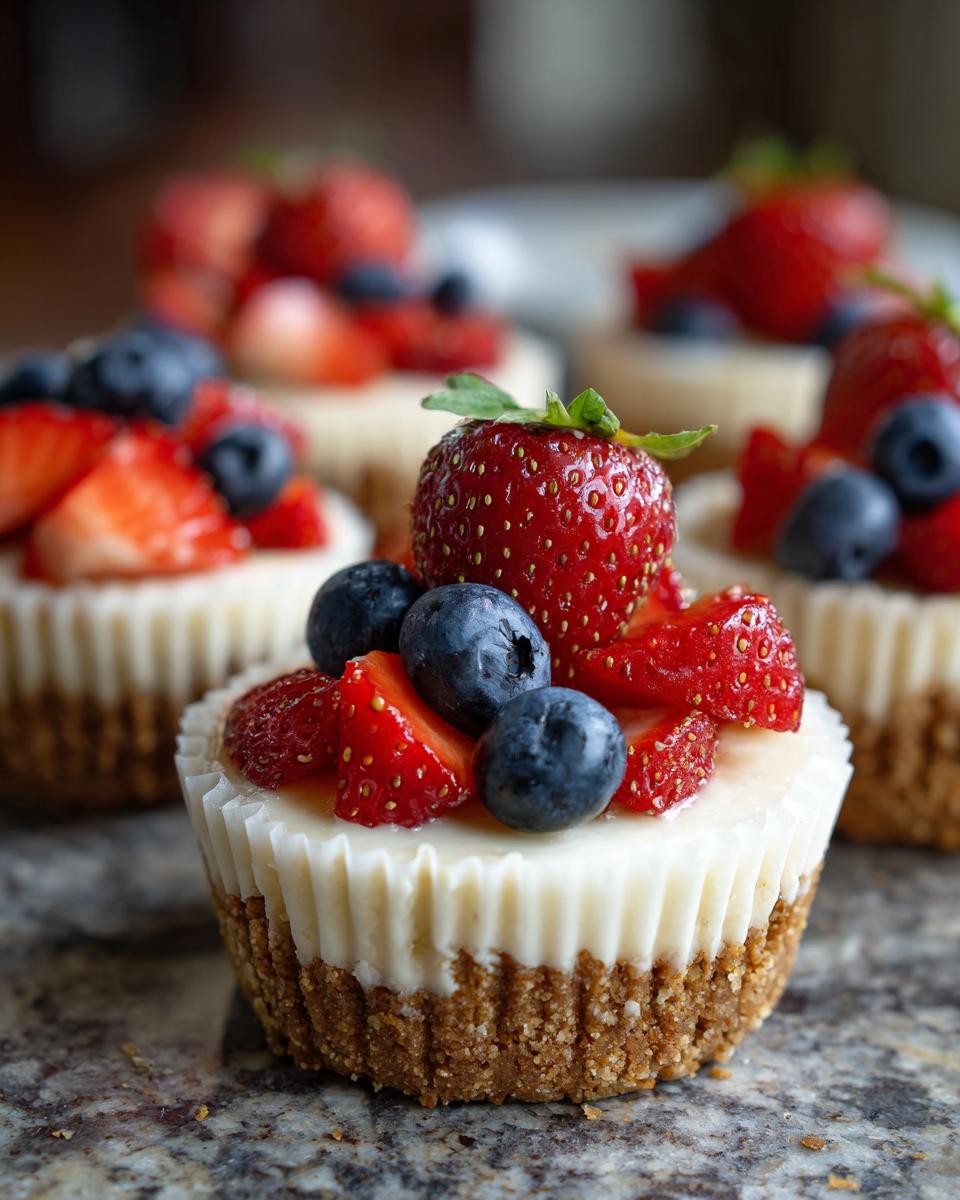
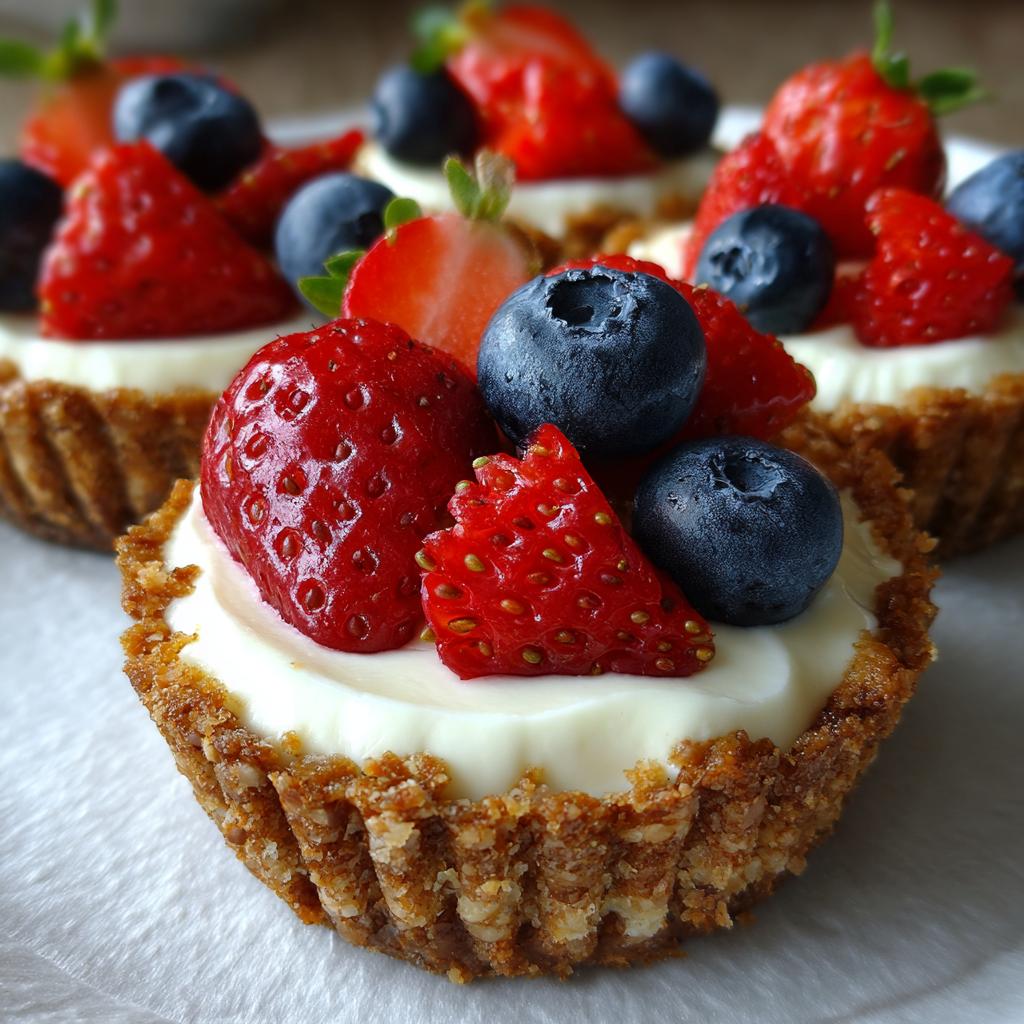
The Fourth of July is all about red, white, and blue, sparklers, and good company. And what’s a party without amazing food? My absolute favorite for these patriotic get-togethers are these incredible Fourth of July Desserts With No Bake Cheesecake Cups for Parties. Seriously, these little cups are my secret weapon! I remember whipping up a batch for the first time a few years back, and they disappeared SO fast. They’re just so darn easy, and everyone loves a mini cheesecake, right? The best part? No oven required, which is a lifesaver when you’re already juggling grilling and keeping the kids entertained. They’re perfectly portioned, super festive with a few berries on top, and just plain delicious. These will definitely be the star of your dessert table!
Why You’ll Love These Fourth of July Desserts With No Bake Cheesecake Cups
Trust me, these little cheesecake cups are a total game-changer for any party, especially those summer holiday get-togethers! Here’s why I think you’ll be obsessed:
- Super Easy Prep: Seriously, no baking involved means less fuss and more fun!
- Make-Ahead Magic: You can totally whip these up a day or two in advance, which is a lifesaver when you’re hosting.
- Party Perfect Portions: They’re already portioned out, so no slicing or serving stress. Grab and go!
- Crowd-Pleaser Guaranteed: Who doesn’t love a mini cheesecake? They have that rich, creamy flavor everyone craves.
- Minimal Mess: Way less cleanup than a big ol’ pie or cake! Just toss the liners.
Ingredients for Your No Bake Cheesecake Cups
Okay, let’s talk ingredients! Getting the right stuff is key for these little bites of heaven. You’ll want to grab these for your creamy, dreamy Fourth of July Desserts With No Bake Cheesecake Cups:
For the Crust:
- 1.5 cups graham cracker crumbs (about 10-12 full graham crackers)
- 1/4 cup granulated sugar
- 6 tablespoons unsalted butter, melted
For the Filling:
- 16 ounces cream cheese, make sure it’s softened!
- 1 cup powdered sugar
- 1 cup heavy cream, nice and cold
- 1 teaspoon vanilla extract
For Topping (Optional, but SO good for parties!):
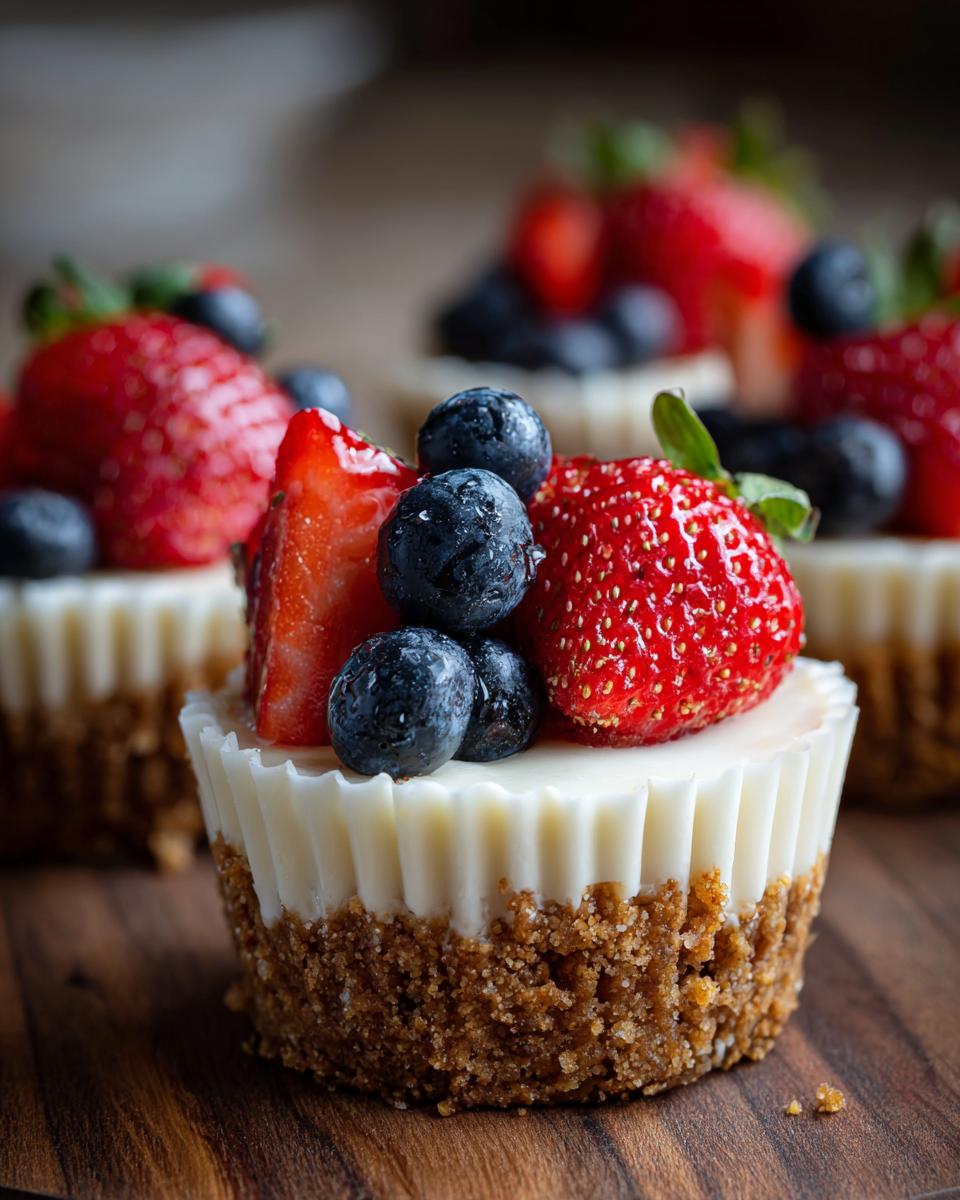
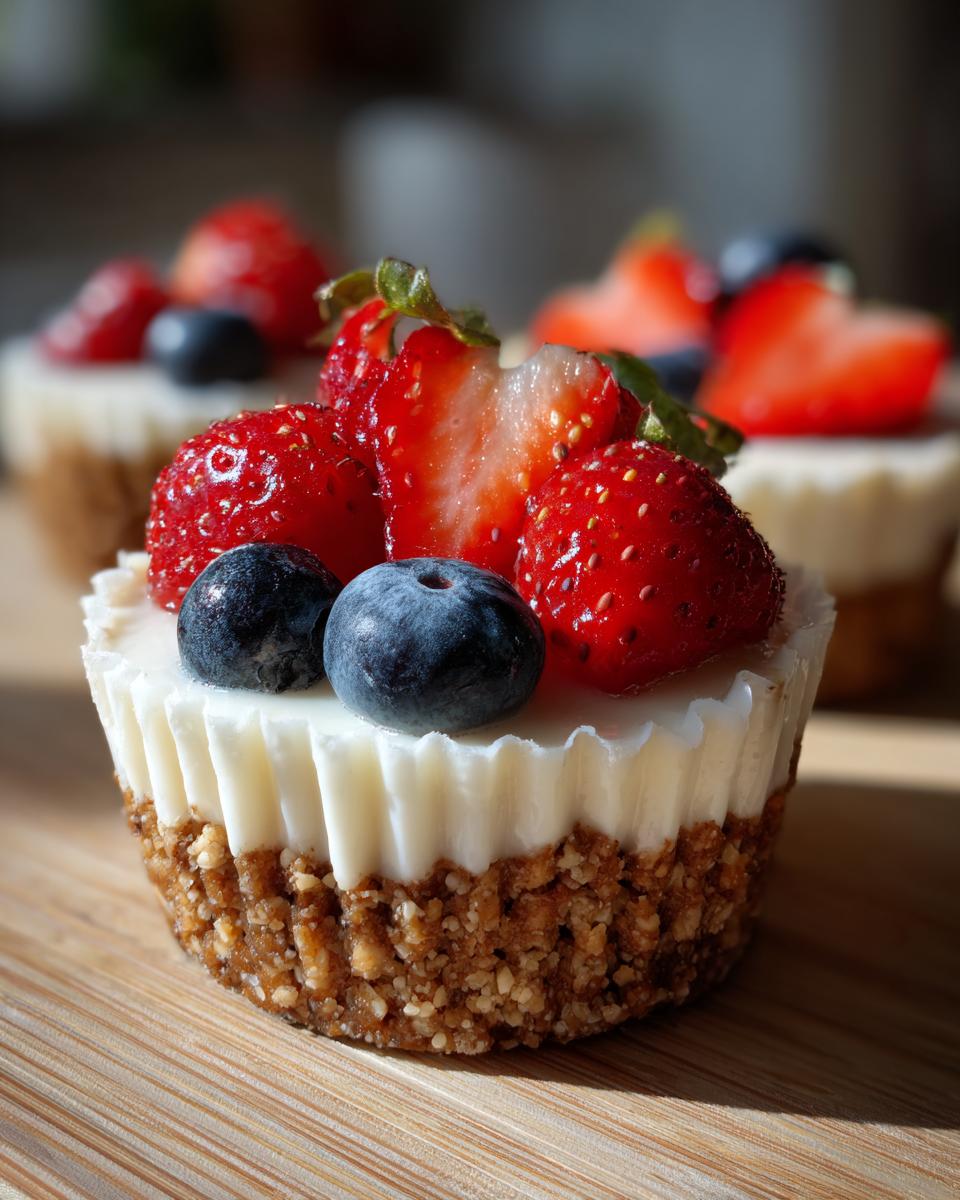
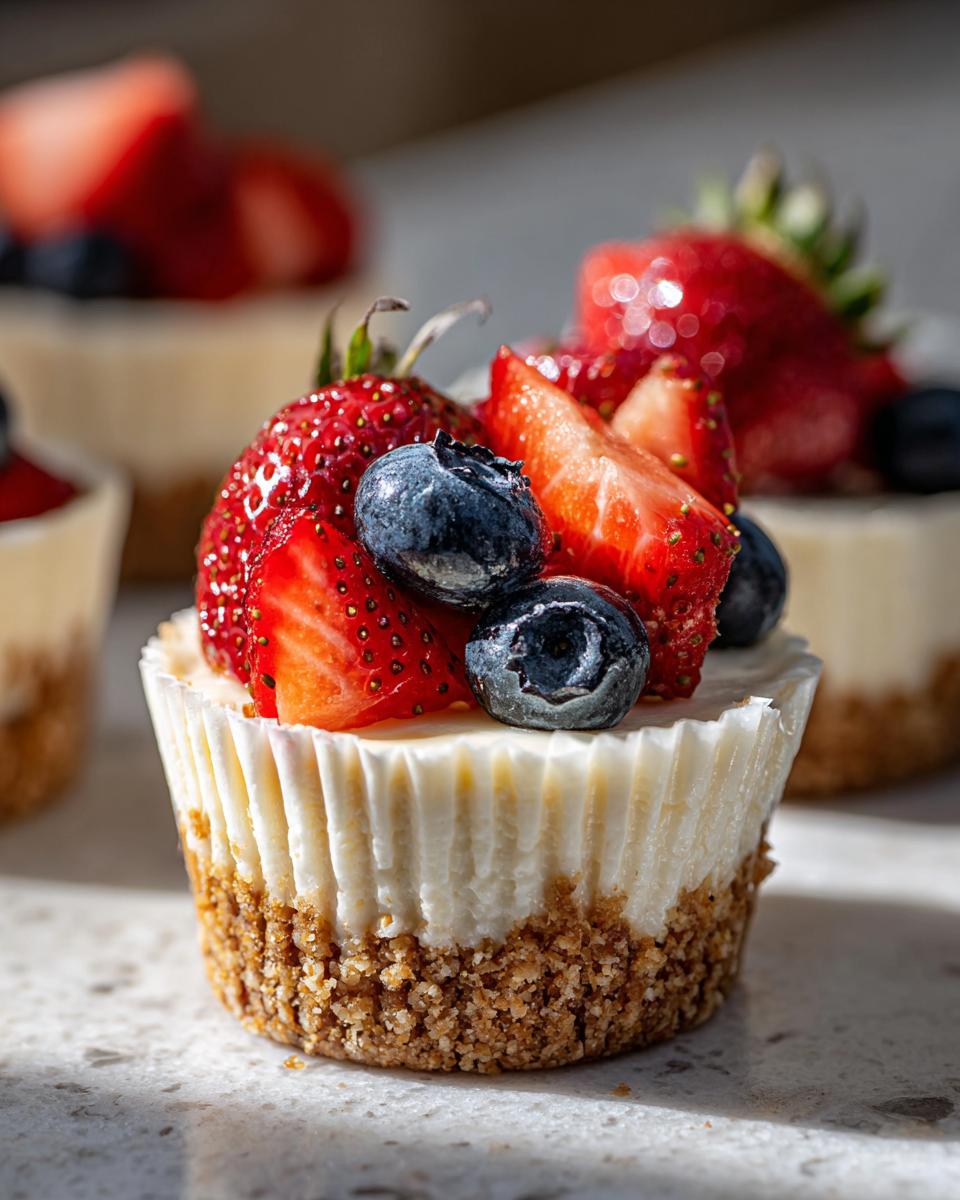
- Fresh berries like strawberries (halved or quartered), blueberries, and raspberries
- A dollop of whipped cream
Having everything ready to go makes assembly a breeze, trust me!
Equipment Needed for Perfect Cheesecake Cups
You don’t need anything super fancy for these, which is another reason I love them! Just a few basics from your kitchen will do the trick to whip up these fantastic Fourth of July Desserts With No Bake Cheesecake Cups:
- Mixing bowls (a couple of different sizes)
- An electric mixer (handheld works great!)
- A spatula for folding
- Measuring cups and spoons
- A standard 12-cup muffin tin
- Paper liners (these are key for easy cleanup!)
Step-by-Step Guide to Making Fourth of July Desserts With No Bake Cheesecake Cups
Alright, let’s dive into making these beauties! It’s honestly so simple, you’ll be a pro in no time. Follow these steps and you’ll have delicious Fourth of July Desserts With No Bake Cheesecake Cups ready to impress everyone. For more ideas, check out this no-bake strawberry swirl cheesecake – it’s a great inspiration!
Preparing the Graham Cracker Crust
First things first, let’s get that yummy crust going. Grab a medium bowl and toss in your graham cracker crumbs and granulated sugar. Give it a quick mix, then pour in that melted butter. Stir it all up with a fork or your spatula until it looks like nice, damp sand. You want it well combined so it holds together!
Crafting the Creamy Cheesecake Filling
Now for the star: the filling! Make sure your cream cheese is nice and soft – this is super important so you don’t get any lumps. In a big bowl, whip that cream cheese with your electric mixer on medium speed until it’s perfectly smooth. Then, gradually add your powdered sugar and the vanilla extract, mixing until it’s all combined and creamy. In a separate bowl, whip your cold heavy cream until it forms stiff peaks. Gently fold this whipped cream into the cream cheese mixture. Be careful not to overmix here; a gentle fold keeps it nice and light!
Assembling and Chilling Your No Bake Cheesecake Cups
Okay, we’re almost there! Take your muffin tin lined with those paper cups. Spoon about a tablespoon of that graham cracker crust mixture into the bottom of each cup and press it down gently with the back of your spoon to form a nice, even layer. Then, spoon that dreamy cheesecake filling right on top of each crust. Pop the whole tin into the fridge for at least an hour. This chilling time is crucial – it lets everything firm up so you get that perfect cheesecake texture!
Tips for the Best No Bake Cheesecake Cups
Whipping up these little cheesecake cups is pretty straightforward, but a few little tricks can make them absolutely perfect every single time. Trust me, these are my go-to tips for getting that restaurant-quality texture right at home. Want more mini dessert inspo? Check out these mini cheesecake bites or even these fun Oreo cheesecake bites for next time!
- Softened Cream Cheese is KING: Seriously, don’t skip this! If your cream cheese is too cold, you’ll end up with a lumpy filling, and nobody wants that. Let it sit on the counter for about an hour until it’s soft enough to easily press with your finger.
- Cold Cream is Crucial: For that fluffy whipped cream, make sure your heavy cream is super cold. Putting the bowl and whisk attachment in the freezer for 10-15 minutes beforehand can make a huge difference in whipping it up to perfect stiff peaks.
- Gentle Folding is Key: When you fold the whipped cream into the cream cheese mixture, go easy! You want to keep all those lovely air bubbles you just whipped in. Overmixing will deflate everything and make your filling dense instead of light and airy.
- Press the Crust Firmly: Make sure you really pack that graham cracker crust into the bottom of the liners. This helps it hold its shape and gives you a solid base for that creamy filling. A small measuring cup or the bottom of a glass works great for this!
- Chill Time is Non-Negotiable: Patience, my friends! That minimum chilling time of one hour is essential. It allows the cheesecake cups to set up properly so they’re not gooey when you pick them up. If you have time, an extra 30 minutes or even overnight in the fridge makes them even better!
Variations and Customization for Your Party Dessert
The beauty of these little no-bake cheesecake cups is that they’re a fantastic base for getting creative! While they’re perfect just as they are, especially for a Fourth of July bash with berries, we can totally jazz them up. Think of them as your personal canvas for dessert perfection! If you’re looking for more awesome cheesecake ideas, you’ve got to see this lemon blueberry cheesecake – it’s got so many yummy ideas!
Crust Creations: Feeling adventurous? Instead of graham crackers, try using crushed shortbread cookies for a buttery twist, or even crushed Oreos for a chocolatey explosion! You can also add a pinch of cinnamon or a touch of cocoa powder to your graham cracker crumbs before mixing with the butter. So many options!
Flavor Boosts for the Filling: Want to change up the flavor? It’s super easy! A little bit of lemon zest folded in with the cream cheese gives it a lovely brightness. You could also swirl in a tablespoon or two of your favorite fruit puree (like raspberry or mango!) after you’ve added the whipped cream, just before spooning into the cups. It looks so pretty!
Topping Extravaganza: Beyond the berries, the topping options are endless! Think mini chocolate chips, a drizzle of caramel sauce, a sprinkle of toasted coconut flakes, or even a dusting of cocoa powder. For a more elaborate look, you could pipe a little extra whipped cream on top or try a mini meringued lemon slice.
Serving and Storage for Your Fourth of July Desserts
These little no-bake cheesecake cups are honestly best served nice and cold straight from the fridge. For your Fourth of July party, I love arranging them on a big platter with some extra fresh berries scattered around. You can even add a few dollops of whipped cream right on top just before serving for an extra festive touch! If you happen to have any leftovers (which is rare in my house!), just pop them back into the muffin tin, cover the whole thing tightly with plastic wrap, and keep them in the refrigerator. They’ll stay fresh and delicious for about 2-3 days.
Frequently Asked Questions About No Bake Cheesecake Cups
Got questions about these easy-peasy cheesecake cups? I’ve got answers! They’re so simple, but a few little things can make all the difference.
Can I really make these cheesecake cups ahead of time?
Oh, absolutely! That’s one of the BEST things about them. You can totally make these up to two days in advance. Just keep them covered tightly in the fridge. They actually taste even better after a day when the flavors have had a chance to really meld together. They’re the perfect make-ahead dessert for any party!
I don’t have graham crackers, what else can I use for the crust?
No graham crackers? No problem! You can totally swap those out. Crushed vanilla wafers, shortbread cookies, or even gingersnap cookies would be delicious. For a chocolatey vibe, crushed Oreos (filling and all!) work like a charm. Just measure them out the same way and mix with the sugar and butter. You can find tons of ideas on things like these healthy no-bake Oreo cheesecake bites for inspiration!
My cheesecake filling seems a bit runny. What did I do wrong?
Don’t worry, it happens! The most common reason for a runny filling is not chilling it long enough. Make sure you give it at least that full hour in the fridge. Also, double-check that your cream cheese was good and softened before you started mixing – cold cream cheese can lead to lumps and a less firm texture. And make sure you whipped your heavy cream to stiff peaks and folded it in gently so you didn’t deflate all that lovely air!
Can I use regular milk instead of heavy cream in the filling?
Unfortunately, no, you really can’t substitute regular milk for heavy cream. Heavy cream has a much higher fat content, which is what allows it to whip up into those stiff peaks that give the cheesecake filling its structure and creamy texture. Using a lower-fat milk would likely result in a much runnier, less stable filling that just wouldn’t set up properly.
Nutritional Information
Okay, let’s talk numbers for these delightful Fourth of July Desserts With No Bake Cheesecake Cups! Keep in mind, these are just estimates, as the exact amounts can shift a bit depending on your specific ingredients and how generously you top them. But generally, you’re looking at roughly 250-300 calories per cup, with a good balance of fat, carbs, and a little protein. Portion control is easy with these, but they are a treat, so enjoy them!
No-Bake Cheesecake Cups for Parties
Ingredients
Equipment
Method
- Line a 12-cup muffin tin with paper liners.
- In a medium bowl, combine graham cracker crumbs and granulated sugar. Pour in the melted butter and stir until well combined.
- Press about 1 tablespoon of the crumb mixture into the bottom of each paper liner to form the crust.
- In a large bowl, beat the softened cream cheese with an electric mixer until smooth.
- Gradually add the powdered sugar and beat until combined. Add the vanilla extract and beat until smooth.
- In a separate bowl, whip the heavy cream until stiff peaks form.
- Gently fold the whipped cream into the cream cheese mixture until just combined. Do not overmix.
- Spoon the cream cheese filling evenly over the crusts in the muffin cups.
- Cover the muffin tin and refrigerate for at least 1 hour, or until firm.
- Before serving, top with fresh berries or whipped cream, if desired.
Notes
Tried this recipe?
Let us know how it was!
Master of Culinary Visual Arts
My culinary journey started in the fast-paced kitchens of boutique coastal restaurants throughout Southern California, where I learned that beautiful food doesn’t have to be complicated. After nine years of professional cooking, I’ve made it my mission to prove that sophisticated, nutritionally sound meals can be accessible to busy home cooks who refuse to compromise on flavor or visual appeal.
What changed everything for me was watching talented home cooks feel intimidated by healthy cooking. That’s when I transitioned to private instruction, teaching busy professionals and families how to create restaurant-quality meals using simple techniques and ingredients they can actually find at their local grocery store. My “15-minute meal” frameworks are now used by several regional cooking schools!
As a third-generation Mexican-American, I love weaving vibrant Latin flavors into low-carb creations – proving that healthy eating can be both culturally authentic and visually spectacular. My “effortless elegance” philosophy is simple: nutritious food should look as stunning as it tastes, without requiring professional chef skills or expensive equipment.
When I’m not developing recipes in my San Diego coastal kitchen, you’ll find me surfing the local breaks with my Golden Retriever mix, Mango, who’s both my kitchen companion and unofficial taste-testing assistant. My personal low-carb lifestyle started as a way to maintain energy for my active coastal life, and it’s become the foundation for proving that healthy eating enhances rather than restricts life’s pleasures.