
Is there anything better than the smell of summer grilling? For me, it’s a mix of charcoal smoke, maybe some burgers sizzling, and definitely that sweet, distinct aroma of corn on the cob hitting the hot grates. It’s just pure happiness! Over the years, I’ve played around with tons of ways to cook corn, but let me tell you, these Grilling Recipes That Make Corn on the Cob Taste Better are absolute game-changers. Forget boring boiled corn; grilling is where it’s at! I remember one Fourth of July, we had friends over, and I decided to try grilling the corn in the husks with just a little butter and salt. Everyone raved about it! That’s when I knew I had to dive deeper into perfecting grilled corn. My passion for outdoor cooking means I’ve spent countless hours on the patio, tweaking and tasting, all to bring you the best methods for that smoky, tender, unbelievably delicious grilled corn you dream about.
Why These Grilling Recipes That Make Corn on the Cob Taste Better
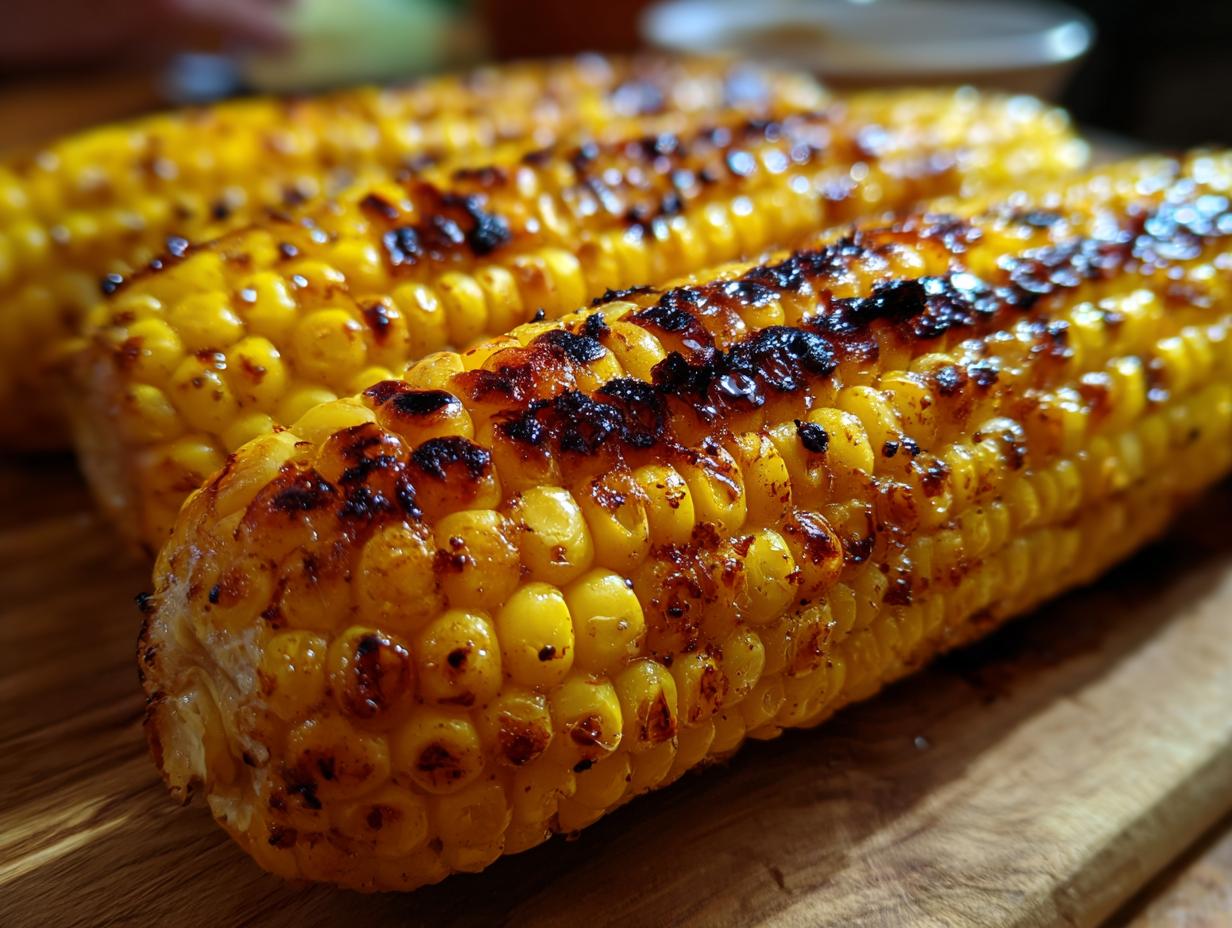
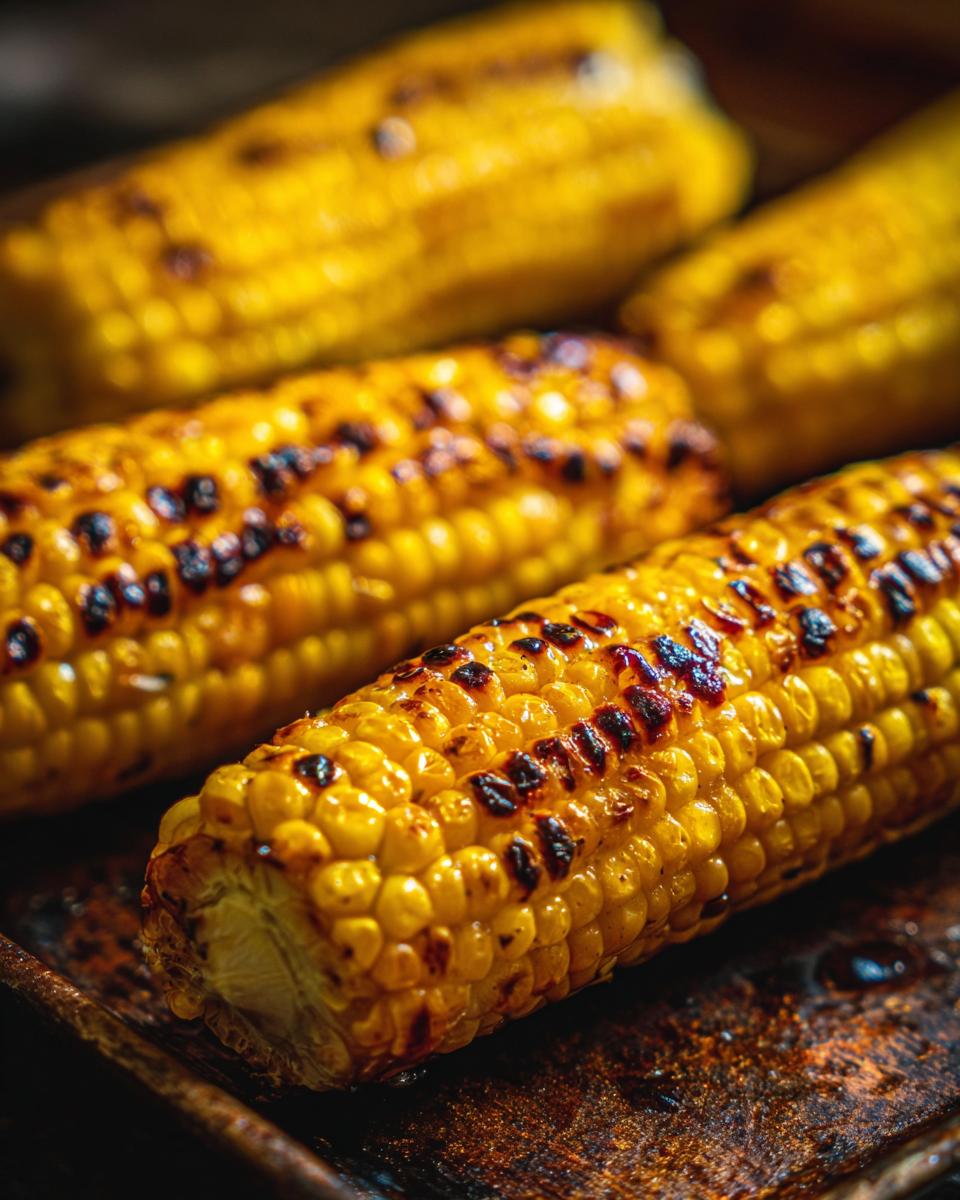
Okay, so why bother with grilling corn when you can just boil it? Trust me, it’s a whole different world! Grilling completely transforms humble corn on the cob into something truly magical. It infuses every kernel with that irresistible smoky flavor you just can’t get any other way. Plus, the heat of the grill makes the kernels unbelievably tender, almost sweet, and gives them these gorgeous little charred bits that add so much character. Honestly, it’s so easy – a few simple steps and you’ve got a side dish that’ll steal the show.
Here’s why these Grilling Recipes That Make Corn on the Cob Taste Better are my absolute go-to for summer BBQs:
- Smoky, Charred Flavor: The grill brings out a depth of flavor that boiling just can’t match. Those little crispy, charred bits? Pure gold!
- Incredible Tenderness: Grilling cooks the corn perfectly, making it super tender and juicy.
- Super Easy Prep: Honestly, you can prep it right in its husk and toss it on the grill. Minimal fuss, maximum flavor.
- Versatility: It’s the perfect canvas for all sorts of toppings and seasonings.
Essential Ingredients for Perfect Grilled Corn on the Cob
Alright, let’s talk about what you’ll need to make this corn shine. You really only need a few simple things, and the star of the show is, of course, the corn itself. Make sure you grab the freshest ears you can find – the fresher, the sweeter and more tender your grilled corn will be!
Here’s what you’ll want to have on hand:
- 4 large ears of fresh corn, with the husks still on. Don’t pull those husks off yet – they’re your friend for grilling!
- For Serving (Optional, but totally recommended!):
- Softened butter
- Salt
- Freshly ground black pepper
Step-by-Step Guide to Grilling Corn on the Cob
Alright, time to get grilling! This is where the magic happens, and honestly, it’s ridiculously simple. Think of it as a little dance with your grill, coaxing out all that amazing flavor. These Grilling Recipes That Make Corn on the Cob Taste Better are all about embracing that smoky char and tender kernel goodness. Just follow these easy steps and you’ll be a grilled corn pro in no time!
Prepping the Corn for the Grill
First things first, let’s get our corn ready. You want to carefully peel back those husks, but don’t chuck them! They’re going to act like a natural steamer on the grill, keeping the corn nice and moist. Gently pull them down, getting rid of all that silky fuzz. If any silk sticks around, a quick wipe with a paper towel usually does the trick. Once it’s clean, pull those husks back up to cover the kernels again. Sometimes they like to wander, so if yours are being stubborn, a little kitchen twine or even a thin strip of corn husk can tie them securely. Easy peasy!
Grilling the Corn to Perfection
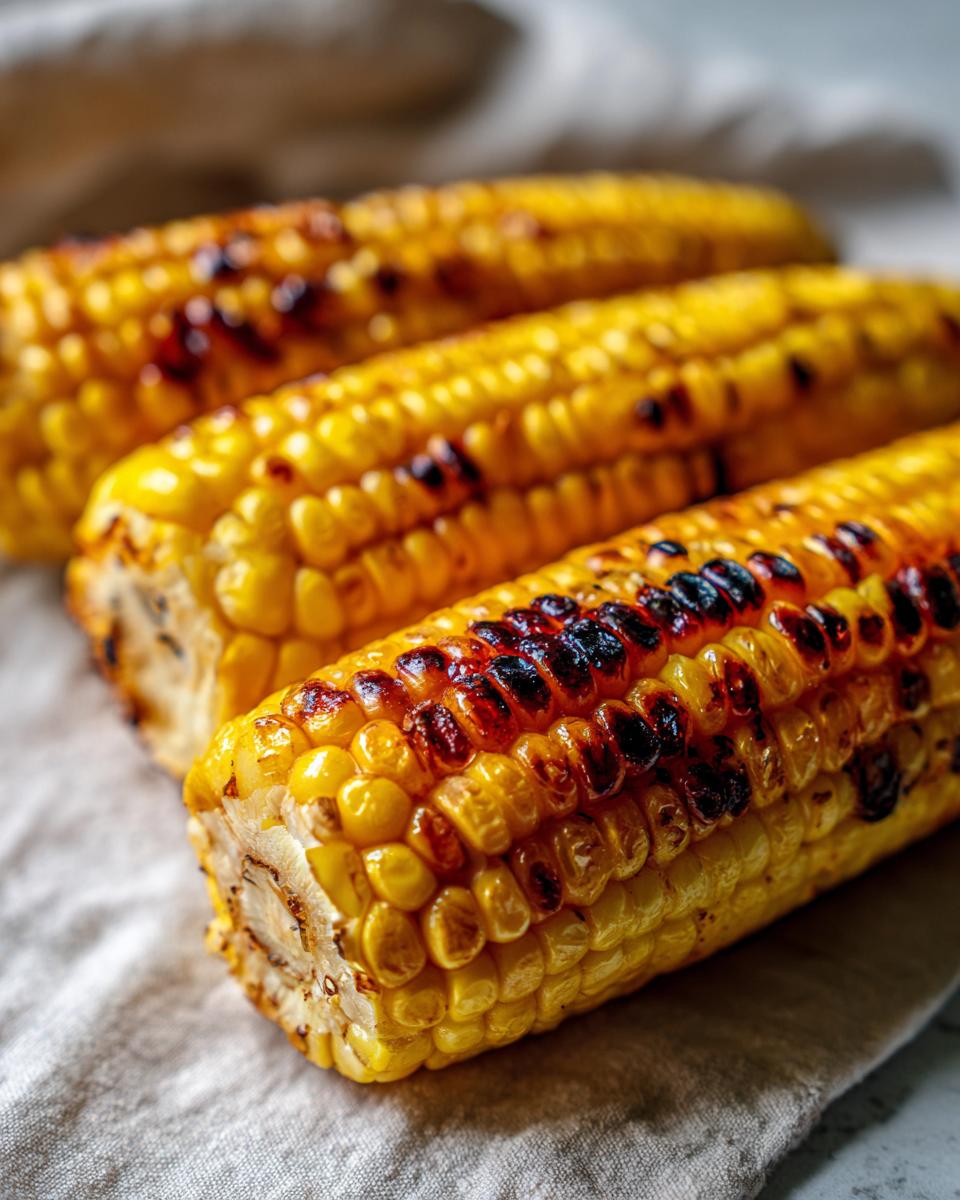
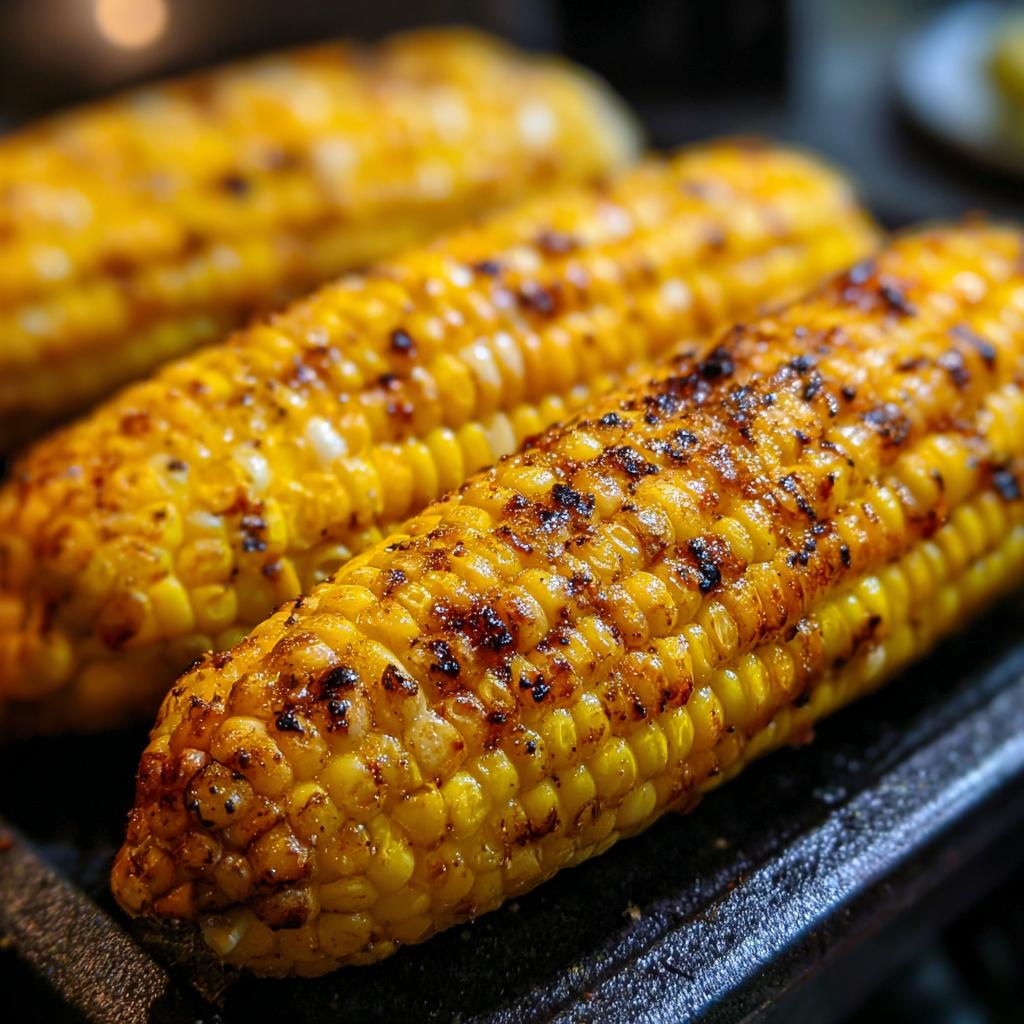
Now for the fun part! Crank up your grill to medium-high heat. You want it nice and hot, but not so hot that things go from “charred” to “flames everywhere” in seconds. Carefully place your prepared corn ears right onto the grill grates. Listen to that sizzle – that’s the sound of deliciousness happening! Grill them for about 12 to 15 minutes. You’ll need to turn them every few minutes to make sure they cook evenly and get those lovely char marks all over. The husks will turn a beautiful golden brown and might get a bit black in spots, and that’s totally okay. It means flavor!
Serving Your Delicious Grilled Corn
Once your corn has that perfect tenderness and a bit of char, carefully take it off the grill with your tongs. Let it cool down just enough so you don’t burn your fingers when you’re peeling back those steamy husks. Slide the husks and silks right off to reveal those beautiful, tender kernels. Serve it up warm! A smear of softened butter, a sprinkle of salt, and a grind of pepper are always a classic for a reason. Oh, and remember that little note about brushing with olive oil or BBQ sauce? That last few minutes on the grill for extra flavor is *chef’s kiss*!
Tips for the Best Grilling Recipes That Make Corn on the Cob Taste Better
You know, after all these years of grilling and messing around with corn, I’ve picked up a few tricks I just *have* to share. These little nuggets of wisdom really take your grilled corn from good to absolutely phenomenal, making sure these Grilling Recipes That Make Corn on the Cob Taste Better truly shine. It’s all about those small details!
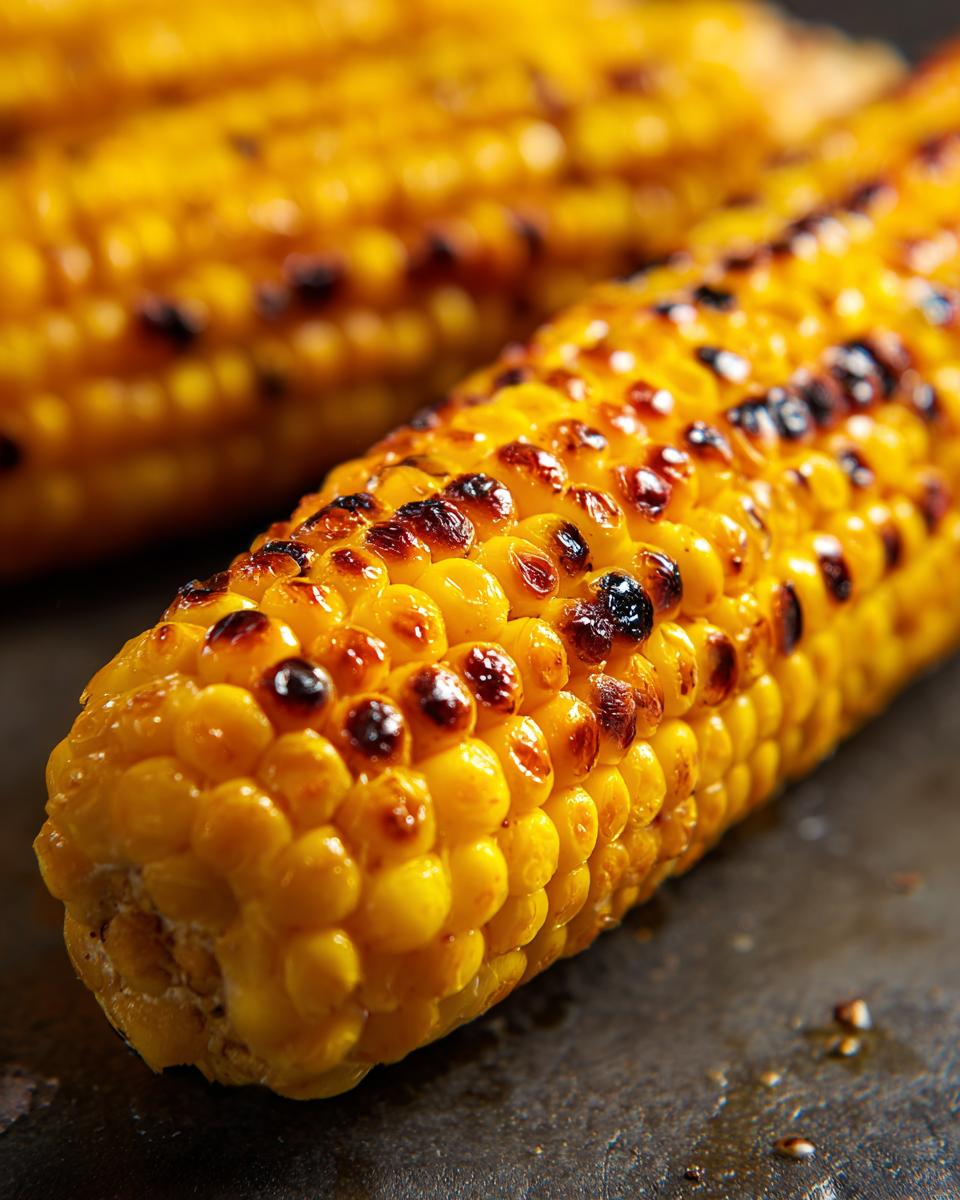
A big one is picking the right corn. Look for ears that are bright green, with plump kernels that feel firm to the touch. You want corn that feels heavy for its size – that means it’s nice and juicy inside! Also, don’t be afraid of a little char! Those black spots aren’t a mistake; they’re flavor! They add a fantastic smoky depth that just screams summer. When you’re grilling, keep an eye on the heat. If it’s too high, the husks might just burn up before the corn inside gets tender. Medium-high is usually your sweet spot. And honestly, don’t overthink it. A little butter, a little salt, and perfectly grilled corn is a masterpiece all on its own!
Flavor Variations and Serving Suggestions
Now, while I absolutely love plain old butter and salt on my grilled corn – seriously, it’s classic for a reason – there are so many fun ways to jazz it up! I’ve always been one to experiment, and a little creativity goes a LONG way.
Have you ever tried mixing a little chili powder or smoked paprika into your softened butter before spreading it on? Wowza! Or maybe some finely chopped cilantro and a squeeze of lime? Totally changes the game! For a real treat, especially if you’re having a Mediterranean vibe for dinner, try crumbling some feta cheese over the top or even making a quick creamy feta sauce to drizzle. And if you’re a fan of that sweet and savory combo, a little honey butter is *always* a winner – just like in my skillet corn recipe, but grilled!
As for what to serve alongside? Grilled corn is the ultimate team player! It’s incredible with pretty much any grilled meat – think burgers, chicken, ribs. It also makes a fantastic side for a big ol’ summer salad or even as part of a taco night spread. Honestly, you can’t go wrong!
Frequently Asked Questions About Grilled Corn
Got questions about grilling corn? It’s a common thing, and I’m happy to help clear things up! Grilling corn is pretty straightforward, but a few pointers can make all the difference. Let’s dive into some of the most frequent questions I get:
Can I grill corn without the husks?
You absolutely can! While grilling corn *in* the husks gives it that steamed, tender texture and infuses a wonderful subtle flavor, grilling it directly on the grates (with husks removed and silk all gone) gives you more direct char and smoky flavor. Just be sure to brush it with a little oil so it doesn’t stick too badly and tend to it carefully, as it can cook a bit faster this way. It’s a great option if you’re short on time or want a more intense grilled flavor.
How do I prevent my corn from burning on the grill?
Ah, the dreaded burnt corn! The biggest tip is managing your heat. Medium-high is usually perfect, but if your grill runs super hot, you might need to lower it a notch or two. Grilling the corn in its husks acts as a protective layer, helping to prevent direct burning. If you’re grilling corn without husks, make sure you’ve brushed it with oil and use your tongs to turn it frequently. Watching it and giving it a little turn every few minutes is key to getting those nice char marks without turning it into charcoal!
What’s the best way to store leftover grilled corn?
Leftover grilled corn is still delicious! Let it cool completely, then you can store it in an airtight container in the refrigerator for up to 3 days. You can enjoy it cold, straight from the fridge (it’s surprisingly good on salads!), or quickly reheat it. A few minutes in a warm oven, a quick pan-sear, or even a zap in the microwave will warm it up without making it mushy. Some people even like to cut the kernels off the cob and add them to fried rice or potato dishes for extra flavor!
Nutritional Information (Estimated)
Now, I’m not a registered dietitian or anything, but I can give you a pretty good idea of what you’re looking at, nutritionally speaking. Keep in mind, this is just an estimate! How much butter you slather on, or if you add any other sauces, is going to change these numbers. But for a basic ear of grilled corn with just a little butter and salt, it’s pretty wholesome!
Per Serving (1 ear of grilled corn, with optional butter/salt):
- Calories: Around 100-150 (depending on added butter)
- Fat: 2-5g (mostly from butter)
- Carbohydrates: 20-25g (from the corn itself)
- Protein: 3-4g
- Fiber: 2-3g
This is a great way to get some fiber and natural sweetness into your meal without a ton of calories. It’s a fantastic, healthier side dish alternative to some of those heavier options out there!
Grilled Corn on the Cob
Ingredients
Equipment
Method
- Preheat your grill to medium-high heat.
- Peel back the husks from the corn, but do not remove them completely. Remove the silk from the corn. You can use a brush or paper towel to wipe off any remaining silk.
- Pull the husks back up to cover the corn kernels. If needed, you can tie the husks with kitchen twine or strips of corn husk to keep them in place.
- Place the corn directly on the preheated grill grates.
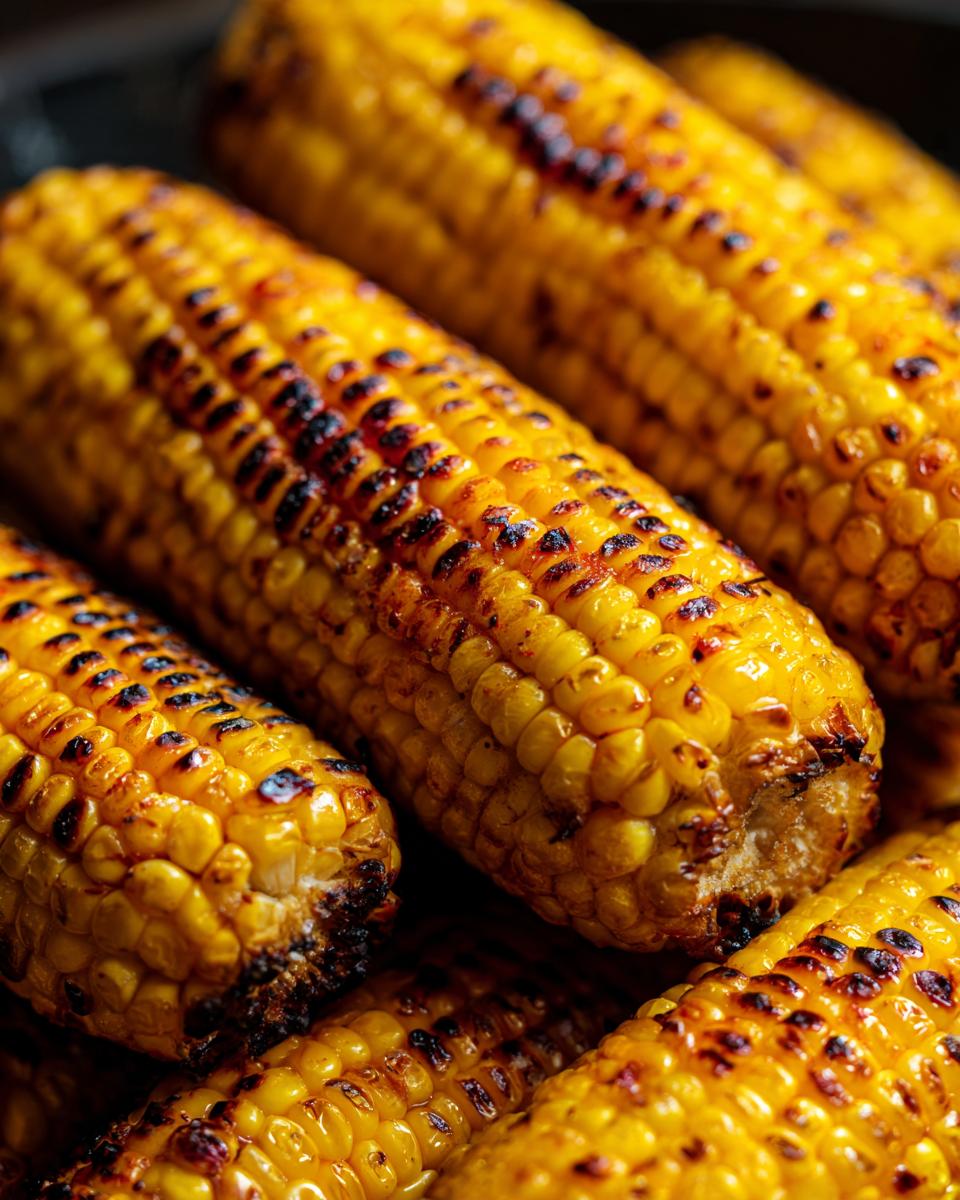
- Grill for about 12-15 minutes, turning occasionally with tongs, until the kernels are tender and slightly charred. The husks will turn brown and may char in spots.
- Carefully remove the corn from the grill. Let it cool slightly before peeling back the husks completely.
- Serve the grilled corn hot. You can spread with softened butter and season with salt and pepper to your liking.
Notes
Tried this recipe?
Let us know how it was!
Master of Culinary Visual Arts
My culinary journey started in the fast-paced kitchens of boutique coastal restaurants throughout Southern California, where I learned that beautiful food doesn’t have to be complicated. After nine years of professional cooking, I’ve made it my mission to prove that sophisticated, nutritionally sound meals can be accessible to busy home cooks who refuse to compromise on flavor or visual appeal.
What changed everything for me was watching talented home cooks feel intimidated by healthy cooking. That’s when I transitioned to private instruction, teaching busy professionals and families how to create restaurant-quality meals using simple techniques and ingredients they can actually find at their local grocery store. My “15-minute meal” frameworks are now used by several regional cooking schools!
As a third-generation Mexican-American, I love weaving vibrant Latin flavors into low-carb creations – proving that healthy eating can be both culturally authentic and visually spectacular. My “effortless elegance” philosophy is simple: nutritious food should look as stunning as it tastes, without requiring professional chef skills or expensive equipment.
When I’m not developing recipes in my San Diego coastal kitchen, you’ll find me surfing the local breaks with my Golden Retriever mix, Mango, who’s both my kitchen companion and unofficial taste-testing assistant. My personal low-carb lifestyle started as a way to maintain energy for my active coastal life, and it’s become the foundation for proving that healthy eating enhances rather than restricts life’s pleasures.