
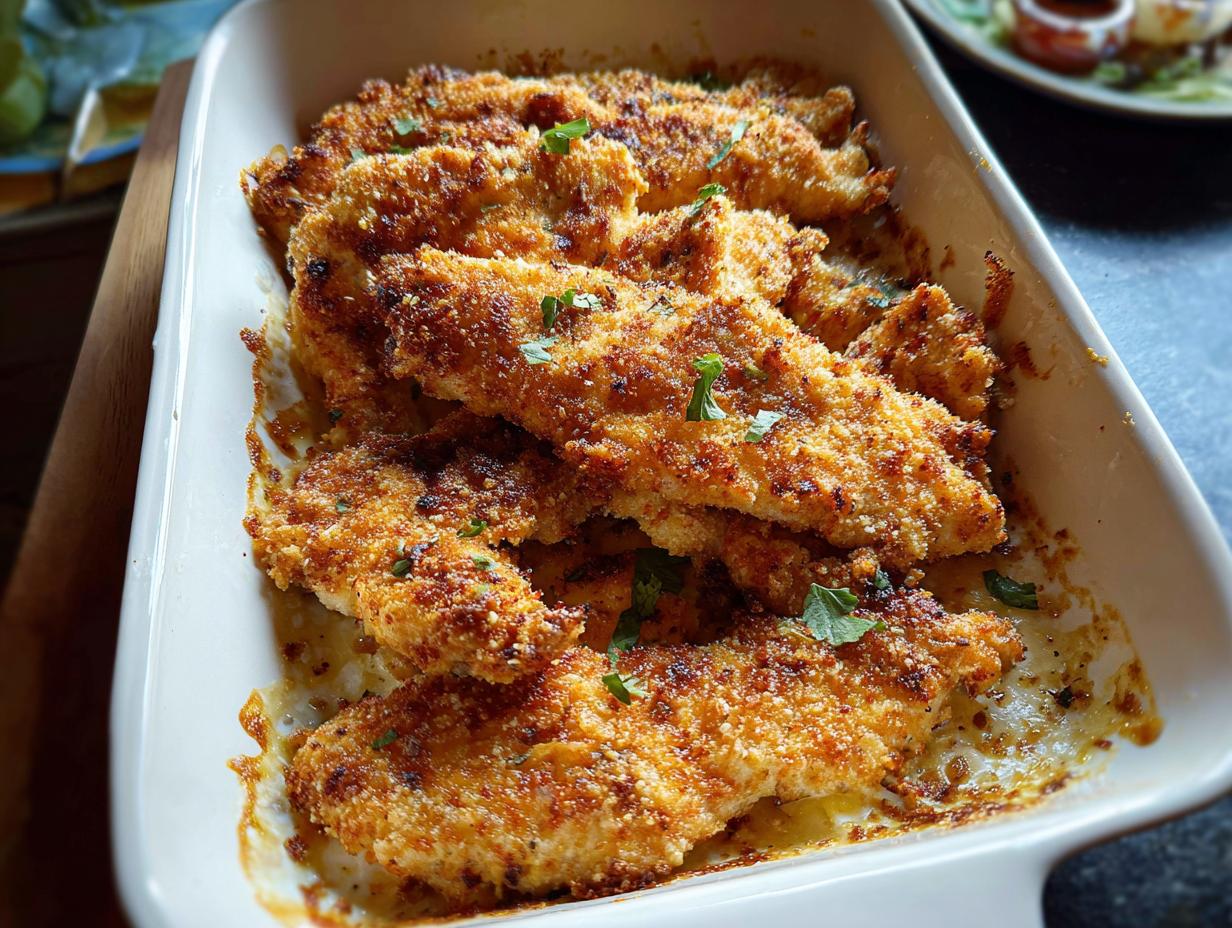
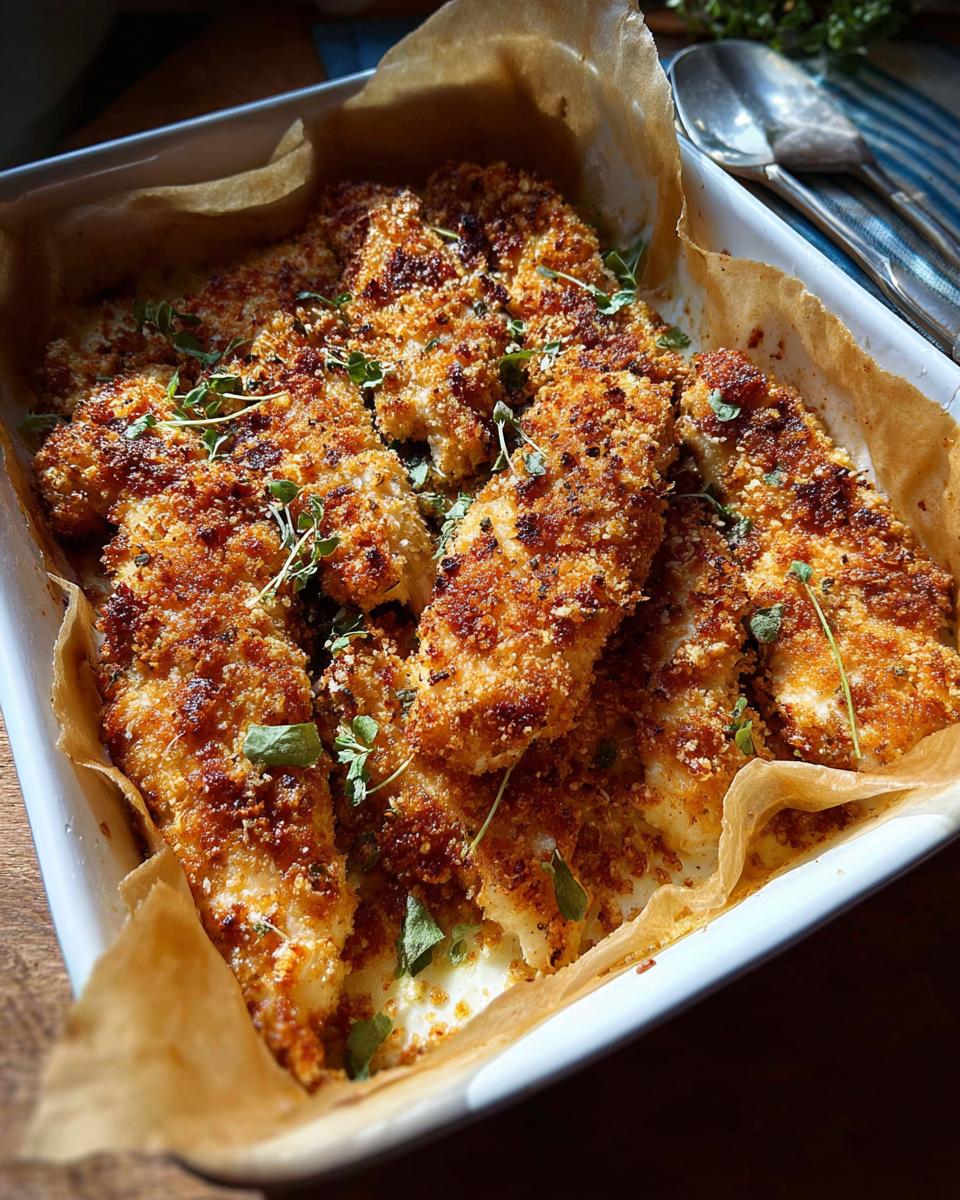
Oh, I know that feeling in my bones. It’s 5:30 PM, everyone is already asking what’s for dinner, and you’re staring into the fridge wondering how you’re going to whip up something satisfying that doesn’t require fancy gadgets or an hour of chopping. Trust me, I’ve been there. That’s why I’m so excited to share this recipe for Melt In Your Mouth Chicken.
I remember the evenings when dinner felt like a battlefield in my home. My three kids had differing tastes, and finding a meal that satisfied everyone felt impossible. One night, I decided to try a new recipe—this juicy chicken bake. It was simple, quick, and loaded with flavors that even my little ones couldn’t resist. As we sat around the table, sharing stories and laughter, I watched my kids devour every bite, surprised at how well it worked. That evening was a turning point for me, as Certified Family Nutrition Strategist Maria Fernandez, not only did I have a go-to recipe that everyone enjoyed, but I also realized that meal times could be a joyful family experience rather than a stress-filled chore.
Why This Melt In Your Mouth Chicken is Your New Family Dinner Hero
Listen, when you’re juggling everything that comes with family life, you need winning recipes that don’t fight back. This Melt In Your Mouth Chicken is the answer to those chaotic weeknights. You get massive flavor with unbelievably little fuss. It’s designed to please everyone at the table, which is basically a parenting win, right?
- It’s genuinely fast—most of the time is hands-off baking!
- It uses ingredients you probably already have hiding in your pantry.
- The texture is so tender, even the pickiest little eaters clear their plates.
Quick Prep Using Pantry Staples
Seriously, you won’t need a specialized trip to the store for this. We are talking about things like milk, yogurt, and cheese—classic Pantry Staples. You mix up the coating in about five minutes flat, spread it on, and you’re done prepping. That means you can sit down with a cup of tea while this beauties bake instead of frantically chopping vegetables.
Achieving Juicy Chicken Every Time
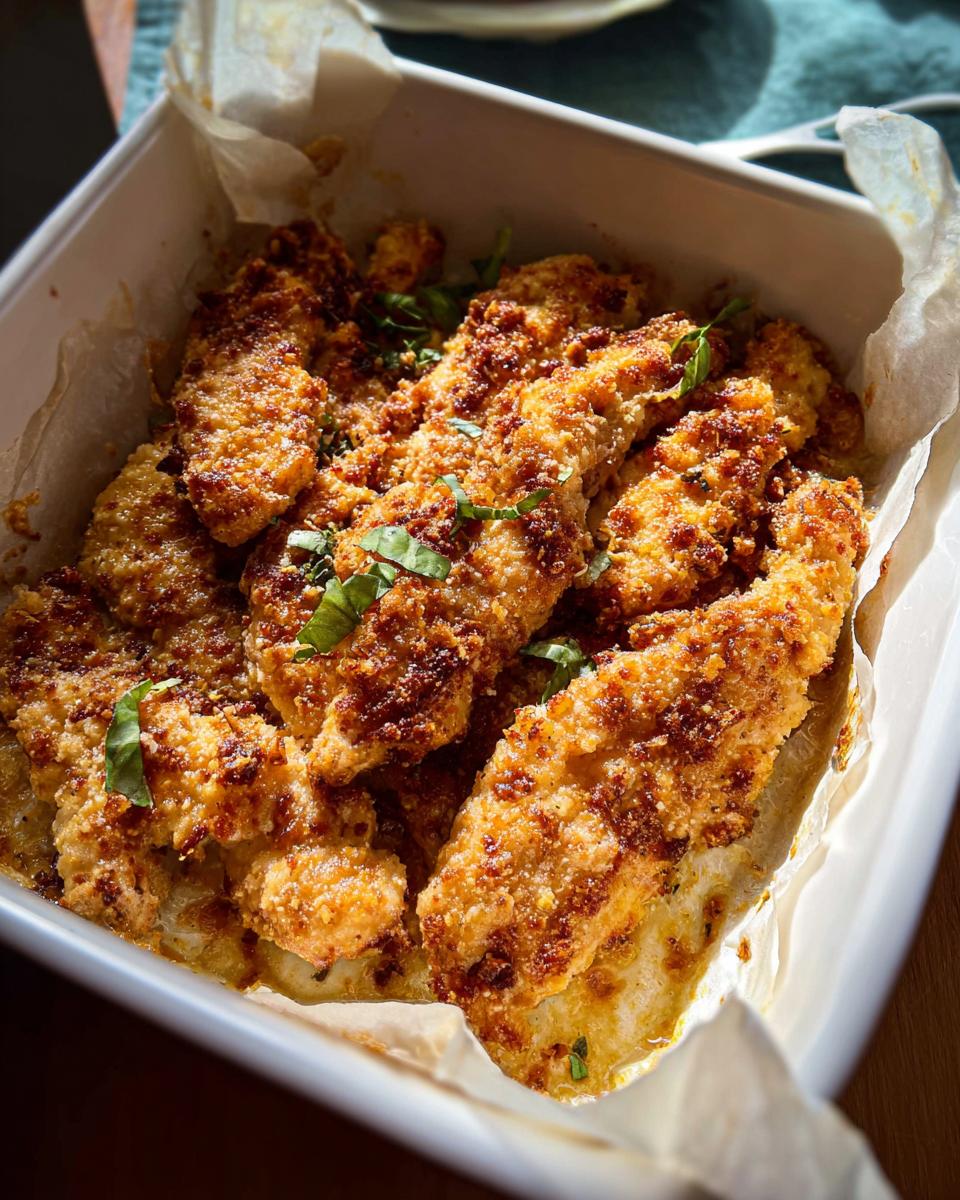
The secret to getting that ‘melt-in-your-mouth’ result isn’t just luck; it’s the prep! The short soak in milk tenderizes the meat before it even hits the oven. Then, that creamy Greek yogurt coating locks all that moisture in while baking. That’s how you guarantee incredibly Juicy Chicken that never dries out.
Gathering Ingredients for Melt In Your Mouth Chicken
Don’t panic when you see the list! I promise, it looks longer than it actually is. Most of these flavors are just sitting in your spice cabinet right now. The real magic comes from pairing that soak with our super simple coatings. Before you even preheat the oven, get everything laid out so assembly is a snap. Remember, the goal here is speed without sacrificing that amazing texture we’re hunting for.
For the Chicken Marinade
This is the step that locks in moisture, so don’t skip it! You’ll start by taking 4 boneless, skinless chicken breasts and slicing each one into two or three smaller strips. That surface area helps them soak up the magic.
- Milk: 1/2 cup (Make sure the chicken pieces are fully covered!)
For the Mayo Parmesan Chicken Coating
This is where the flavor bomb happens. I love using Greek yogurt because it cuts the fat slightly, but feel free to swap it out if you need to! Since this is the star coating, we need to divide that Parmesan.
- Greek yogurt: 3/4 cup (If you don’t have this, you can use sour cream or regular mayonnaise—check out my notes on alternatives here: best substitutes for Greek yogurt in baking)
- Grated parmesan cheese: 3/4 cup, divided (We use half now, half later!)
- Salt: 1 teaspoon
- Garlic powder: 3/4 teaspoon
- Onion powder: 3/4 teaspoon
- Paprika: 3/4 teaspoon
- Black pepper: To taste
Optional Garnish Items
These are purely for looks and a little extra pop of freshness when serving up this perfect Mayo Parmesan Chicken!
- Parsley
- Chili pepper flakes
Essential Equipment for Easy Baked Chicken
You don’t need a professional kitchen for this winner, thankfully! Since this is meant to be the easiest dinner you make all week, we only rely on simple items. Grab your oven, a baking dish big enough for all that chicken—I usually use a 9×13 inch size—and a regular old mixing bowl for that delicious coating.
That’s it! No fancy mixers required for this Easy Baked Chicken goodness. Keep your equipment clean and simple, and you’ll be sitting down to eat faster than you think.
Step-by-Step Instructions for Perfect Melt In Your Mouth Chicken
Here is where we pull it all together! Don’t rush the marinating time, since that 30 minutes really makes a difference in the final texture of this Melt In Your Mouth Chicken. Once you have everything prepped, it moves really fast, I promise. Just follow the order, and you’ll have dinner on the table before you know it.
Marinate and Prep the Chicken
First things first: we prep the chicken so it’s ready to absorb all that love we’re about to give it. Take your 4 chicken breasts and run your knife through them to slice each one into two or three nice strips. Easy peasy! Now, put those chicken pieces into a bowl and pour that half-cup of milk right over them. They need to hang out in the fridge for at least 30 minutes; I usually aim for about an hour if I can swing it. If you’re making this ahead, overnight is totally fine, too!
Creating the Flavorful Yogurt Coating
While that chicken is doing its thing soaking, let’s make the coating, which is key to that signature crispiness. In a separate bowl, mix up your Greek yogurt, then stir in half of your grated Parmesan cheese—don’t forget to save the other half for the topping later! Then, toss in all your spices: the salt, garlic powder, onion powder, and paprika. Mix it really well, just until everything turns into a nice, thick, creamy paste. We want it uniform! Then, transfer the milk-soaked chicken to your baking dish and just season the chicken itself lightly with a touch more salt.
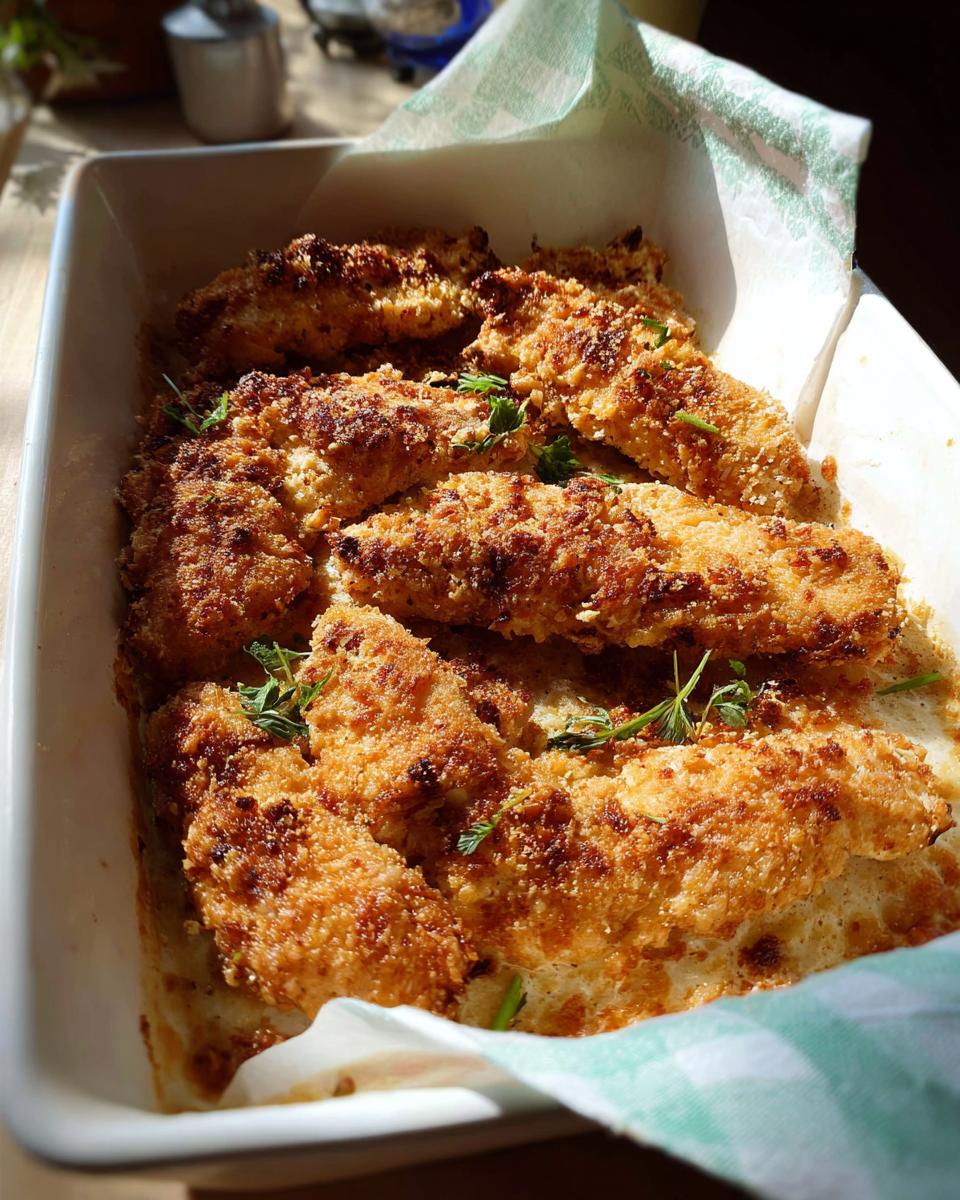
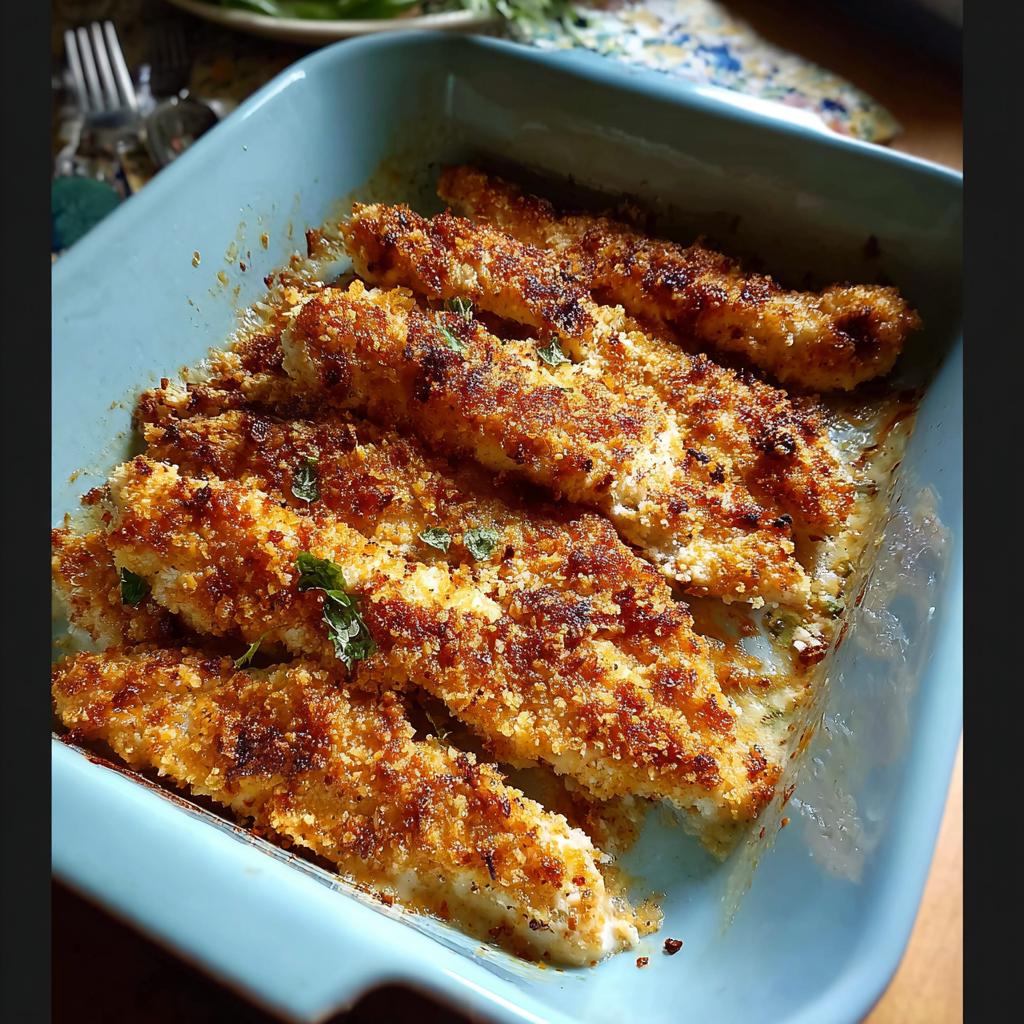
Baking and Browning for the Best Melt In Your Mouth Chicken
Time for the oven! Make sure you preheat it to 375°F (190°C) before you start assembling. Once the chicken is in the dish and coated, sprinkle that last little bit of Parmesan cheese over the top and dust with a wee bit more paprika—that helps that crust turn golden. Bake for a solid 40 minutes. When that time hits, we crank things up to broil for just a few minutes to get that amazing crispy, bubbly top. You can find some extra tricks for perfect broiling right here on my guide to finishing baked dishes. Always give the source a peek: https://hungryhappens.net/melt-in-your-mouth-chicken/.
Tips for Success with Your Easy Baked Chicken
Even though this is meant to be super simple, that little bit of planning goes a long way toward guaranteeing supper success! Since we all keep slightly different pantries, let’s talk about making swaps without ruining that signature creamy texture of this Easy Baked Chicken. Remember, consistency in the coating is everything to keep things juicy.
Ingredient Notes and Substitutions
If you’re out of Greek yogurt, don’t stress! Sour cream or even full-fat mayonnaise work almost identically here; they both bring that creamy binder we need. Just make sure you are using the full amount specified. Also, try to use a good quality grated Parmesan—the stuff that comes pre-grated in a shaker canister tends to have anti-caking agents that can make the coating slightly gritty rather than smooth.
One final thought: always, always check your chicken’s temperature before serving to make sure it’s cooked through to 165°F internally. You can review my quick guide on safely checking doneness here, which is essential for any baked poultry!
Serving Suggestions for This Family Dinner
Now that we’ve made the star of the show—our melt-in-your-mouth magic—we need some fast friends for the plate! Since this is all about making your evening easier, we should aim for sides that need zero attention while the chicken is doing its thing in the oven. This keeps the whole Family Dinner experience streamlined.
I always lean on two simple go-tos. First, throw some green beans into the microwave steamer bag right after you coat the chicken; they take five minutes, and they’re perfect. Second, nothing beats a quick, store-bought Caesar salad kit. It adds that fresh crunch we need against the creamy baked chicken.
Boom! You’ve got a complete, kid-friendly, delicious meal on the table without breaking a sweat.
Storing and Reheating Melt In Your Mouth Chicken
Okay, so you managed to have leftovers—that’s the real win! I always make slightly too much on purpose because reheating this Melt In Your Mouth Chicken the next day is almost as good as the first bake. Once cooled slightly, just tuck those pieces into a good, airtight container. They’ll stay fresh and super moist in the fridge for about three to four days. Don’t leave them sitting out too long, especially with that yummy coating!
When it’s time to eat them again, skip the microwave if you can! Microwaving tends to steam the crust. I prefer popping them back into a 350°F oven for about 10 minutes. If you want to guarantee juiciness, add just a tiny splash—like a teaspoon—of water or chicken broth to the bottom of the baking dish before you cover it with foil. That steams it just enough to keep everything unbelievably tender!
Frequently Asked Questions About This Recipe
Hey there! It’s normal to have a few questions when trying a new weeknight staple. I’ve gathered the most common ones people ask about preparing this fantastic Melt In Your Mouth Chicken so you can feel totally confident going into the kitchen. It truly is designed to be a reliable Easy Baked Chicken!
Can I use chicken thighs instead of breasts for this Melt In Your Mouth Chicken?
Oh yes, you absolutely can! Chicken thighs have a bit more fat, so they are virtually impossible to dry out, which just means more juicy goodness for you. Since thighs are often thicker than the strips we cut from the breasts, you might need to add an extra 5 to 10 minutes to the initial baking time until they hit that safe internal temperature. Keep checking them!
How do I ensure the coating doesn’t burn when broiling?
That final few minutes under the broiler is magic for the golden crust, but it requires your attention! Make sure your oven rack is in the middle or upper-middle position, but not too close to the heating element. I usually only broil it for 2 to 4 minutes total. Keep your eyes glued to it—seriously! If you see any spot getting too dark, just nudge the whole pan forward or turn the heat off and let the residual heat finish the job.
Is this recipe suitable for meal prepping?
It’s fantastic for meal prepping! This is one of the best recipes for an Easy Baked Chicken lunch the next day. Cook the batch on Sunday, let it cool completely, and then store it in a good container. It reheats beautifully using the broth/foil method I mentioned earlier. It’s great for tossing into salads or serving alongside rice for a quick Family Dinner! For more on ensuring your chicken stays perfect after refrigeration, check out my guide on safe food handling and holding times.
Estimated Nutritional Data for Melt In Your Mouth Chicken
Now, since we’re feeding our families, I know you’re curious about what’s inside! I ran the numbers for this Melt In Your Mouth Chicken recipe based on the ingredients we used. Remember, these are just estimates per serving—your nutritional breakdown can change a little depending on whether you use full-fat mayo or a specific brand of Parmesan!
For approximately one serving, here’s the breakdown:
- Calories: 249
- Protein: 34g
- Fat: 9g
- Carbohydrates: 5g
It’s a high-protein meal that keeps those little tummies full until bedtime. That’s one goal checked off the list for the day!
Share Your Family Dinner Success
That’s it friends! You’ve made it to the end, and now comes the best part: enjoying stress-free dinners with your crew. I really, truly hope this recipe becomes a staple for your household just like it did for mine. If you loved how tender this turned out, please tell me about it in the comments!
Did it conquer your picky eaters? Leave a rating below! Seeing your feedback makes all the difference in my kitchen, and I can’t wait to hear how this Family Dinner changed your weeknights!
Melt In Your Mouth Chicken
Ingredients
Equipment
Method
- Slice each chicken breast into two or three strips. Place them in a bowl and cover with milk. Marinate for at least 30 minutes or overnight in the refrigerator.
- Preheat your oven to 375°F (190°C).
- In a small bowl, combine the Greek yogurt, half the grated parmesan cheese, salt, garlic powder, onion powder, paprika, and black pepper.
- Transfer the marinated chicken pieces to a 9×13 inch baking dish. Season the chicken with salt to taste.
- Spread the yogurt mixture evenly over the chicken pieces. Sprinkle the remaining parmesan cheese on top, followed by a little more paprika.
- Bake for 40 minutes. Then, broil for a few minutes until the top is golden brown.
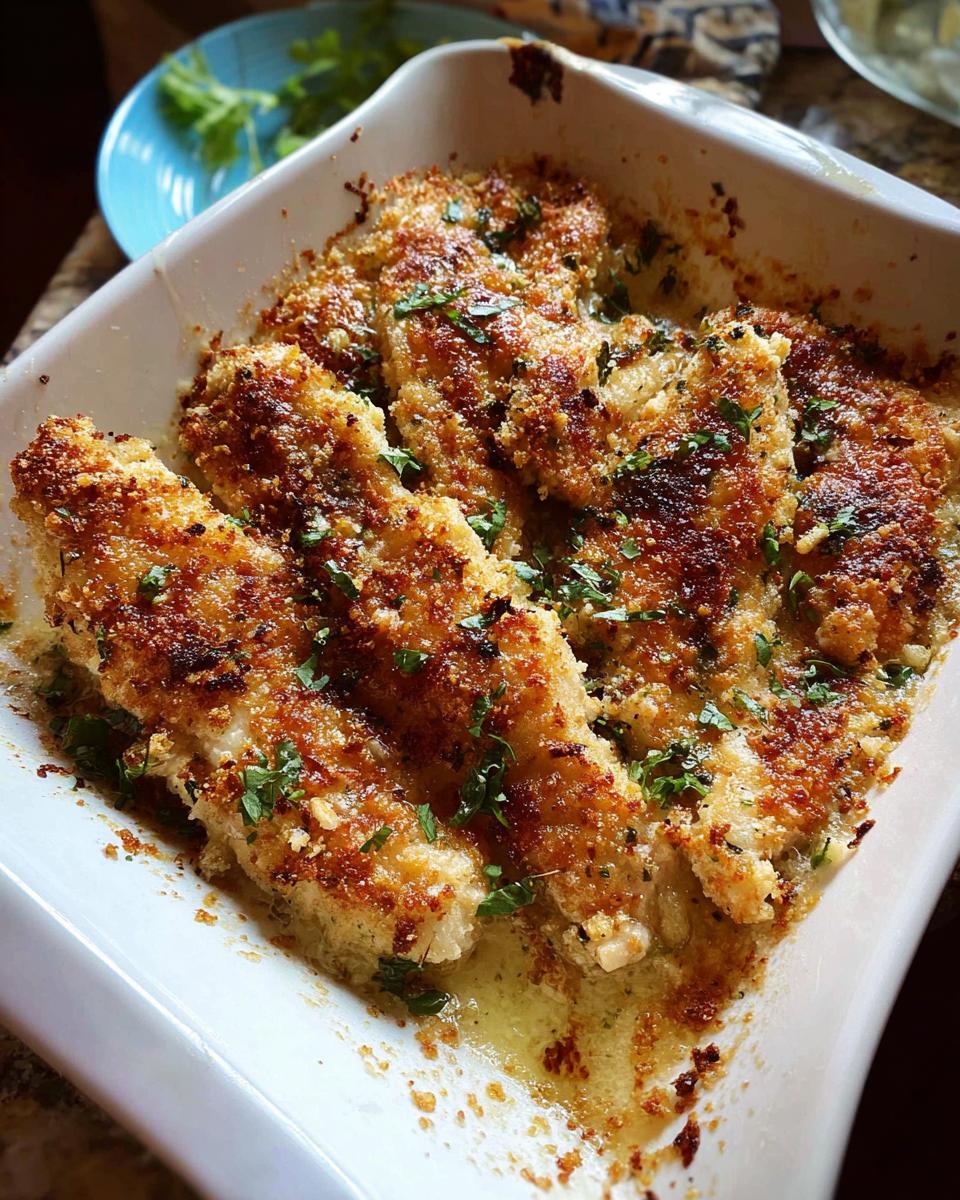
- Garnish with parsley and chili flakes if desired.
Nutrition
Notes
Tried this recipe?
Let us know how it was!
Certified Family Nutrition Strategist
My path into family nutrition began working with Phoenix Area Family Services, where I saw how traditional nutrition advice often ignored real-world constraints like budget limitations, time crunches, and kids who refuse to eat anything green. That experience sparked my mission to develop meal planning systems that work with family realities, not against them.
Over eight years, I’ve helped hundreds of families reduce grocery spending by 25% while dramatically improving their nutrition. My meal planning frameworks have been adopted by local wellness centers because they actually work for busy parents juggling different ages, preferences, and dietary needs in one household.
As a bilingual first-generation Mexican-American and mother of three, I personally navigate the daily challenge of feeding a family nutritiously while honoring cultural traditions and managing a household budget. My “kid-friendly low-carb” protocols show families how to gradually introduce healthier options without triggering mealtime battles or abandoning beloved family recipes.
My “realistic wellness” philosophy is straightforward: health improvements must work within existing family dynamics and financial realities to be truly sustainable. When I’m not developing meal planning systems, I’m creating portable trail snacks for our weekend family hiking adventures – because healthy eating should fuel the life you want to live.
My personal low-carb journey started after pregnancy as a way to regain energy for active parenting, and that experience continues to inform my professional commitment to making healthy eating feel supportive rather than burdensome for busy families.