
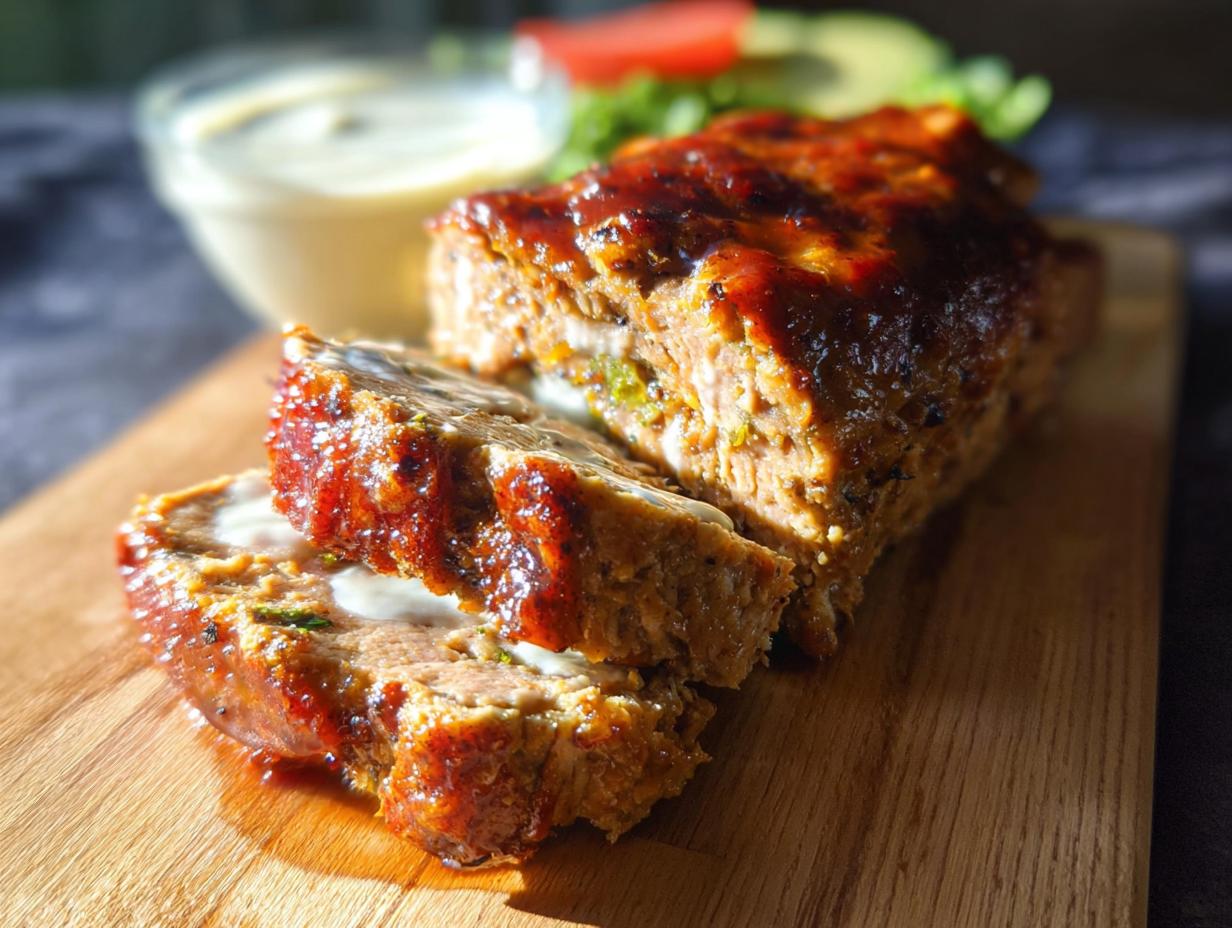
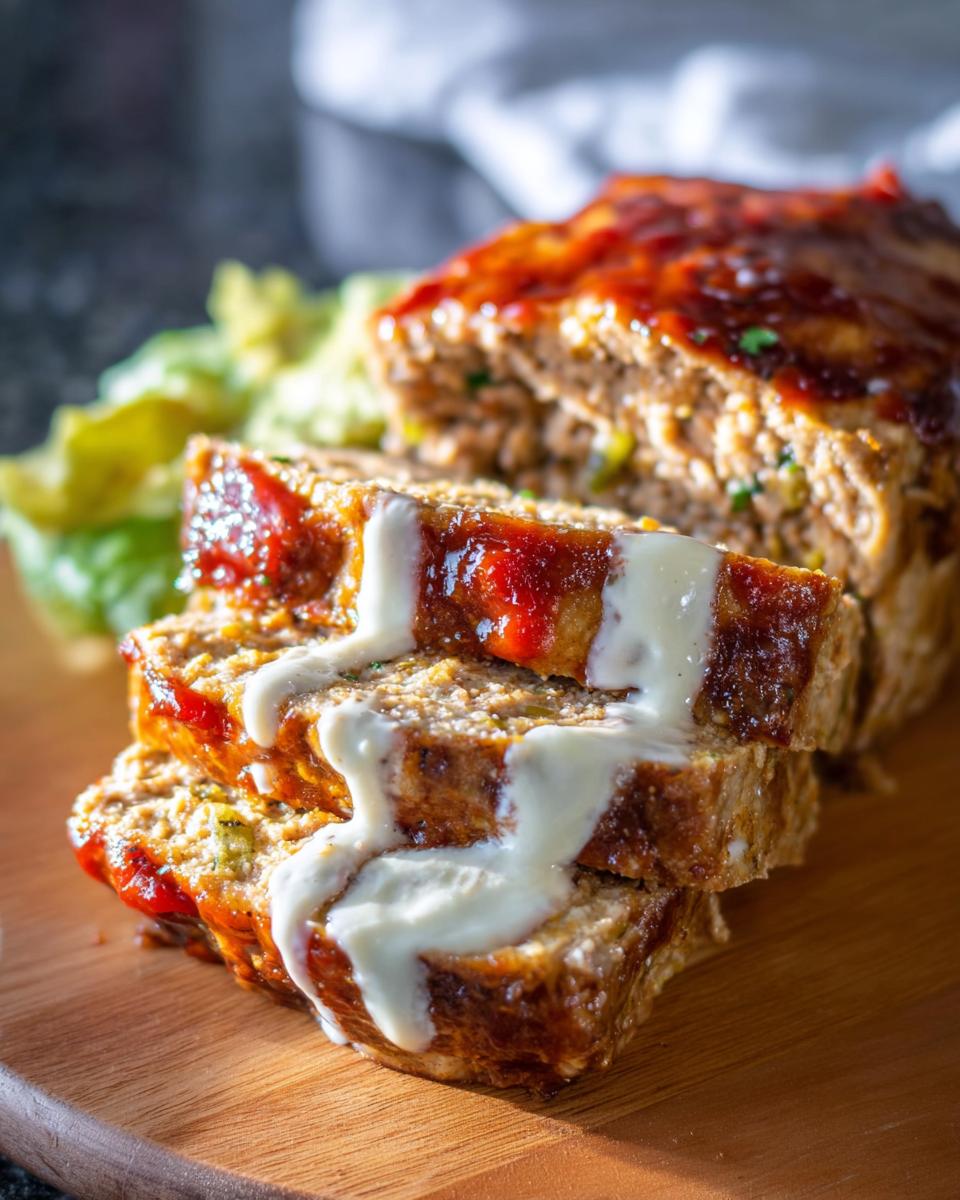
I remember the first time I tried making meatloaf for my family—it was a rainy Saturday, and I really wanted something super comforting but also a little bit *different* from our usual go-to meals. I had this vision of a dish that would totally unite my kids’ love for chicken (you know how picky they can be!) with their absolute obsession with garlic and cheese. It took a few tries, tweaking things here and there, but eventually, the “Juicy Garlic Parmesan Chicken Meatloaf” was born! Honestly, it was such a hit at the dinner table; the combination of those savory flavors really brought smiles and super satisfied bellies. Ever since then, it’s become a total staple in our home, proving that with just a little bit of creativity, healthy eating can actually be incredibly delicious and exciting. I’m Maria Fernandez, a Certified Family Nutrition Strategist, and I’m thrilled to share this family-tested favorite with you!
Why You’ll Love This Juicy Garlic Parmesan Chicken Meatloaf
Seriously, this meatloaf is a game-changer for weeknight dinners:
- Super Easy to Make: You just toss everything in a bowl, shape it, and bake! No complicated steps here.
- Packed with Flavor: The garlic and Parmesan combo is just *chef’s kiss*. It’s savory, cheesy, and so satisfying.
- Kid-Approved: If you have picky eaters, this is your secret weapon. It’s chicken, which is usually a safe bet, and the flavors are just yummy.
- Nutritious Choice: Using ground chicken makes it a leaner option than beef, and it’s still full of protein to keep everyone full and happy.
Ingredients for Juicy Garlic Parmesan Chicken Meatloaf
Alright, let’s get down to what you’ll need for this amazing meatloaf. I’ve kept it super simple so you’re not running all over the grocery store. Make sure you’ve got these on hand:
For the Meatloaf
- 1 pound ground chicken
- 1/2 cup plain or Italian-seasoned breadcrumbs
- 1/4 cup grated Parmesan cheese
- 1 egg, lightly beaten
- 2 cloves garlic, minced (trust me, fresh is best here!)
- 1/4 cup milk
- 1 teaspoon Worcestershire sauce
- 1/2 teaspoon salt
- 1/4 teaspoon black pepper
For the Glaze
- 1/4 cup ketchup
- 1 tablespoon brown sugar
- 1 teaspoon Dijon mustard
My note here? Read your labels! Sometimes breadcrumbs already have Italian seasoning, which is totally fine. And if you don’t have Worcestershire sauce, a splash of soy sauce can work in a pinch, but it might change the flavor just a *tad*. We’re aiming for that savory depth, you know?
Equipment You’ll Need
Honestly, you don’t need a fancy kitchen for this one! Just a couple of basics will do the trick:
- A good mixing bowl – big enough to get everything combined without making a mess.
- A baking dish – your standard loaf pan or a smaller casserole dish works perfectly.
That’s really it! Super simple, right?
How to Make Juicy Garlic Parmesan Chicken Meatloaf: Step-by-Step
Okay, let’s get this amazing meatloaf into the oven! It’s honestly super simple and comes together really fast. Trust me, the little steps make all the difference!
Preheat and Prepare
First things first, get that oven humming! Preheat it to 375°F (that’s 190°C). While it’s heating up, grab your baking dish and give it a quick grease. A little bit of cooking spray or a swipe of butter works wonders to stop anything from sticking.
Combine Meatloaf Ingredients
Now for the magic! In your biggest mixing bowl, toss in the ground chicken, breadcrumbs, that lovely grated Parmesan cheese, the lightly beaten egg, and all that minced garlic. Add in your milk, Worcestershire sauce, salt, and pepper too. Here’s my big tip: mix everything gently until it’s *just* combined. Seriously, don’t go wild overmixing it, or your meatloaf can get tough. We want tender and juicy!
Shape and Place the Meatloaf
Once it’s all mixed, gently use your hands to shape the chicken mixture into a nice loaf. Don’t worry about making it look perfect; it’ll settle in the dish. Just place it right into that greased baking dish you prepped earlier.
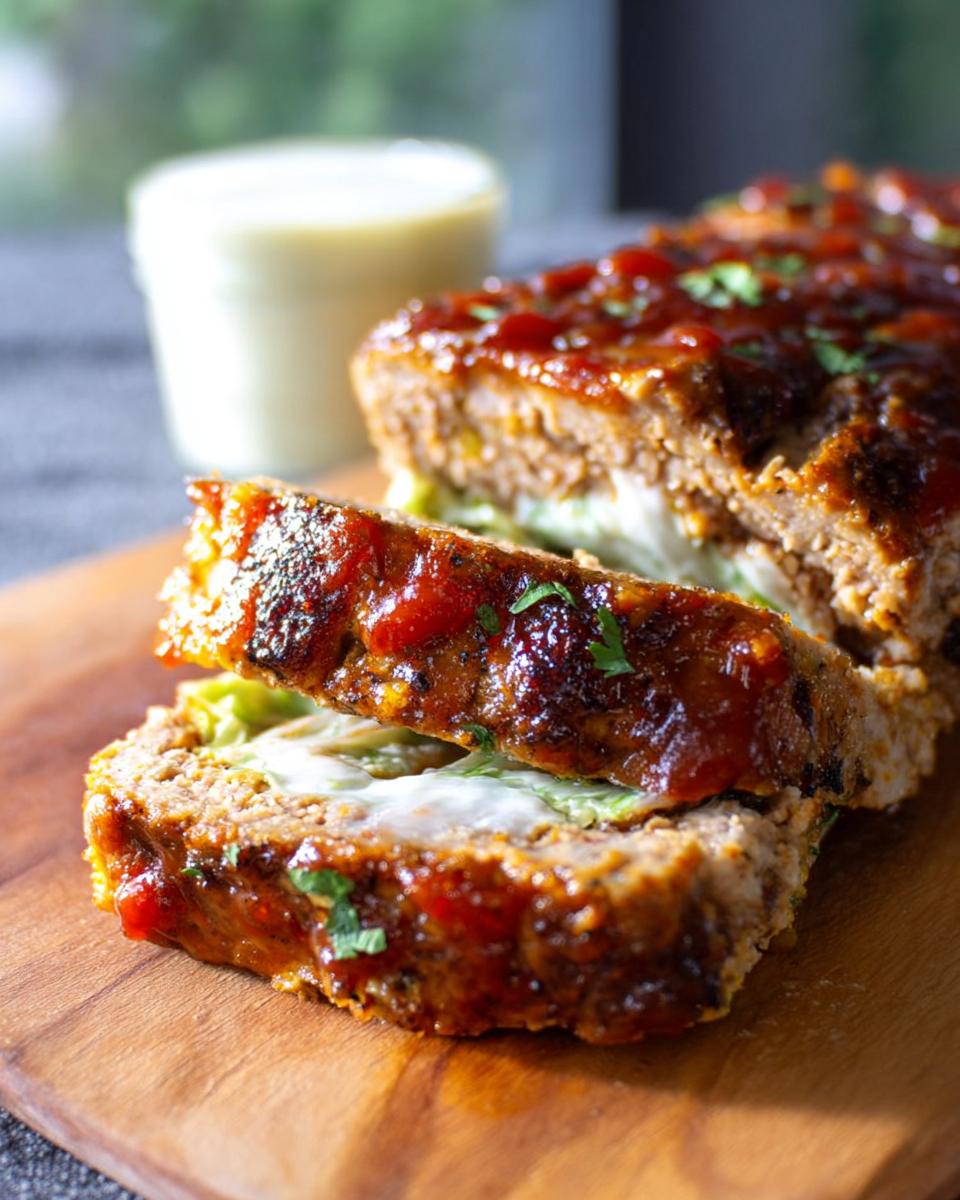
Prepare the Glaze
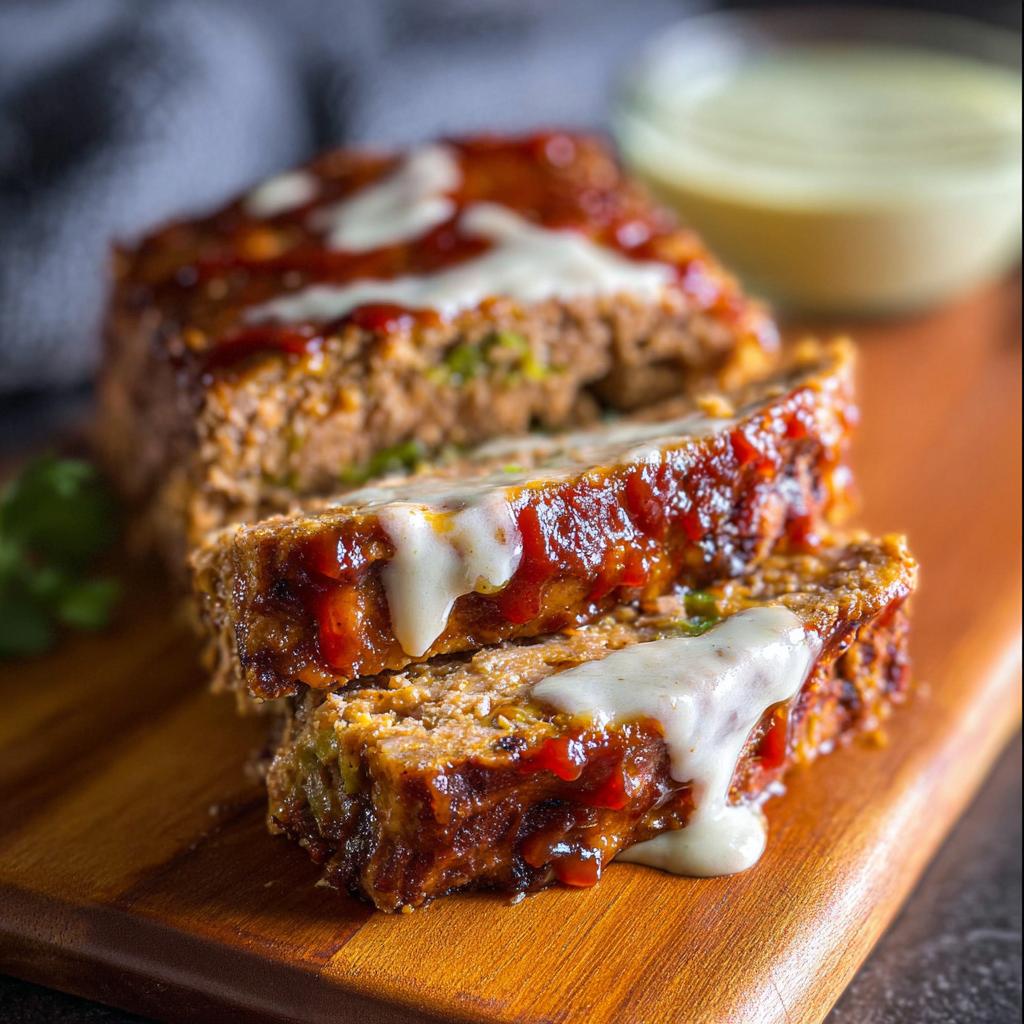
Time for the yummy topping! Grab a small bowl and whisk together the ketchup, brown sugar, and Dijon mustard until it’s nice and smooth. This glaze is going to give our meatloaf that perfect sweet and tangy finish.
Apply the Glaze
Carefully spoon or brush that delicious glaze evenly all over the top of your chicken meatloaf. Make sure you get a good coating for maximum flavor!
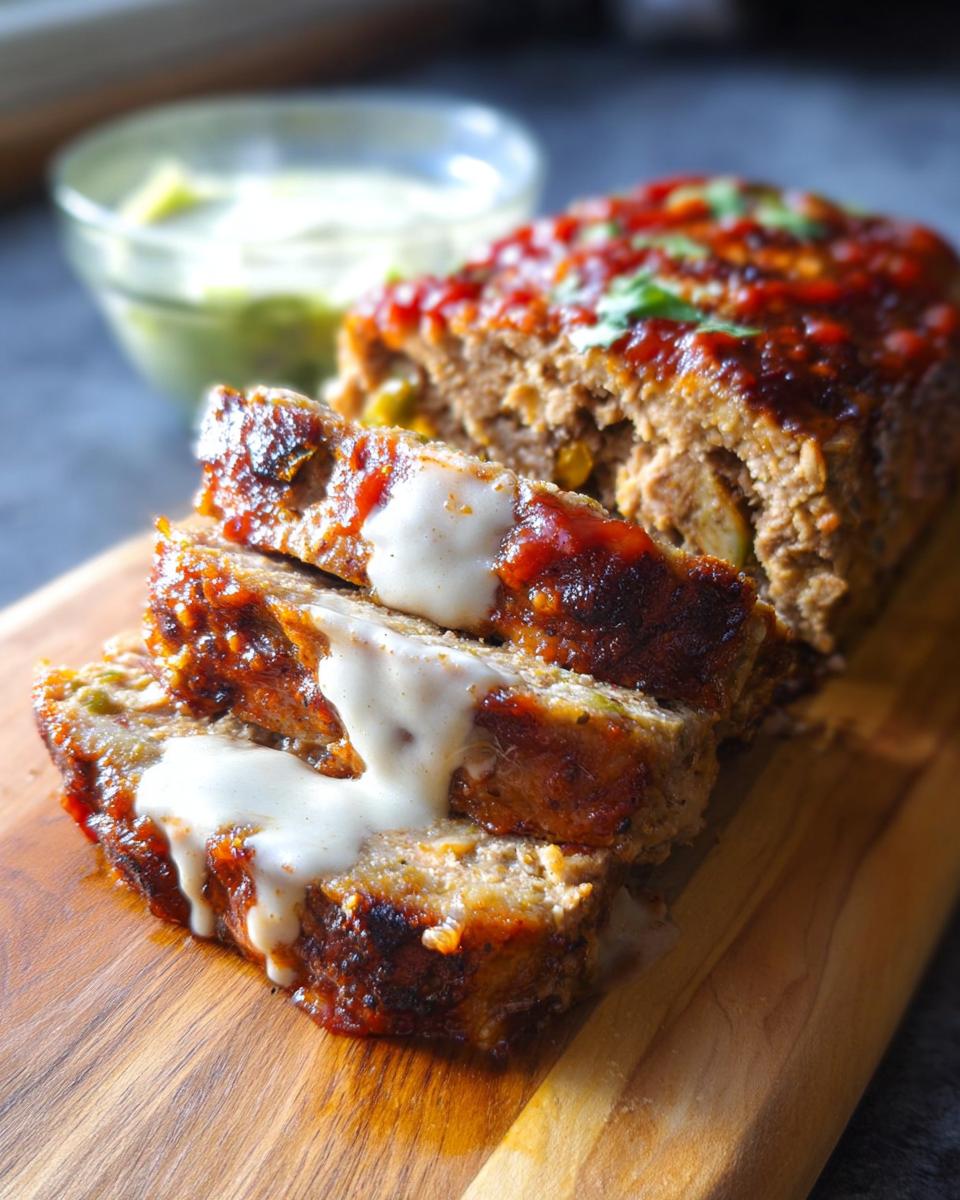
Bake to Perfection
Pop that dish into your preheated oven. You’ll want to bake it for about 45 to 50 minutes. The best way to know it’s done is to check the internal temperature with a meat thermometer – it should read 165°F (74°C). You’ll also see that glaze looking bubbly and delicious.
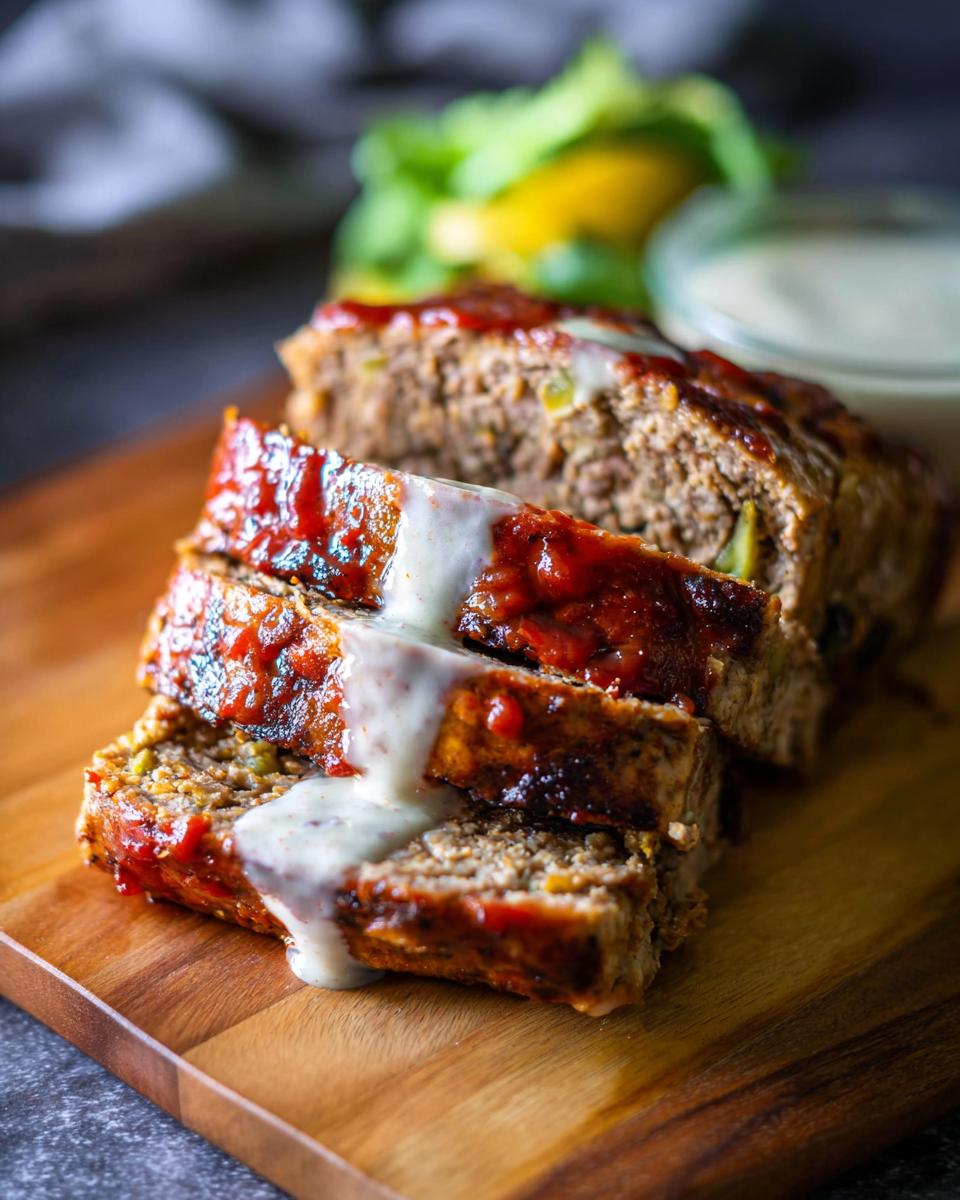
Rest Before Serving
This is a crucial step, so don’t skip it! Once it’s out of the oven, let the meatloaf rest for a good 10 minutes before you slice into it. This little pause lets the juices redistribute throughout the meat, making every bite incredibly tender and moist. It’s like magic, really!
For some extra yummy side ideas that pair perfectly, check out these Garlic Herb Roasted Potatoes, Carrots, and Zucchini!
Tips for the Best Juicy Garlic Parmesan Chicken Meatloaf
Alright, you’ve got the basic recipe down, but let me share a few insider tricks that I’ve learned over the years to make this Juicy Garlic Parmesan Chicken Meatloaf absolutely *perfect* every single time. These little things really step up the flavor and make sure you get that super tender texture everyone loves!
First off, don’t be tempted to use pre-minced garlic from a jar. Freshly minced garlic has a much brighter, punchier flavor that really makes the garlic shine in this recipe. Also, when you’re mixing your meatloaf ingredients, remember what I said: gentle does it! Overmixing is the enemy of tender chicken. We’re just looking to combine everything until it’s *barely* mixed. It’ll still hold together, I promise!
For an even richer flavor, and if you’re feeling a little adventurous, you can add about 1/4 cup of finely chopped onion or bell pepper to the meat mixture along with the other ingredients. It adds a subtle sweetness and extra texture. Oh, and that resting step after baking? It is SO important. Don’t rush it! It’s what keeps the meatloaf moist and delicious. For more foolproof dinner ideas, check out how to make dinner ideas foolproof!
Serving Suggestions for Your Meatloaf
This Juicy Garlic Parmesan Chicken Meatloaf is fantastic on its own, but serving it with the right sides just takes it to the next level! For a super cozy, family-favorite meal, you can’t go wrong with some creamy mashed potatoes. If you’re looking for something a bit more veg-forward, I absolutely love pairing it with these Country Ranch Green Beans, Potatoes, and Bacon or a decadent Creamy Potato Leek Gratin. They all complement that garlicky, cheesy goodness perfectly!
Storage and Reheating Instructions
Got leftovers? Lucky you! This Juicy Garlic Parmesan Chicken Meatloaf is just as delicious the next day. Once it’s cooled down a bit, wrap it up tightly in plastic wrap or pop it into an airtight container. It’ll keep nicely in the fridge for about 3 to 4 days.
When you’re ready to reheat, either slice it up and warm individual portions gently in a skillet over low heat with a splash of broth or water, or you can reheat a larger piece in the oven at around 300°F (150°C) for about 15-20 minutes, or until heated through. Just avoid microwaving it if you can, unless you’re in a super big hurry, as it can sometimes make the texture a little less appealing. Enjoy those leftovers!
Frequently Asked Questions About This Meatloaf
Got questions about our Juicy Garlic Parmesan Chicken Meatloaf? I’ve got you covered! Here are a few things people often ask:
Can I use different types of ground meat?
You totally can! While ground chicken is my go-to for a leaner option, you could absolutely use ground turkey. If you’re feeling a bit more traditional, ground beef (an 80/20 blend is nice) works too, but it will change the flavor profile a bit and won’t be quite as lean. Just remember that different meats can have slightly different cooking times, so always check that internal temperature!
How can I make this meatloaf healthier?
Great question! Since we’re already using ground chicken, it’s a pretty healthy base. To boost it even more, try swapping out the regular breadcrumbs for whole wheat ones. You can also add finely chopped veggies like carrots, zucchini, or even some spinach right into the meat mixture – it’s a super easy way to sneak in more nutrients without the kids even noticing! And a little tip: you can use less breadcrumbs if you like, just be gentle when mixing.
Can I freeze this meatloaf?
Yes, you can freeze it! Once the meatloaf has cooled completely, you can wrap it tightly in plastic wrap and then in a layer of foil, or place it in a freezer-safe container. It should last in the freezer for about 2 to 3 months. When you’re ready to enjoy it, thaw it in the refrigerator overnight, and then reheat following the instructions I gave you earlier. It holds up really well!
Nutritional Information
Just a heads-up, these numbers are estimates and can totally vary based on the specific ingredients you use! Here’s a general idea of what you’re getting per serving of our Juicy Garlic Parmesan Chicken Meatloaf:
- Calories: Around 350
- Fat: Approximately 15g
- Protein: About 30g
- Carbohydrates: Roughly 20g
- Sugar: Around 10g
This is a pretty balanced meal, especially when paired with some veggies!
Juicy Garlic Parmesan Chicken Meatloaf
Ingredients
Equipment
Method
- Preheat your oven to 375°F (190°C). Lightly grease a baking dish.
- In a large bowl, combine the ground chicken, breadcrumbs, Parmesan cheese, beaten egg, minced garlic, milk, Worcestershire sauce, salt, and pepper. Mix gently until just combined. Do not overmix.
- Shape the mixture into a loaf and place it in the prepared baking dish.
- In a small bowl, whisk together the ketchup, brown sugar, and Dijon mustard for the glaze.
- Spread the glaze evenly over the top of the meatloaf.
- Bake for 45-50 minutes, or until the internal temperature reaches 165°F (74°C) and the glaze is bubbly.
- Let the meatloaf rest for 10 minutes before slicing and serving. This helps the juices redistribute, making it more tender.
Nutrition
Notes
Tried this recipe?
Let us know how it was!
Certified Family Nutrition Strategist
My path into family nutrition began working with Phoenix Area Family Services, where I saw how traditional nutrition advice often ignored real-world constraints like budget limitations, time crunches, and kids who refuse to eat anything green. That experience sparked my mission to develop meal planning systems that work with family realities, not against them.
Over eight years, I’ve helped hundreds of families reduce grocery spending by 25% while dramatically improving their nutrition. My meal planning frameworks have been adopted by local wellness centers because they actually work for busy parents juggling different ages, preferences, and dietary needs in one household.
As a bilingual first-generation Mexican-American and mother of three, I personally navigate the daily challenge of feeding a family nutritiously while honoring cultural traditions and managing a household budget. My “kid-friendly low-carb” protocols show families how to gradually introduce healthier options without triggering mealtime battles or abandoning beloved family recipes.
My “realistic wellness” philosophy is straightforward: health improvements must work within existing family dynamics and financial realities to be truly sustainable. When I’m not developing meal planning systems, I’m creating portable trail snacks for our weekend family hiking adventures – because healthy eating should fuel the life you want to live.
My personal low-carb journey started after pregnancy as a way to regain energy for active parenting, and that experience continues to inform my professional commitment to making healthy eating feel supportive rather than burdensome for busy families.