
Oh, the Fourth of July! It just screams summer fun, doesn’t it? And what’s better than cool, refreshing treats when the sun is blazing? I’m so excited to share my secrets for Fourth of July Desserts That Keep Berry Popsicles Bright and Easy. Seriously, these are the easiest, most vibrant little popsicles you’ll ever make. I remember my first time making them; it was a sweltering July afternoon, and they were an instant hit with everyone.
Why You’ll Love These Fourth of July Berry Popsicles
You’re going to adore these pops! They’re seriously the best for a few reasons:
- Super Easy Prep: We’re talking minimal ingredients and just a few minutes of blending. No complicated steps here!
- Incredibly Refreshing: Perfect for beating the summer heat on a busy holiday. Pure berry goodness!
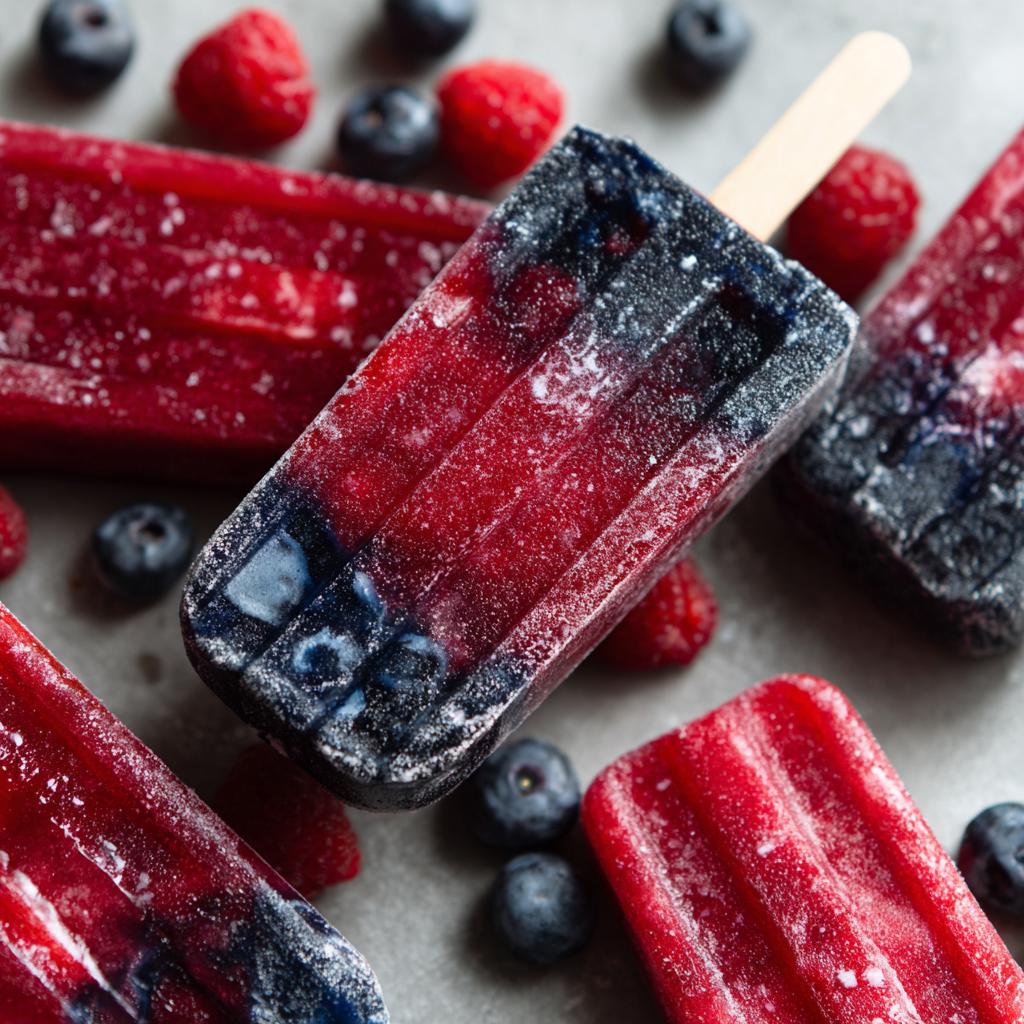
- Vibrant Colors: They look as amazing as they taste, making your dessert table pop with festive red, white (well, almost!), and blue.
- Kid-Approved Fun: Little hands can help make these, and they love holding onto their own colorful popsicles.
- Healthy-ish Treat: Packed with real fruit, these feel way better than store-bought sugary frozen treats.
- Super Customizable: Feel free to play with the sweetness or add your favorite twist!
Gather Your Ingredients for Easy Fourth of July Berry Popsicles
Okay, let’s get our little shopping list together! You won’t believe how simple this is. The key to these bright Fourth of July popsicles is using fresh, good-quality fruit. Trust me, it makes all the difference in the world!
- 2 cups strawberries: Make sure they’re hulled and ready to go!
- 1 cup blueberries: Fresh or frozen work perfectly fine here.
- 1/2 cup raspberries: Again, fresh or frozen is totally okay!
- 1/4 cup granulated sugar: Or a little more, or less, depending on how sweet you like ’em!
- 1/4 cup water: Just to help things blend up smoothly.
Honestly, that’s it! Simple ingredients for a super festive treat. The quality of your berries really shines through here, so if you can grab some ripe, juicy ones, go for it!
Step-by-Step Guide to Making Fourth of July Desserts: Berry Popsicles
Alright, let’s get these little bursts of Fourth of July magic into their molds! It’s a super simple process, I promise. You’ll have these freezer-bound in no time, ready for a hot summer day. Remember, the goal is bright, easy treats!
Blending the Berry Mixture
Pop all those lovely berries – strawberries, blueberries, and raspberries – into your blender. Toss in the sugar and that splash of water. Now just whiz it all up until it’s super smooth. Give it a quick taste right there in the blender. Need a little more sweetness? Go ahead and add it! Nobody likes a bland popsicle!
Filling the Popsicle Molds
Carefully pour that gorgeous, vibrant berry mixture into your popsicle molds. Try not to get too much on the sides; it makes for a cleaner look, but honestly, a little spill never hurt anyone. Just fill them up, leaving a tiny bit of space at the top in case they expand a bit.
Freezing for Perfect Popsicles
Now for the waiting game! Gently insert your popsicle sticks into the molds. Tuck them into the freezer and let them do their thing for at least 4 to 6 hours, or until they’re totally solid. If you poke one and it feels a little soft, just pop it back in for another hour. Patience is key here!

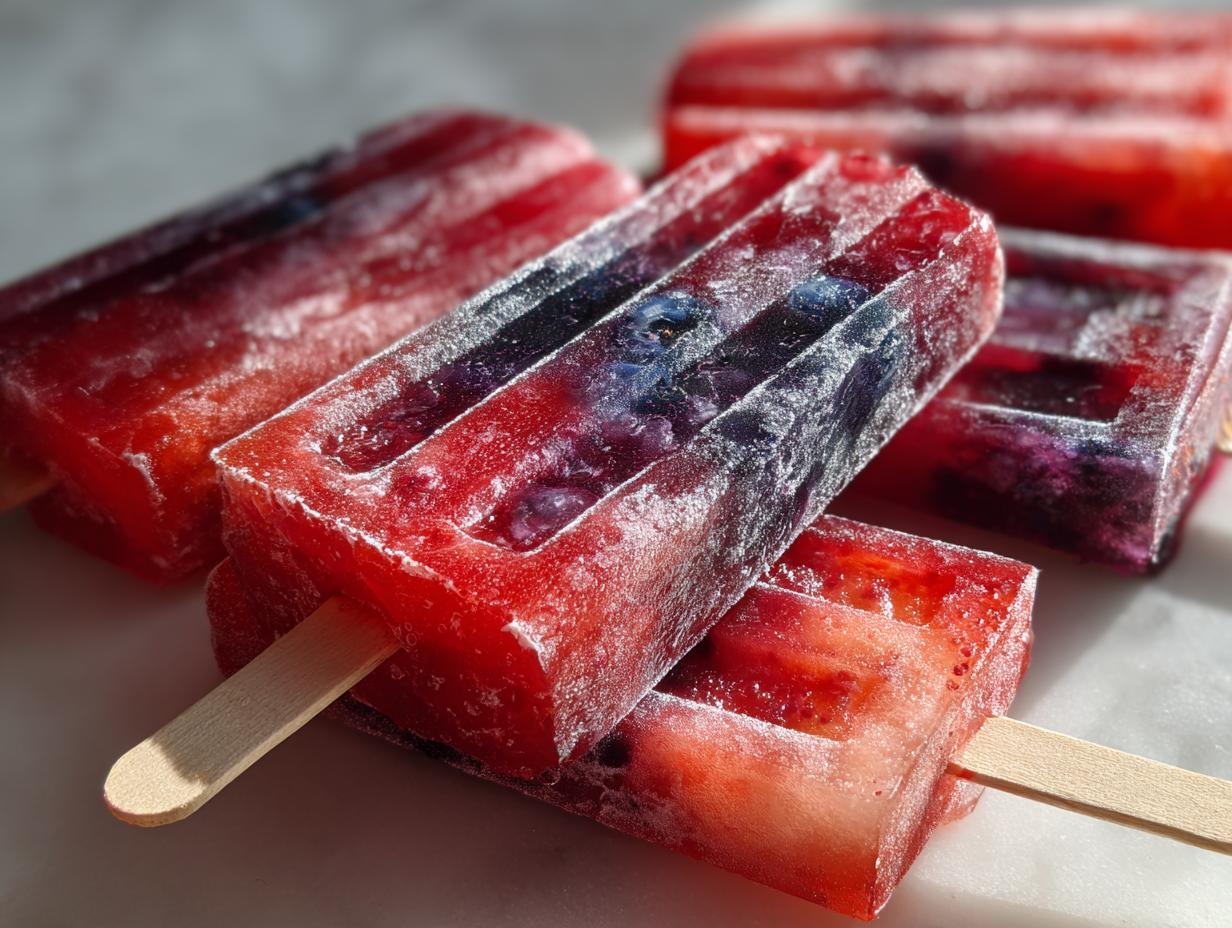
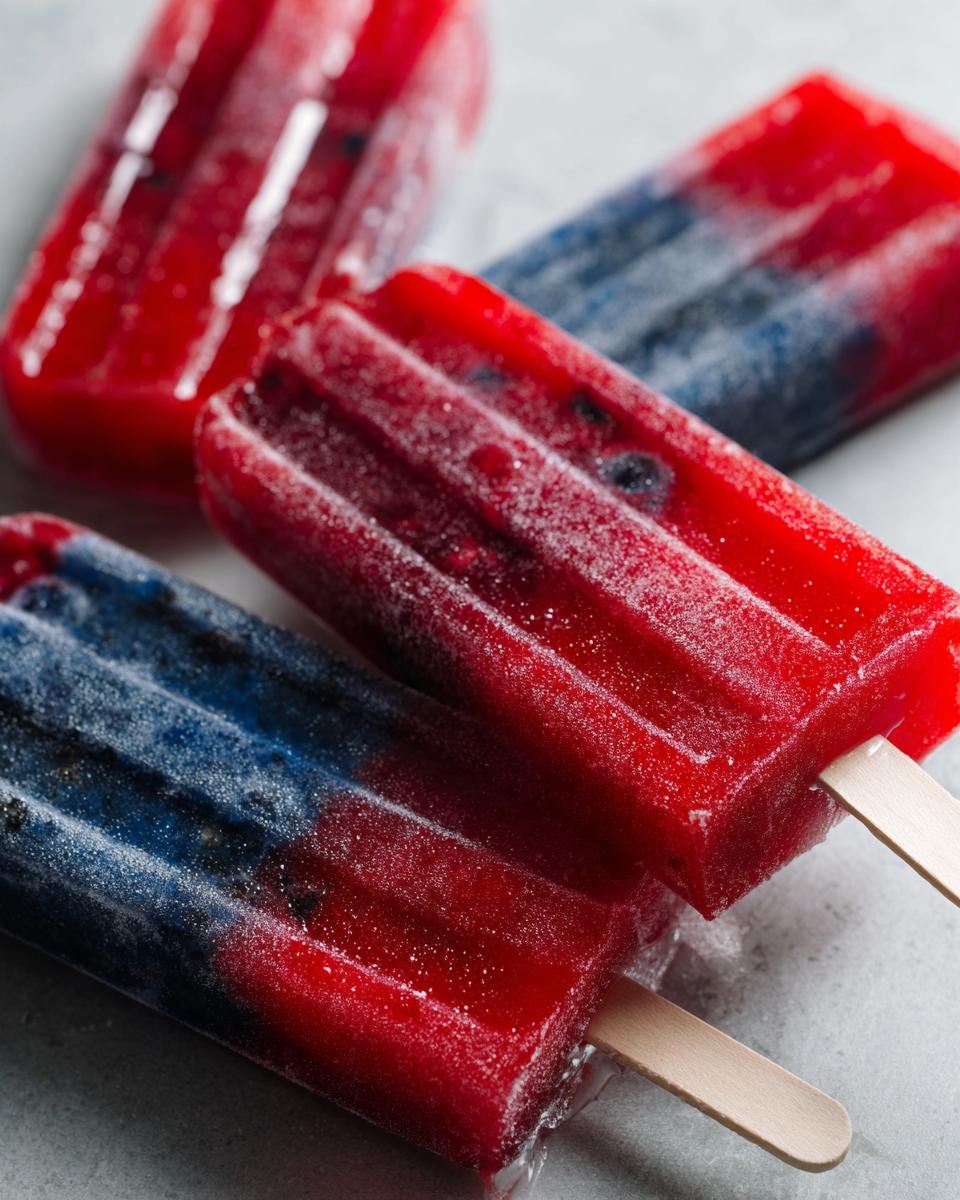
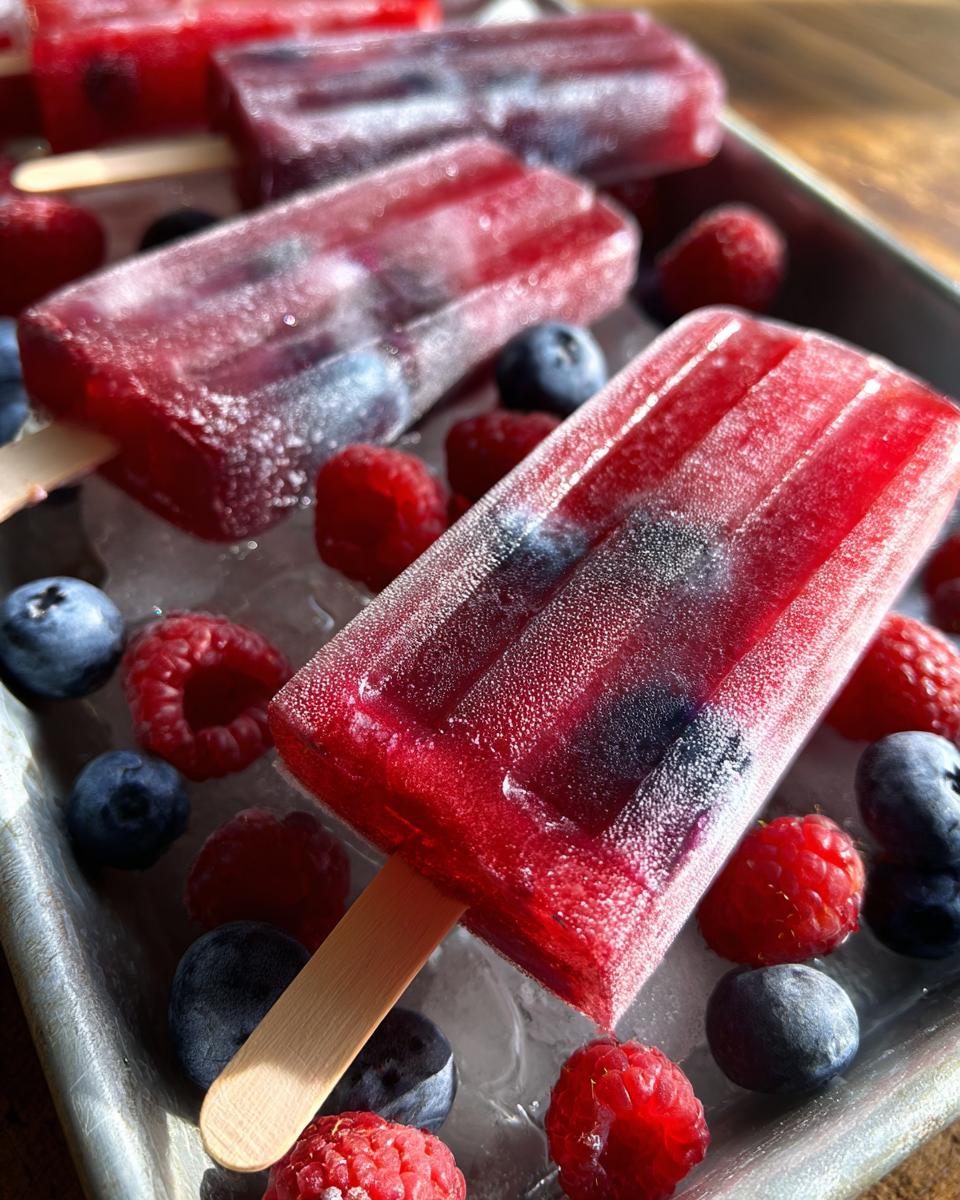
Unmolding Your Bright Berry Popsicles
Once they’re good and frozen, it’s time for the grand reveal! Run the outside of the popsicle molds under a little warm water for just a few seconds. They should slide right out! If one is being stubborn, a quick dip of the mold should do the trick. Voila! Perfect little berry popsicles ready for the Fourth!
Tips for the Brightest Berry Popsicles
Okay, so you’ve got the basic recipe down, but let’s talk about making these Fourth of July desserts *extra* special. I’ve picked up a few tricks over the years that really make these berry popsicles pop, both in color and taste. Trust me, these little touches make a big difference!
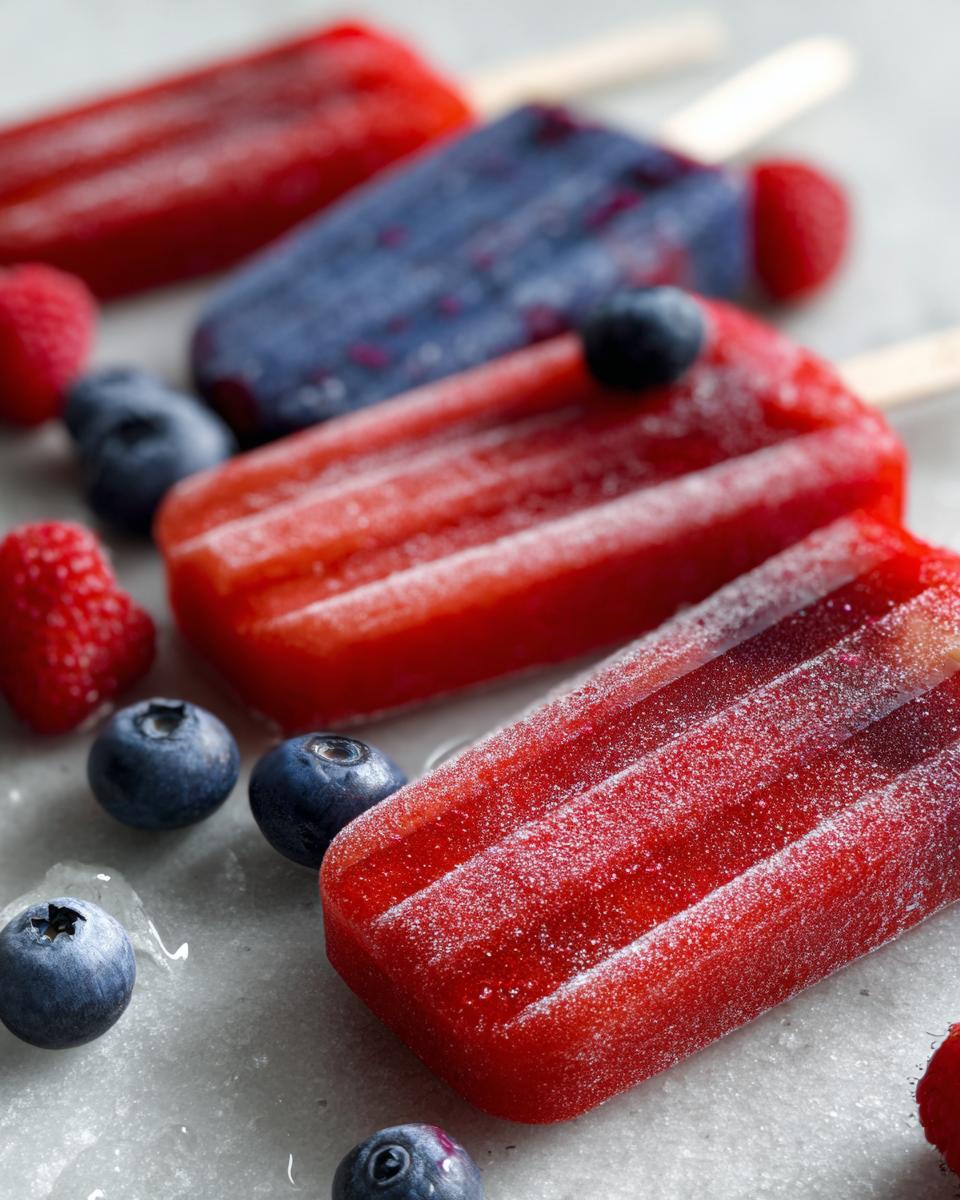
Achieving Vibrant Colors
Want those colors to really sing? My best tip is to use the ripest berries you can find. For the brightest red, lean heavily on those strawberries. For blue, really pack in those blueberries. And don’t over-blend! Just blend until smooth; too much blending can sometimes dull the color. A quick whirl is all you need, and then get them into those molds pronto!
Creamy Popsicle Variations
If you’re looking for a creamier texture, or maybe something a little more indulgent, try adding a Tablespoon or two of plain Greek yogurt or even a touch of heavy cream to the blender with your berries. It makes the popsicles super smooth and adds a lovely richness. You can even check out my smoothie recipes for ideas on how to pair fruits with creamy elements!
Frequently Asked Questions About Fourth of July Desserts
Got questions about whipping up these festive Fourth of July treats? I’ve got you covered! These berry popsicles are super straightforward, but here are a few things folks often wonder about.
Can I use other berries for these popsicles?
Absolutely! Feel free to swap out the berries for what you have on hand. Cherries or even a little bit of mango could be fun additions, but just know it might change the color and flavor a bit!
How long do these berry popsicles last in the freezer?
These vibrant popsicles are best enjoyed within a couple of weeks for the freshest flavor. After that, they might start to get a little icy, but they’ll still be totally edible!
Can I make these popsicles without added sugar?
You sure can! If your berries are really sweet, you might not need any sugar at all. You could also try a tiny drizzle of honey or maple syrup, but taste your berry mix first – you might be surprised how sweet they are on their own!
Nutritional Information (Estimated)
Just a heads-up, the nutritional info for these Fourth of July berry popsicles is an estimate, since everyone’s berries and sweetness levels are a little different! Generally, you’re looking at about 50-70 calories per pop, with minimal fat and a little bit of carbs from the fruit and sugar. They’re a great guilt-free way to cool down!
Share Your Festive Creations!
Alright, now it’s YOUR turn! I can’t wait to see how your Fourth of July berry popsicles turn out. Did you try any fun variations? Snap a pic and tag me, or tell me all about it in the comments below! And if you loved them, a little rating is always super appreciated. You can even reach out with any questions you have!
Fourth of July Berry Popsicles
Ingredients
Equipment
Method
- Combine strawberries, blueberries, raspberries, sugar, and water in a blender.
- Blend until smooth. Taste and add more sugar if desired.
- Pour the mixture into popsicle molds.
- Insert popsicle sticks and freeze for at least 4-6 hours, or until solid.
- To unmold, run the molds under warm water for a few seconds.
Notes
Tried this recipe?
Let us know how it was!
Master of Culinary Visual Arts
My culinary journey started in the fast-paced kitchens of boutique coastal restaurants throughout Southern California, where I learned that beautiful food doesn’t have to be complicated. After nine years of professional cooking, I’ve made it my mission to prove that sophisticated, nutritionally sound meals can be accessible to busy home cooks who refuse to compromise on flavor or visual appeal.
What changed everything for me was watching talented home cooks feel intimidated by healthy cooking. That’s when I transitioned to private instruction, teaching busy professionals and families how to create restaurant-quality meals using simple techniques and ingredients they can actually find at their local grocery store. My “15-minute meal” frameworks are now used by several regional cooking schools!
As a third-generation Mexican-American, I love weaving vibrant Latin flavors into low-carb creations – proving that healthy eating can be both culturally authentic and visually spectacular. My “effortless elegance” philosophy is simple: nutritious food should look as stunning as it tastes, without requiring professional chef skills or expensive equipment.
When I’m not developing recipes in my San Diego coastal kitchen, you’ll find me surfing the local breaks with my Golden Retriever mix, Mango, who’s both my kitchen companion and unofficial taste-testing assistant. My personal low-carb lifestyle started as a way to maintain energy for my active coastal life, and it’s become the foundation for proving that healthy eating enhances rather than restricts life’s pleasures.